Cooking On The Ranch

  • Home
  • About
  • Recipe Roundup
  • Contact Me
  • Join Community
menu icon
go to homepage
  • Home
  • Soups and Stews
  • About
  • Recipes
  • Contact Me
    • Facebook
    • Instagram
    • Pinterest
  • search icon
    Homepage link
    • Home
    • Soups and Stews
    • About
    • Recipes
    • Contact Me
    • Facebook
    • Instagram
    • Pinterest
  • ×
    Home

    Three Cheese Italian Breakfast Casserole

    June 16, 2024 By Lea Ann Brown 8 Comments

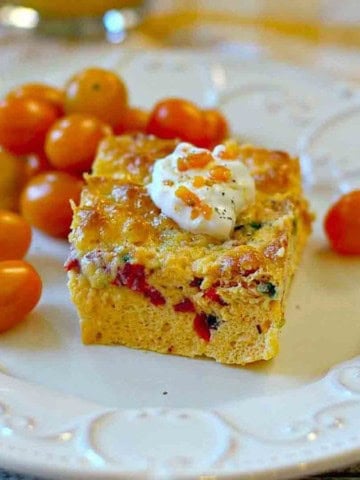
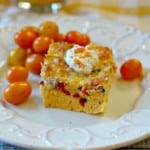
    A slice of three cheese Italian Breakfast Casserole.

    This savory Italian Breakfast Casserole combines three cheeses, roasted red bell pepper and a hint of onion. You can make this creamy cheesy Italian egg bake in just an hour.

    Try other popular breakfast recipes like this one for Country Potatoes with Ham or these Southwest Egg Bites with Cottage Cheese.
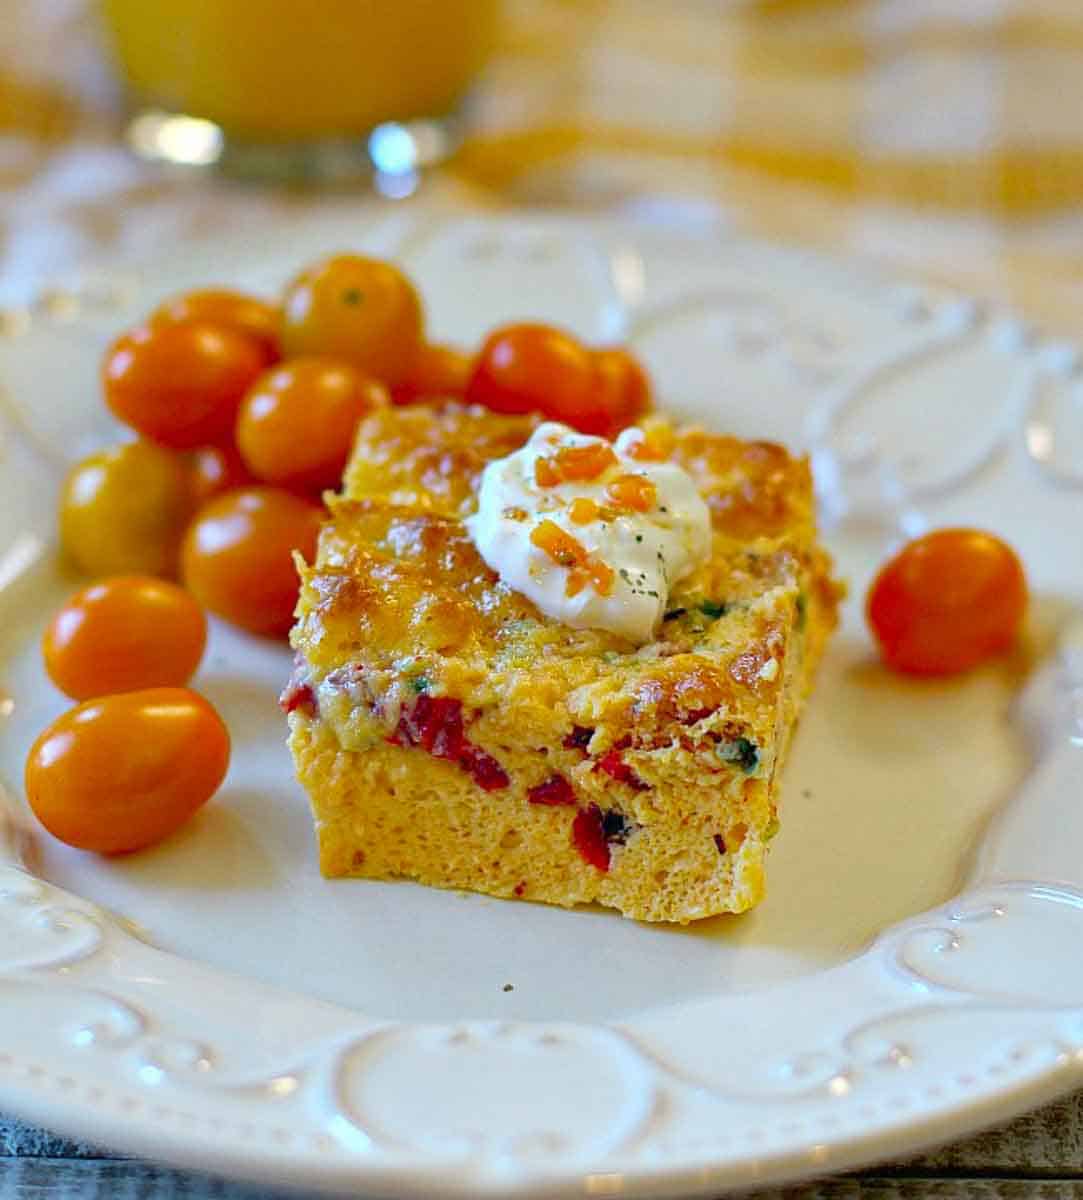
    A slice of Italian breakfast casserole topped with sour cream.

    The simplest way to make any morning better is with a delicious breakfast egg casserole. And this Italian egg bake can be one of the easiest ways to serve up eggs that certainly won’t disappoint.

    What makes a baked egg casserole a great egg casserole? Certainly a beautiful custard texture, a blend of amiable cheeses and a touch of savory. And this is an egg bake without bread, which makes for an even fluffier lighter experience.

    Eggs are combined with creamy soft cheeses. Flour thickens the custard base and the baking powder brings the “puff” to this casserole.

    Roasted red bell peppers, brings a smoky and sweet layer of flavor and a touch of green onion brings it all home.

    This Italian Breakfast Casserole is easy enough to prepare on a lazy Sunday morning. About twenty minutes prep time and a 35 minute bake in the oven. While the casserole is baking, grab a package of frozen hash browns, and fry some bacon or sausage and breakfast is served. Let’s take a look:

    Ingredients You’ll Need
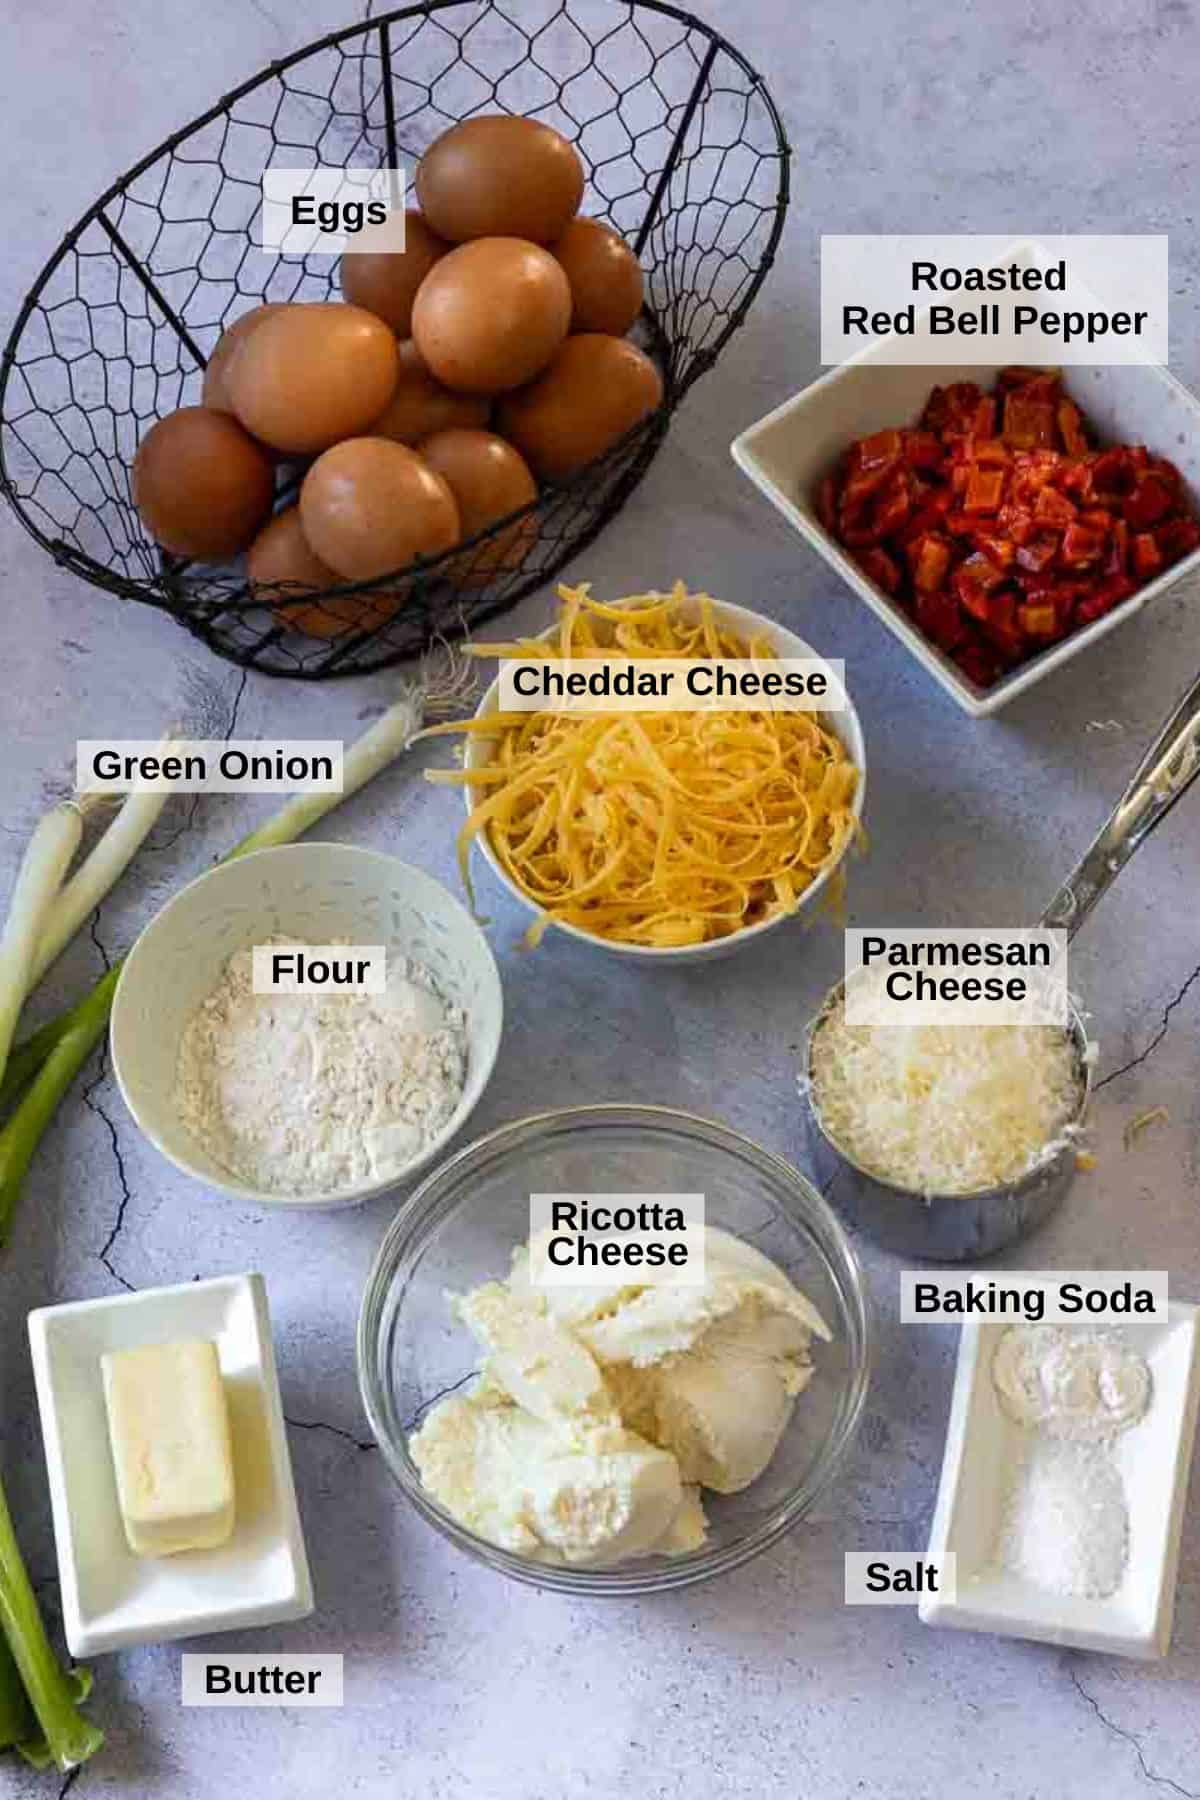
    Ingredients to make Italian Egg Bake.
    • Large Eggs
    • Roasted Red Bell Pepper, chopped
    • Green Onion
    • The Cheeses: Cheddar Cheese, Ricotta Cheese, Parmesan Cheese
    • All Purpose Flour
    • Butter, melted
    • Kosher Salt
    • Baking Powder

    Step by Step Instructions – It’s Easy
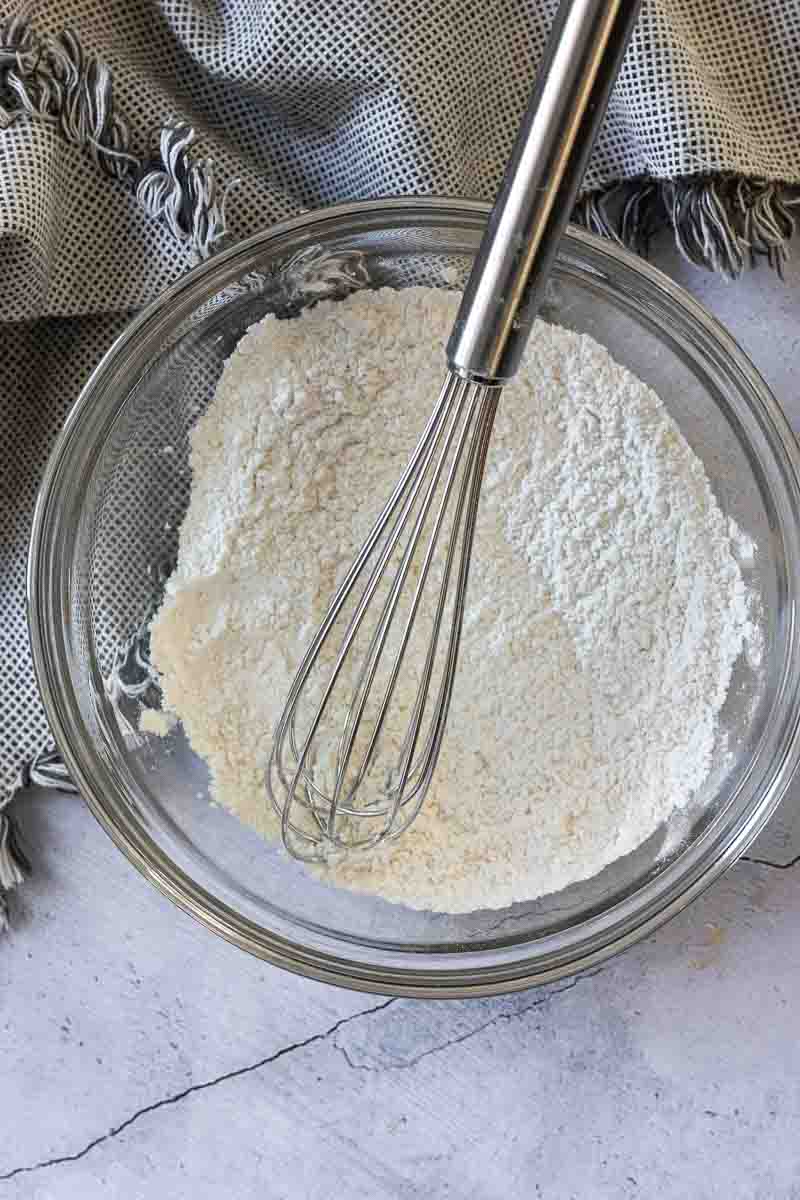
    Mixing dry ingredients for Italian Egg Casserole.
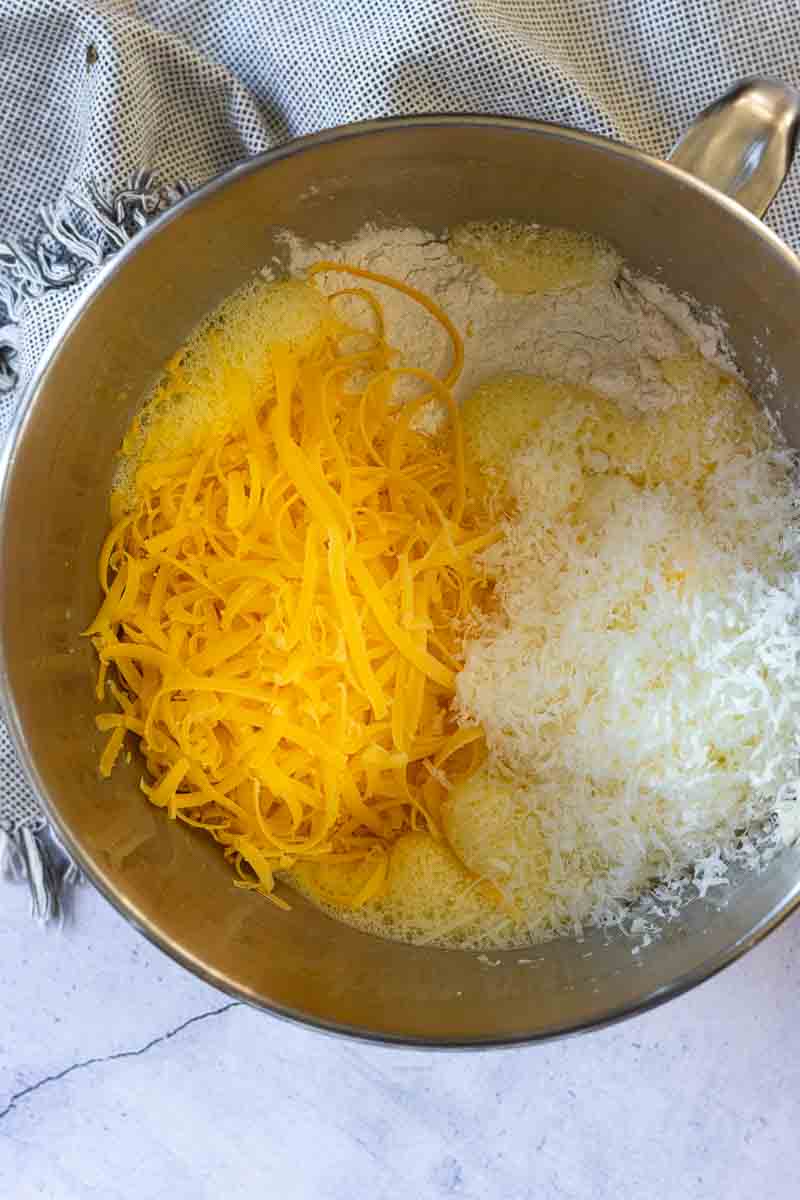
    Combining eggs and cheese to make Italian Breakfast Casserole.
    1. Sift together flour, salt, and baking powder into a small bowl.
    1. Beat eggs in a large bowl with an electric mixer at medium-high speed until doubled in volume, about 3 minutes. Add melted butter, flour mixture, and cheeses and mix well at low speed. Then stir in peppers and green onion.

    Pro Tip: Purchase good quality cheese and grate it yourself. Pre-grated cheese in bags includes additives to keep it from clumping, which will also compromise the melting factor. Grating cheese from a block of cheese will result in a creamier and more consistent melting experience. Plus, it’s less expensive.
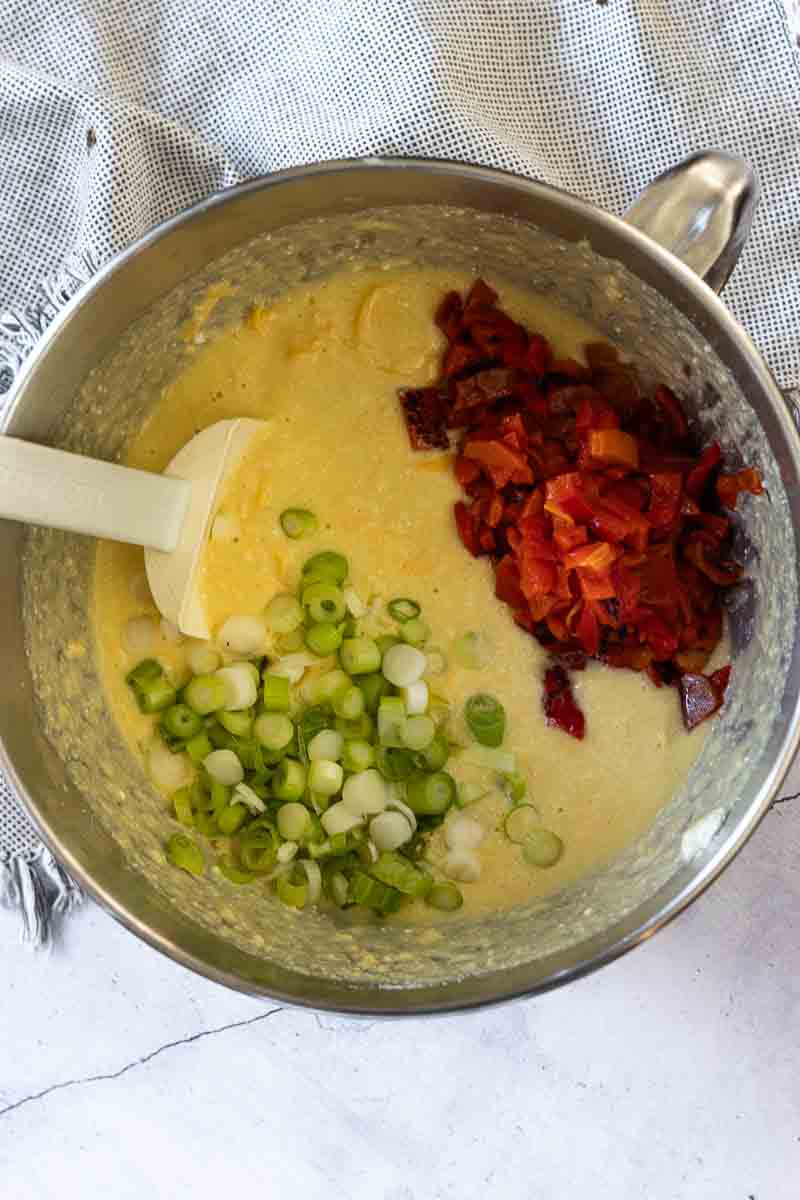
    Mixing eggs and cheese together to make an Italian Breakfast Casserole.
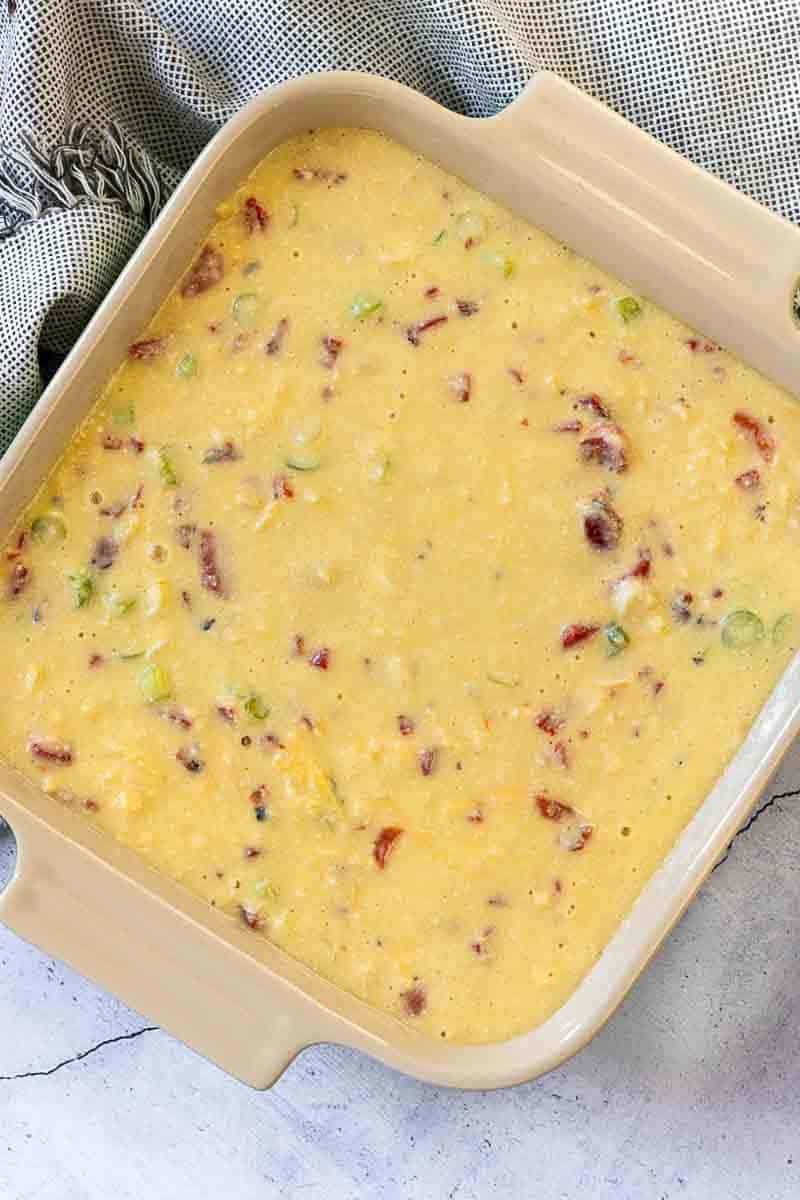
    Italian Breakfast Casserole in an 8 x 8 casserole dish ready to bake.
    1. Then stir in peppers and green onion.
    1. Pour into a greased 8 x 8 casserole dish.
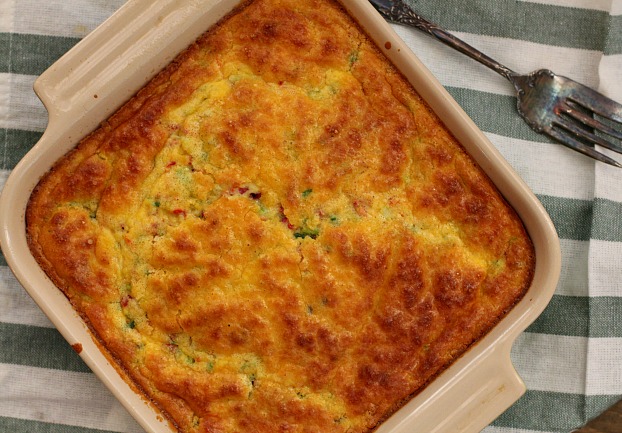
    Baked egg casserole in a square le creuset baking dish
    1. Bake this Italian Breakfast Casserole for 35 – 40 minutes. The top should be slightly browned and the casserole set up in the middle.

    Questions You May Have

    Can I Make This Italian Egg Bake Ahead of Time?

    Yes. You can make it the night before. Complete all the steps and place in the casserole dish. Cover well with plastic wrap and refrigerate. Let it sit at room temperature for about 30 minutes before baking.

    Is This Recipe Gluten Free?

    You’ve got a jump start since this is an egg bake without bread. Make this complete gluten free by using a 1 to 1 gluten free flour.

    What Should I Serve With This Italian Breakfast Casserole?

    This casserole is light and fluffy. And without any Italian Sausage, you’ve got lots of choices. Serve this with Fried Biscuits, a fresh fruit salad, a side of chicken Italian Sausage. Serving this for brunch? Serve it with a simple tossed salad with Red Wine Vinegar Dressing.

    Tips For Success

    • You most certainly can roast your own red bell peppers for this recipe, but make it easy by purchasing three roasted red bell peppers from the olive bar, or jarred roasted-red bell peppers.
    • Use a cake tester to make sure the casserole is done and set up in the middle.
    • Let the casserole sit for about 5 minutes before serving.
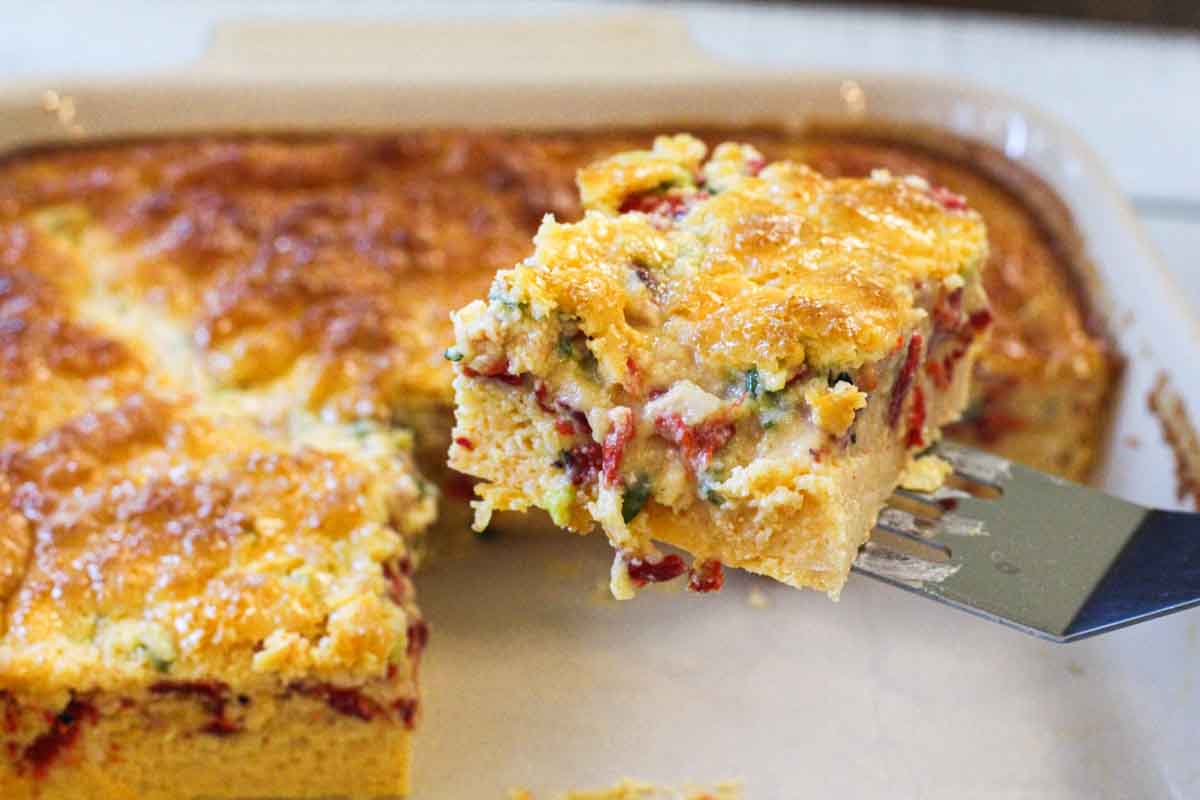
    A slice of three cheese egg casserole on a spatula.

    Variations

    • Picture this Italian egg bake with with fine chopped sauteed asparagus and shallots.
    • Add Southwestern flare by substituting the roasted red bell peppers with jalapeno peppers of Hatch chile peppers. Add a tablespoon of adobo sauce from canned chilles in adobo for an additional kick of excitement.
    • Or a simple mixture of mushroom and chives. Just be careful with the moisture content in mushroom. Fry and lightly salt them to draw out moisture before adding.

    I hope you give this Italian Breakfast Casserole a try. You’ll be glad you did.
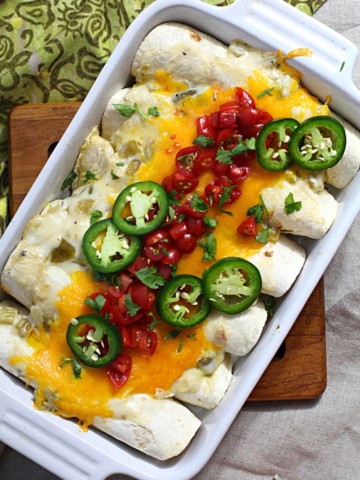
    Related Recipes

    • Breakfast burritos in a casserole dish filled with avocados and scrambled eggs.
      Avocado Scrambled Eggs Baked Breakfast Burritos with Green Chile Gravy
    • A slice of chorizo Mexican breakfast casserole.
      Eggs Ole’ Mexican Breakfast Casserole
    • A slice of sausage biscuit bake with sliced avocados.
      Southwestern Breakfast Biscuit Casserole – Make Ahead
    • A slice of hatch green chile bacon quiche with a deep dish pie pan with quiche and spatula
      Hatch Green Chile Quiche With Bacon

    If you liked this recipe, please leave a star ⭐⭐⭐⭐⭐ rating in the recipe card below and leave a comment. I always appreciate your feedback and hearing how everything went.

    And, don’t forget to subscribe to my newsletter for more delicious recipes and cooking tips. Make it a delicious day … every day.
    A slice of three cheese Italian Breakfast Casserole.
    Print Recipe
    5 from 2 votes

    Three Cheese Italian Breakfast Casserole

    This is a recipe for an oh-so cheesy Italian Breakfast Casserole. Savory with roasted red bell pepper, three of your favorite cheeses and a hint of onion, this is an easy egg and cheese casserole perfect for your next Sunday Brunch or breakfast.
    Prep Time20 minutes mins
    Cook Time40 minutes mins
    Total Time1 hour hr
    Course: Breakfast Recipes
    Cuisine: American
    Servings: 9
    Calories: 289kcal
    Author: Lea Ann Brown

    Equipment

    • 1 8 x 8 Casserole Dish

    Ingredients

    • 3 medium red bell peppers roasted and diced
    • ¼ cup plus 2 tablespoons all-purpose flour
    • 1 teaspoon Kosher salt
    • ¾ teaspoon baking powder
    • 9 large eggs
    • 3 tablespoons unsalted butter melted
    • 1 ½ cups Medium Cheddar Cheese grated
    • 1 cup whole-milk ricotta
    • 1 cup Parmigiano-Reggiano grated
    • 3 green onions finely chopped (½ cup)

    Instructions

    • Preheat oven to 350°F.
    • Sift together flour, salt, and baking powder into a small bowl.
    • Beat eggs in a large bowl with an electric mixer at medium-high speed until doubled in volume, about 3 minutes. Add melted butter, flour mixture, and cheeses and mix well at low speed, then stir in peppers and green onion.
    • Pour into a buttered 8 x 8 casserole dish and bake in middle of oven until top is golden brown and a tester comes out clean, 30 to 40 minutes. Let stand 5 minutes before serving.
    • To serve, cut into 9 squares and garnish each with a dollop of sour cream and fine chopped heirloom tomatoes.

    Notes

    Tips For Success: 
    • You most certainly can roast your own red bell peppers for this recipe, but make it easy by purchasing three roasted red bell peppers from the olive bar, or jarred roasted-red bell peppers.
    • Use a cake tester to make sure the casserole is done and set up in the middle.
    • Let the casserole sit for about 5 minutes before serving.

    Nutrition

    Serving: 9g | Calories: 289kcal | Carbohydrates: 7g | Protein: 18g | Fat: 21g | Saturated Fat: 12g | Polyunsaturated Fat: 1g | Monounsaturated Fat: 6g | Trans Fat: 0.2g | Cholesterol: 214mg | Sodium: 648mg | Potassium: 248mg | Fiber: 1g | Sugar: 2g | Vitamin A: 2034IU | Vitamin C: 52mg | Calcium: 368mg | Iron: 1mg

    Three Cheese Italian Breakfast Casserole … It’s What’s For Breakfast.

    This recipe was first published September of 2018 and updated June of 2024 by adding step by step instructions.
    Black and Blue Burgers

    June 10, 2024 By Lea Ann Brown 1 Comment

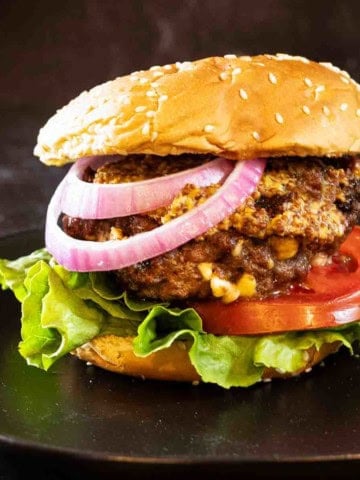
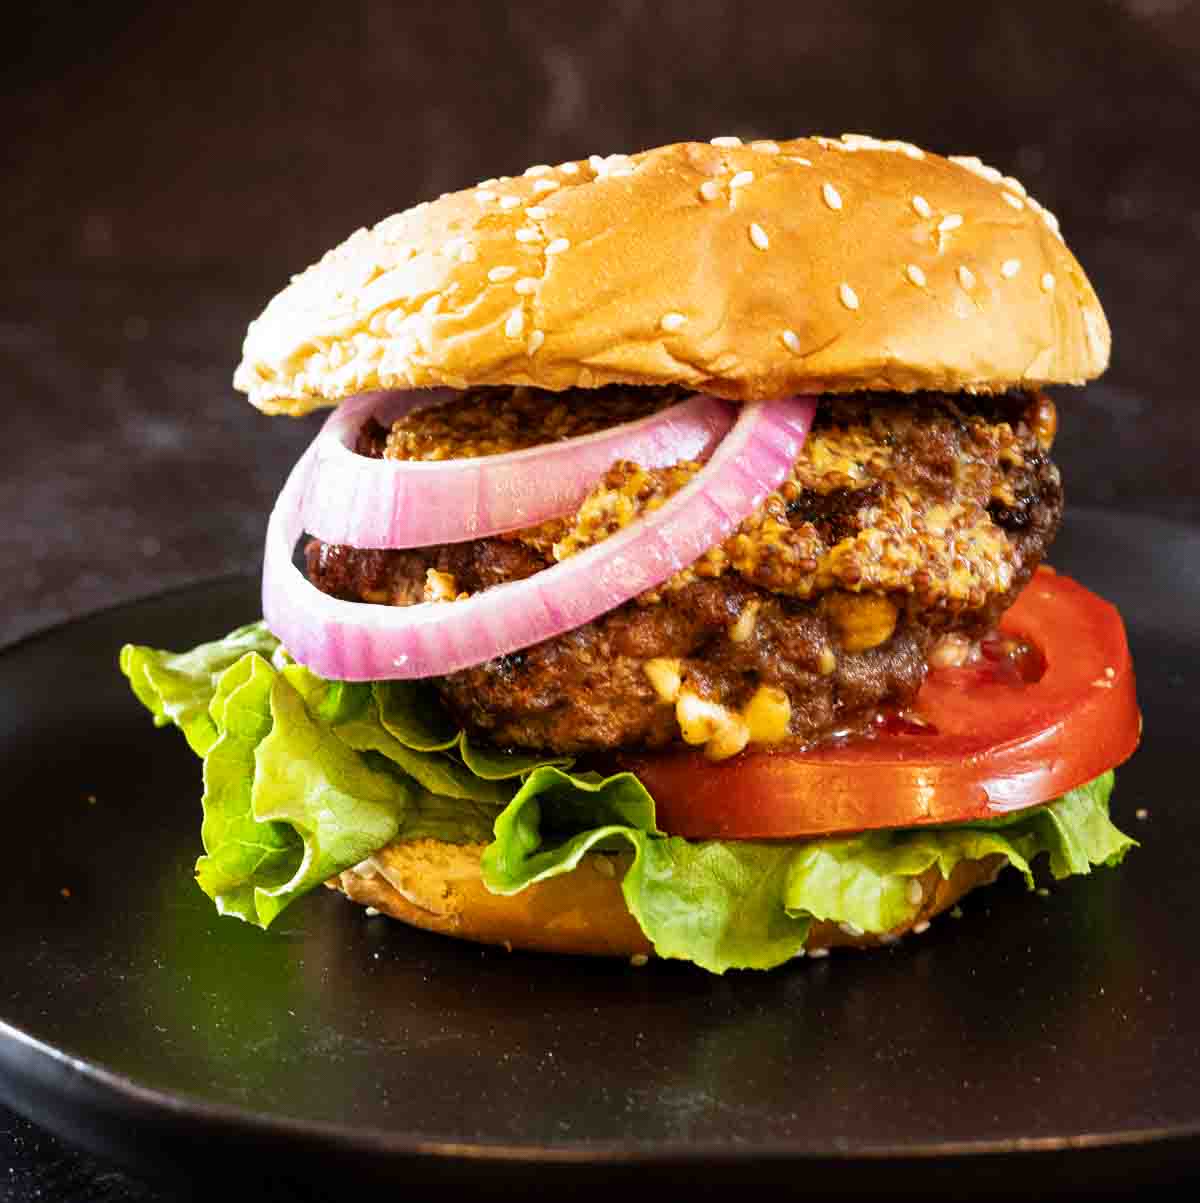
    Black and blue burger with red onion, tomato and lettuce.

    Black and Blue Burger patties combine blackened seasoning and crumbled blue cheese for a burger with serious steakhouse flavor. One of my favorite burgers to cook, it’s “just right” spicy, juicy, rich and bold. Let’s take a look.

    Black and blue burger with red onion, tomato and lettuce.

    What Is a Black and Blue Burger?

    A Black and Blue Burger is a beef burger seasoned with blackened seasoning ("black") and made by adding blue cheese ("blue") to the ground beef. The seasoning creates a bold, spicy flavor, while the blue cheese adds richness and tang.

    Why It's Called "Black and Blue"

    • Black = blackened spice blended with the ground beef.
    • Blue = blue cheese mixed into the ground beef.

    Flavor Profile at a Glance

    • Spicy: The homemade blackened seasoning I’ve provided in this recipe adds a just right spicy note to the overall flavor.
    • Beefy: Choosing the right blend of ground beef, combined with crumbled blue cheese makes this a perfect beefy burger.
    • Creamy: Adding crumbled blue cheese directly to the ground beef before forming patties, makes this a creamy, cheesy burger.
    • Savory: The bold flavors of this burger are elevated a step higher slathered with a coarse ground Dijon Mustard for a condiment.

    This robust contrast is what makes black and blue burgers stand out from standard cheeseburgers.

    Taking a cue and inspiration from Culinary School, where we pan-seared Denver Steaks then served topped with a blue cheese sauce, these Black and Blue Burgers were born in my own kitchen. Beef and Blue Cheese are natural culinary partners, so let’s get started.

    [feast_advanced_jump_to]

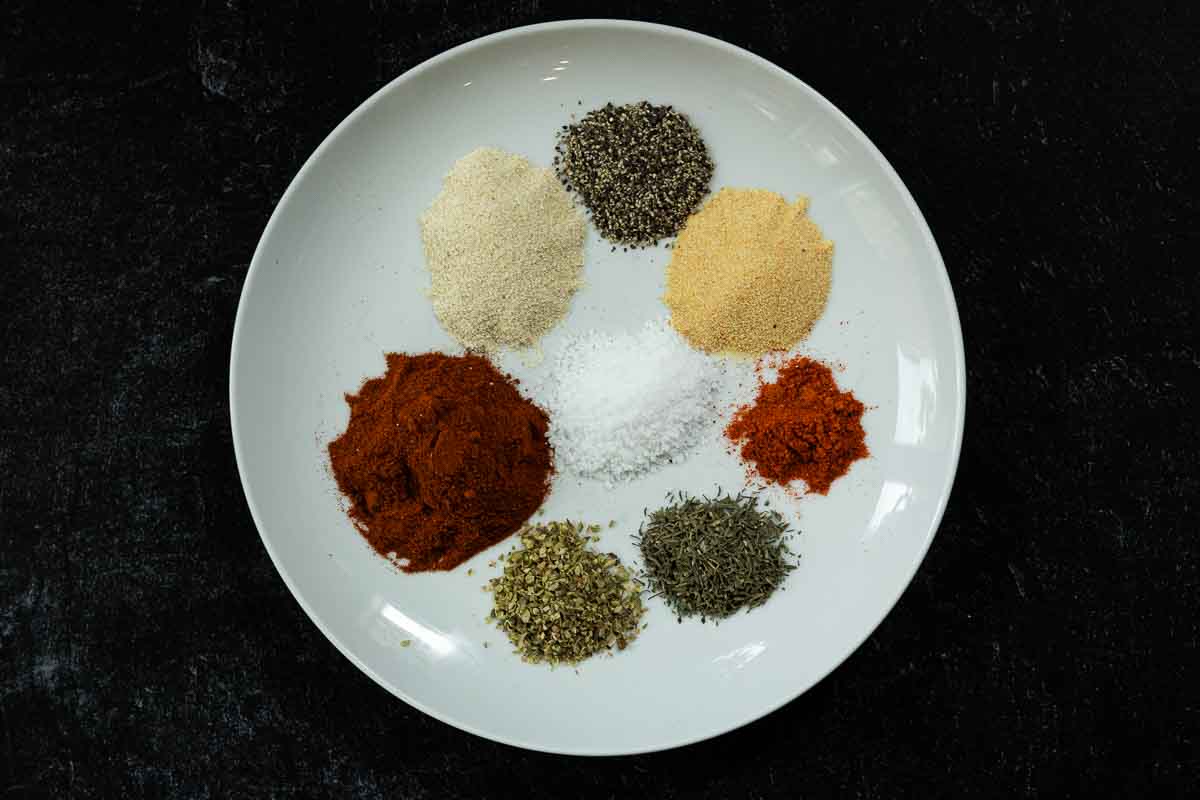
    Ingredients You’ll Need For Blacked Seasoning

    Store Bought Versus Homemade: Again, another recipe from Culinary School. I’ve never purchased blackened seasoning, so can’t recommend a store brand. But any purchased seasoning mix can be over-salty. Homemade will result in better control and flavor balance.

    Let’s start by making this super easy Homemade Blackened Seasoning Recipe. You probably have everything you need in your pantry and it’s a super easy recipe.

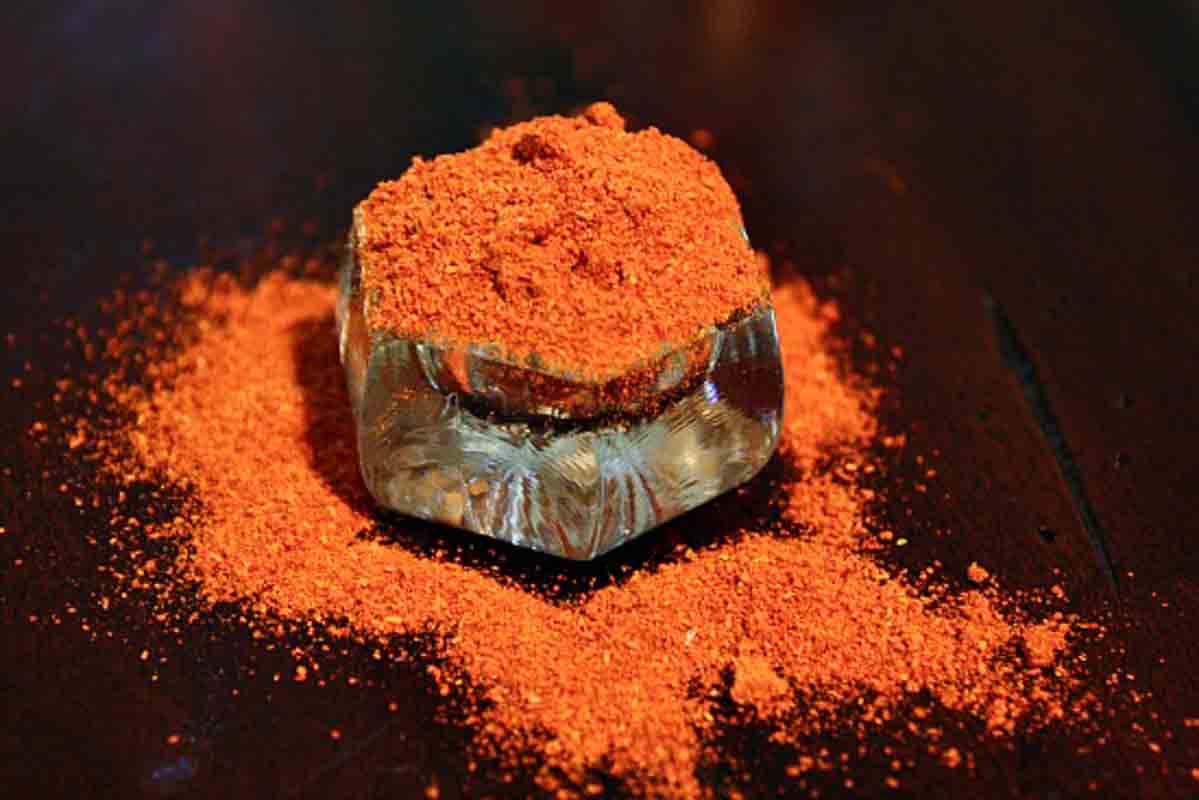
    Homemade blackened seasoning to make black and blue burgers.
    • Fresh Ground Black Pepper
    • Garlic powder
    • New Mexico Red Chile Powder, preferably Chimayo, or Cayenne Pepper is more customary
    • Dried thyme
    • Dried oregano
    • Smoked paprika
    • Onion powder
    • Kosher salt

    See recipe card for quantities.

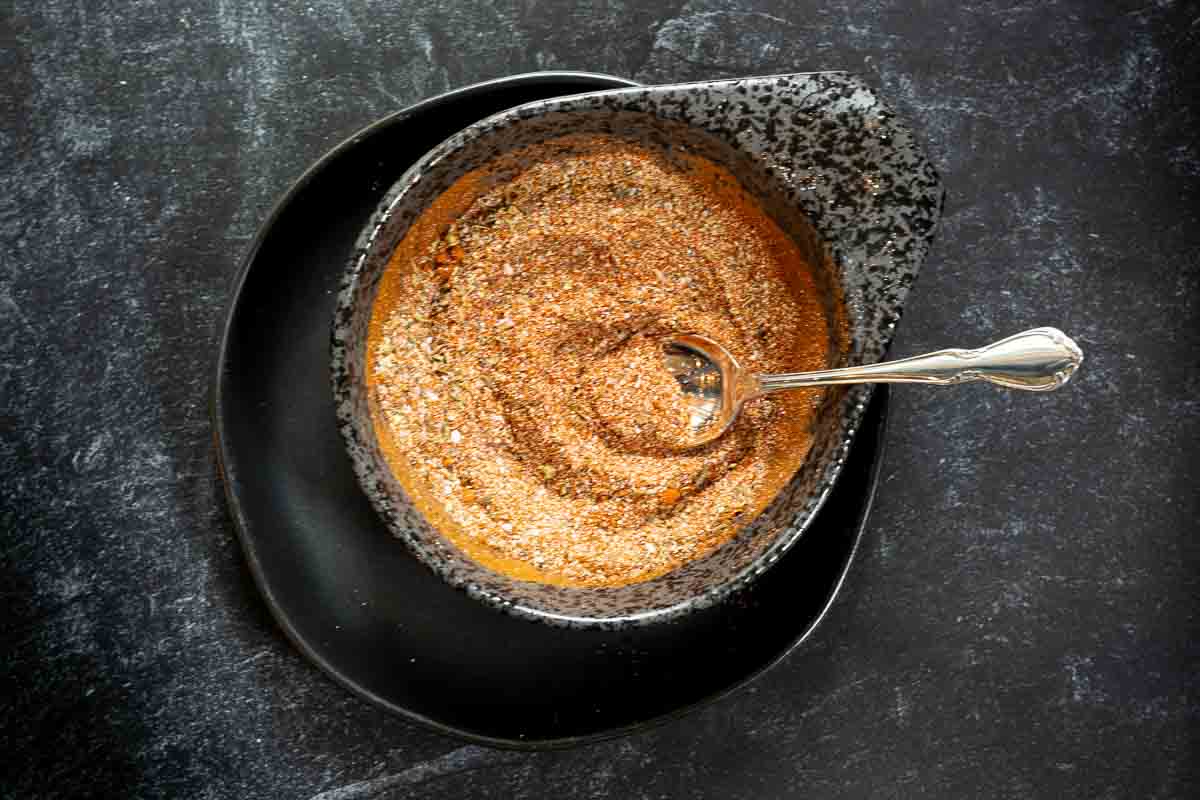
    Homemade blackened seasoning in a black bowl.

    Simply add ingredients to a bowl and use a whisk to combine. Set aside and make those burgers.

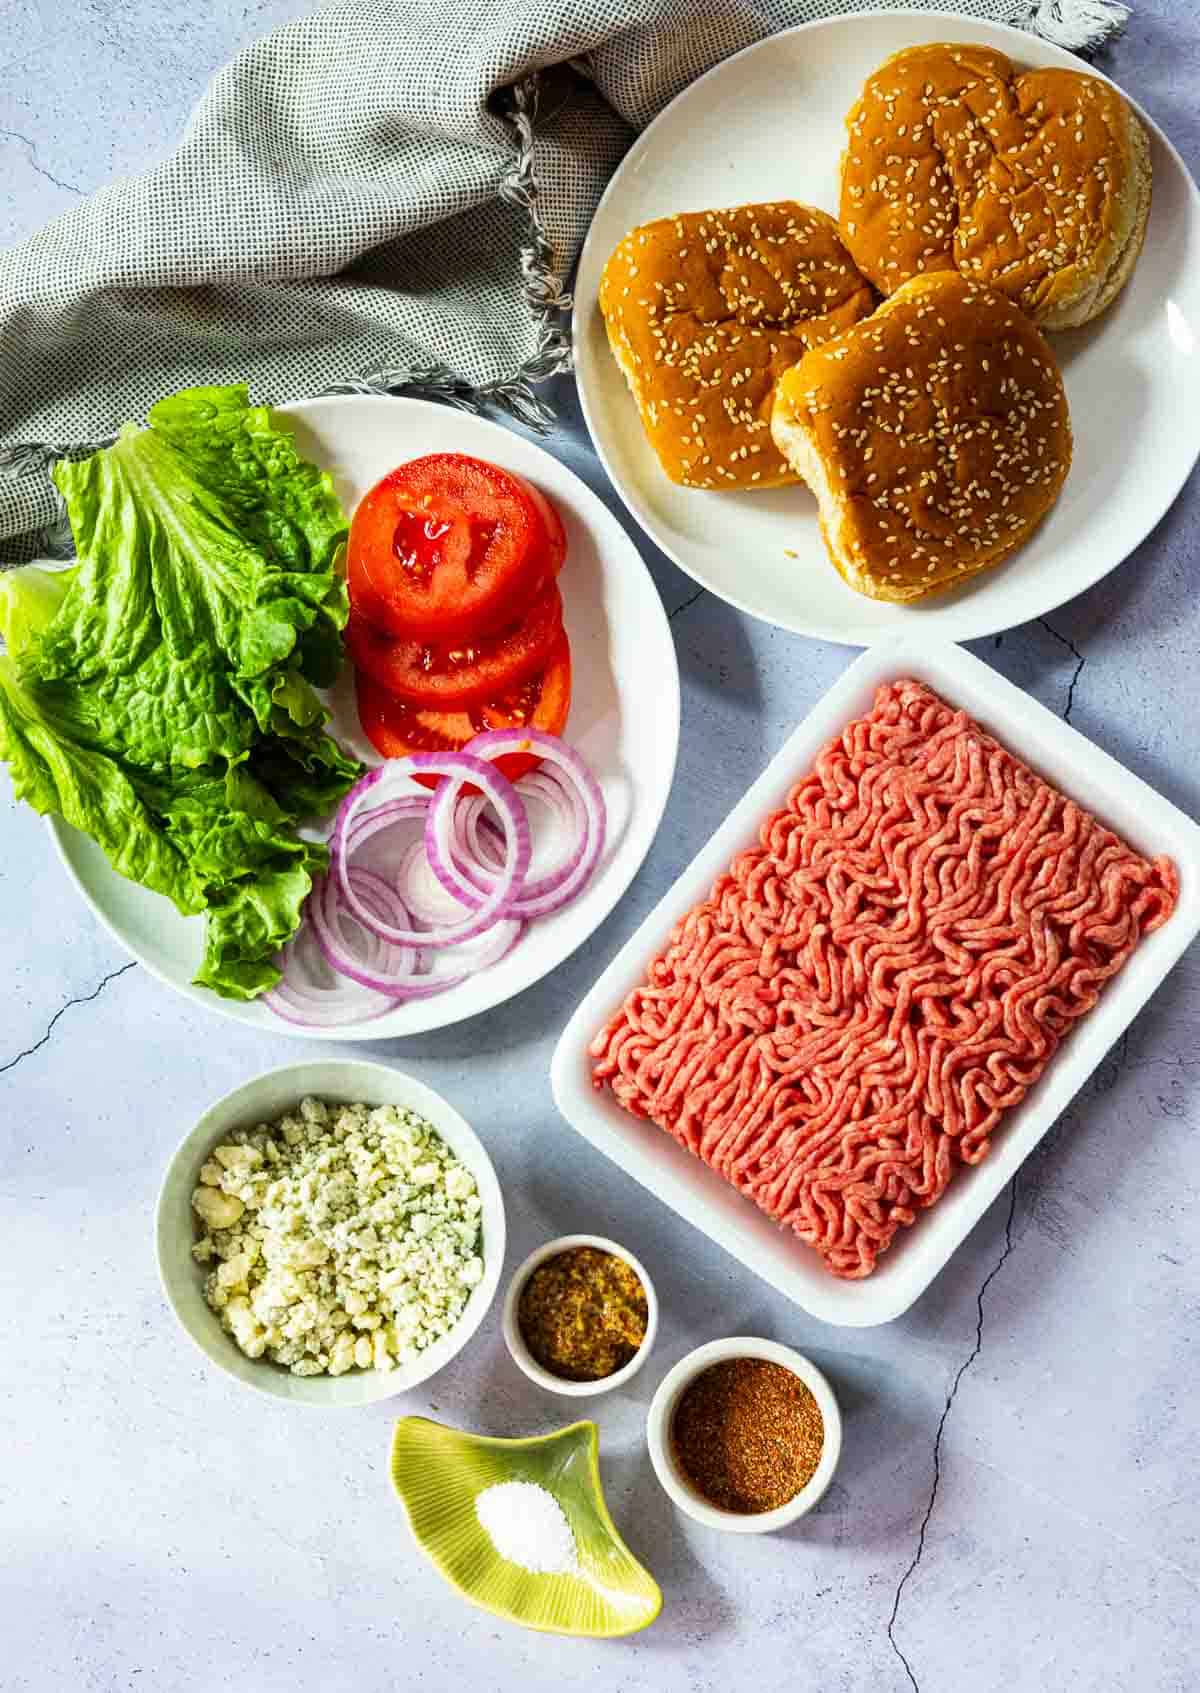
    Key Ingredients For The Black and Blue Burgers

    Ingredients to make Black and Blue Burgers.

    Best Ground Beef To Use – Fat Ratio Matters

    • Use 80/20 ground beef. The higher fat content prevents dryness and helps balance the bold flavor of the blackened seasoning. Lean beef cooks up dry and tough and doesn't hold blue cheese crumbles well.

    Best Blue Cheese For Burgers (Crumbles vs. Block)

    • Crumbles: The pre-crumbled blue cheese sold in plastic containers may be convenient, but they’re a dryer product which won’t melt as well.
    • Let's talk creamy. Purchase a wedge of blue cheese in the gourmet cheese section at your store. Here are some creamy blue cheese options.
    • Award Winning Point Reyes Blue Cheese is my absolute favorite blue cheese on earth. Creamy and bold in flavor, it's perfect for melting into these burgers.
    • Maytag blue cheese is also a quality choice. Maytag blue cheese is produced in Iowa and is a cow's milk cheese with exceptional blue cheese flavor and creamy texture.
    • Stilton Cheese: Stilton is an English semi-soft, crumbly and creamy. With a bold rich flavor it will bring a more intense and complex flavor to these burgers.

    Best Buns For These Burgers

    Choose a regular hamburger bun that’s soft, sturdy and flavorful. No need to go gourmet here. Tip: I discourage the use of Brioche buns simply because they are too soft, too sweet, and that high butter and sugar content can lead to a soggy bun that will fall apart under the weight of a juicy burger.

    Best Lettuce For Burgers

    • Lettuce – I like green leaf lettuce for burgers because of it’s pretty frilly edge appearance. You can substitute iceberg lettuce for more of a crunch, or even Romaine lettuce. TIP: When building that burger, place the lettuce on the bottom bun before adding the burger patty. This will keep that bun from getting soggy from that juicy burger.

    How To Make Black and Blue Burgers

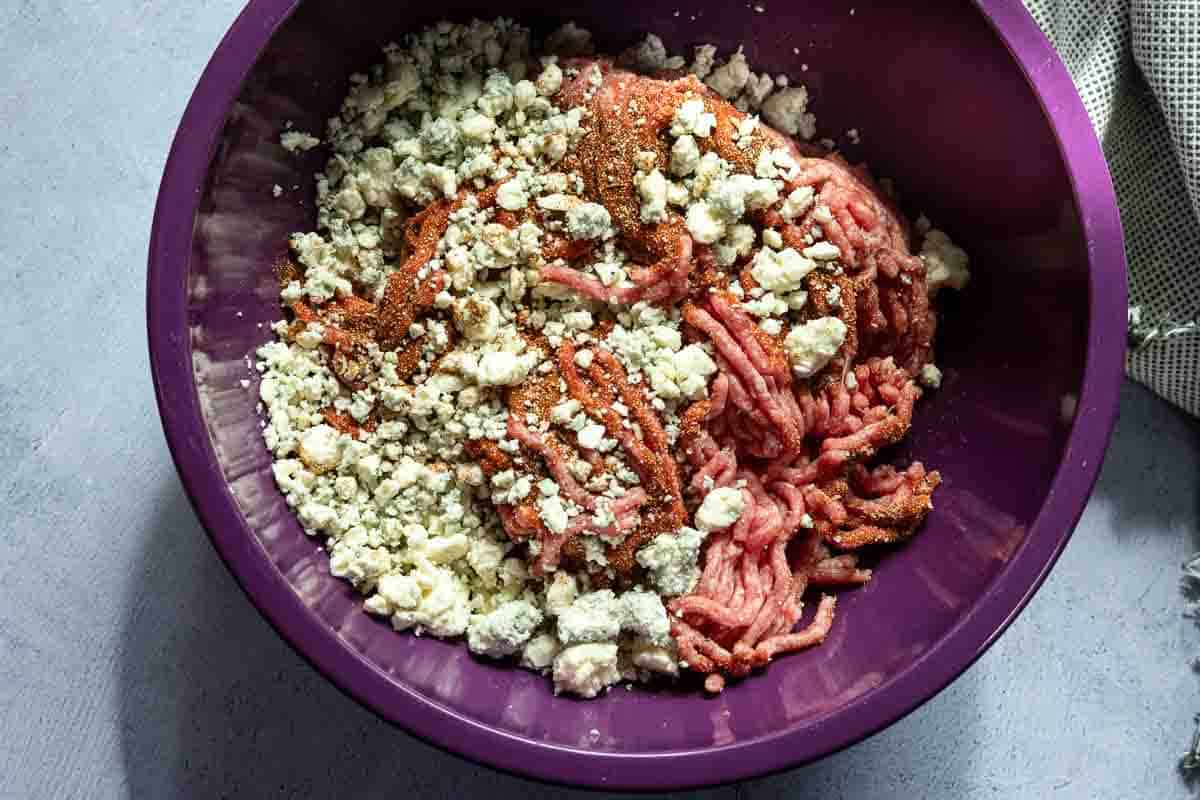
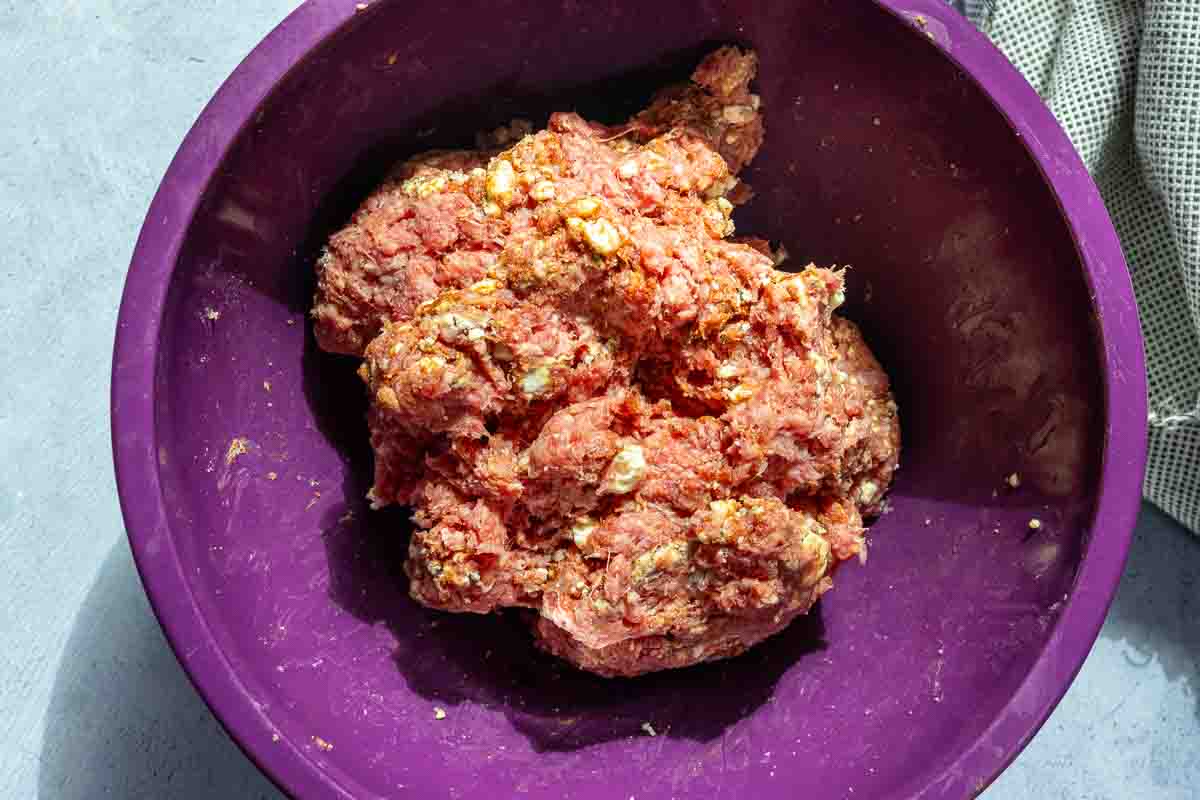
    Combining ground beef and blue cheese crumbles to make black and blue burgers.
    1. Step 1: Place ground beef in a bowl. Add crumbled blue cheese, blackened seasoning and salt.
    Combined ground beef and blue cheese crumbles to make black and blue burgers.
    1. Step 2: Use hands to combine the ingredients, just like you would making meatloaf.

    Hint: Don’t overwork the meat mixture when making ground beef patties. A looser mix will simply make a better cooked and juice burger.

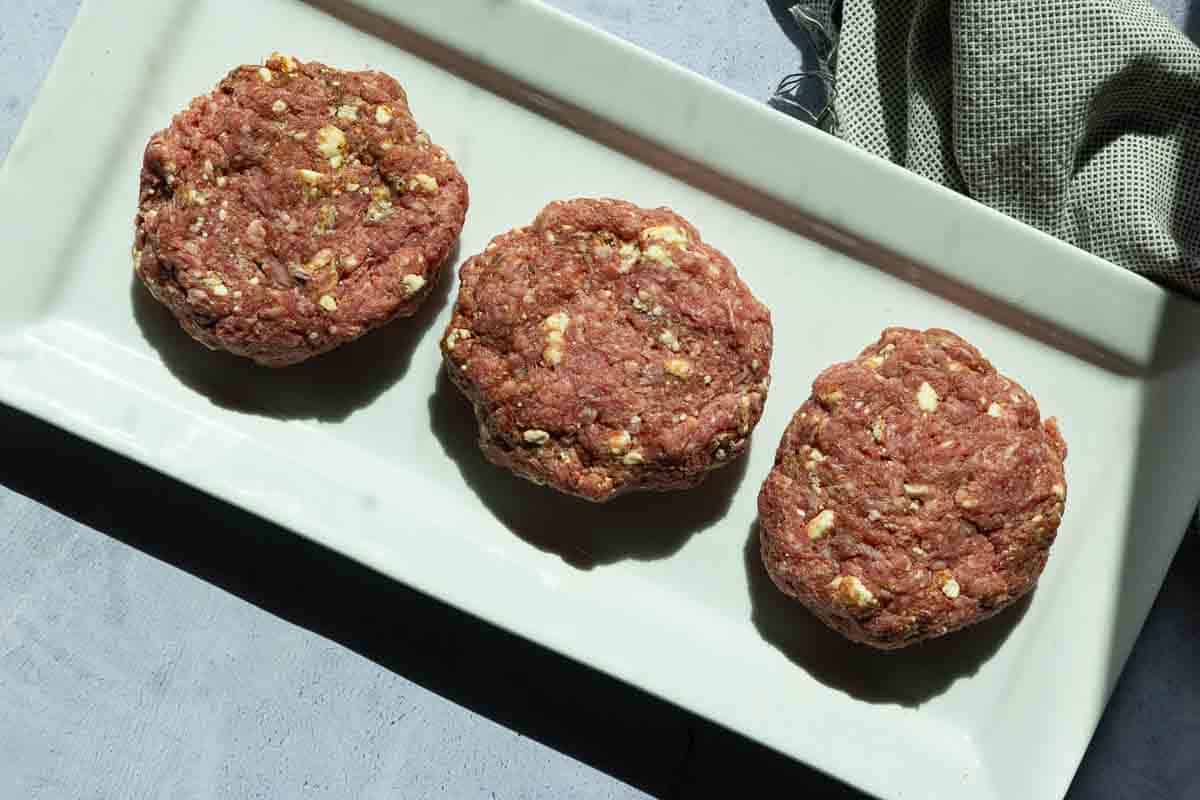
    Three black and blue hamburger patties ready to grill.
    1. Step 3: Portion ground beef into three patties. You can also make quarter pound burgers and make four black and blue patties.
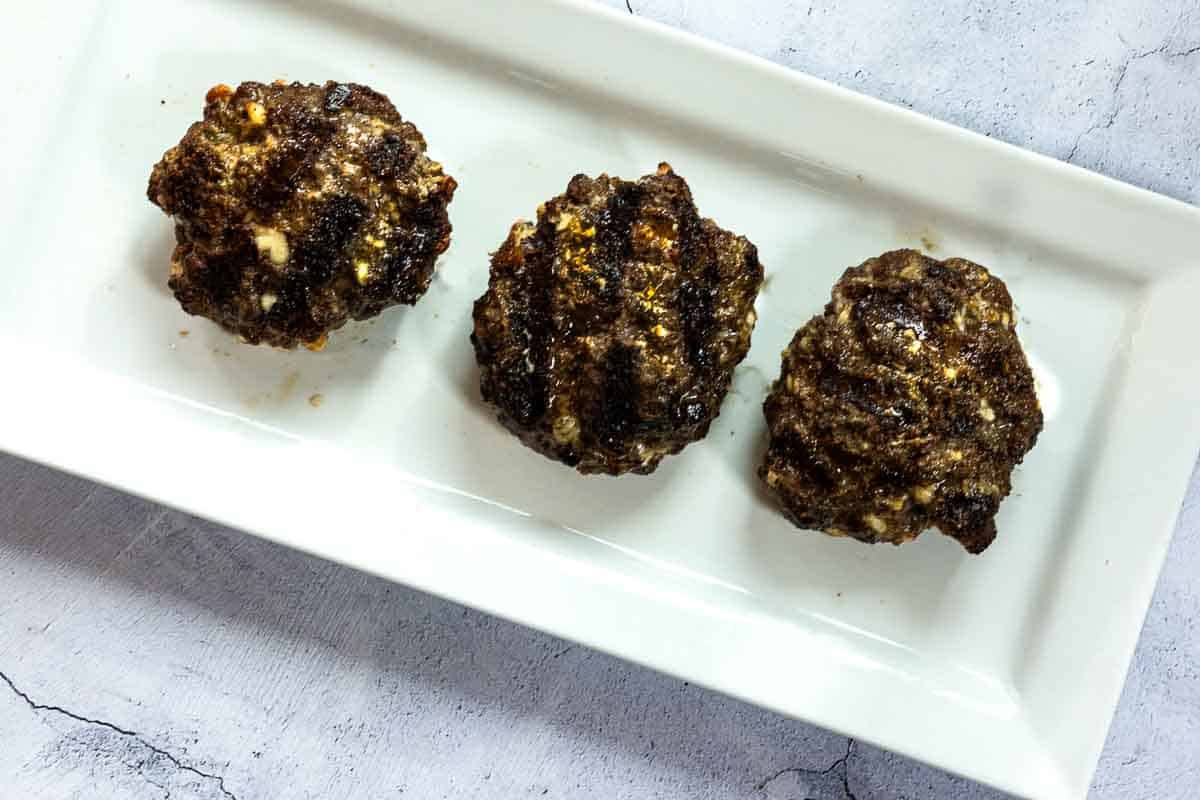
    Grilled black and blue burger patties.
    1. Step 4: Place burgers on the grill or in a stovetop cast iron skillet or grill pan. Sear 3 to 5 minutes on the first side or until dark crust develops on burgers. Flip the burgers and grill on second side for additional 4 to 5 minutes or until they reach internal temperature of 160°F.

    TIP: Try grilling the onions rather than serving them on the burger raw. Grilling red onions brings out the natural sugars which caramelize for a sweeter result.

    How To Build That Burger: Spread whole grain mustard on bottom bun, add lettuce and sliced tomato. Add the burger bun and top with rings of red onion.

    How To Cook These Burgers

    Skillet vs. Grill

    I’ve always said that the best burgers come off a flat top grill. However, flat top grills like restaurants use aren’t an option for home kitchens. A cast iron skill can somewhat replicate a flat top.

    • Cooking burgers in a cast iron skillet will create a lovely outer crust, which we call Mailliard reaction. It’s that toasty flavor that makes a great burger. A cast iron skillet or cast iron grill pan will distribute heat evenly and you won’t lose any of that juicy flavor to your outdoor grill grates. In short, that results in a juicier burger.
    • Grill: These burgers work great on an outdoor grill. However, if you’ve got a griddle that fits that grill, use it. For the same results as a cast iron skillet.
    • Non Stick Skillet: Save them for gentler projects like omelettes , scrambled eggs or delicate seafood. Non-stick skillets are notorious for not creating enough heat to get a good sear.

    In summary: My vote goes to cast iron for the best balance of heat retention and crust formation.

    Tips For Success

    • Don’t be tempted to use the blackened seasoning as a sprinkle-on seasoning. You’ll have a better burger by blending it in before forming the burger patties. Plus, the seasoning may burn if it’s used as a coating.
    • Cold cheese won't melt evenly. Let cheese come to room temperature before mixing. Allow about 30 minutes

    Make Ahead, Storage and Reheating Tips

    Can You Prep These Burgers In Advance?

    • Yes, form patties up to 24 hours ahead. Cover tightly, and refrigerate until ready to cook.

    Freezing Black and Blue Burger Patties

    • Freeze uncooked patties on a tray, then transfer to freezer bags. Let the patties thaw in the refrigerator overnight. You can also freeze cooked burger patties for up to three months.

    Reheating.

    • I intentionally make extra burgers to have leftovers. Simply wrap the extra burger patty in plastic wrap and store in the refrigerator for up to 3 days. When ready to reheat, place the cooked burger meat in the microwave and heat in 30 second increments until hot. The 50% power feature is your best friend. A slower and gentler heat will keep that burger from drying out and you'll avoid any high heat food explosions.
    Variations

    • Less Spicy: Red chile powder can be quite spicy. Choose a chile powder labeled mild or medium. You can also reduce the amount by half and make up that amount by increasing the smoked paprika.
    • Bacon: Bacon and blue cheese make great partners. Add a few slices of cooked bacon to make Bacon Black and Blue Burgers.
    • Low Carb or Bunless: Serve these burger patties over grilled portobello mushrooms, or wrapped in green lettuce leaves. Either option makes these burgers gluten free.

    FAQ’s

    What Cheese Can Replace Blue Cheese?

    Not a blue cheese fan? Try Gorgonzola dolce. It’s a mild, sweet, creamy Italian cheese. It’s aged for a shorter period of time giving it a milder flavor. Feta cheese is a great crumbling cheese. Pepper jack is absolutely not traditional for a burger like this, but popular.

    What’s The Best Internal Temp For Burgers?

    According to the USDA, the minimum safe temperature to serve ground beef is an internal temperature of 160 degrees. Though not recommended, 120-125 degrees for rare, 130 - 135 degrees, medium rare, 150 - 155 degrees for medium well, and well done = 160 - 165 degrees. Use a digital instant read thermometer to gauge internal temperature.

    Why Are My Burgers Dry?

    They’re either over cooked, or the blend you used was not 80% lean and 20% fat.

    Burgers are our favorited food during the Summer months and with all of my burgers our favorite side dish to serve is baked beans. Take a look at BBQ Beans On The Grill. or these Spicy Baked Beans. And a great side dish for any burger, take a look at my recipe for Creamy Beer Mac and Cheese.
    Are you Hamburger fans like us? Don’t miss more of our favorites.

    • Buffalo burger with sliced onions, special sauce, served with french fries.
      Juicy Buffalo Burgers – The Ultimate How To Guide
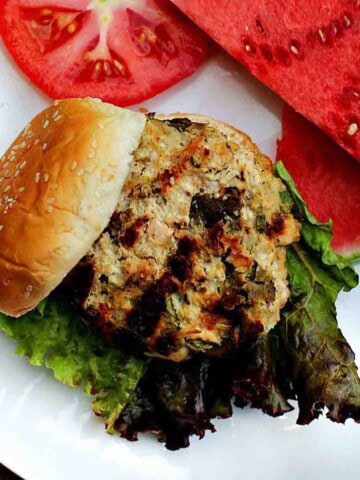
    • Southwestern grilled ground chicken burgers served with watermelon.
      Grilled Southwest Ground Chicken Burgers, Juicy and Flavor Packed
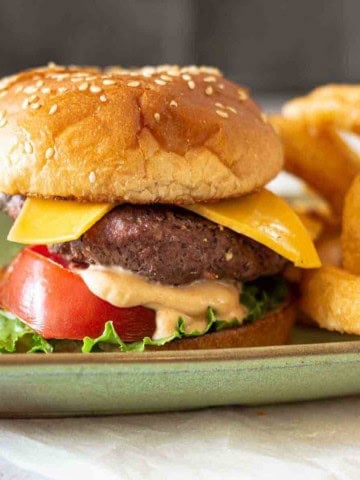
    • Steakhouse. burger with fry sauce, served with onion rings.
      Steakhouse Burgers with Fry Sauce
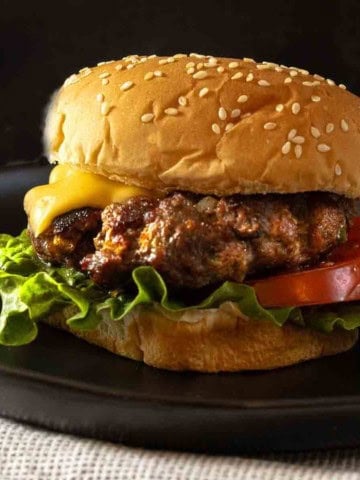
    • Steak Sauce Burgers.
      Jalapeno Steak Sauce Burgers

    And if you’re looking for even more recipes, don’t miss my category for Hamburger Recipes. You’ll find more ideas including the most popular on my site for Bobby Flay’s Coleslaw Burger. And if you’re a blue cheese fan, don’t miss my recipe for Blue Cheese Burgers. Cowboy approved and perfection!

    If you liked this recipe, please leave a star ⭐⭐⭐⭐⭐ rating in the recipe card below and leave a comment. I always appreciate your feedback and hearing how everything went.

    And, don’t forget to subscribe to my newsletter for more delicious recipes and cooking tips. Make it a delicious day … every day.

    Black and blue burger with red onion, tomato and lettuce.
    Print Recipe
    No ratings yet

    Black and Blue Burger Recipe

    Black and Blue Burger patties combine blackened seasoning and crumbled blue cheese for a burger with serious steakhouse flavor. One of my favorite burgers to cook, it's "just right" spicy, juicy, rich and bold.
    Prep Time10 minutes mins
    Cook Time15 minutes mins
    Total Time25 minutes mins
    Course: Main Course Beef
    Cuisine: American
    Servings: 3
    Calories: 657kcal
    Author: Lea Ann Brown

    Ingredients

    • For The Homemade Blackened Seasoning
    • 2 Tablespoons Smoked Paprika
    • 1 Tablespoon Onion Powder
    • 2 teaspoons Garlic powder
    • ½ teaspoon New Mexico Red Chile Powder or Cayenne. Or more if you want it spicier.
    • 1 teaspoon Dried Thyme
    • 1 teaspoon Dried Oregano
    • 2 teaspoons Kosher salt
    • 1 teaspoon Freshly ground black pepper
    • For The Black and Blue Burgers
    • 1 pound Ground Beef
    • 1 Tablespoon Blackened Seasoning
    • ½ teaspoon Kosher salt
    • ½ Red Onion Cut into rings
    • 3 ounces Blue Cheese crumbled
    • 3 Tablespoons Whole Grain Dijon Mustard
    • 3 leaves Green Leaf Lettuce
    • 3 slices Tomato
    • 3 Sesame Seed Hamburger Buns

    Instructions

    • Preheat grill to high. Or heat a cast iron skillet stove top.
    • Place ground beef in a bowl. Add crumbled blue cheese, blackened seasoning and salt. Use hands to gently combine the ingredients. Portion ground chuck into three patties. You can also make quarter pound burgers and make four hamburger patties.
    • Turn heat down to medium high and place burgers on the grill or skillet. Sear 3 to 5 minutes on the first side or until dark crust develops on burgers. Flip the burgers and grill on second side for additional 4 to 5 minutes or until they reach internal temperature of 160°F.
    • Add buns to grill to toast, 2 minutes or until golden brown. Spread a little butter or mayo on the buns and toast buttered/mayo'd side down.
    • To build that burger. Spread whole grain mustard on bottom bun, add lettuce and sliced tomato. Add cooked burger patty and top with red onion.

    Notes

    Tips For Success: 
    • Don’t be tempted to use the blackened seasoning as a sprinkle-on seasoning. You’ll have a better burger by blending it in before forming the burger patties. Plus, the seasoning may burn if it’s used as a coating.
    • Cold cheese won't melt evenly. Let cheese come to room temperature before mixing. Allow about 30 minutes
    • Use an Instant Read Digital thermometer to read the internal temperature of those burger patties while cooking. 160 Degrees is recommended.
    • Grill the red onion slices rather than serving them raw on the burger will make for a sweeter onion experience.
    • Take the time to toast that bun. Simply butter and place on the grill for a few seconds. It will elevate these Black and Blue Burgers from good to great.

    Nutrition

    Calories: 657kcal | Carbohydrates: 33g | Protein: 39g | Fat: 41g | Saturated Fat: 17g | Polyunsaturated Fat: 2g | Monounsaturated Fat: 16g | Trans Fat: 2g | Cholesterol: 129mg | Sodium: 3110mg | Potassium: 828mg | Fiber: 5g | Sugar: 6g | Vitamin A: 2952IU | Vitamin C: 7mg | Calcium: 298mg | Iron: 7mg

    Black and Blue Burgers … They’re Whats For Dinner

    Chile BBQ Baked Beans On The Grill

    June 5, 2024 By Lea Ann Brown 3 Comments

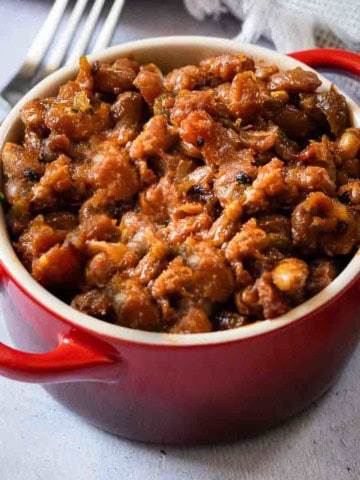
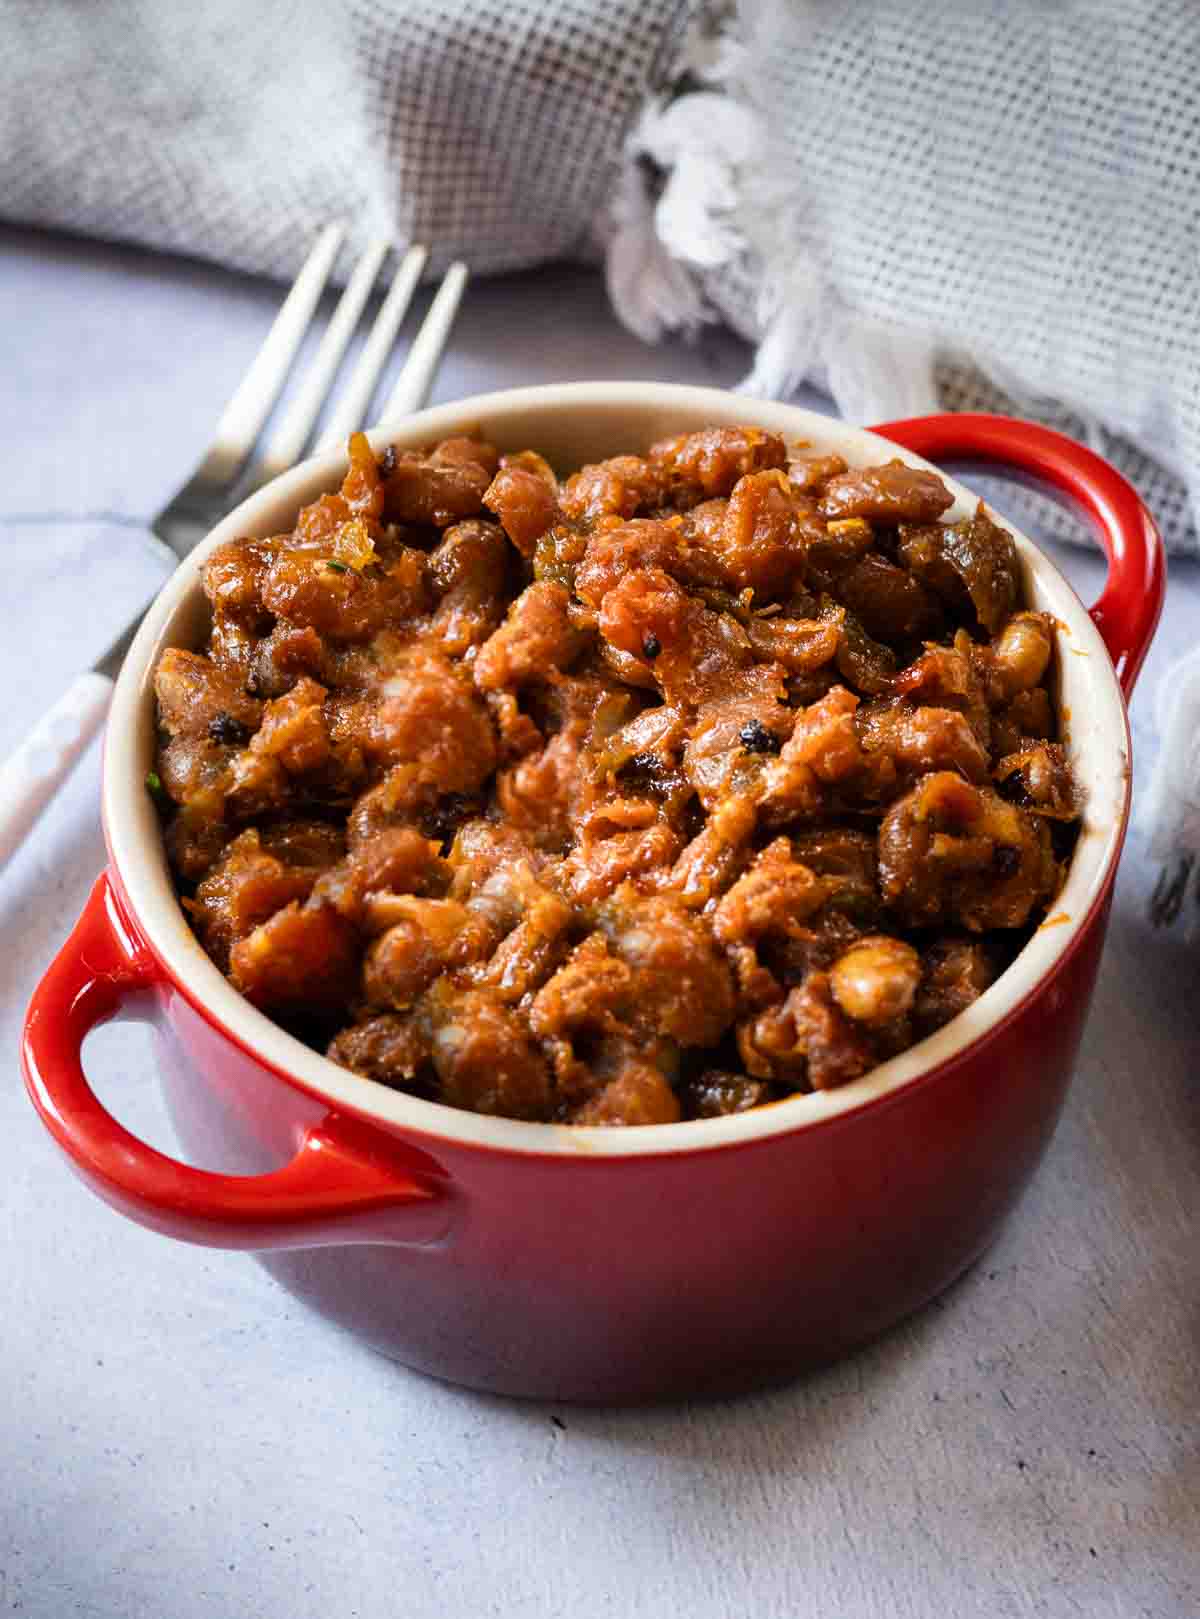
    A red crock full of baked beans cooked on the grill.

    Rich, robust, sweet, spicy and smoky, these Chile BBQ Baked Beans On The Grill are a total WOW on the flavor scale. Using canned baked beans and adding bacon, molasses and chile peppers, mesquite wood chips bring home the incredible smoky flavor. Learn how to cook baked beans on the grill … it’s easy.

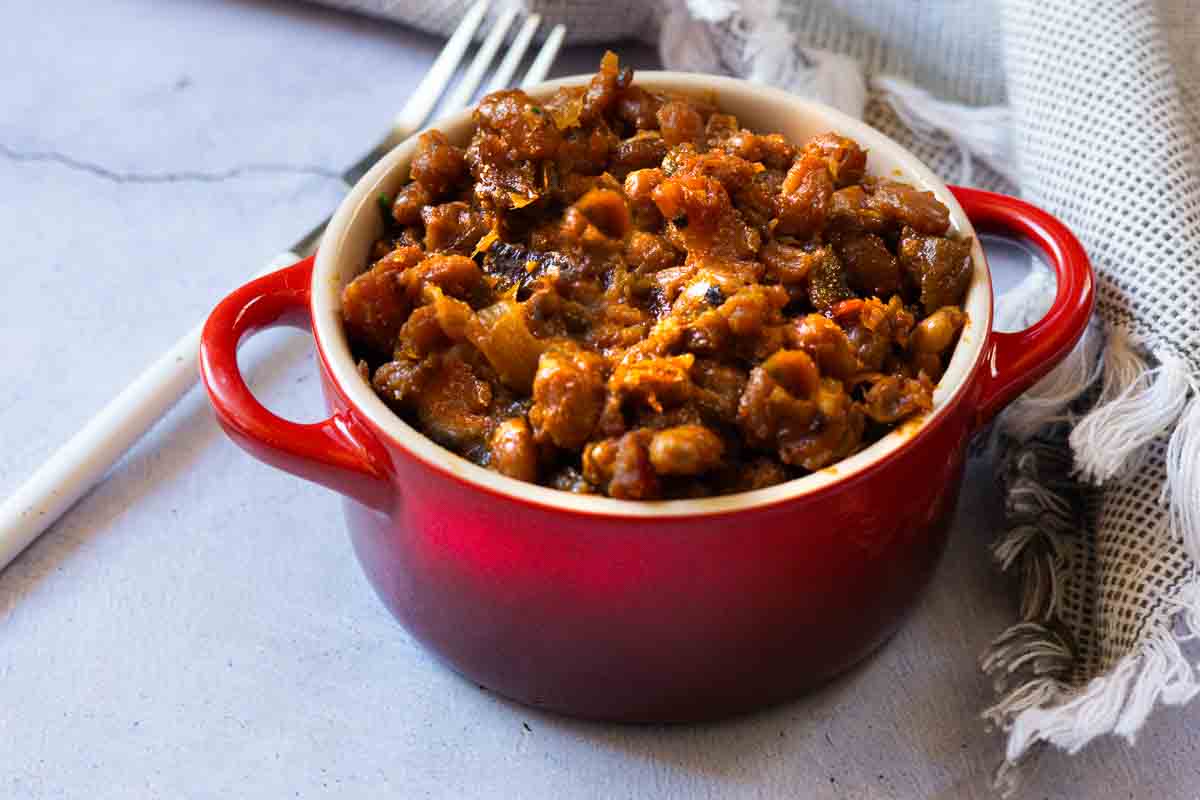
    BBQ Baked beans on the grill served in a red ramekin.

    What You Can Expect From This Recipe

    This is a recipe developed in Culinary School for one of their recreational evening classes on grilling. You’ll love the method of using a disposable foil casserole pan to make baked beans on the grill. Easy clean up!

    Entire Meal On The Grill: These bbq baked beans cooked on the grill, are a perfect side dish for every type of backyard barbecue party thrown your way. Burgers, ribs and hotdogs never had it so good. And if plan it just right, you can make your entire meal on the grill. For instance, Grilled Chicken Halves, these BBQ beans and grilled Sweet Potato Fries … just for an example.

    Flavor: You simply couldn’t believe the flavor of these bbq baked beans. Rich with sweet flavor using molasses. And smoky with bacon.

    Add Some Real Smoke: Mesquite Chips are used to bring the smoky layer of flavor to the already delicious combo of ingredients. Simply use a foil packet or a small smoke box to accomplish this.

    Simple to Make: BBQ Baked Beans On The Grill, are a very pleasant surprise in more ways than one. Aside being absolutely delicious, they’re easy to make.

    Let’s take a look.

    [feast_advanced_jump_to]

    Ingredients You’ll Need

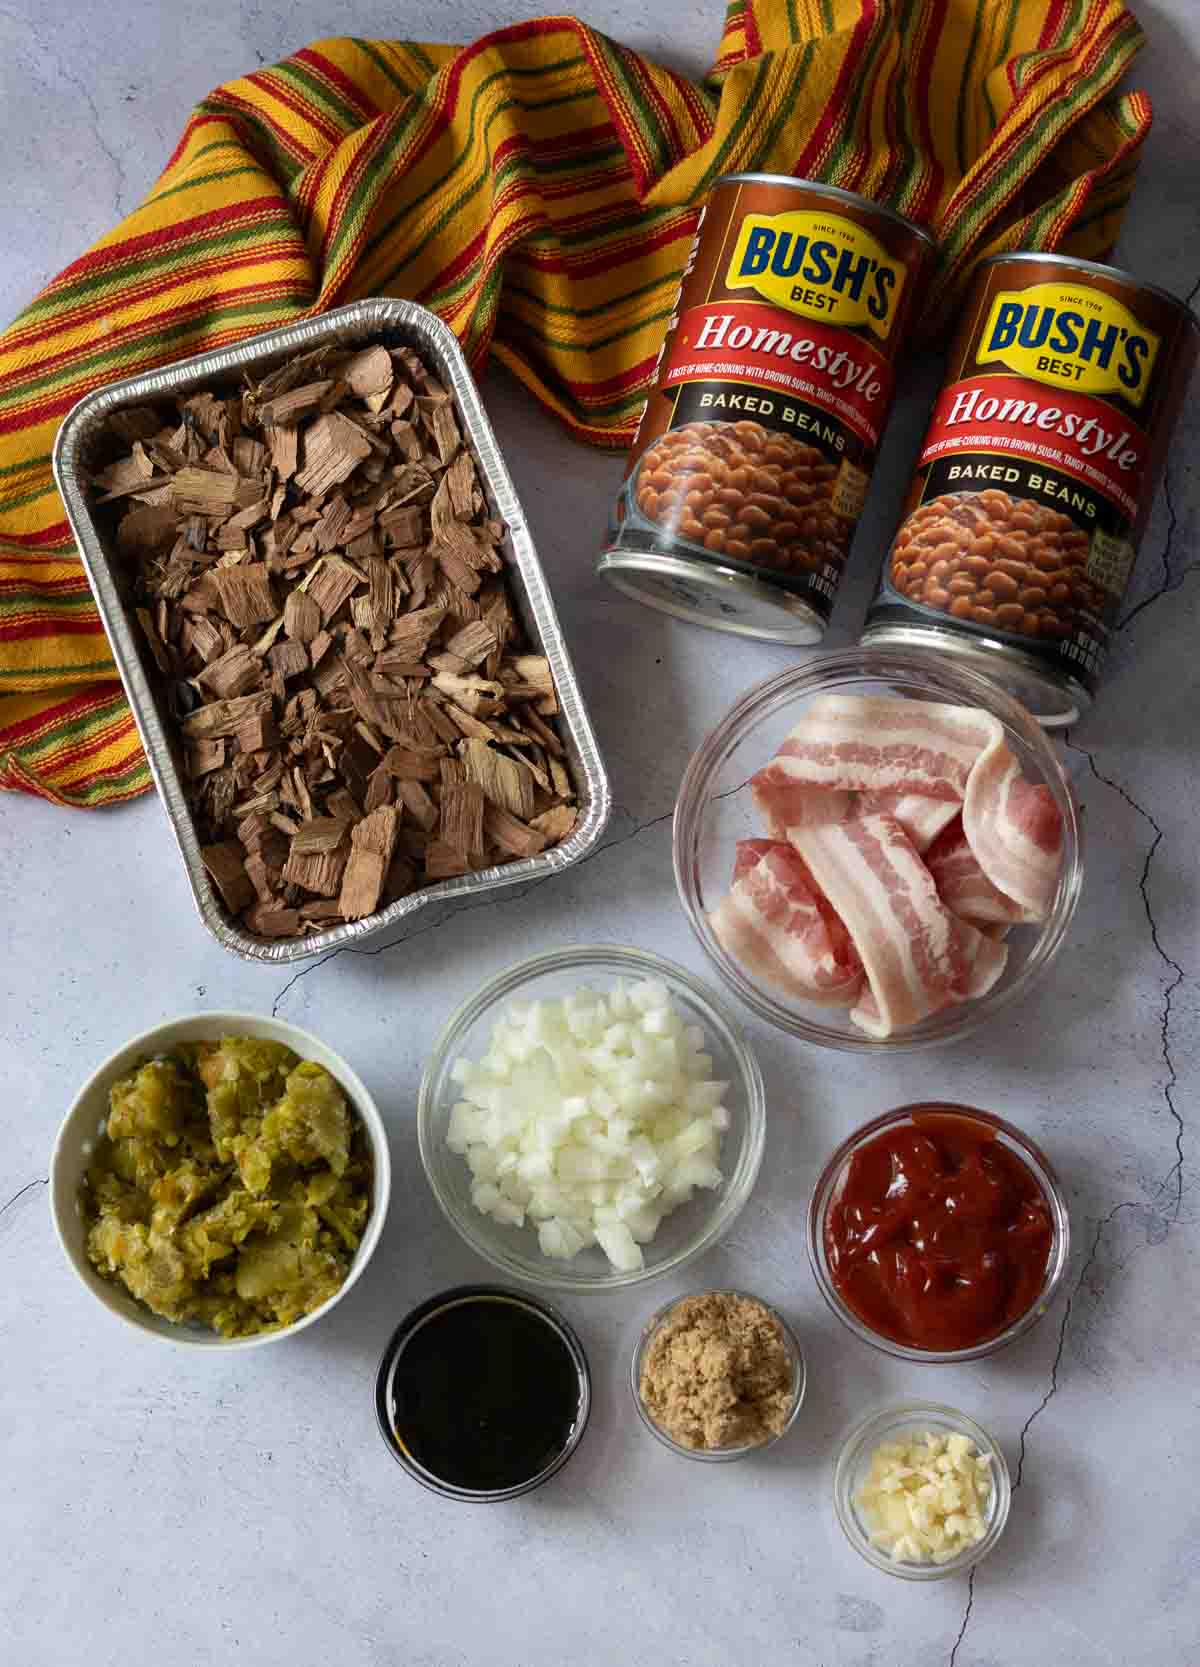
    Mesquite wood chips and medium heat chile peppers bring unique layers of flavors to the customary ingredients used to make bbq baked beans.

    Ingredients to make bbq baked beans on the grill.
    • Mesquite Wood Chips: Easily found along side grilling supplies at the grocery store. Hickory wood chips are also a good choice here.
    • Using Canned Beans make this an easy fix.
    • Good quality thick sliced bacon.
    • Chile Peppers, Medium Heat Please: Mild chile peppers simply won’t bring that warmth of heat to the end flavors of this recipe. You need a medium heat pepper to fight it’s way through the strong flavors here. I like to use Hatch Chile Peppers here.
    • Sweet Onion
    • Dark Molasses
    • Brown Sugar
    • Ketchup
    • Fresh Garlic

    See recipe card for quantities.

    How To Cook Baked Beans On The Grill, It’s Easy

    Before starting the preparation of these baked beans, soak wood chips in water for at least 30 minutes and preferably one hour. Drain off the water before using them in the cooking process. Empty canned beans into a colander in the sink. Allow the beans to drain, but do not rinse.

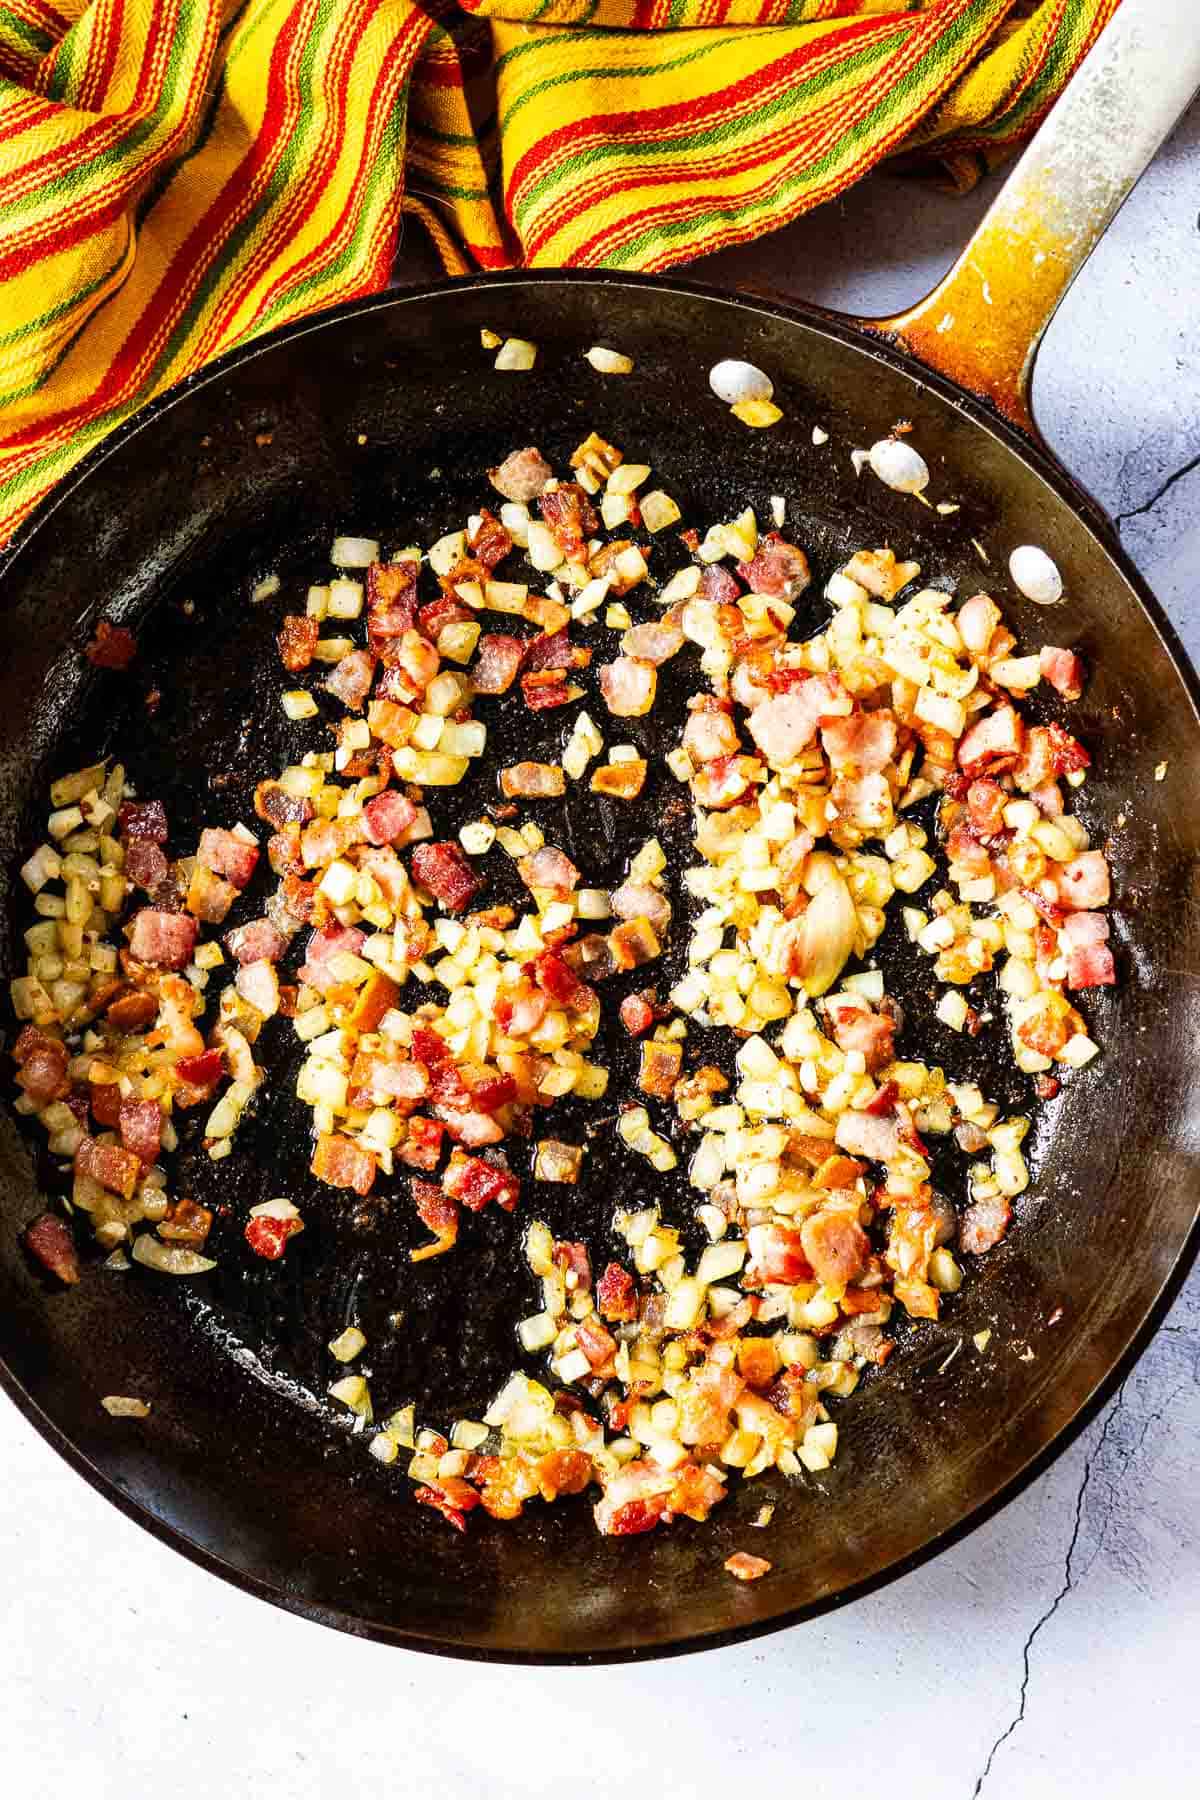
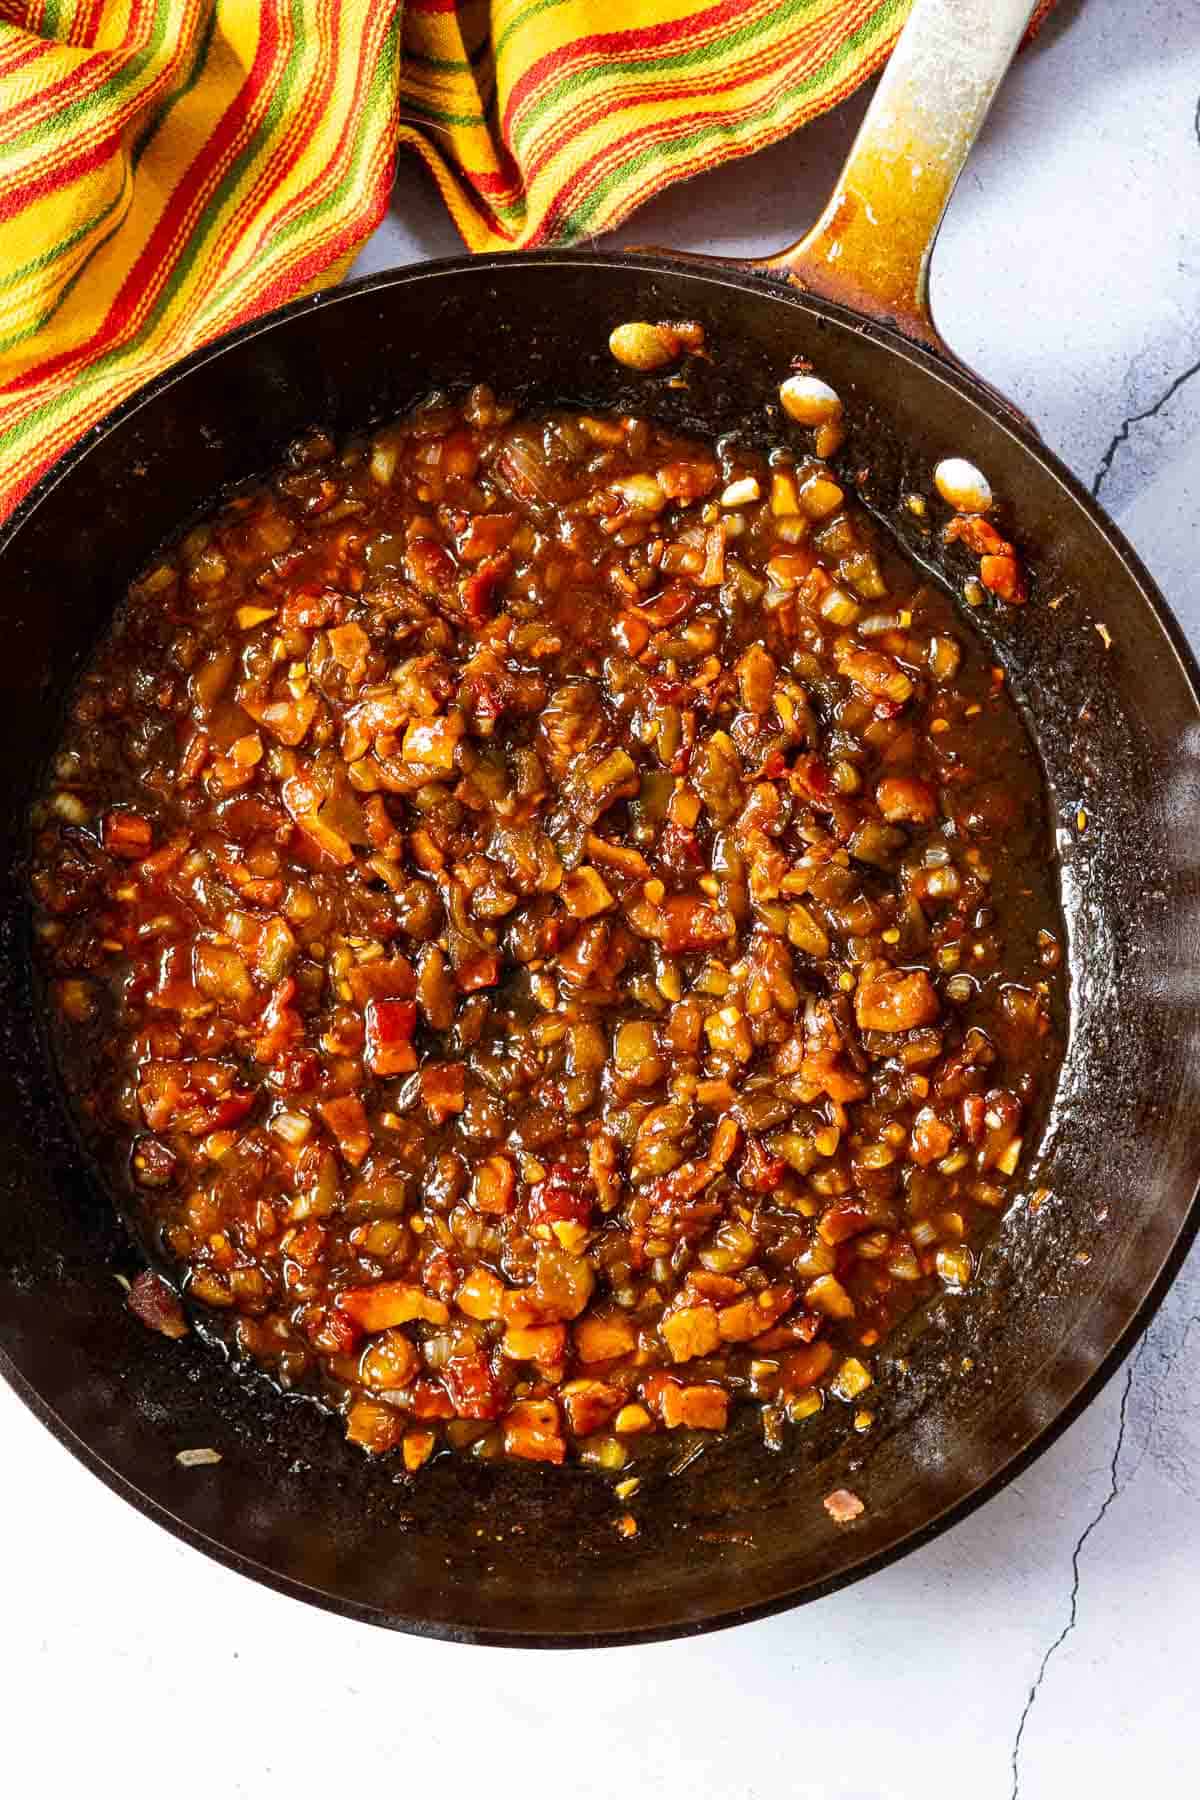
    Cooking bacon, onions and garlic in a large fry pan to make bbq baked beans on the grill.
    1. Step 1: In a large fry pan over medium heat, cook the bacon pieces, stirring occasionally, until crispy. About 10 minutes. Add the chopped onions and cook until starting to soften, about 5 minutes. Add garlic and cook until fragrant, about 30 seconds.
    Adding sauce ingredients to skillet to make bbq baked beans on the grill.
    1. Step 2: Stir in the catsup, molasses, chile peppers and brown sugar. Simmer for 5 minutes.
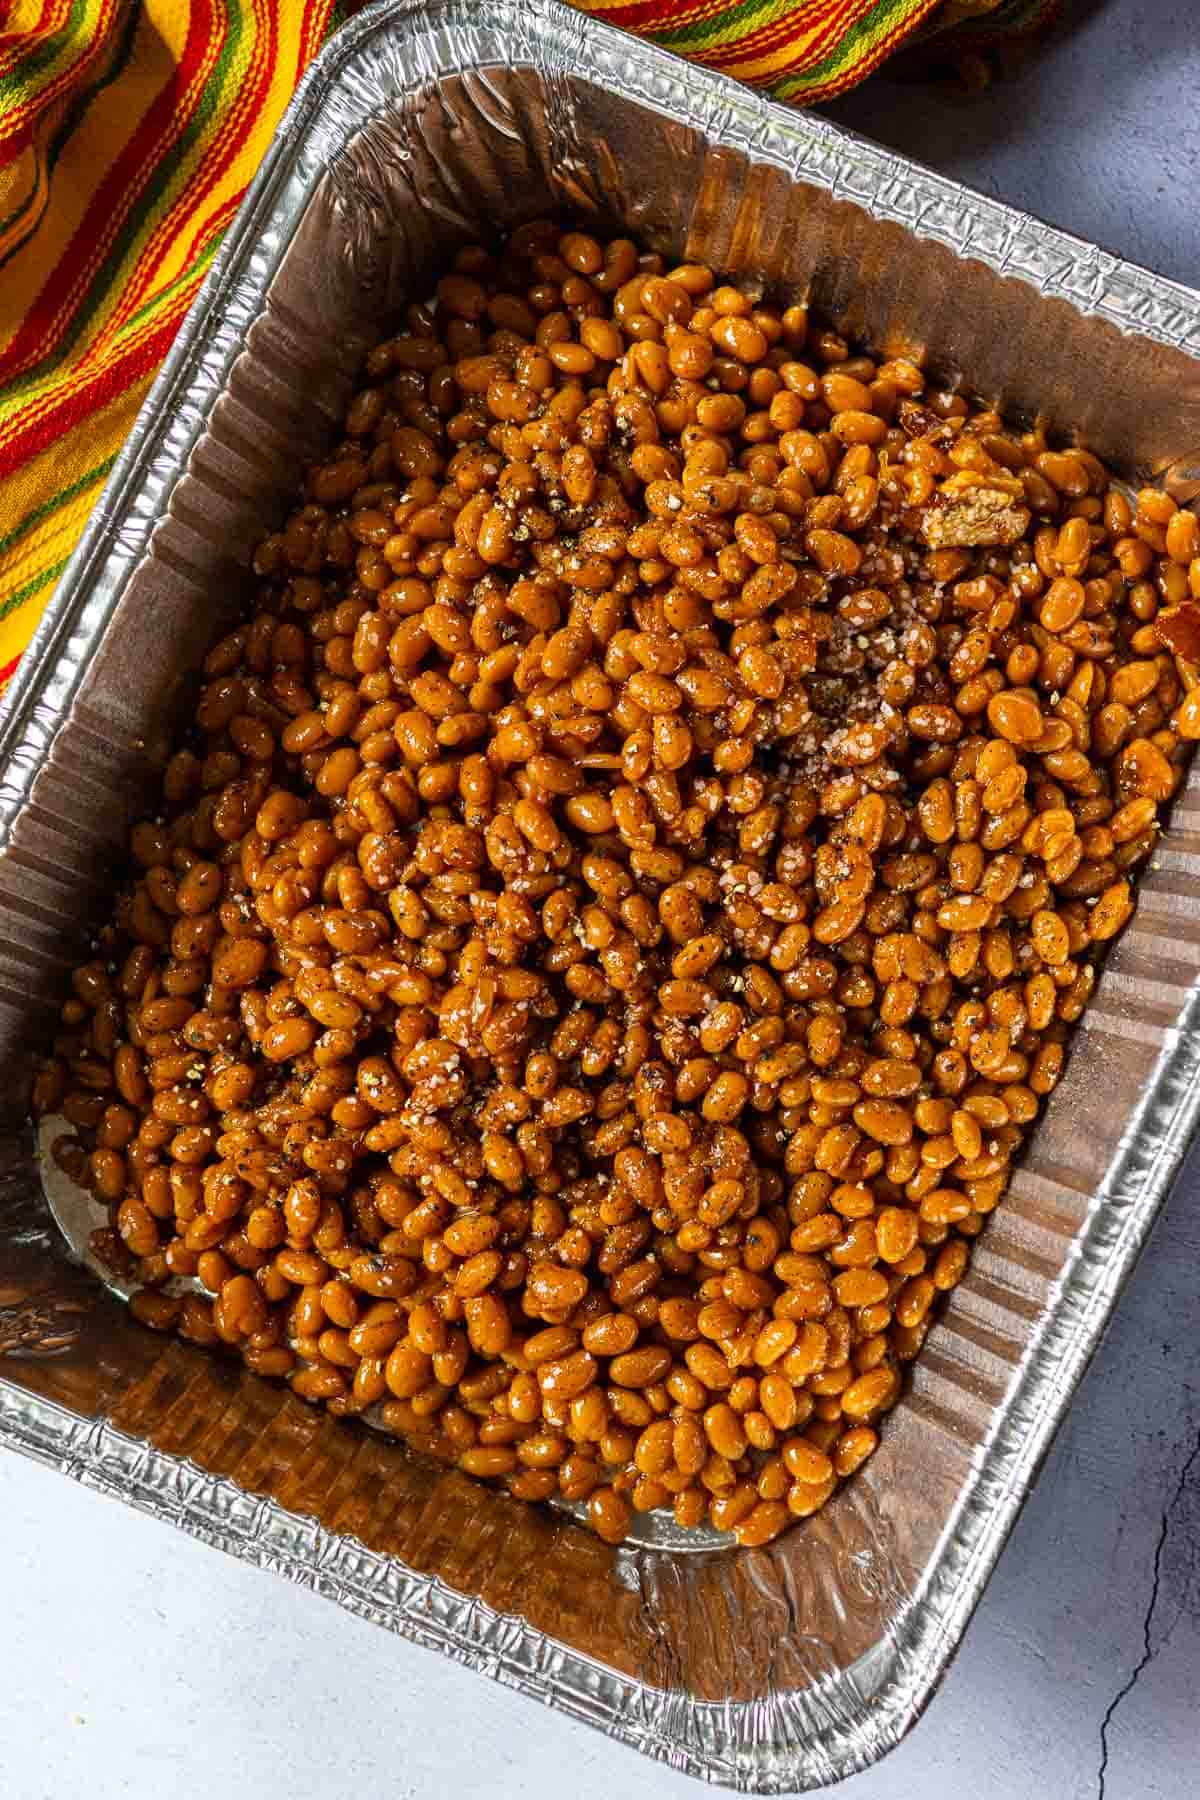
    BBQ baked beans in an aluminum casserole pan.
    1. Step 3: Place the drained beans into a grill safe, 3 quart casserole. Sprinkle on Kosher salt and freshly ground pepper. I like to use the disposable foil pans. They’re recyclable and grill friendly.
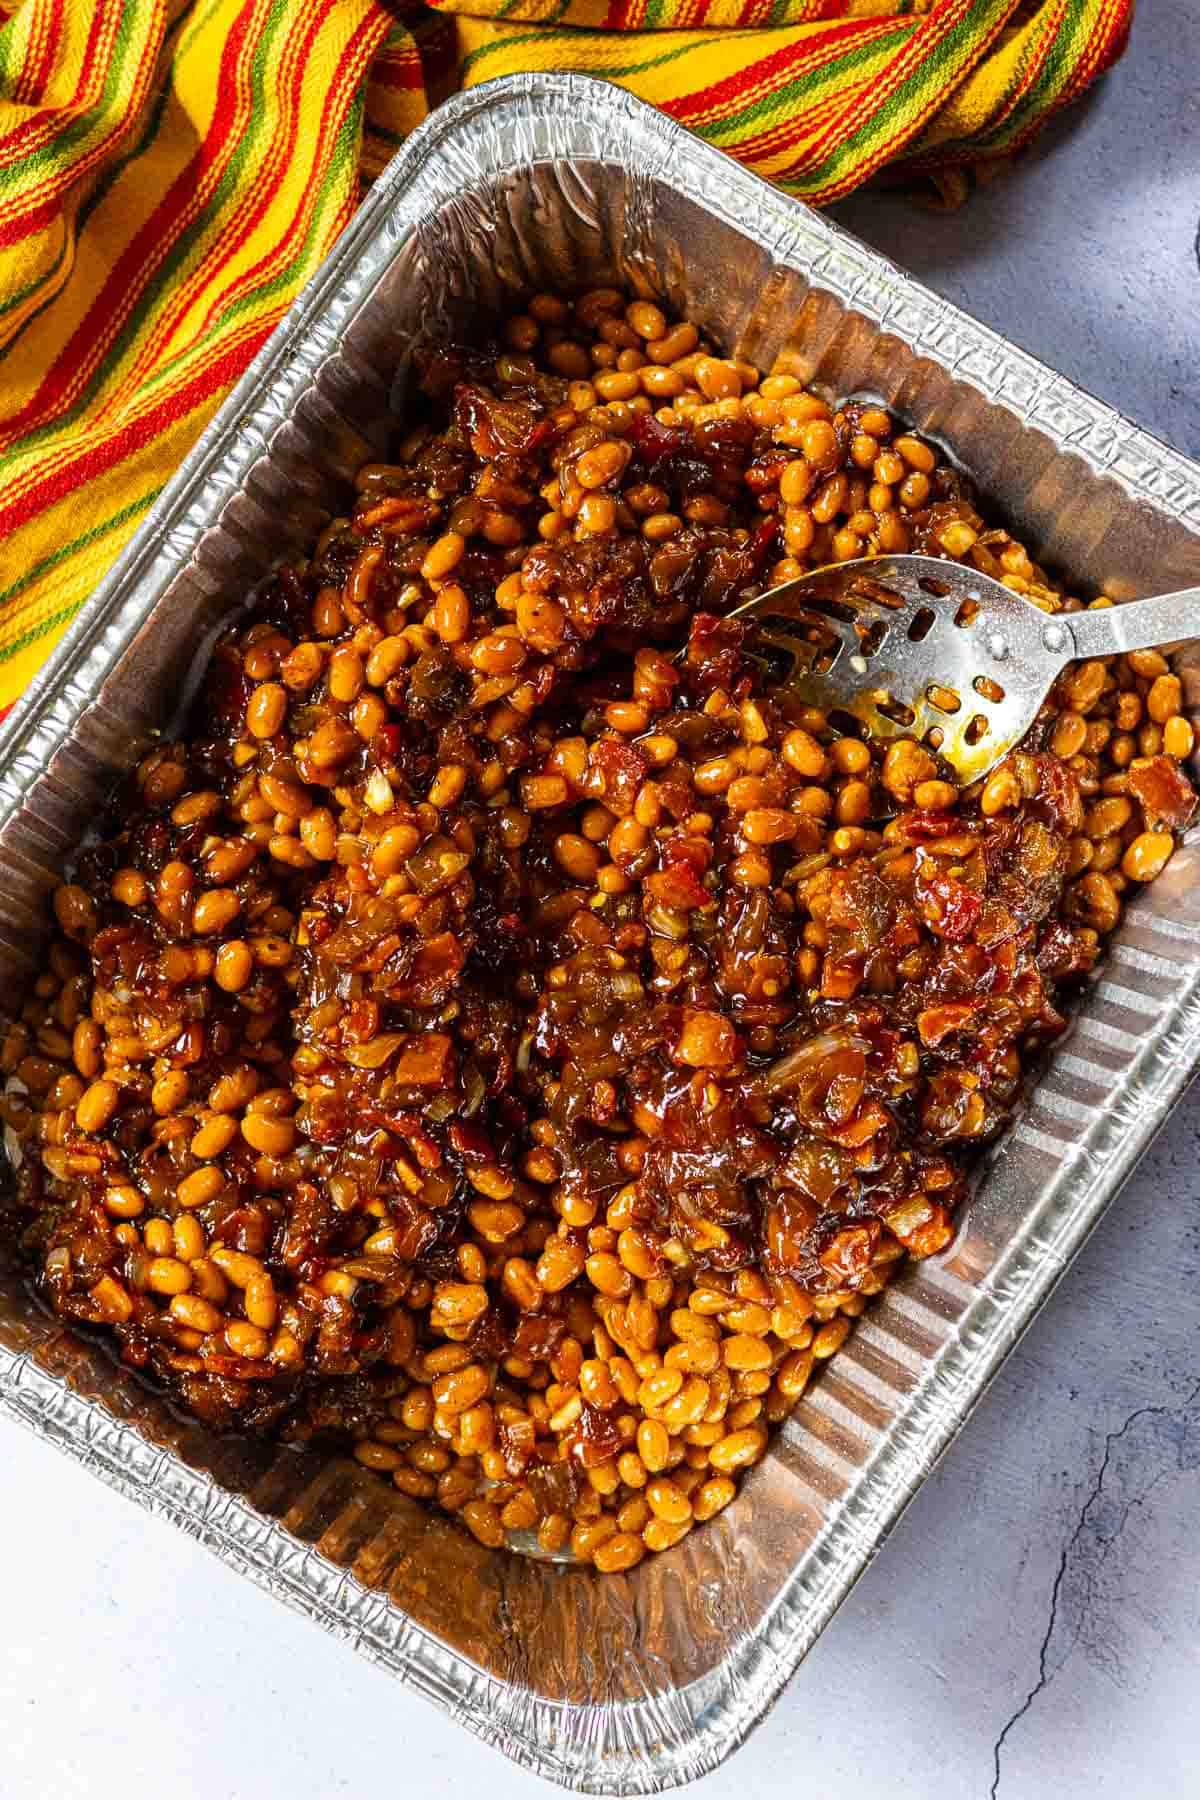
    Adding sauce to canned beans to make bbq baked beans on the grill.
    1. Step 4: Add the sauce and stir into the beans. Place the pan of beans on the grill over indirect medium heat. Cook for 40 minutes, stirring often.

    Substitutions

    • Bacon – If you’re opposed to pork bacon, turkey bacon will work just fine for this recipe. And to make this a vegetarian grilled baked beans recipe, there are plenty options for vegetarian bacon.

    Variations

    • Rich Flavor – Substitute tomato paste for the ketchup. Doing so will make this even deeper and richer bbq sauce flavor. Me? I prefer ketchup.
    • About Chile Peppers – I always have a stash or roasted chile peppers in the freezer. You can purchase canned chile peppers on the Mexican food aisle at the super market. Again, choose a pepper that’s medium on the heat scale.

    See this oven version of Spicy Baked Beans on my website! Another recipe with great flavor and a little bit on the tangier side, using mustard and Worcestershire sauce, this is an oven baked bean recipe.

    Equipment

    These beans can be made on a gas grill or using a charcoal grill. Simply be sure to create a heat station with no heat. This sets up an indirect heat cooking situation. Turn off one set of burners on a gas grill, or move charcoal briquettes to one side of the grill. Place the pan of beans away from the heat source.

    Place wood chips in a small disposable pan or in a open foil pouch. Follow grill instructions for using wood chips. Example, my Weber grill instructs to place either a foil packet or foil pan with soaked wood chips, under the grates and above the flavor bars.

    Storage

    Store left over grilled baked beans in an air-tight container in the refrigerator for up to 5 days. I like to use the microwave to reheat. These beans can also be frozen. Use a freezer zip-lock style baggie or an airtight container. They will store in the freezer for up to 3 months.

    Top tip

    The more you stir the beans while they’re cooking on the grill, the stronger the smoky flavor.

    A Question You May Have

    Can I Use Dried Beans For This Recipe

    Yes you can. You’ll need to start the process the day before. Soak pinto beans over-night, then cook in the crockpot until tender. This will take a few hours. See my post for Cowboy Chili where I explain how to easily cook dried beans in the crockpot.

    BBQ baked beans on the grill served in a red Le Creuset Ramekin.

    If you’re grilling this summer, you need to try these BBQ Baked Beans on the grill. The flavor is amazing and you’ll want to make them again and again. And if you’ve never tried baked beans with molasses and brown sugar, you’re in for a treat.

    More Summer Side Dishes You Might Like

    Looking for more recipe for those backyard cookouts? Try these:

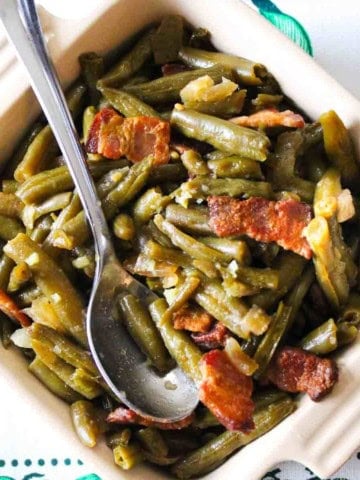
    • Brown sugar green beans with bacon in a casserole dish.
      Green Beans With Bacon and Brown Sugar
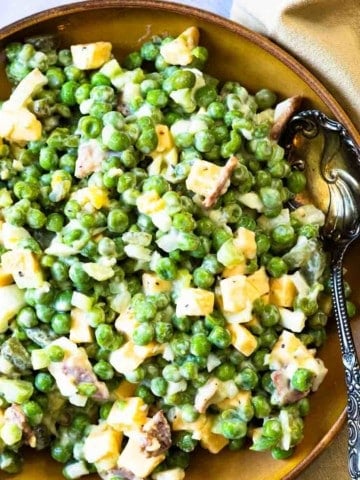
    • Frozen green pea salad with eggs.
      Old Fashioned Pea Salad With Eggs
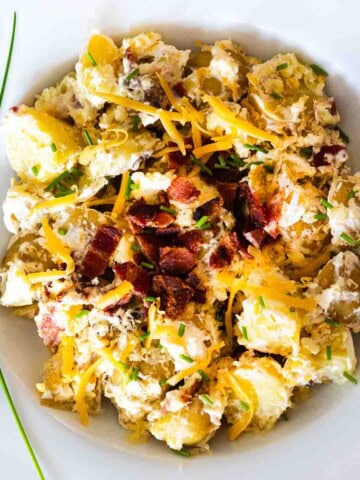
    • Potato salad with bacon served in a white bowl.
      Potato Salad with Bacon (Loaded Baked Potato Style)
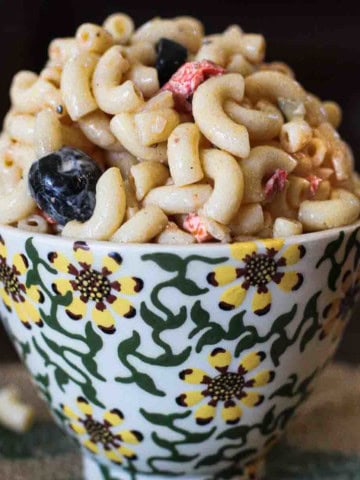
    • Pioneer Woman Macaroni Salad in a sunflower design bowl.
      Pioneer Woman’s Macaroni Salad

    And if you’re looking for more Summer sides, don’t miss my category for Side Dishes, you’ll find lots of great recipes, including the most popular on my site for Cast Iron Skillet Potatoes.

    Make It A Meal

    These are a few of my favorite main courses to serve with BBQ Baked Beans On The Grill.

    • Buffalo burger with sliced onions, special sauce, served with french fries.
      Juicy Buffalo Burgers – The Ultimate How To Guide
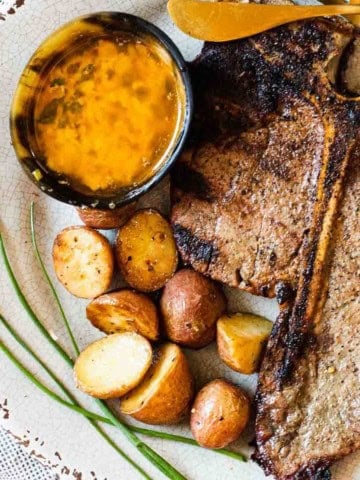
    • Grilled t-bone steaks served with cowboy butter.
      Grilled T-Bone Steaks with Cowboy Butter
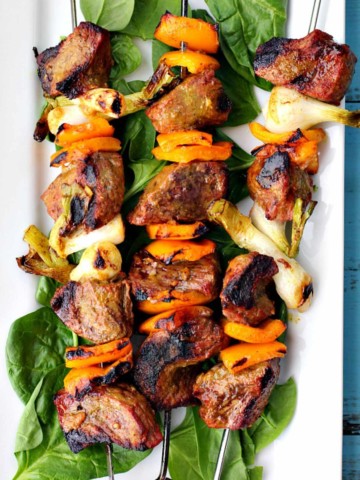
    • Beef kabobs on a bed of fresh spinach.
      Lemon Curry Marinade for Steak Kababs
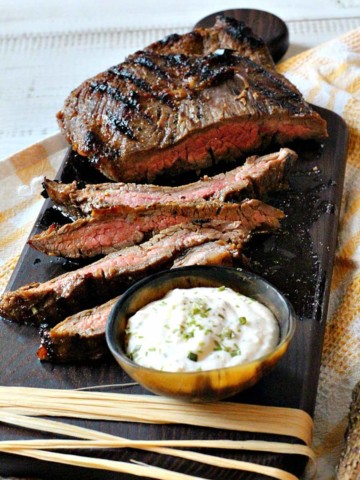
    • Grilled flank steak on a cutting board with tangy horseradish sauce.
      Tangy Grilled Flank Steak with Horseradish Cream Sauce

    If you liked this recipe, please leave a star ⭐⭐⭐⭐⭐ rating in the recipe card below and leave a comment. I always appreciate your feedback and hearing how everything went.

    And, don’t forget to subscribe to my newsletter for more delicious recipes and cooking tips. Make it a delicious day … every day.

    A red crock full of baked beans cooked on the grill.
    Print Recipe
    5 from 1 vote

    Chile BBQ Baked Beans On The Grill

    How To Cook Baked Beans On The Grill. Rich, robust, sweet, spicy and smoky, these Chile BBQ Baked Beans On The Grill are a total WOW on the flavor scale. Using canned baked beans and adding bacon, molasses and chile peppers, mesquite wood chips bring home the incredible smoky flavor.
    Prep Time15 minutes mins
    Cook Time1 hour hr
    Total Time1 hour hr 15 minutes mins
    Course: Side Dish
    Cuisine: American
    Servings: 10
    Calories: 283kcal
    Author: Lea Ann Brown

    Equipment

    • 1 EZ Foil Disposable Casserole Pan 3 quart

    Ingredients

    • 5 slices Thick Cut Bacon Cut into ½ inch pieces
    • 1 medium Sweet Onion Chopped, about 1 ½ cups
    • 4 medium Garlic cloves peeled and chopped
    • ½ Cup Catsup
    • ¼ Cup dark Molasses
    • 1 Cup Chile Peppers roasted, peeled, chopped
    • 2 Tablespoons Brown sugar
    • 56 ounces Canned Baked Beans 2-28 ounce cans
    • ½ teaspoon Kosher salt
    • ¼ teaspoon Freshly ground black pepper

    Instructions

    • Before starting the preparation of these baked beans, soak wood chips in water for at least 30 minutes and preferably one hour. Drain off the water before using them in the cooking process. Empty canned beans into a colander in the sink. Allow the beans to drain, but do not rinse.
    • In a large fry pan over medium heat, cook the bacon pieces, stirring occasionally, until crispy. About 10 minutes. Add the chopped onions and cook until starting to soften, about 5 minutes. Add garlic and cook until fragrant, about 30 seconds.
    • Stir in the catsup, molasses, chile peppers and brown sugar. Simmer for 5 minutes.
    • Place the drained beans into a grill safe, 3 quart casserole. Sprinkle on Kosher salt and freshly ground pepper. I like to use the disposable foil pans. They're recyclable and grill friendly.
    • Add the sauce and stir into the beans. Place the pan of beans on the grill over indirect medium heat. Cook for 40 minutes, stirring often.

    Notes

    Top Tip: The more you stir the beans while they’re cooking on the grill, the stronger the smoky flavor.
    Tips For Success For Grilled Baked Beans:
    These beans can be made on a gas grill or using a charcoal grill. Simply be sure to create a heat station with no heat. This sets up an indirect heat cooking situation. Turn off one set of burners on a gas grill, or move charcoal briquettes to one side of the grill. Place the pan of beans away from the heat source.
    Place wood chips in a small disposable pan or in a open foil pouch. Follow grill instructions for using wood chips. Example, my Weber grill instructs to place either a foil packet or foil pan with soaked wood chips, under the grates and above the flavor bars.

    Nutrition

    Calories: 283kcal | Carbohydrates: 42g | Protein: 11g | Fat: 10g | Saturated Fat: 3g | Polyunsaturated Fat: 2g | Monounsaturated Fat: 4g | Trans Fat: 0.02g | Cholesterol: 23mg | Sodium: 1006mg | Potassium: 656mg | Fiber: 9g | Sugar: 7g | Vitamin A: 212IU | Vitamin C: 27mg | Calcium: 100mg | Iron: 3mg

    BBQ Baked Beans On The Grill … They’re Whats For A Side Dish

    Chicken Bacon Ranch Quesadillas, Chilis Copycat

    June 2, 2024 By Lea Ann Brown 1 Comment

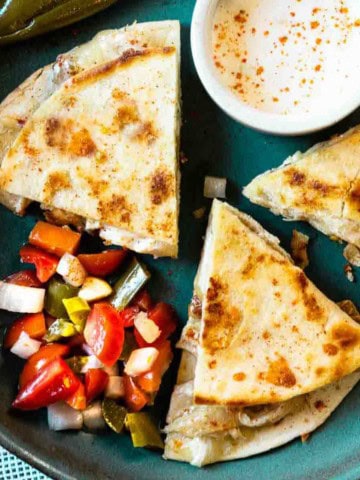
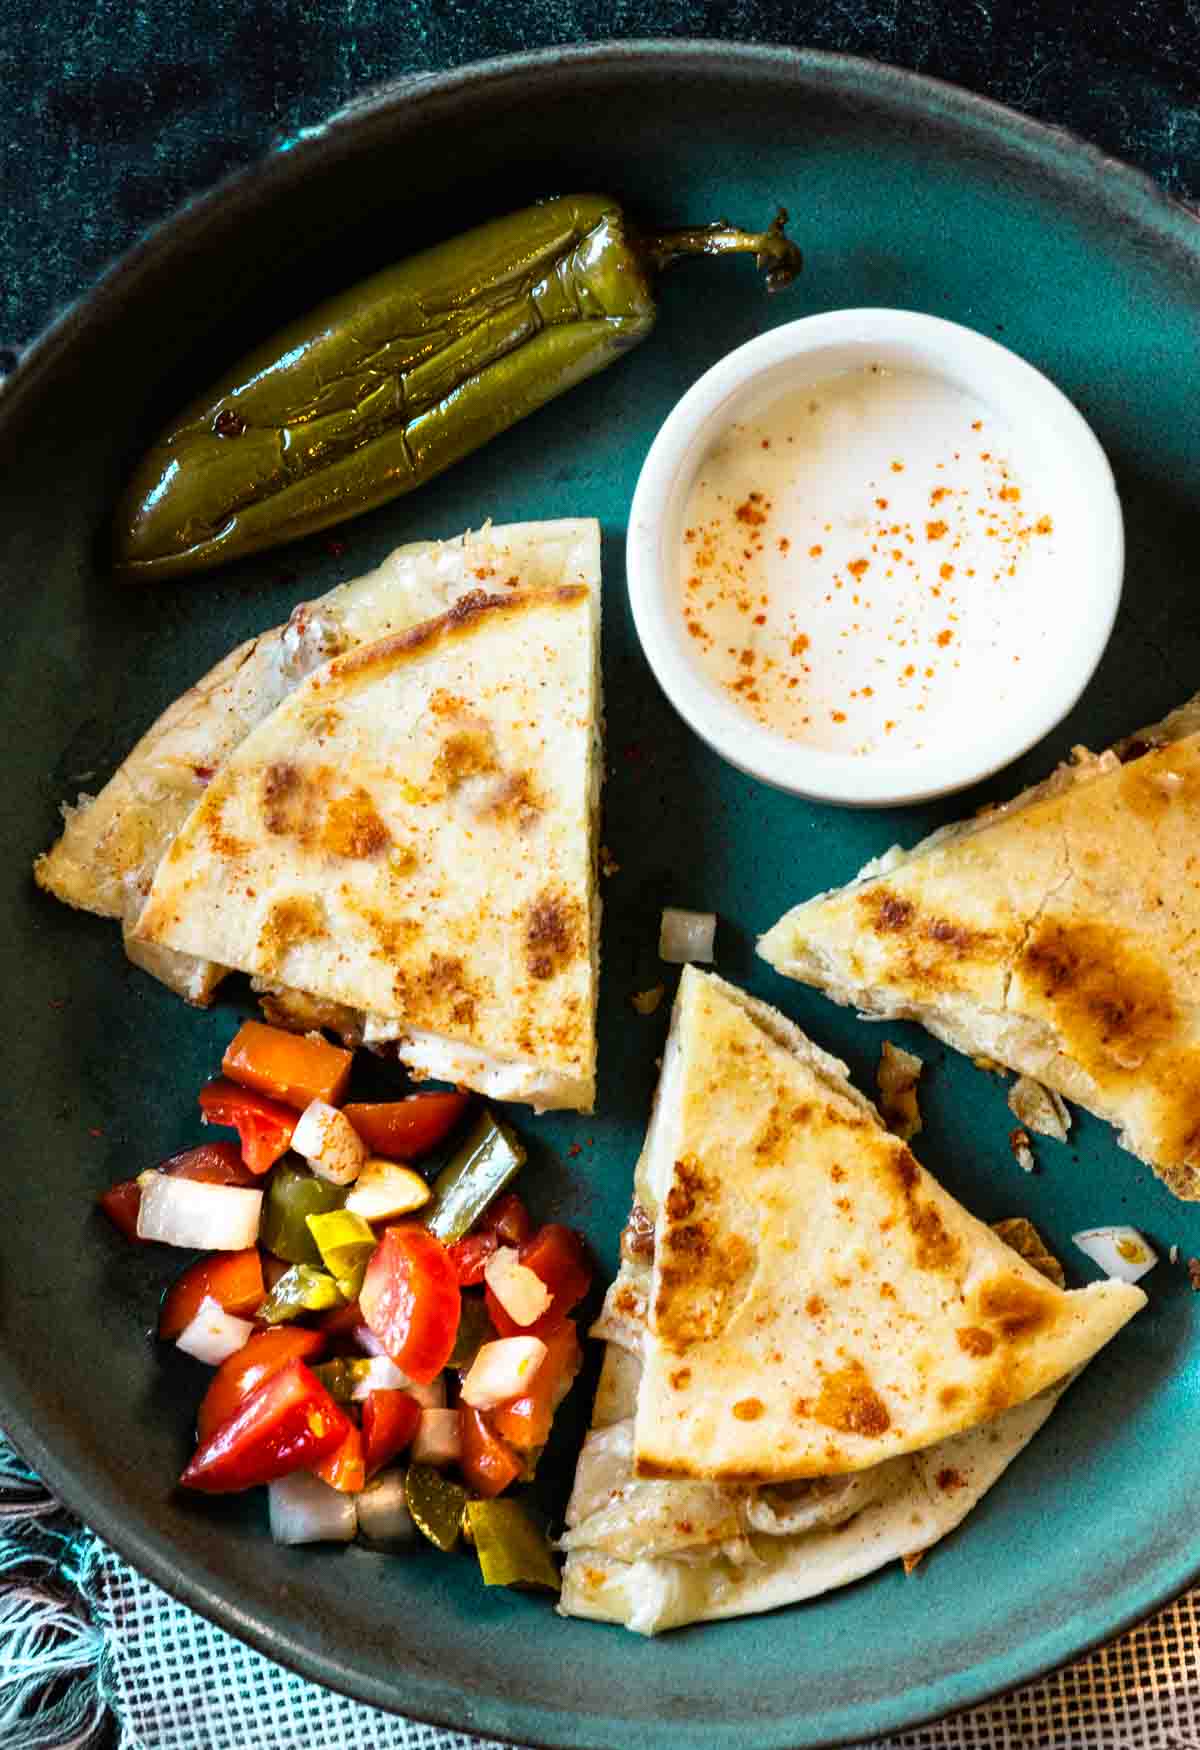
    Chili's chicken bacon ranch quesadillas on a blue plate served with pico de gallo.

    One really doesn’t need a recipe to make a quesadilla, but if you’re looking for a quesadilla filling idea that is out of this world, you must try this classic Southwest version for Chicken Bacon Ranch Quesadillas. A copycat recipe from Chili’s Restaurant that your family will devour.

    Chicken bacon ranch quesadillas chilis copycat recipe.

    What You Can Expect From This Recipe

    Tender seasoned chicken, crispy bacon, a drizzle of Ranch Dressing and of course plenty of cheese, and you’ve got one mighty fine quesadilla.

    • These Chicken Bacon Ranch Quesadillas, Chilis style, are an inexpensive easy family dinner and so satisfying with flavor.
    • Quesadillas are such versatile Mexican food that can be prepared for breakfast, lunch, dinner or even an appetizer. All you need are flour or corn tortillas, and some simple filling.
    • Cheese being customary and somewhat required to make that perfect little pocket of goodness hold together so you can dip into your favorite pico de gallo or salsa.
    • For this quesadilla creation, I’m taking a cue from Chili’s restaurant and making a copycat version of their Chicken Bacon Ranch Quesadillas.
    • A super easy treat that’s incredibly high on the flavor scale. Who can resist bacon and ranch dressing?
    • These quesadillas are beyond easy to make, especially if you have leftover rotisserie chicken and purchased ranch dressing.

    And, I prefer this method of pan frying, were the tortillas are folded in half and then fried. rather than trying to flip a quesadilla using two sandwiched tortillas, which can cause the quesadilla to come apart.

    You can serve Chili’s Chicken Bacon Ranch Quesadillas on their own, but if you’re looking to make it a heartier meal, I always like serving them with Toasted Mexican Green Rice.

    [feast_advanced_jump_to]

    Noteworthy Ingredients

    A few of our favorite Southwestern ingredients to make one dynamite quesadilla. Who can resist crispy fried bacon, ranch dressing and lots of cheese.

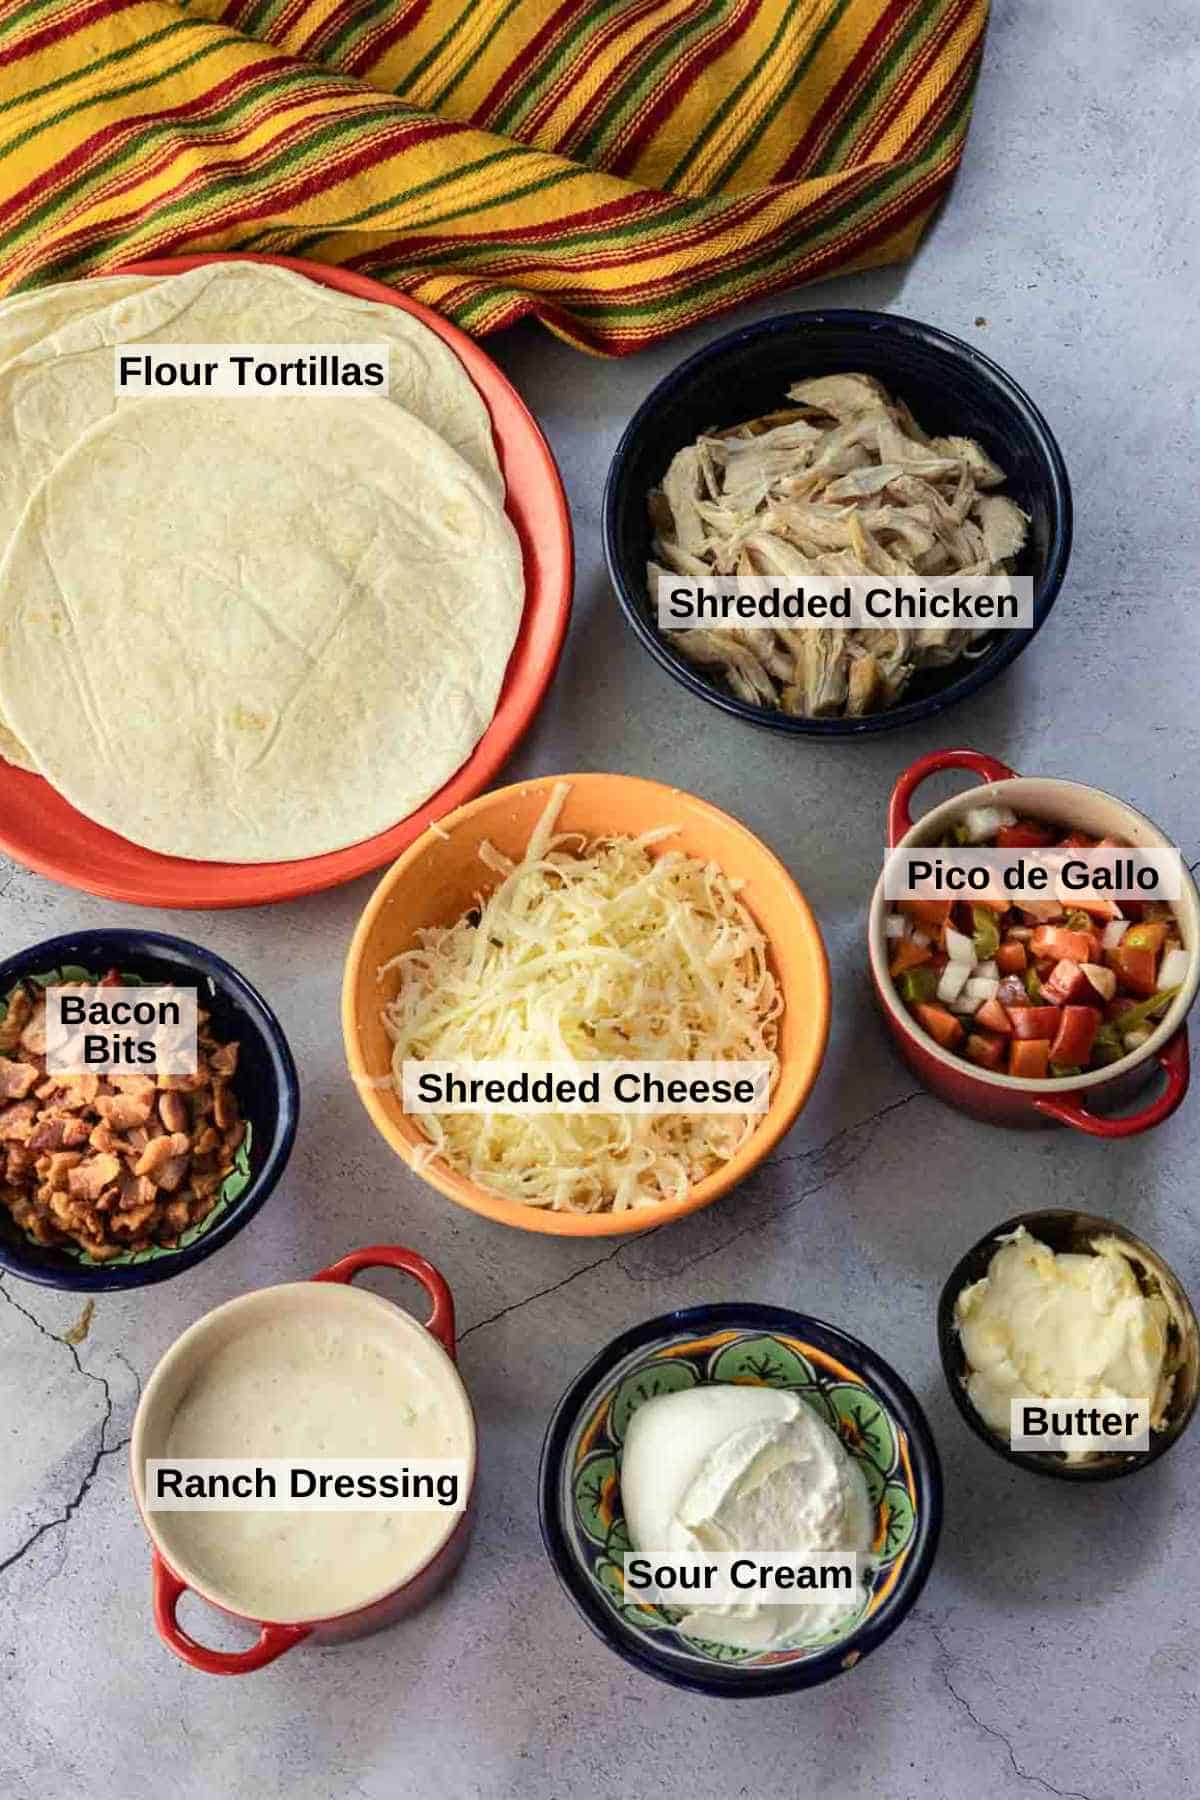
    Ingredients to make chicken bacon ranch quesadillas.

    See full list of ingredients and precise measurements in the recipe card below.

    • Flour Tortillas – 8 or 10 “
    • Seasoned and shredded Chicken breast. I like to use New Mexico Chimayo Chile Powder to season the chicken breast before baking and shredding the meat. You can also use Taco Seasoning, chili seasoning, or my Southwest Spice Blend.
    • Pico de Gallo
    • Shredded Cheese: Make it your own. I like to use Sargento Fiesta Pepper Jack Cheese. You can use cheddar, Monterey Jack or even Muenster.
    • Chicken: Use shredded cooked chicken breast, or I recommend using shredded or chopped rotisserie chicken because it’s super tender juicy, flavorful and easy to prepare.

    Pro Tip: Purchase good quality cheese and grate it yourself. Pre-grated cheese in bags includes additives to keep it from clumping, which will also compromise the melting factor. Grating cheese from a block of cheese will result in a creamier and more consistent melting experience. Plus, it’s less expensive.

    Instructions

    Buttering flour tortillas to make chicken bacon ranch quesadillas.
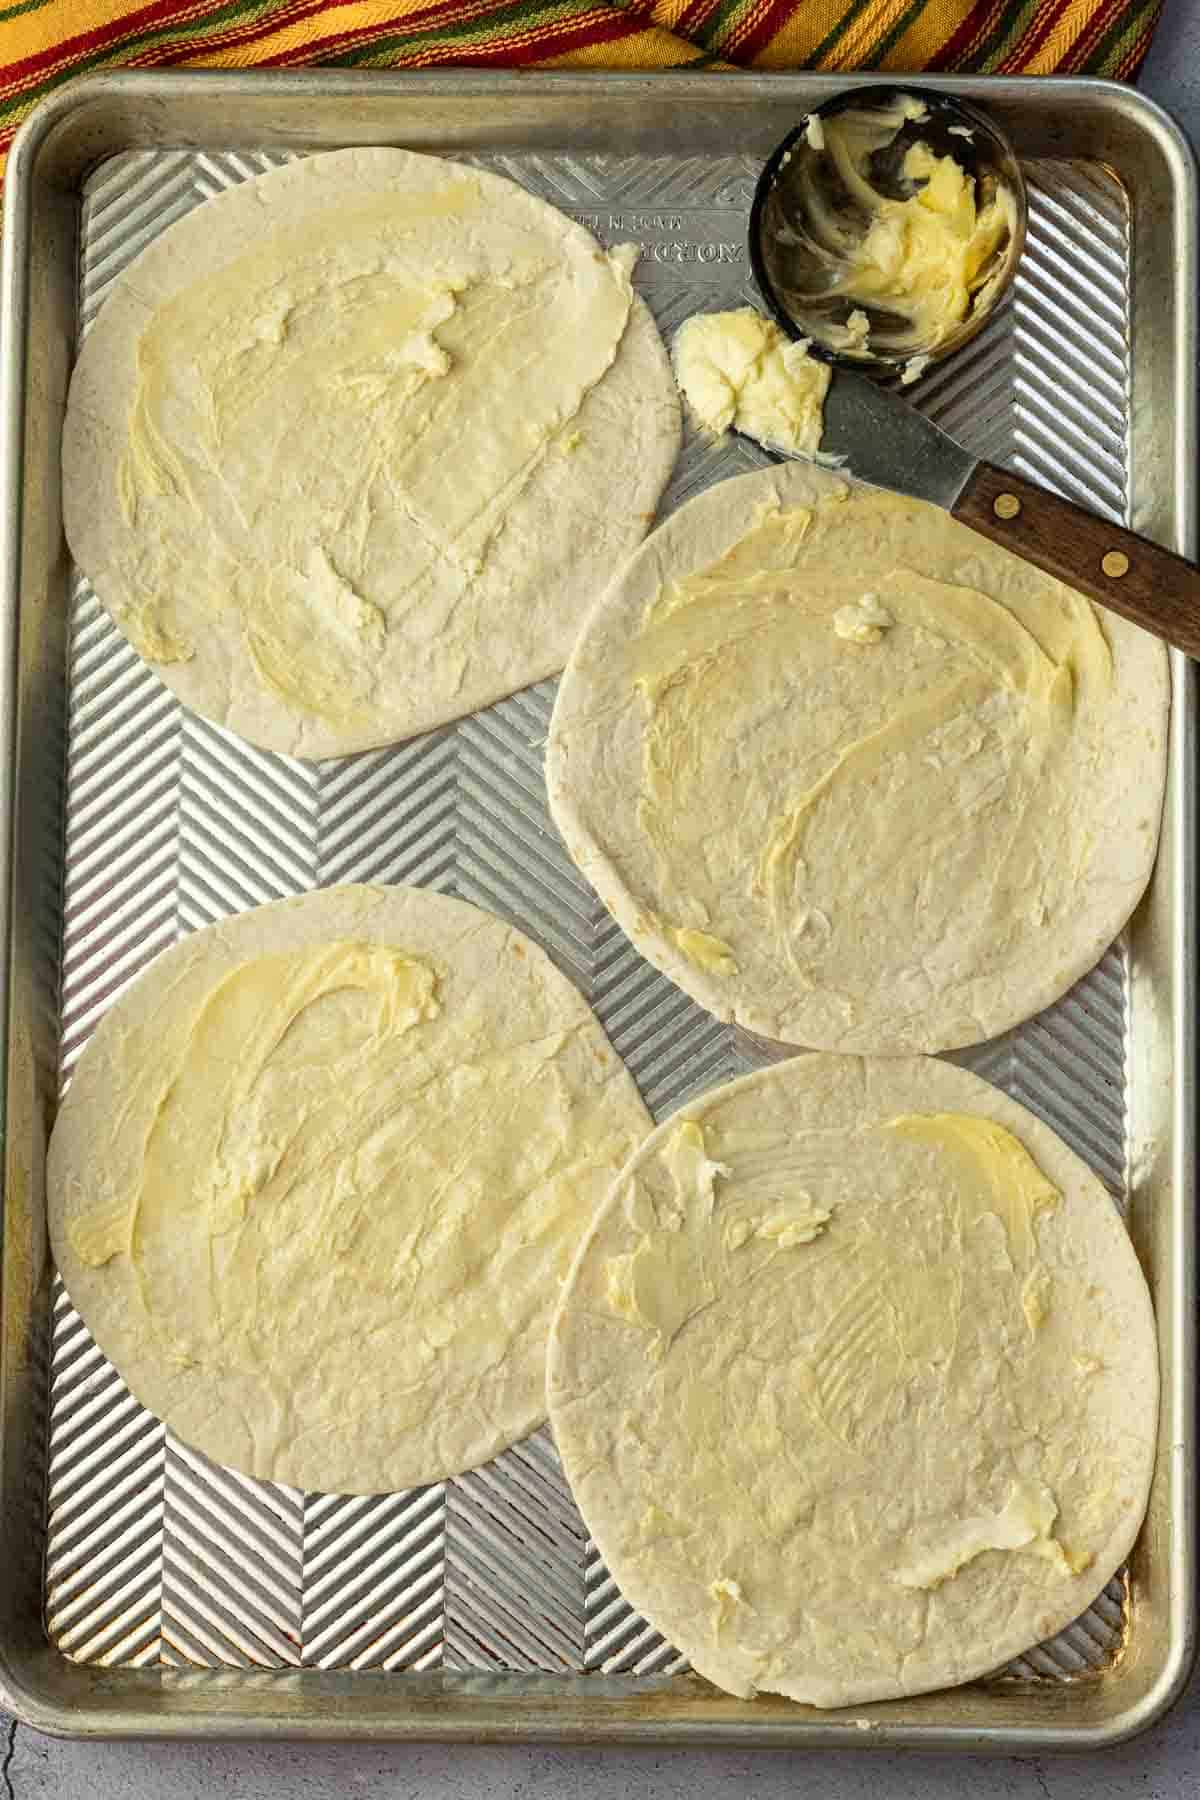
    1. Step 1: Use a spreader knife to smear softened butter on one side of each flour tortilla.
    Adding cheese to flour tortillas to make chicken bacon ranch quesadillas.
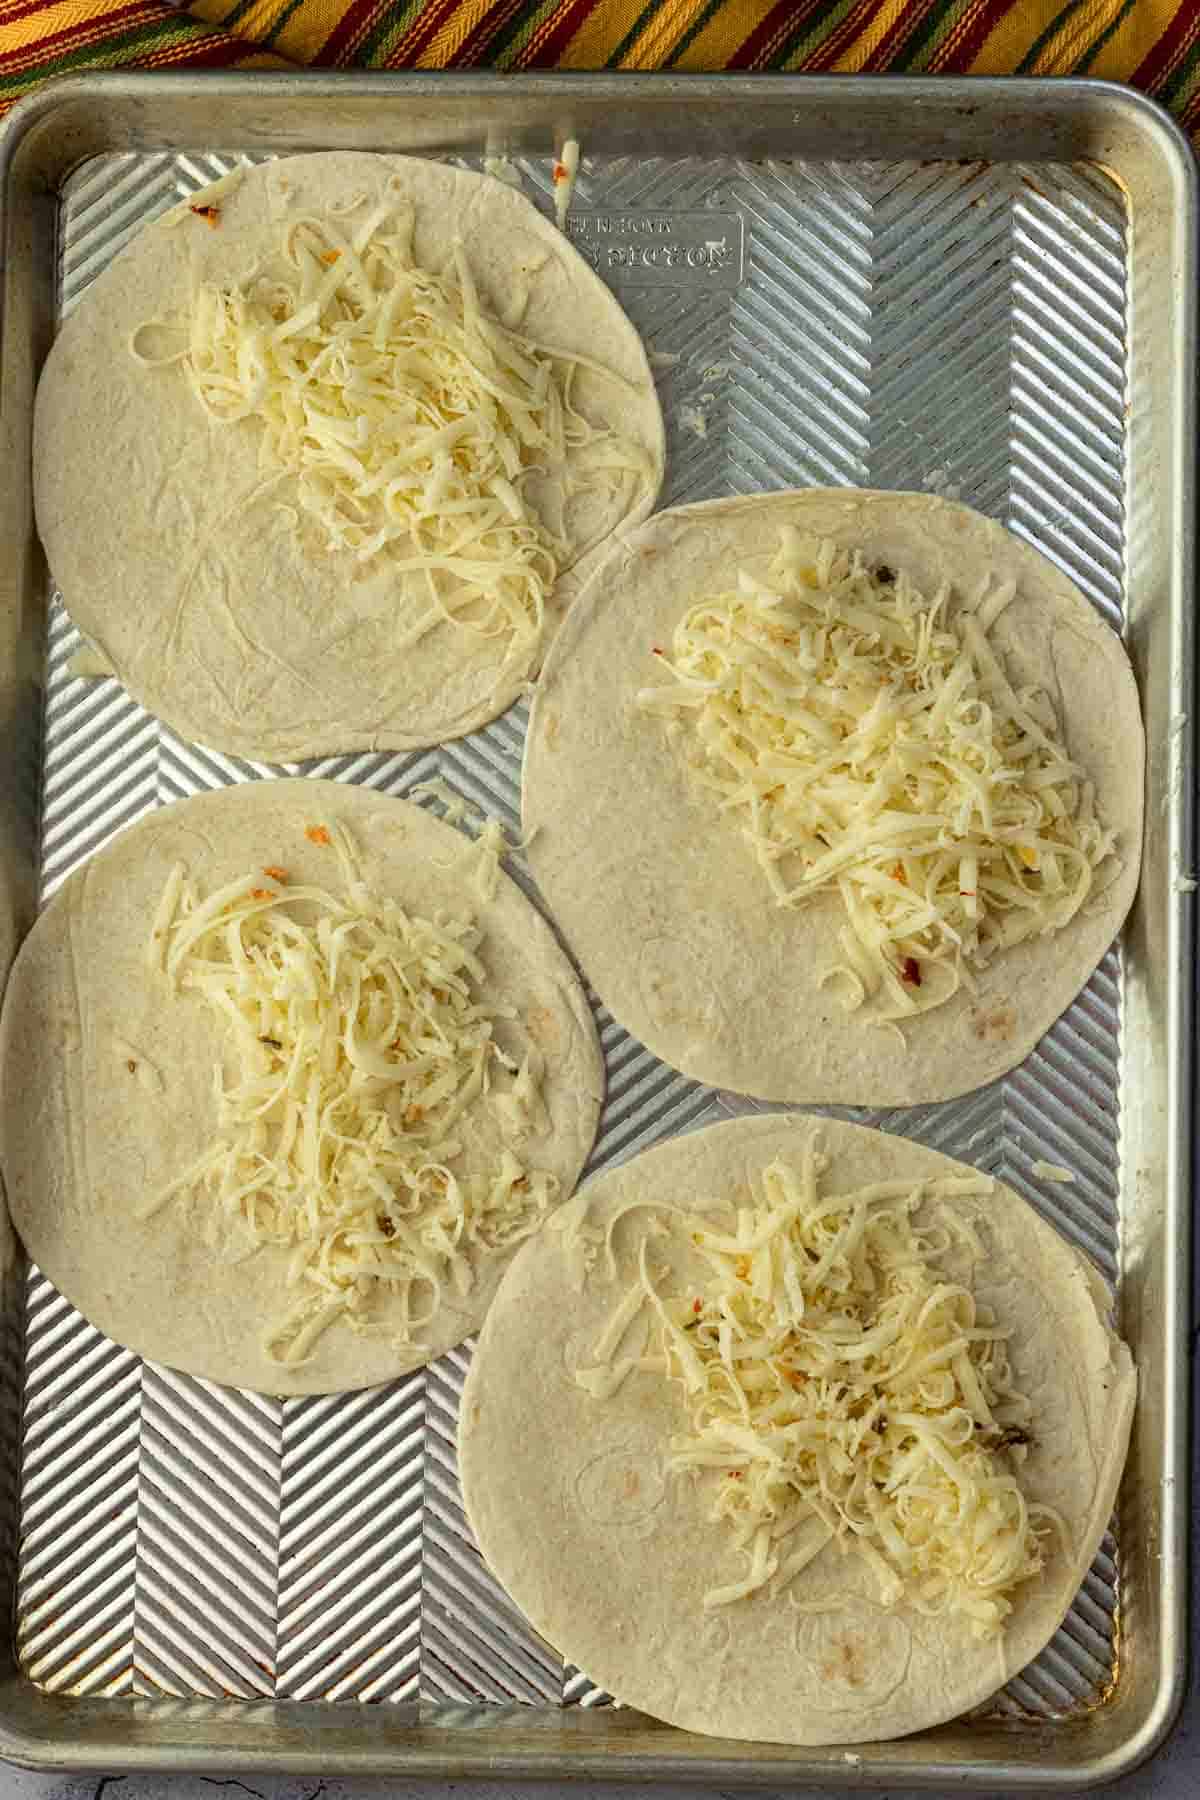
    1. Step 2: Turn the buttered side down and start adding the toppings, shredded cheese first, to half of each flour tortilla. Leave a bit of a naked edge.
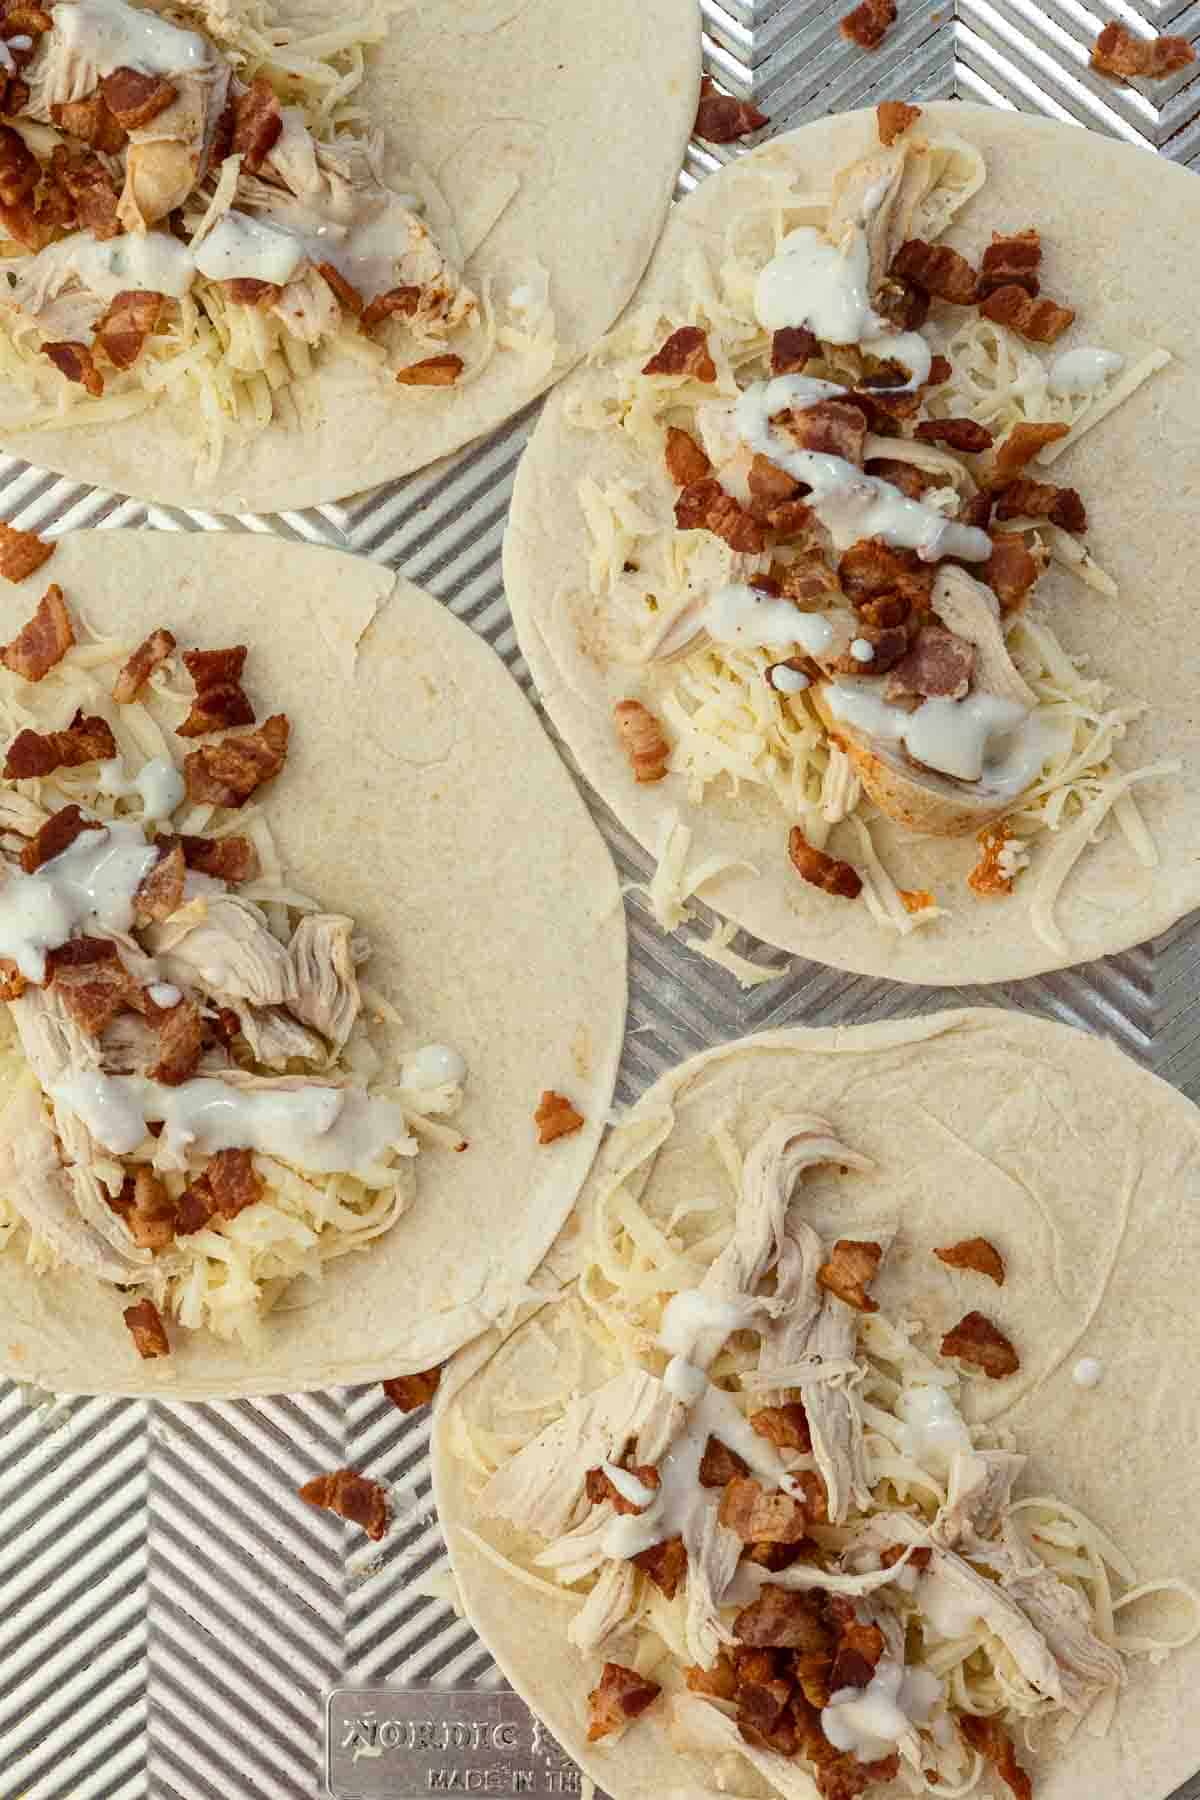
    Adding chicken and bacon to make chicken bacon ranch quesadillas.
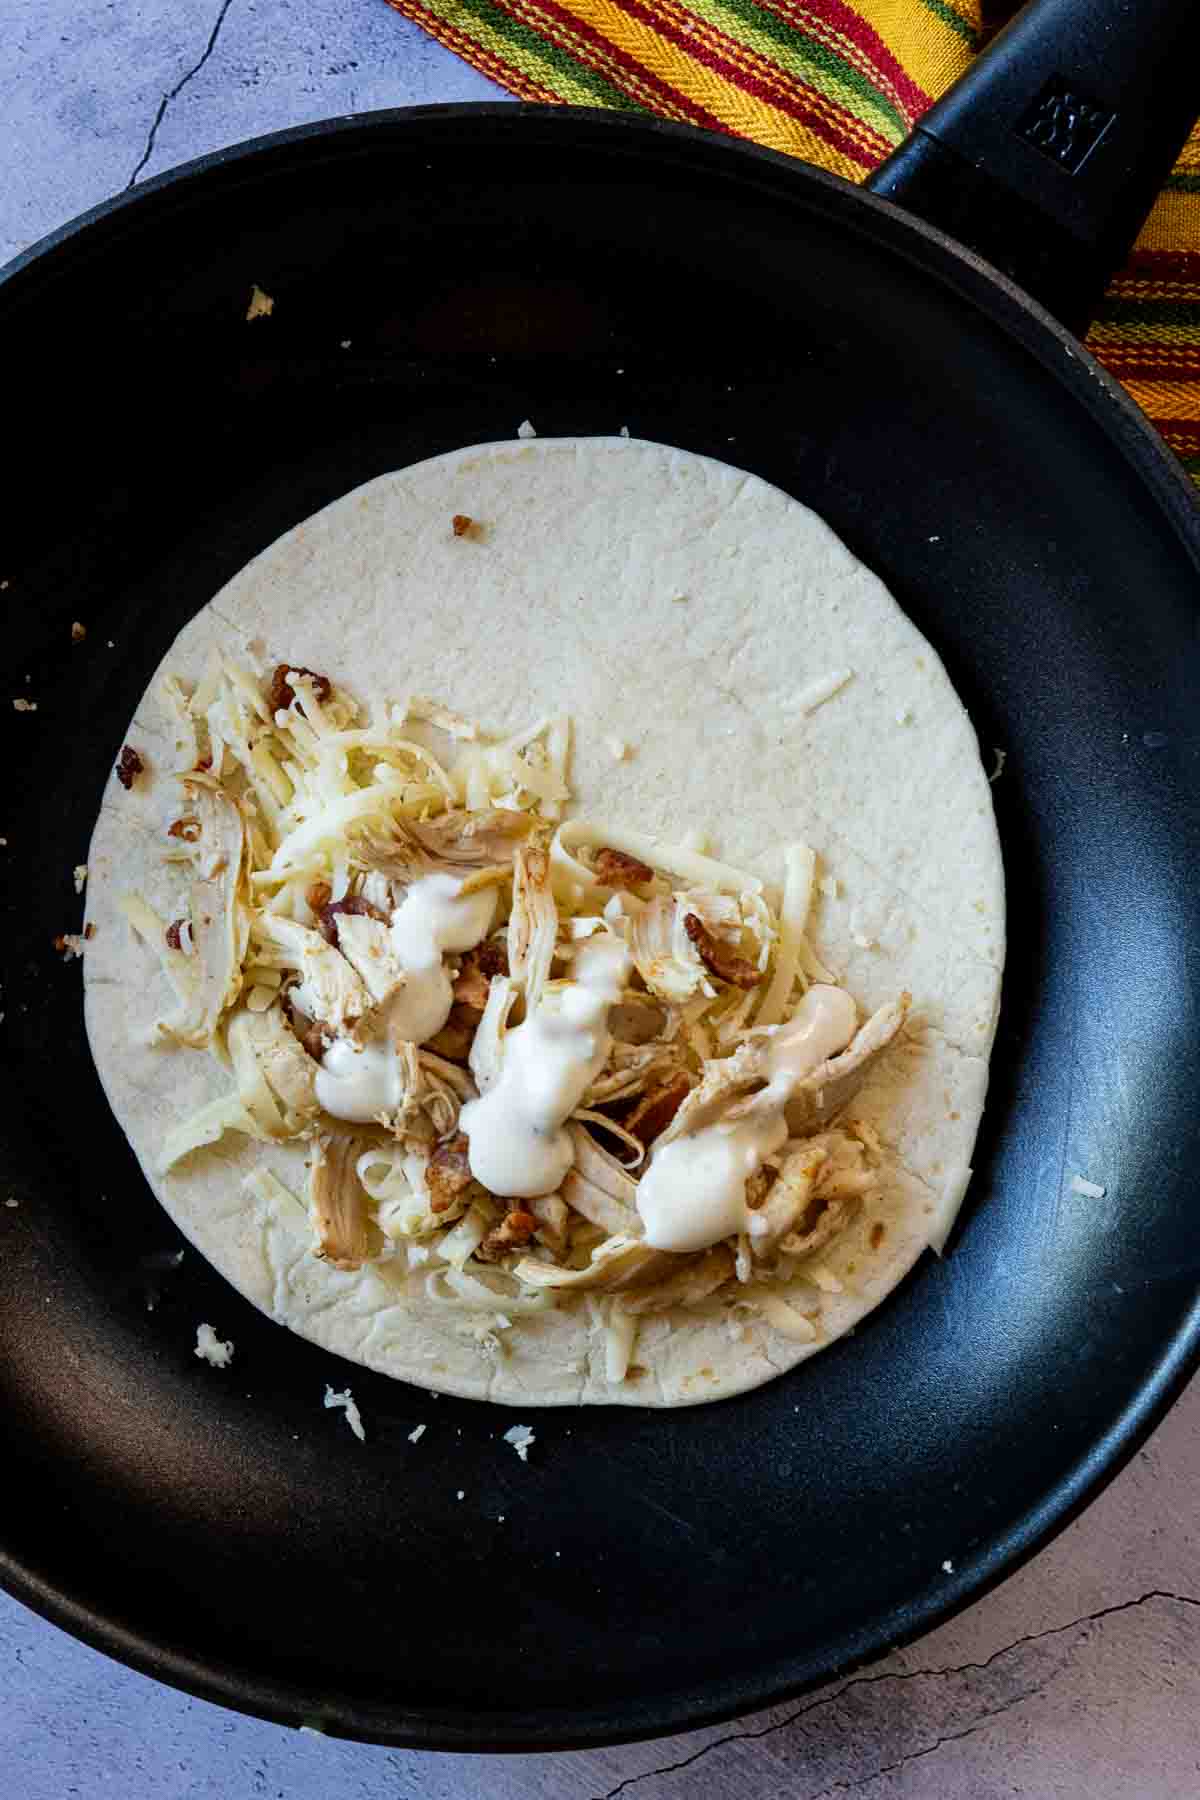
    1. Step 3: Sprinkle on shredded chicken, bacon bits and a drizzle of ranch dressing.
    Cooking bacon chicken ranch quesadillas in a skillet.
    1. Step 4: Place one flour tortilla, buttered side down, in a heated skillet. Let it cook until browned, about 3 – 4 minutes.
    Folding chicken bacon ranch quesadilla to finish cooking.
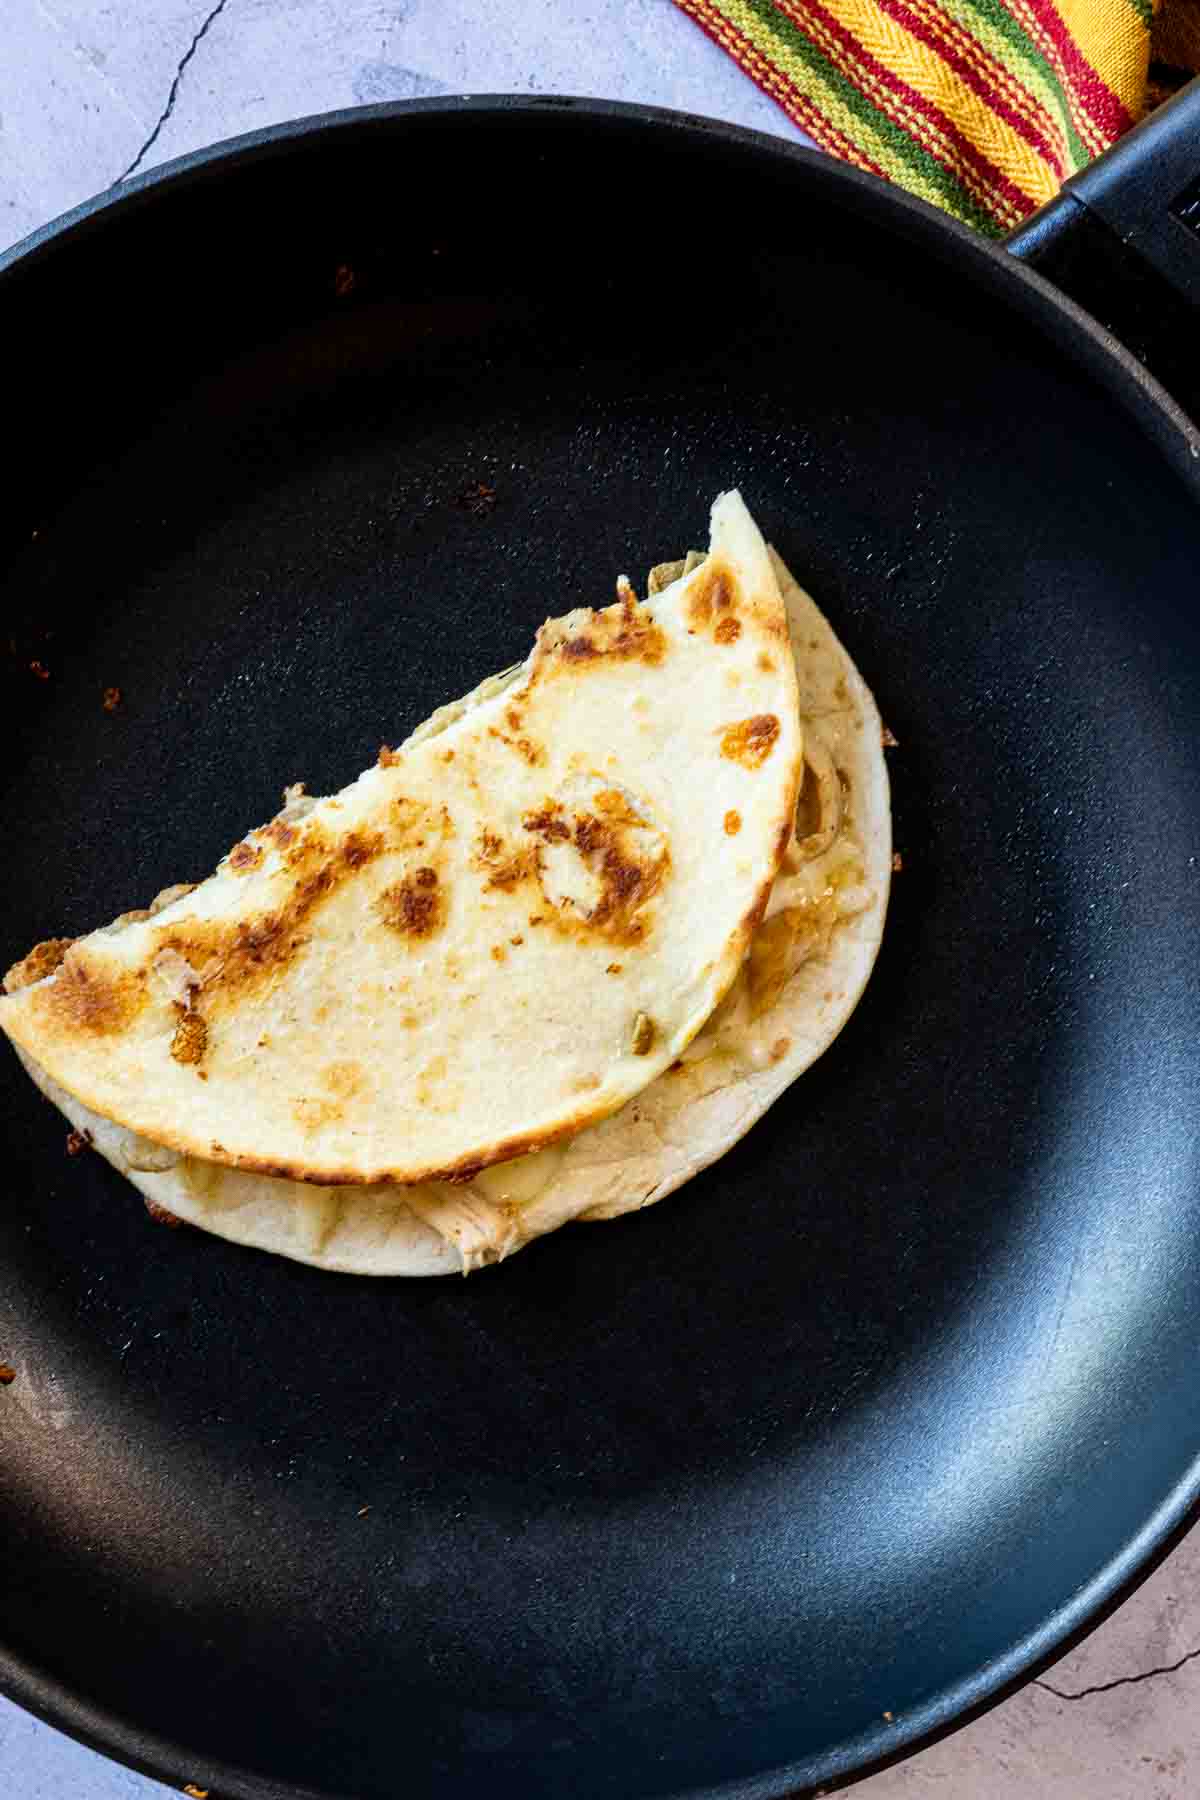
    1. Step 5: Use a spatula to fold the bare side of the tortilla over the filling. Just like you would when making an omelette. Let it sit for about 30 seconds to make sure the cheese is nice and melty.
    How to cut a chicken bacon ranch quesadilla after it's cooked.
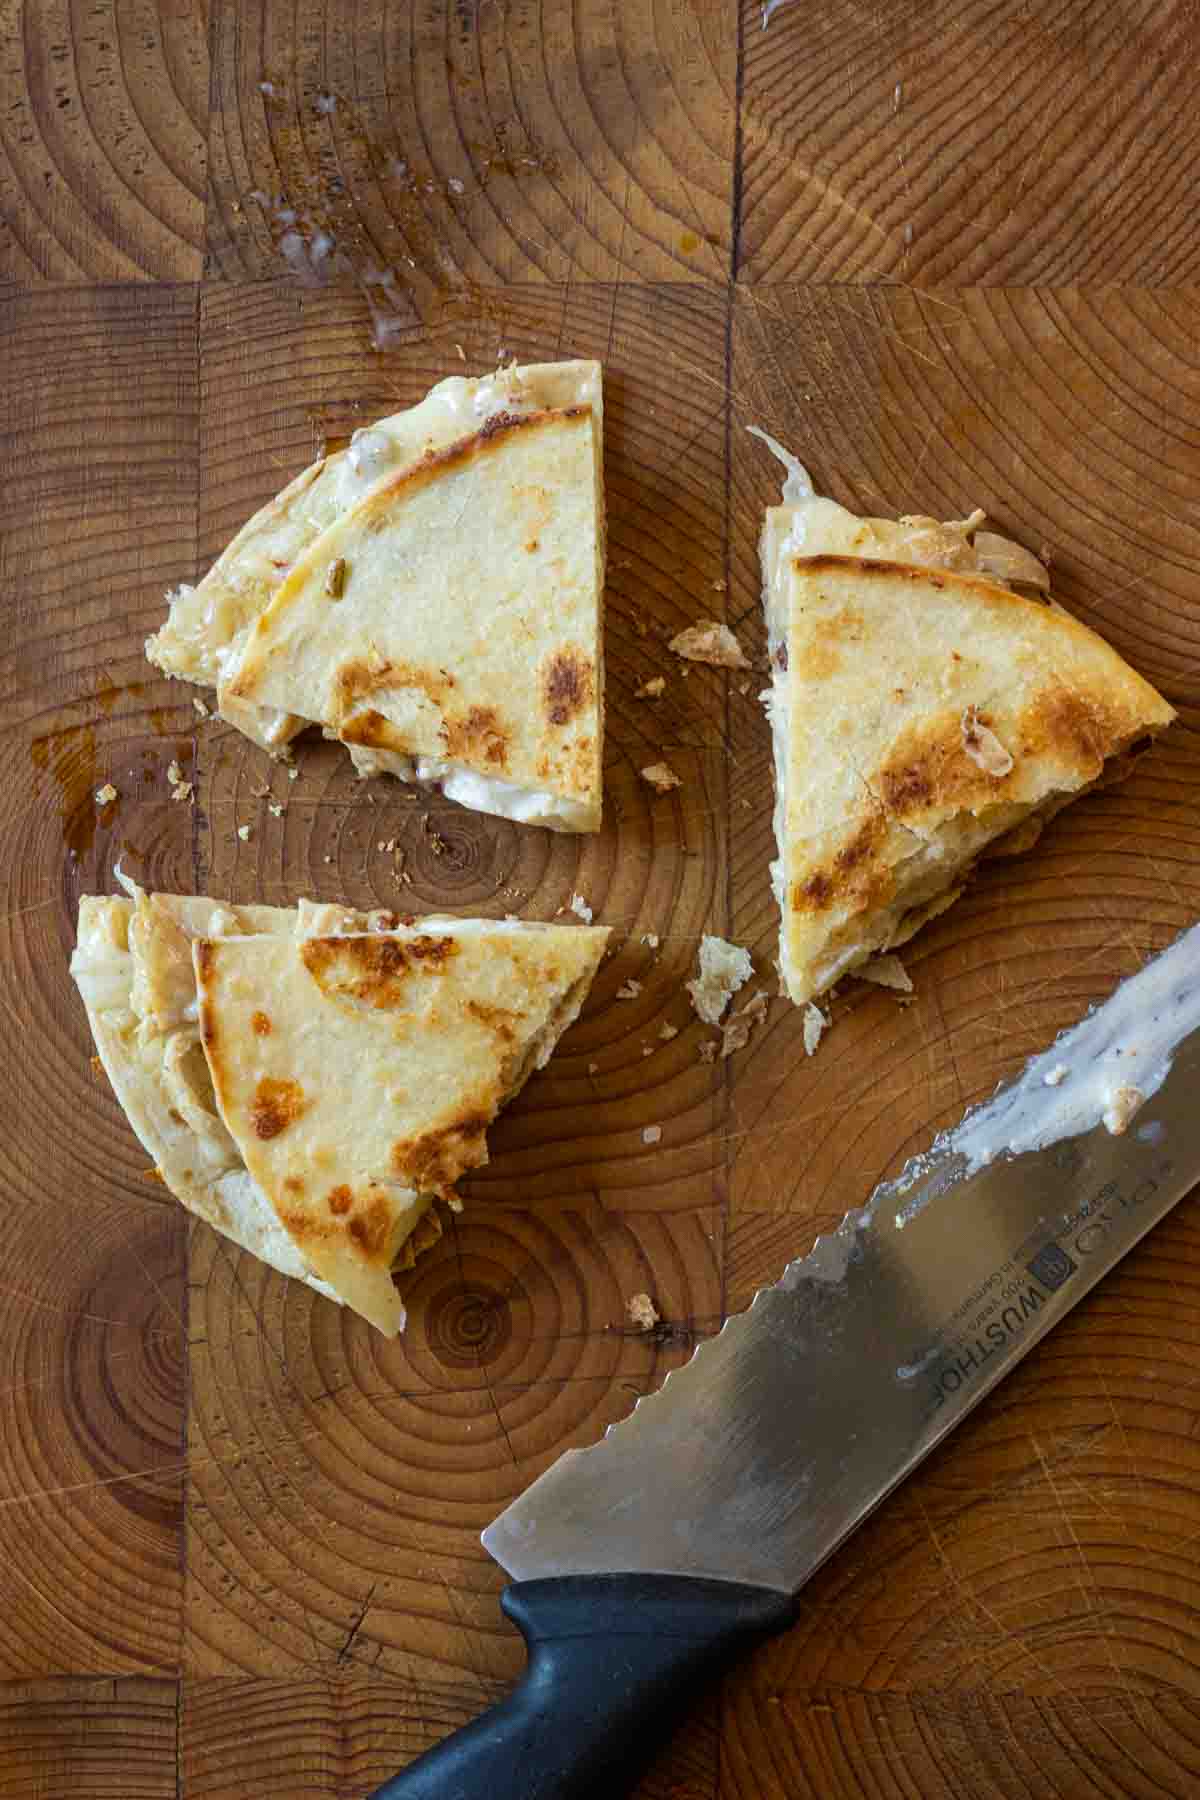
    1. Step 6: Place the quesadilla on a cutting board. Use a serrated knife to gently saw back and forth and cut the quesadilla into wedges.

    Hint: Once the quesadilla is folded, I like to turn off the heat place a lid over the pan for about 30 seconds. This will insure that the ingredients inside are nice and hot, and cheese is melted well.

    Variations

    • Gluten Free: You can make these quesadillas with corn tortillas, to make these gluten free quesadillas.
    • Deluxe – These chicken bacon ranch quesadillas would be great topped with a spoonful of Chunky Guacamole.
    • Kid friendly – Want to cut back on the spice? Substitute spicy chile powders with smoked paprika to season the chicken.
    • Make It Even Easier: This quesadilla is super easy, but want to make it even easier? Use a purchased rotisserie chicken and shred the meat.

    Love quesadillas? See this recipe for Queso Fresco Quesadillas on my website!

    Equipment

    Any fry pan will work to make this quesadilla. But keep in mind, different types of pans will generate different types of heat. I’ve used a non-stick pan for this recipe. Non-stick pans don’t generate intense heat like a cast iron skillet, so cooking times will vary. Keep heat at medium high and use a spatula to keep peeking at the progress of the browning of the tortilla.

    Storage

    Store any leftover quesadilla wedges in plastic wrap, or plastic baggie in the refrigerator for up to three days. I reheat them for a few seconds in the microwave.

    Toppings – How To Serve It

    • Pico de Gallo: I always have a couple of jars of Homemade Pickled Jalapeno Peppers in the refrigerator and use them to make a quick pico de gallo. Just chop them, add some chopped onion and fresh tomato. Pour in some of the pickling juice and stir. You can also make a more traditional Homemade Pico de Gallo using my recipe. And almost every grocery store will carry a container of pico de gallo in their refrigerator section.
    • Salsas: So many options here. Try sweet and spicy fruity salsas like Jalapeno Pineapple Salsa, or Chipotle Peach Salsa.
    • Sauces: If you’re looking for a real treat, try drizzling with Authentic New Mexico sauces like this Red Chile Sauce, or Green Chile Sauce.

    FAQ

    What’s The Best Mexican Melting Cheese To Make Quesadillas?

    For this recipe, I’ve used Sargento’s Fiesta Jack Cheese. It’s a soft cheese with great flavor and it melts very nicely. Monterey Jack Cheese, Pepper Jack Cheese, a good quality cheddar and even Muenster is a great melting white cheese. If you have a good Mexican produce section at your local store, look for Queso Asadero,

    Explore More Southwestern Recipes

    Looking for other recipes like this? Try these:

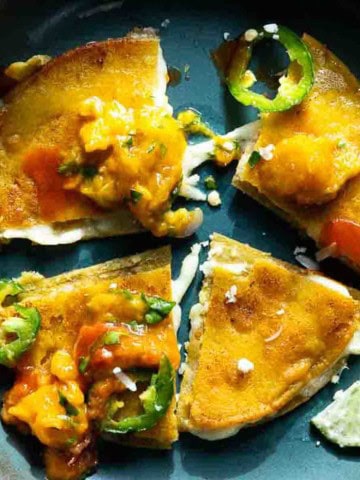
    • Queso Fresco Quesadillas with peach salsa.
      Queso Fresco Quesadillas with Peach Chile Salsa
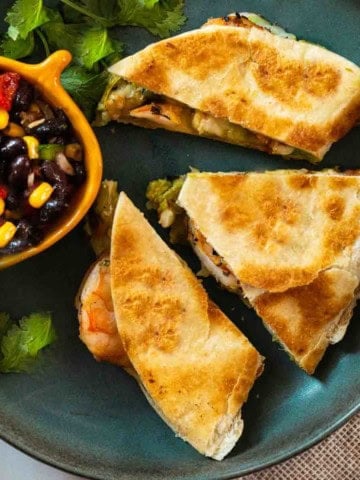
    • Shrimp Quesadillas on a blue plate served with black bean and corn salsa.
      Shrimp Quesadillas With Green Chile and Avocado
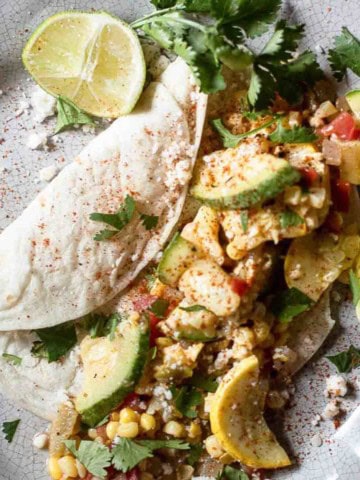
    • Calabacitas con queso served with a flour tortilla and a squeeze of lime.
      Mexican Calabacitas con Queso
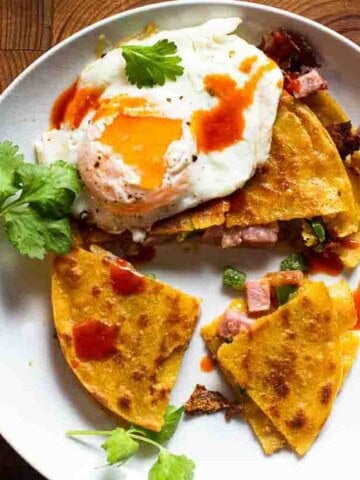
    • Ham and cheese quesadilla made with corn tortillas and topped with a fried egg.
      Crispy Ham and Cheese Corn Tortilla Quesadillas

    And if you love Mexican Food as much as we do, don’t miss my category for Mexican and Southwest Recipes. You’ll find lots of great South of the Border recipes, including the most popular on my site for this easy Mexican Casserole with Tortillas and Ground Beef.

    What Goes With Quesadillas?

    These are my favorite dishes to serve with any quesadilla:

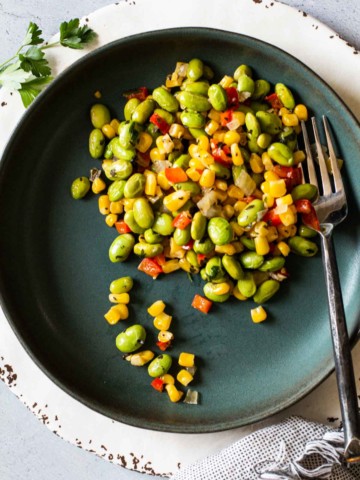
    • Corn succotash with edamame and red bell pepper on a blue plate.
      Sweet Corn Succotash with Edamame
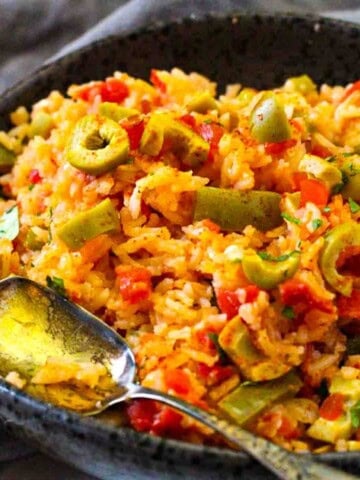
    • Mexican Green Rice served in a black serving bowl.
      Toasted Mexican Green Rice (Arroz Verde)
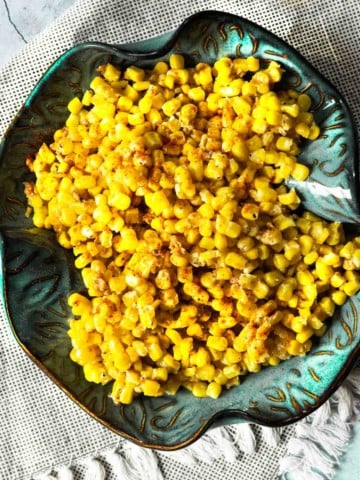
    • Honey Butter Skillet Corn in a blue serving bowl.
      Honey Butter Skillet Corn
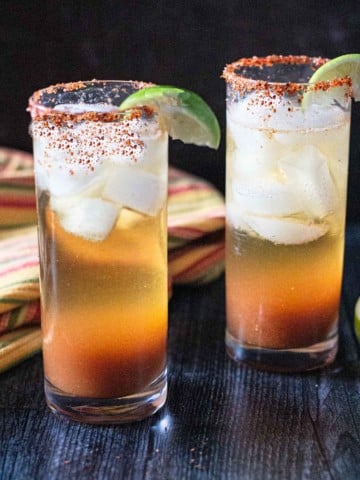
    • How To Make The Best Micheladas

    If you liked this recipe, please leave a star ⭐⭐⭐⭐⭐ rating in the recipe card below and leave a comment. I always appreciate your feedback and hearing how everything went.

    And, don’t forget to subscribe to my newsletter for more delicious recipes and cooking tips. Make it a delicious day … every day.

    Chili's chicken bacon ranch quesadillas on a blue plate served with pico de gallo.
    Print Recipe
    No ratings yet

    Chicken Bacon Ranch Quesadillas, Chilis Copycat

    Tender seasoned chicken, crispy bacon, a drizzle of Ranch dressing and of course plenty of cheese, and you've got one mighty fine quesadilla. These Chicken Bacon Ranch Quesadillas are an inexpensive easy dinner and so satisfying with flavor.
    Prep Time10 minutes mins
    Cook Time35 minutes mins
    Total Time45 minutes mins
    Course: Main Course Chicken
    Cuisine: American/Mexican
    Servings: 4 quesadillas
    Calories: 461kcal
    Author: Lea Ann Brown

    Ingredients

    • 1 boneless skinless chicken breast Baked, seasoned and shredded
    • 1 cup Cheese shredded
    • 4 slices bacon cooked and cut into bits
    • 4 Tablespoons Ranch dressing divided among the quesadillas
    • 2 Tablespoons Butter softened and divided to spread on the flour tortillas
    • Pico de gallo, sour cream and more ranch dressing for serving

    Instructions

    • Use a spreader knife to butter one side of each flour tortilla.
    • Turn the buttered side down and start adding the toppings, shredded cheese first, to half of the flour tortilla. Leave a bit of a naked edge.
    • Sprinkle on shredded chicken, bacon bits and a drizzle of ranch dressing on ½ of each flour tortilla.
    • Place one flour tortilla, buttered side down, in a heated skillet. Let it cook until browned, about 3 – 4 minutes.
    • Use a spatula to fold the bare side of the tortilla over the filling. Just like you would when making an omelette. Let is sit for about 30 seconds to make sure the cheese is nice and melty.
    • Place the quesadilla on a cutting board. Use a serrated knife to gently saw back and forth and cut the quesadilla into wedges.

    Notes

    Tip For Success
    • Once the quesadilla is folded, I like to turn off the heat place a lid over the pan for about 30 seconds. This will insure that the ingredients inside are nice and hot, and cheese is melted well.
    • Allow about 30 minutes for butter to come to room temperature so it will be easy to spread.
    • Along with Ranch Dressing for dipping and Pico de Gallo, Chilis also serves these quesadillas with Sour Cream.

    Nutrition

    Calories: 461kcal | Carbohydrates: 1g | Protein: 30g | Fat: 37g | Saturated Fat: 17g | Polyunsaturated Fat: 6g | Monounsaturated Fat: 7g | Trans Fat: 0.3g | Cholesterol: 133mg | Sodium: 687mg | Potassium: 264mg | Sugar: 1g | Vitamin A: 206IU | Vitamin C: 1mg | Calcium: 432mg | Iron: 0.3mg

    Chilis Chicken Bacon Ranch Quesadillas … They’re What’s For Dinner

    Honey Butter Skillet Corn

    May 12, 2024 By Lea Ann Brown 3 Comments

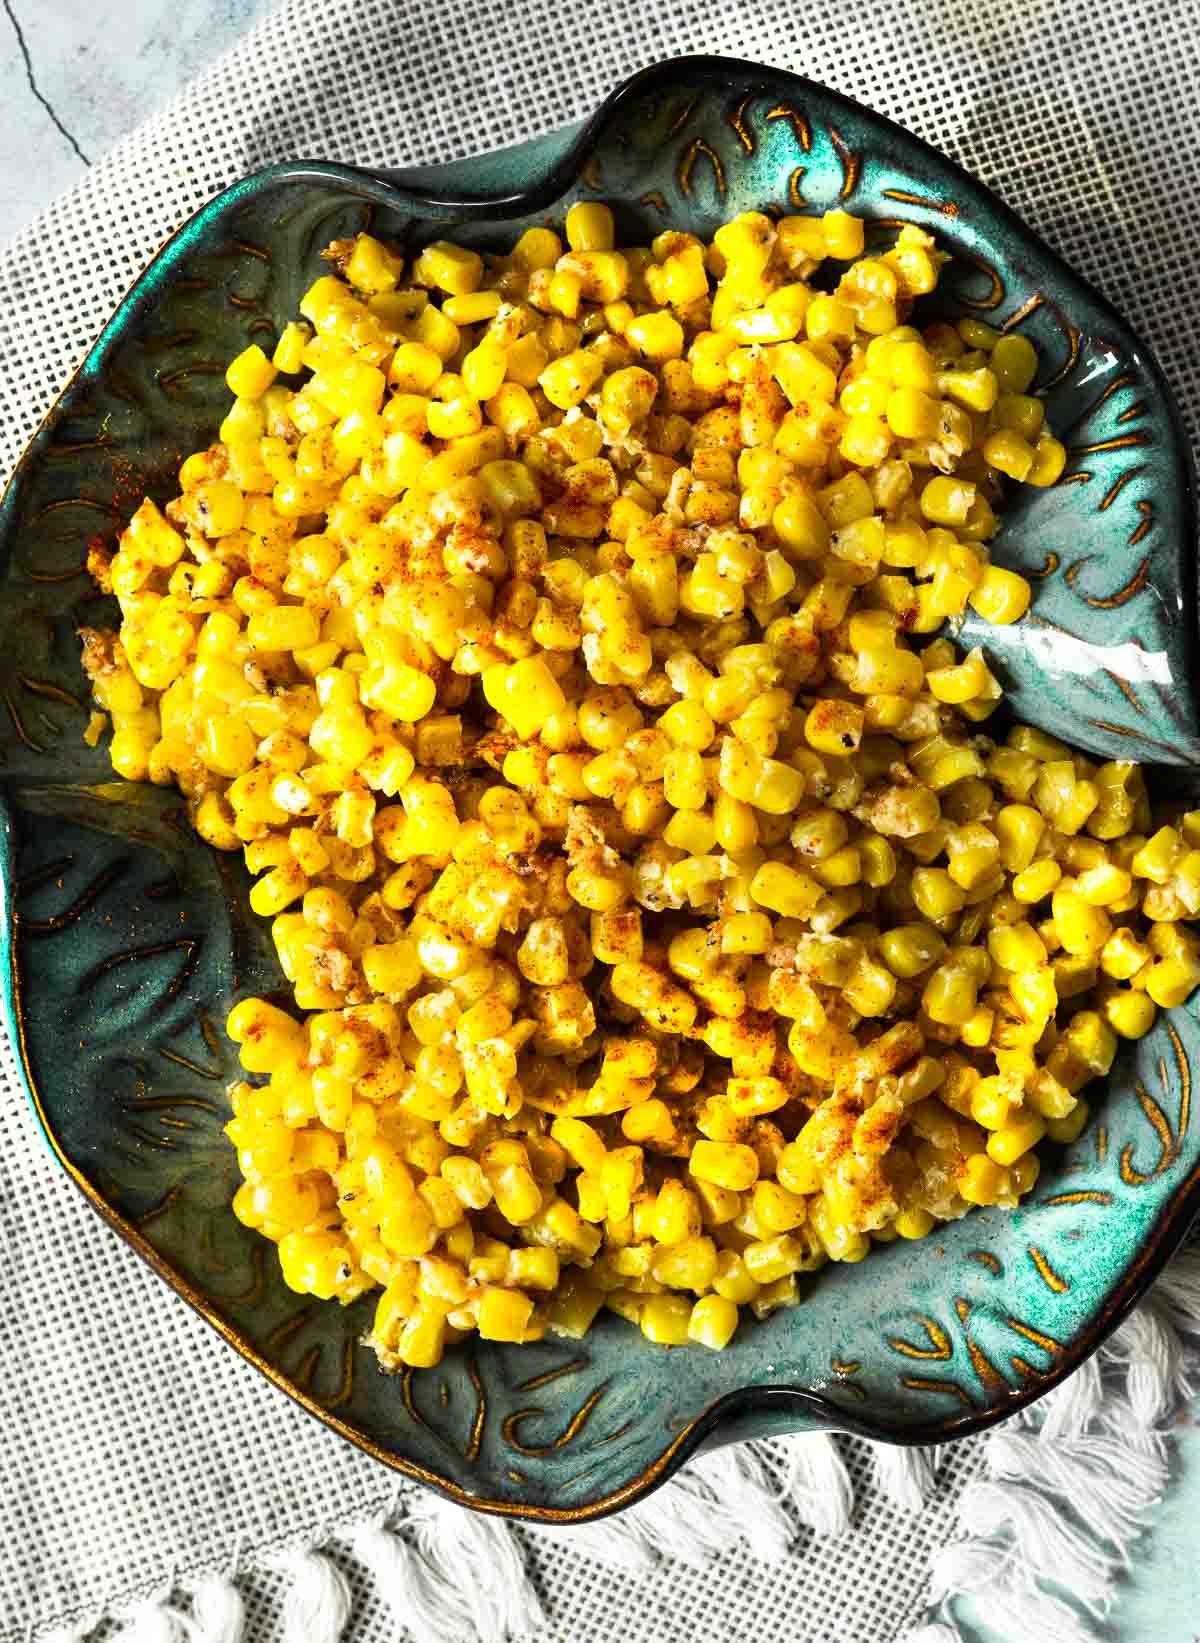
    Honey Butter Skillet Corn in a blue serving bowl.

    Honey Butter Skillet Corn is a recipe that celebrates simplicity. An incredibly easy recipe that’s sweet, savory and totally addictive with flavor. Made with frozen corn and cream cheese, heat up that skillet and give this 20-minute side dish a try.

    Honey Butter Skillet Corn in a blue serving bowl.

    We simply can’t get enough of corn side dish recipes. Whether it’s simple buttered fresh Summer corn on the cob, or my recipe for Sweet Corn Succotash, or my Mexican Street Corn Dip, sweet corn always finds it’s way to our dinner table.

    And using frozen corn is almost every bit as sweet as fresh corn at the peak of it’s season. So this is a great recipe to keep in your database for a year-round side dish.

    This is an amazing corn side dish. The honey enriches the natural sweet flavor of the corn, and the cream cheese binds all of the ingredients together and the end result is a totally addictive in flavor.

    Honey Butter Skillet Corn will brighten your Winter table serving it as a side for Coriander Crusted Pork Tenderloin, or as a Summer bbq side for your favorite burger. This slightly sweet honey butter skillet corn is a great pairing for the bold flavors of Blue Cheese Burger or this Tangy Grilled Flank Steak with Horseradish Cream Sauce. During colder months, serve this with Old Fashioned Meatloaf.

    The first time I made this recipe, I simply could’t believe how delicious this is. Let’s take a look.

    Ingredients You’ll Need

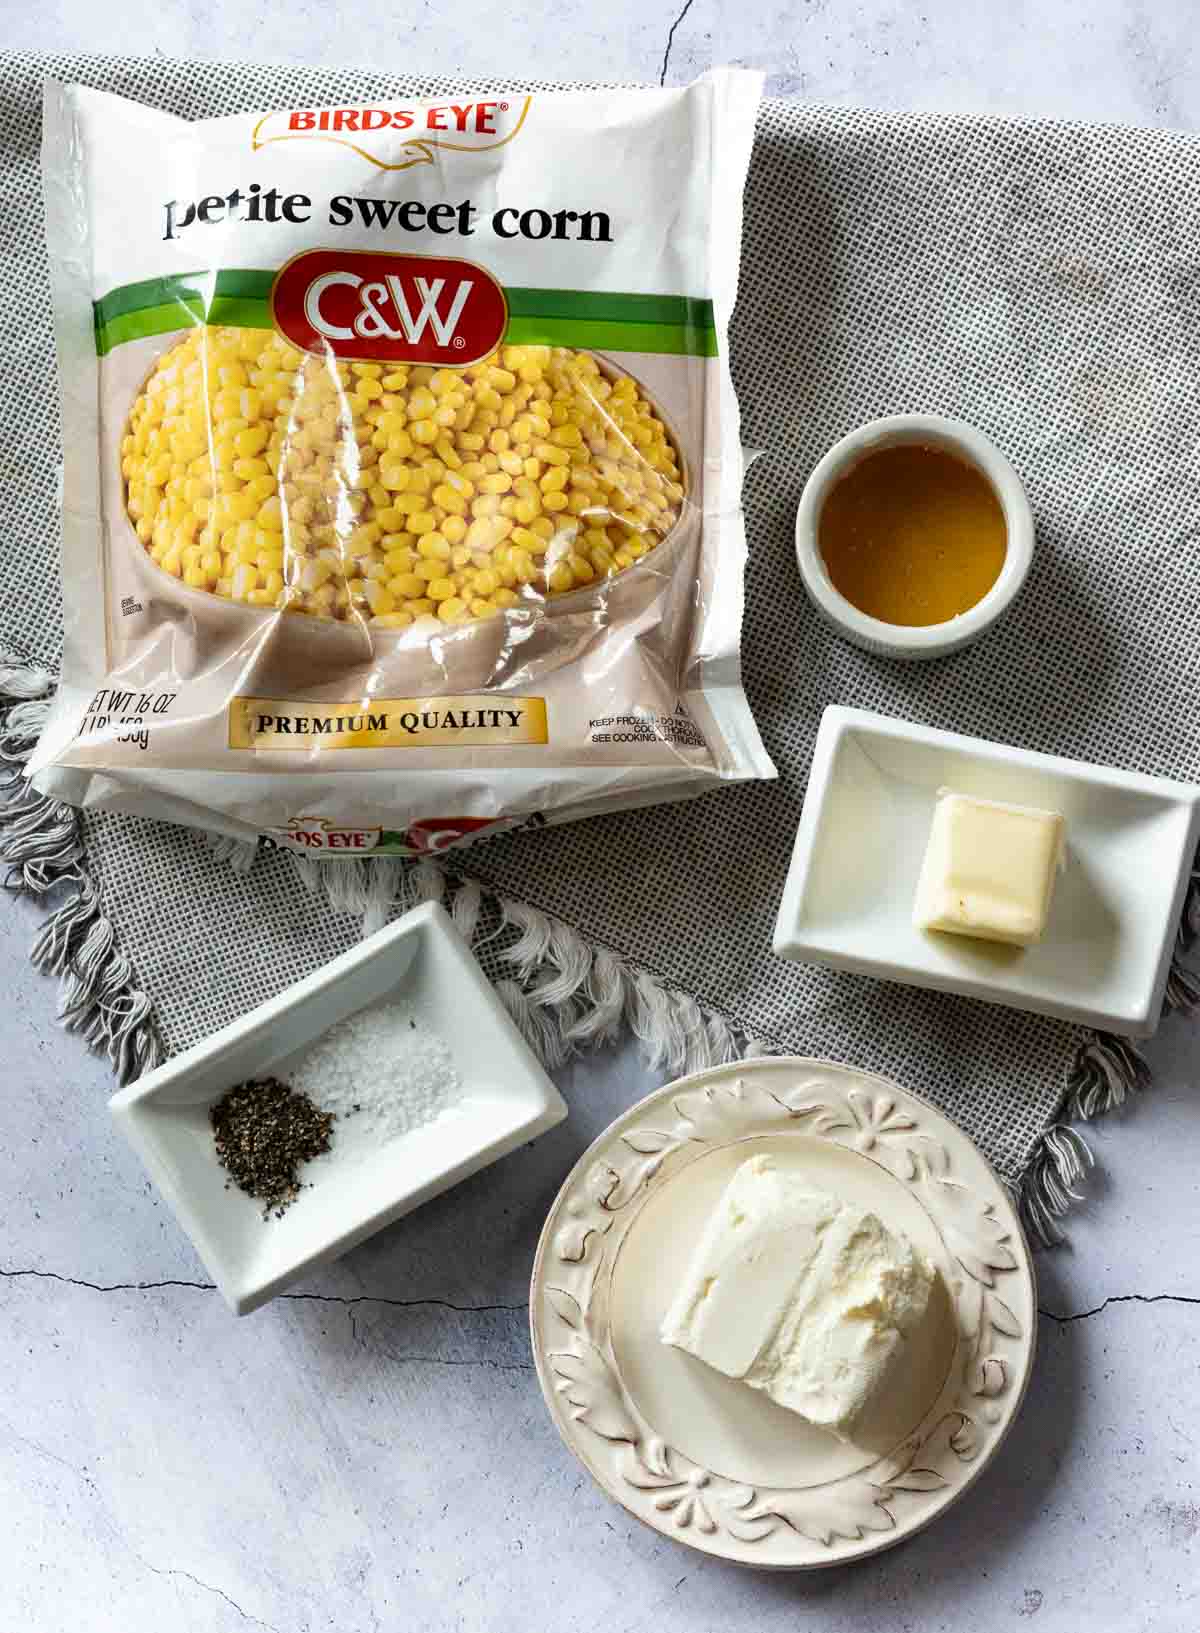
    Ingredients to make honey butter skillet corn.
    • 16-ounce package frozen corn, or kernels from 5 ears of fresh corn.
    • Honey
    • Unsalted Butter
    • Kosher Salt and fresh ground black pepper
    • Cream Cheese

    Step by Step Instructions, It’s Easy

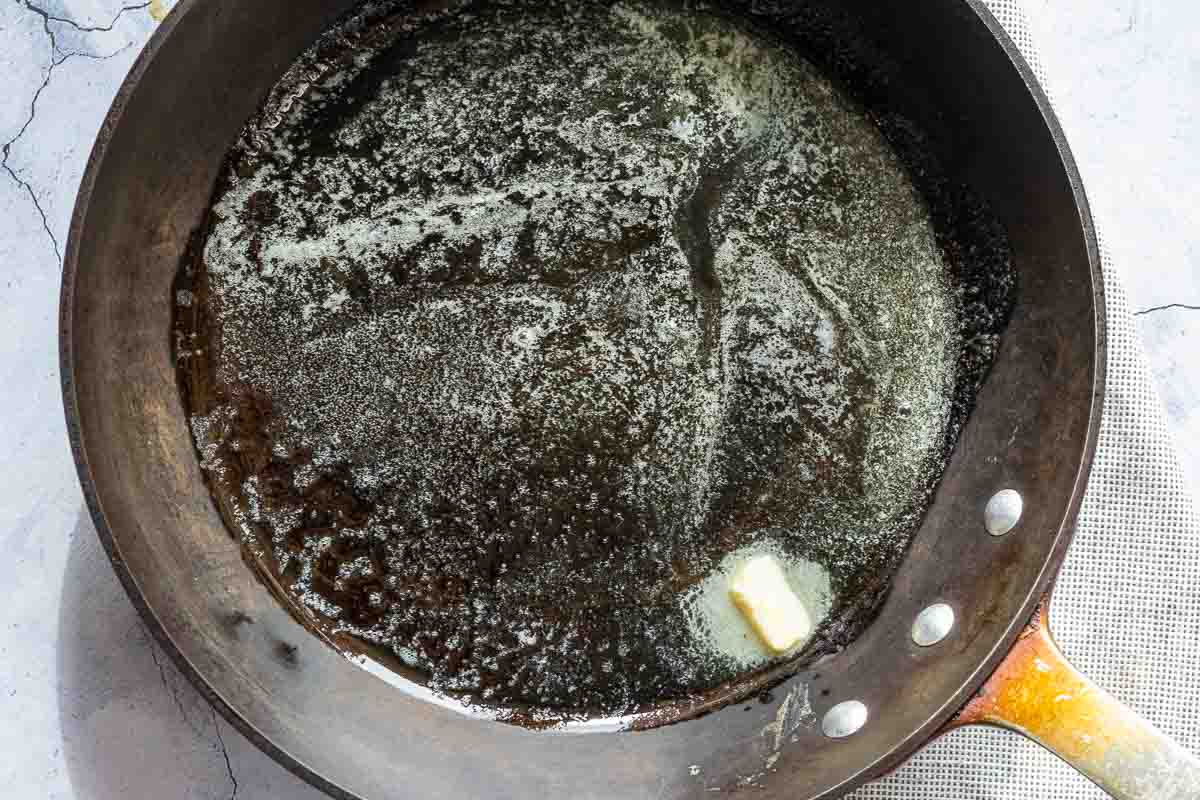
    Melting butter and honey in a cast iron skillet.
    • Step 1: Heat a cast iron skillet, or heavy skillet over medium high heat. Add honey and butter and melt together. Stirring to combine.
    Cooking honey butter skillet corn in a large skillet.
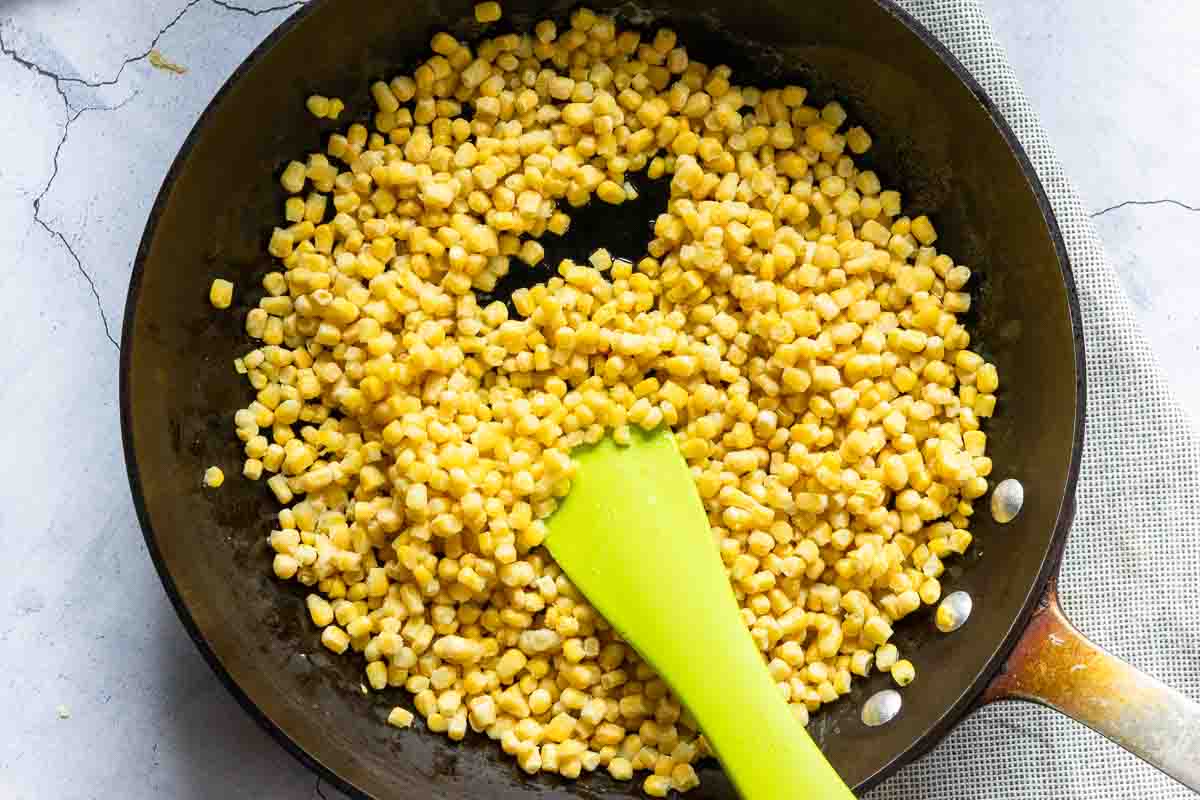
    • Step 2: Add the frozen corn and cook for about 8 minutes, stirring occasionally.
    Adding cream cheese to honey butter skillet corn.
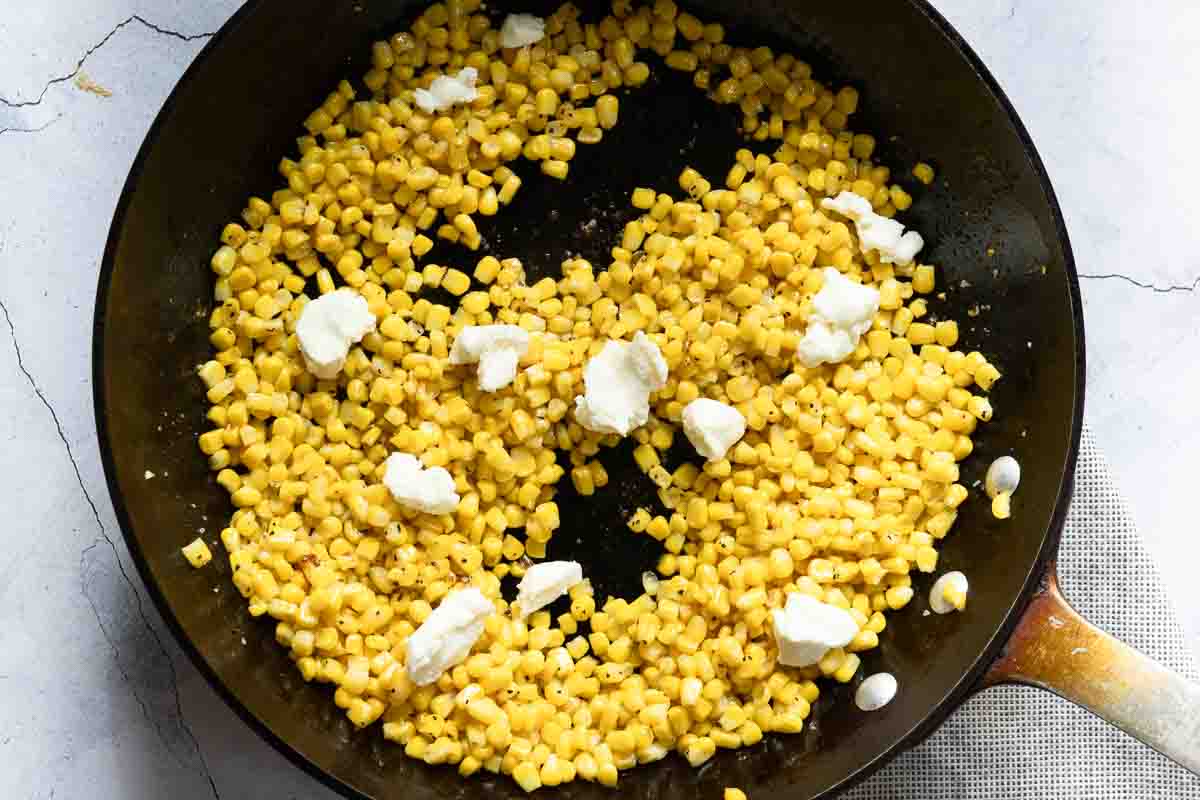
    • Step 3: Add cream cheese, salt, and pepper.Stir together and let it cook about 3-5 minutes while stirring occasionally.
    Honey butter skillet corn in a serving bowl.
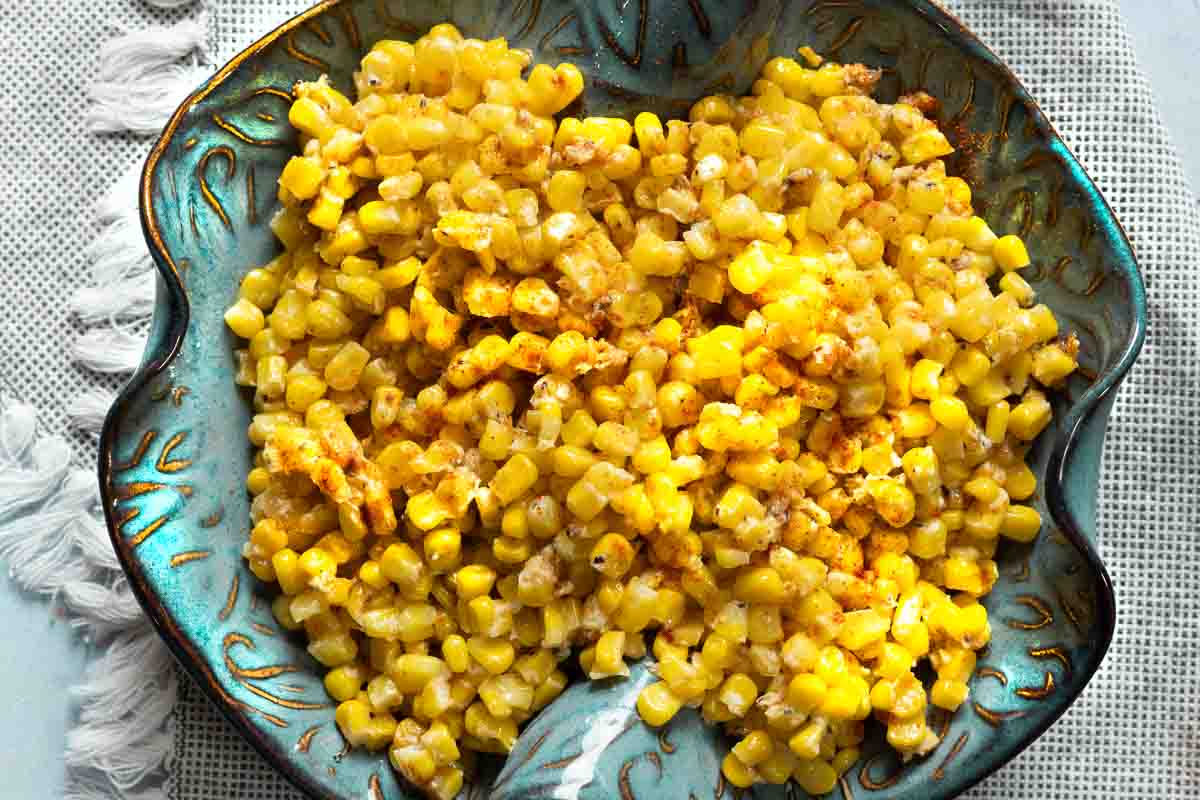
    • Step 4: Spoon in to a serving bowl and enjoy.
    Can Honey Butter Skillet Corn Be Made Ahead?

    Yes, just store it in the refrigerator in a microwave safe bowl. When ready to serve, reheat for two minutes in the microwave, stir and add enough time to heat through.

    Can You Use Canned Corn?

    I personally would stick to frozen corn. Frozen at the peak of freshness, it simply a better option for both texture and sweet flavor. If you want to try this with canned corn, make sure you drain it well and pat it dry before adding to the skillet.

    Tips For Success

    • Allow about an hour for the cream cheese to come to room temperature.
    • Use good quality frozen corn. I have found some of the generic brands can tend to be tougher and not as sweet.
    • Try topping Honey Butter Skillet Corn with a sprinkle of New Mexico Chimayo Chile Powder. It simply adds a Southwestern kick of heat to the end flavor.
    • When in season, add fresh chopped chives for garnish.

    Whether enjoyed with family gathered around the dinner table or shared with friends at a backyard barbecue, honey butter skillet corn is sure to become a favorite side dish.

    More Favorite Side Dishes

    • Frozen green pea salad with eggs.
      Old Fashioned Pea Salad With Eggs
    • Amish Macaroni Salad garnished with chives.
      Lancaster County Amish Macaroni Salad
    • Green Chile Mac and Cheese in a serving bowl.
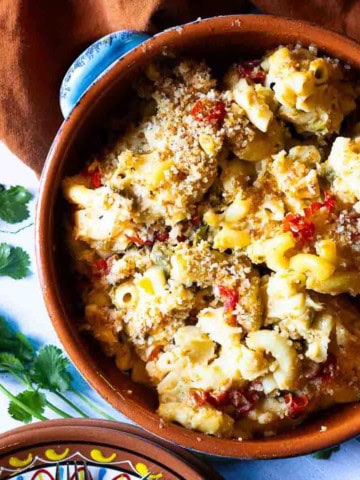
      Hatch Green Chile Macaroni and Cheese
    • Potatoes cooked in a cast iron skillet.
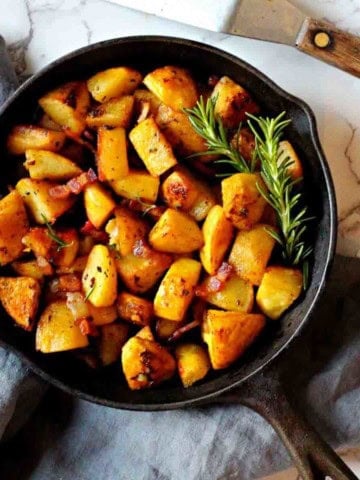
      Savory Cast Iron Skillet Potatoes

    And if you’re looking for more recipes, don’t miss my Side Dishes category. You’ll find lots of side dish recipe ideas, including the most popular on my site for Microwave Cauliflower. A recipe were American cheese turns a head of cauliflower into a delicious treat.

    If you liked this recipe, please leave a star ⭐⭐⭐⭐⭐ rating in the recipe card below and leave a comment. I always appreciate your feedback and hearing how everything went.

    And, don’t forget to subscribe to my newsletter for more delicious recipes and cooking tips. Make it a delicious day … every day.

    Honey Butter Skillet Corn in a blue serving bowl.
    Print Recipe
    1 from 1 vote

    Honey Butter Skillet Corn

    Honey Butter Skillet Corn is a recipe that celebrates simplicity. An incredibly easy recipe that's sweet, savory and totally addictive with flavor. Made with frozen corn and cream cheese, heat up that skillet and give this 20-minute side dish a try.
    Resting time – Cream Cheese1 hour hr
    Course: Side Dish
    Cuisine: American
    Servings: 4
    Calories: 293kcal
    Author: Lea Ann Brown

    Ingredients

    • 2 Tablespoons Unsalted butter
    • 2 Tablespoons Honey
    • 16 ounce Frozen Corn
    • 3 ounces Cream Cheese cut into chunks. I just cut off ⅓ of an 8 ounce block.
    • ¼ teaspoon Kosher salt
    • ¼ teaspoon Black Pepper Freshly ground

    Instructions

    • Heat a cast iron skillet, or heavy skillet over medium high heat. Add honey and butter and melt together. Stirring to combine.
    • Once melted add the frozen corn and cook for 5-8 minutes, stirring occasionally, until cooked through.
    • Add cream cheese, salt, and pepper.Stir together and let it cook about 3-5 minutes while stirring occasionally.

    Notes

    Tips For Success:
    • Allow about an hour for the cream cheese to come to room temperature.
    • Use good quality frozen corn. I have found some of the generic brands can tend to be tougher and not as sweet.
    • Try topping Honey Butter Skillet Corn with a sprinkle of New Mexico Red Chile Powder. It simply adds a Southwestern kick of heat to the end flavor.
    • When in season, add fresh chopped chives for garnish.
    The recipe indicates this will serve four people It was so good, Bob and I ate the whole recipe.

    Nutrition

    Calories: 293kcal | Carbohydrates: 37g | Protein: 6g | Fat: 16g | Saturated Fat: 9g | Polyunsaturated Fat: 1g | Monounsaturated Fat: 4g | Trans Fat: 0.2g | Cholesterol: 44mg | Sodium: 241mg | Potassium: 380mg | Fiber: 3g | Sugar: 10g | Vitamin A: 561IU | Vitamin C: 8mg | Calcium: 35mg | Iron: 1mg

    Honey Butter Skillet Corn … It’s What’s For A Side Dish

    « Previous Page
    Next Page »

    I'm Lea Ann

    Welcome to my Colorado kitchen. If you're a fan of rustic homestyle cuisine, you've come to the right place. I'm a Culinary School Grad with a passion to inspire you to cook as often as you can. I offer reliable, approachable and easy to follow recipes. So grab that skillet and let's cook.

    More about me

    Soup and Stew Recipes

    • Southwest chicken soup with hominy and potatoes.
      Sopa Ranchera, Southwest Chicken Soup
    • Creamy chicken tortilla soup with rotel tomatoes.
      Southwestern Creamy Chicken Tortilla Soup
    • Cowboy chili garnished with grated cheese and jalapeno pepers.
      New Mexico Style Cowboy Chili
    • Ground chicken chile with white beans.
      Giada’s Ground Chicken Chili with White Beans
    • Beef stew with mushrooms served in a skillet.
      Beef Stew With Mushrooms – Crock Pot Method
    • 7-can taco soup with ranch dressing.
      Original 7 Can Taco Soup with Ranch Dressing

    Reader Favorites

    • Super Moist Cheesy Cornbread with Creamed Corn
    • Flemings steakhouse macaroni and cheese in a white bowl.
      Flemings Steakhouse Mac and Cheese
    • A slice of Layered Mexican Casserole with ground beef and corn tortillas.
      Mexican Casserole with Ground Beef and Corn Tortillas
    • Beef Tagliata, thin sliced flank steak served over arugula and cherry tomatoes.
      Beef Tagliata (Italian Steak)
    • Ham and cheese quesadilla made with corn tortillas and topped with a fried egg.
      Crispy Ham and Cheese Corn Tortilla Quesadillas
    • Spinach chicken mushroom skillet dinner.
      Chicken Mushroom and Spinach Skillet

    Footer

    • Contact
    • About
    • Privacy Policy
    • Accessibility Statement
    • ↑ back to top

    Copyright © 2024 Cooking on the Ranch • Powered by Feast+

    Rate This Recipe

    Your vote:


    A rating is required
    A name is required
    An email is required