Cooking On The Ranch

  • Home
  • About
  • Recipe Roundup
  • Contact Me
  • Join Community
menu icon
go to homepage
  • Home
  • Soups and Stews
  • About
  • Recipes
  • Contact Me
    • Facebook
    • Instagram
    • Pinterest
  • search icon
    Homepage link
    • Home
    • Soups and Stews
    • About
    • Recipes
    • Contact Me
    • Facebook
    • Instagram
    • Pinterest
  • ×
    Home

    Mexican Beef Machaca Recipe (Carne Machaca)

    January 3, 2023 By Lea Ann Brown 31 Comments

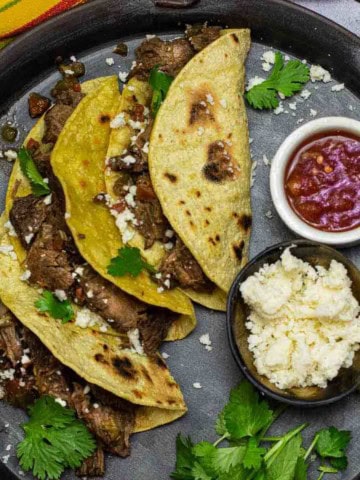
    Beef Machaca Tacos.

    Classic Mexican Beef Machaca is a must have recipe for any cook serious about Mexican food. Marinating pot roast overnight in an easy Mexican marinade insures that braised beef is full flavored to make the best Machaca tacos, burritos and more.
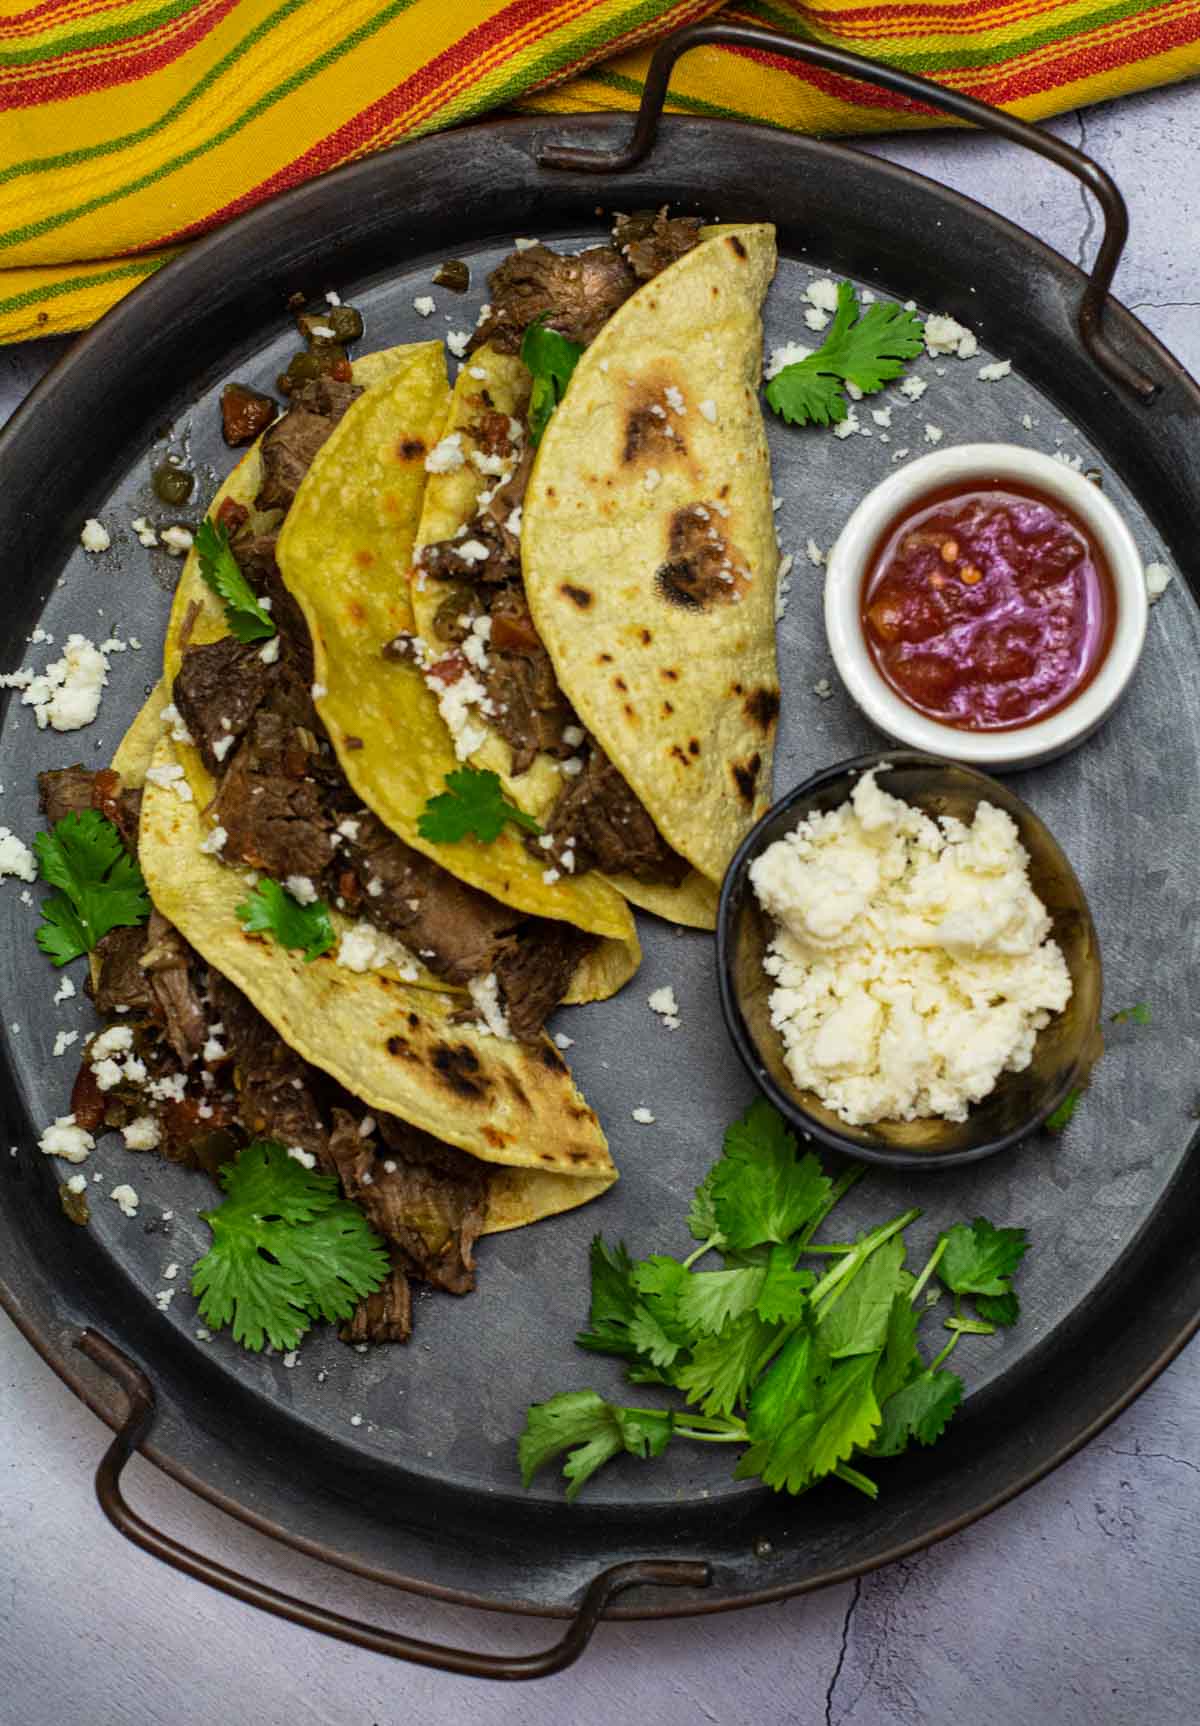
    Beef machaca tacos served with cotija cheese and salsa.

    What is Machaca Beef?

    Beef Machaca (Carne Machaca) originally comes from Sonora. In its traditional form is the Mexican equivalent of dried beef, beef jerky. Beef that has been marinated, cooked, shredded and dried. The drying process preserves the beef.

    Beef Machaca is also a flavorful beef dish where the meat is marinated, slow braised, and then shredded and used to make burritas, an everyday type of taco that is folded rather than rolled like a burrito.

    The Tex-Mex version is a Mexican shredded beef dish that can be served alone with tortillas for machaca tacos and burritos. You can commonly find it on Mexican Restaurant menus where it’s often referred to simply as shredded beef.

    There are many subtle differences in how it is prepared from recipe to recipe. My research found me combining ingredients from a few, and testing … testing … testing.

    This combination of flavors will bring Beef Machaca to your home kitchen … just like you’d enjoy in a Mexican Restaurant.

    My recipe is a Mexican version of tender pot roast, it’s simply simmered stove top with some spices…let the fiesta begin!

    Let’s take a look.

    Table of contents

    • What is Machaca Beef?
    • Ingredients You’ll Need For The Marinade
      • Ingredient Substitutions
      • Ingredients To Make Beef Machaca
      • Ingredient Substitutions
    • Step by Step Instructions, How To Make Machaca Beef
    • How To Serve It
      • Toppings For Beef Machaca
      • What To Serve It With
    • Storage and Reheating
    • FAQ’s
      • Explore More Mexican Beef Recipes

    Ingredients You’ll Need For The Marinade

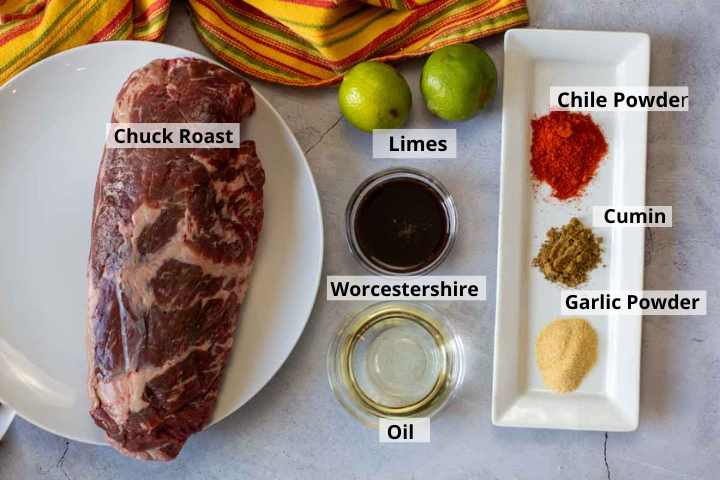
    Ingredients to make beef machaca marinade.
    • Chuck Roast – 2-3 pounds.
    • Limes – for the juice
    • Worcestershire Sauce
    • Chile Powder, New Mexico Red Chile Powder Preferred, or a single blend chile powder such as Ancho.
    • Cumin
    • Garlic Powder

    Ingredient Substitutions

    • Beef: Chuck roast is routinely used for Machaca Beef because it’s an inexpensive option. Other cuts of meat that will shred well are: rump roast, brisket, flank steak, or skirt steak.
    • Garlic Powder: Substitute fine chopped fresh garlic.
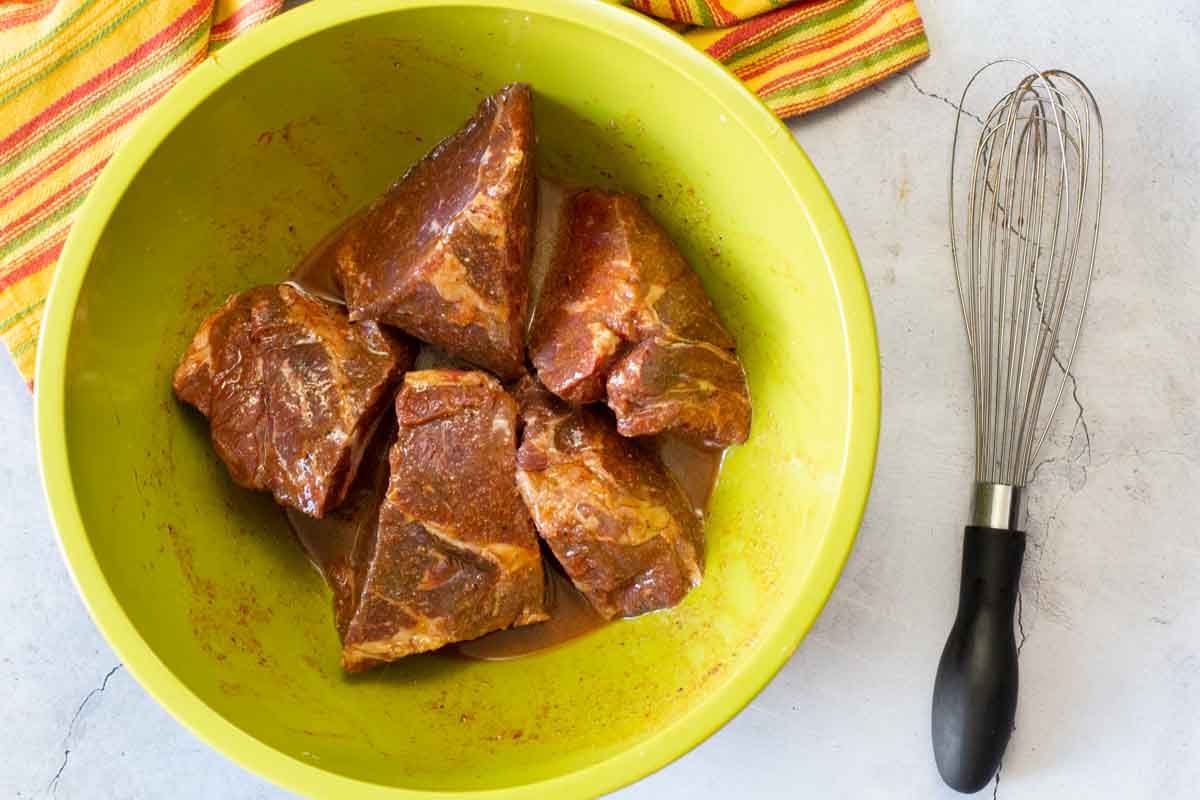
    How to marinate beef machaca.
    1. Step 1: Combine all the ingredients in a bowl then whisk to blend well. Cut the beef into large chunks. Add the chunks of beef to the marinade making sure every piece is evenly coated. Cover and refrigerate overnight.

    Ingredients To Make Beef Machaca
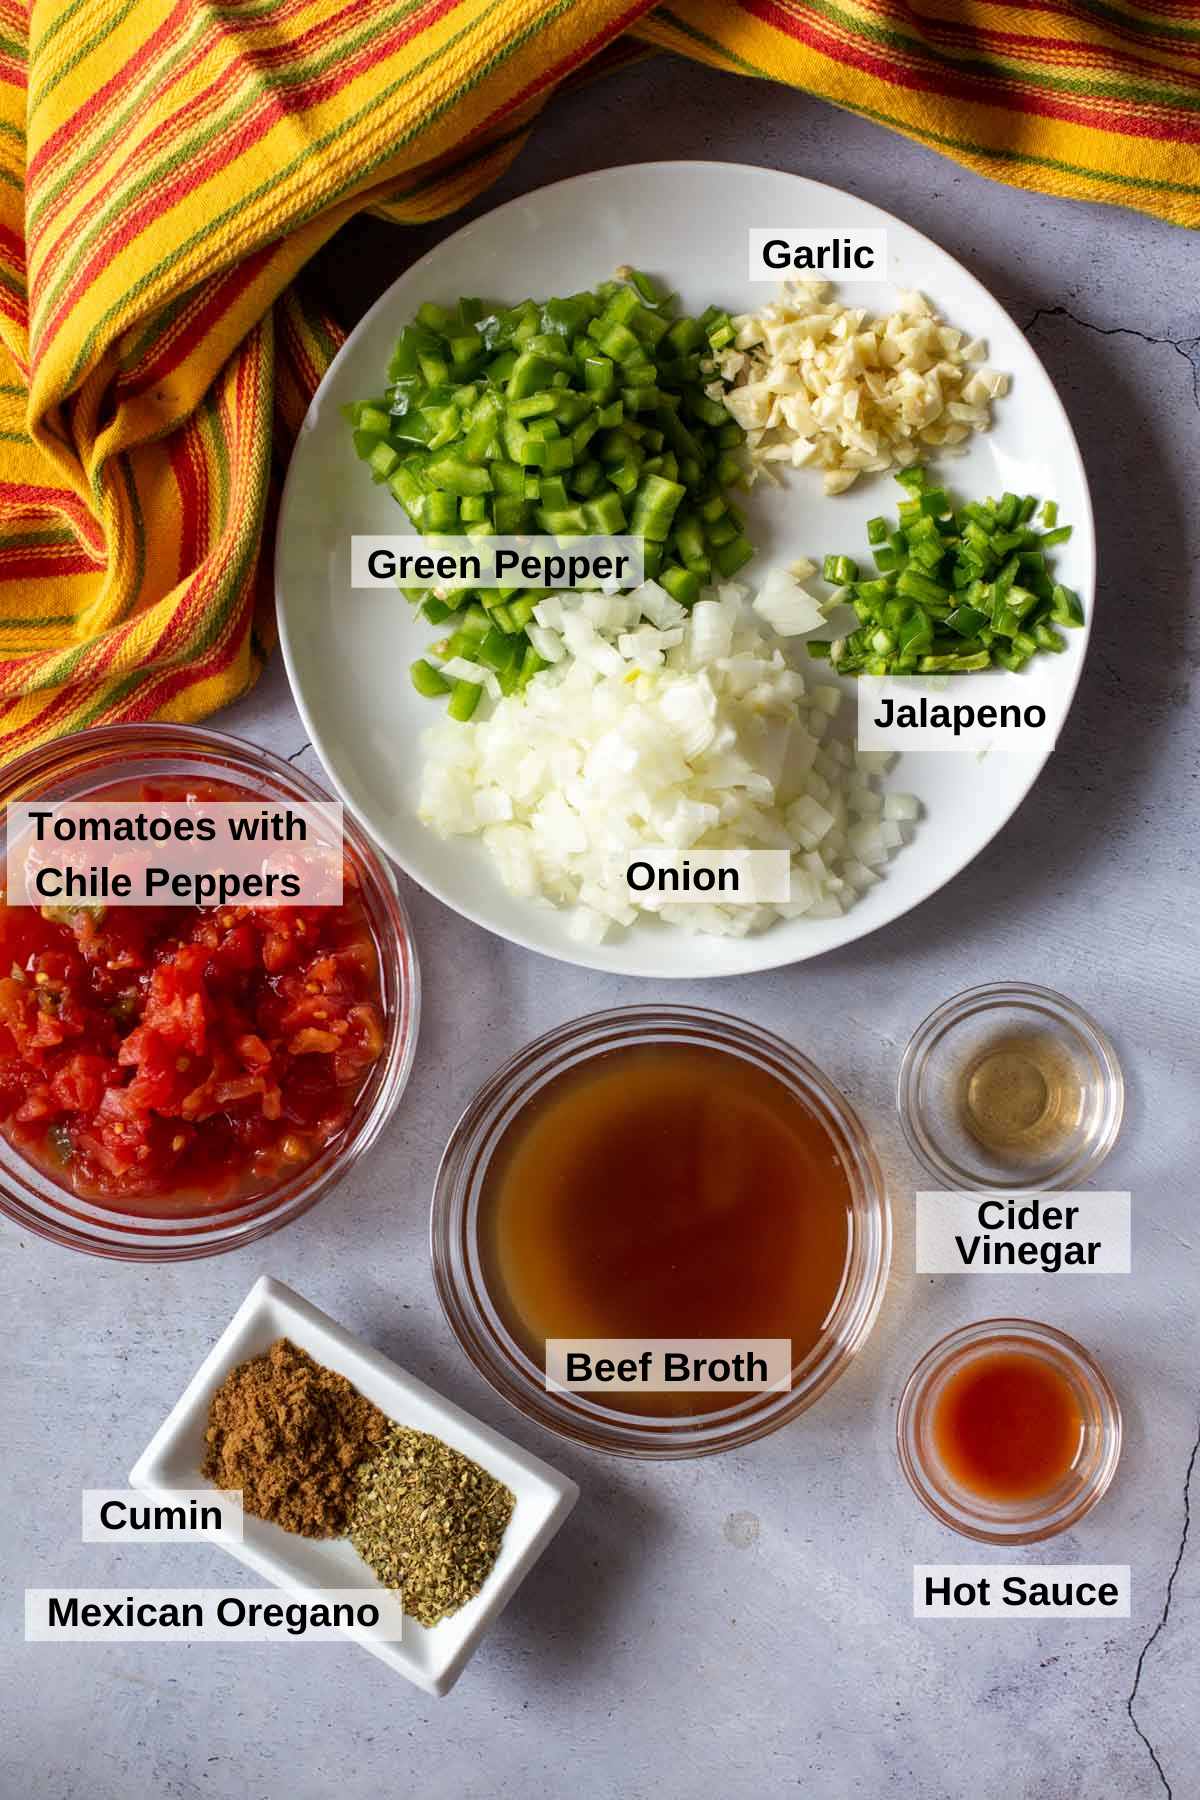
    Ingredients to make Mexican beef machaca.
    • Garlic
    • Green Bell Pepper
    • Onion
    • Jalapeno Pepper
    • Canned tomatoes with Green Chile Peppers: Rotel brand is a good example.
    • Beef Broth
    • Hot Sauce: Your favorite brand. I use Tabasco.
    • Cumin
    • Mexican Oregano

    Ingredient Substitutions

    • Chile Peppers: You can substitute a small poblano pepper for the Jalapeno pepper.
    • Canned Tomatoes: I have made this with three fresh tomatoes, chopped and mixed with chopped roasted Hatch green chile peppers.
    • Broth: Chicken or vegetable broth will work.
    • Mexican Oregano is preferred for this recipe. It's peppery, grassy, earthy flavor is a good compliment for Mexican Food. If you don't have Mexican Oregano, substitute Marjoram. Known for its aroma and delicate flavor, its related to oregano and will bring a sweet undertone to any recipe.

    Step by Step Instructions, How To Make Machaca Beef
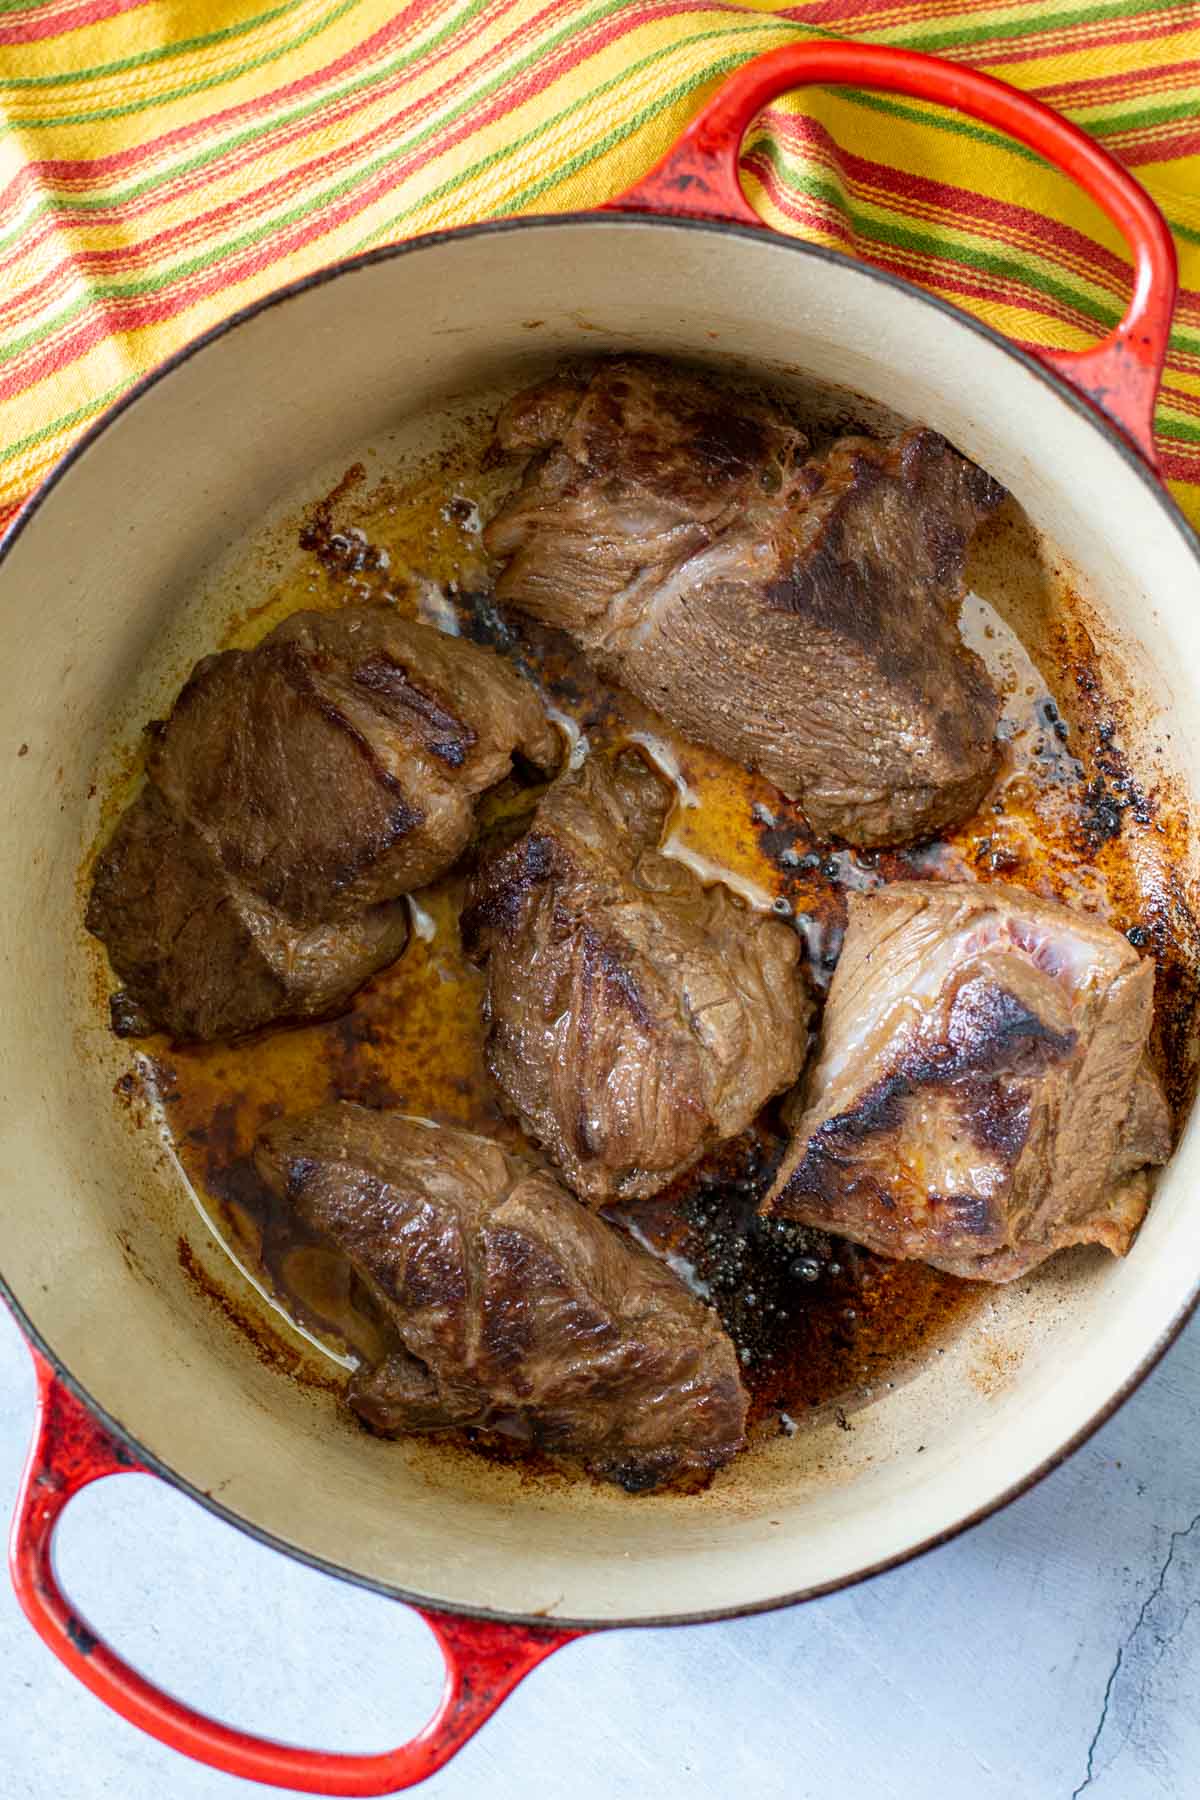
    Searing beef to make beef machaca.
    Cooking vegetables to make beef machaca.
    1. Step 1: Remove meat from marinade, drain thoroughly and pat dry with a paper towel. In a Dutch oven, or large skillet, heat a few tablespoons of oil over medium-high heat until very hot. Sear the beef a few pieces at a time to develop a rich brown color on all sides. Do this in several batches if the pot is too crowded.
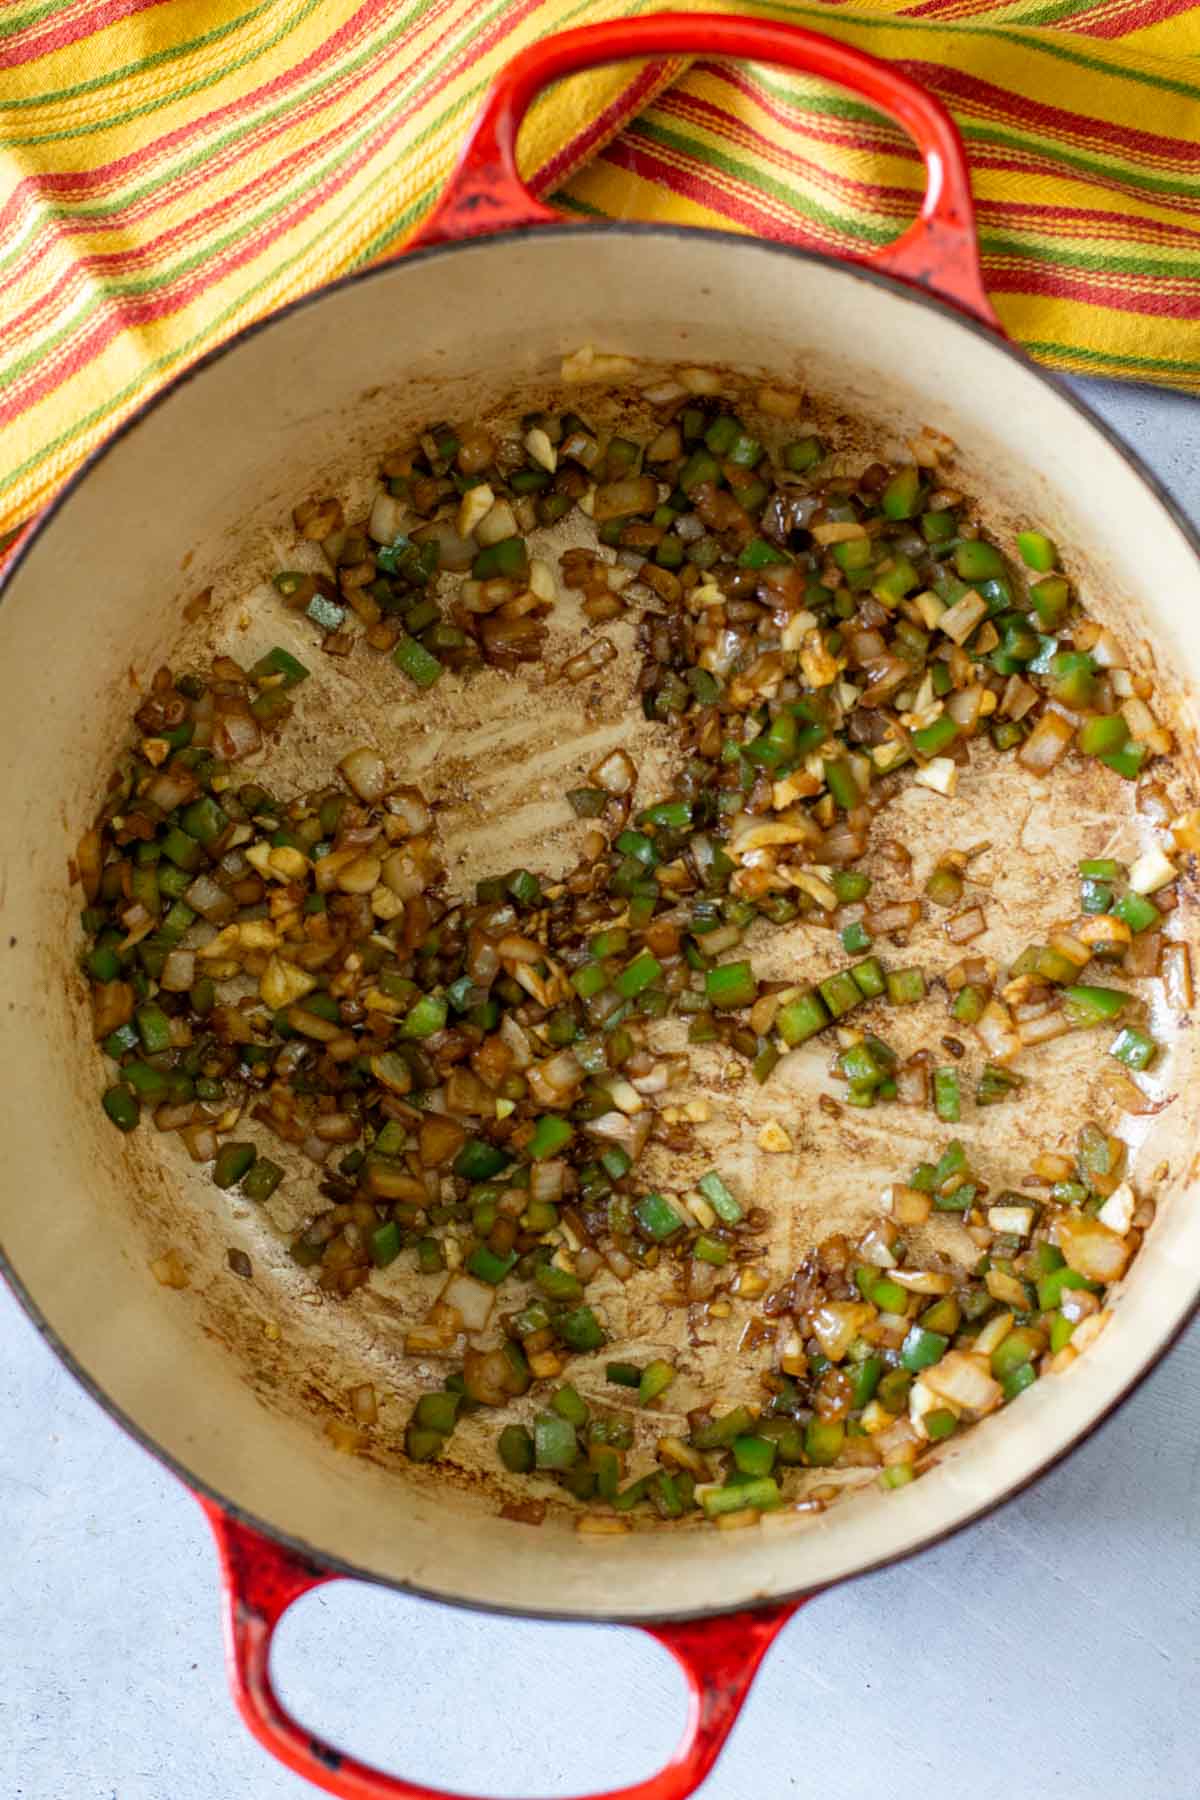
    2. Step 2: When all the beef is browned nicely and removed from the pan, add the onions and peppers. Saute for a few minutes then add the garlic. Cook until garlic is fragrant. About 1 minute.

    Pro Tip: Don't skip searing the meat. This is a crucial step in getting the most flavor out of this meal. Searing creates what is technically called Maillard reaction. Maillard reaction is the process where a crust is created. Simply stated, it's responsible for the complex flavors and aroma that makes bread taste toasty, and a grilled or pan seared seared steak, like my recipe for Denver Steak, taste charred. It's a technique that brings science to your cooking skills.
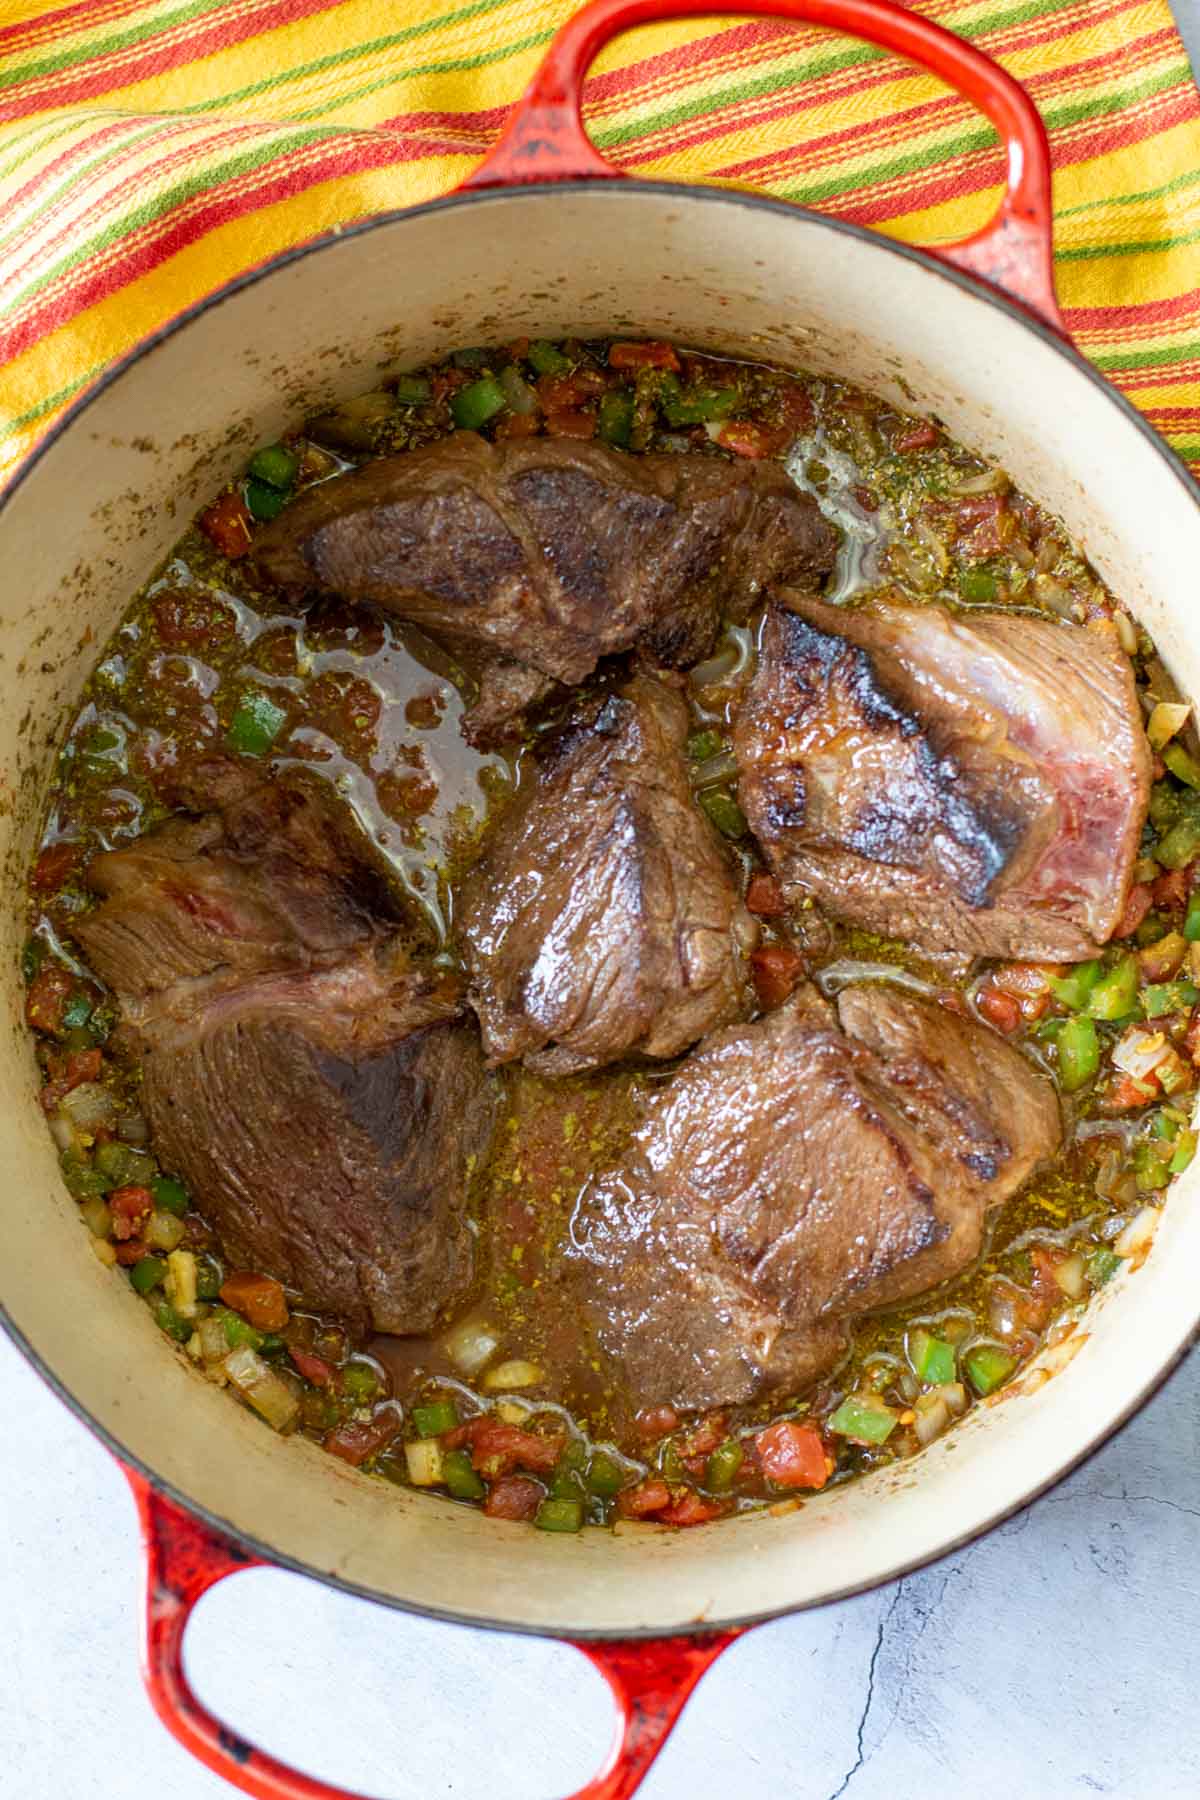
    Combining beef and vegetables to make beef machaca.
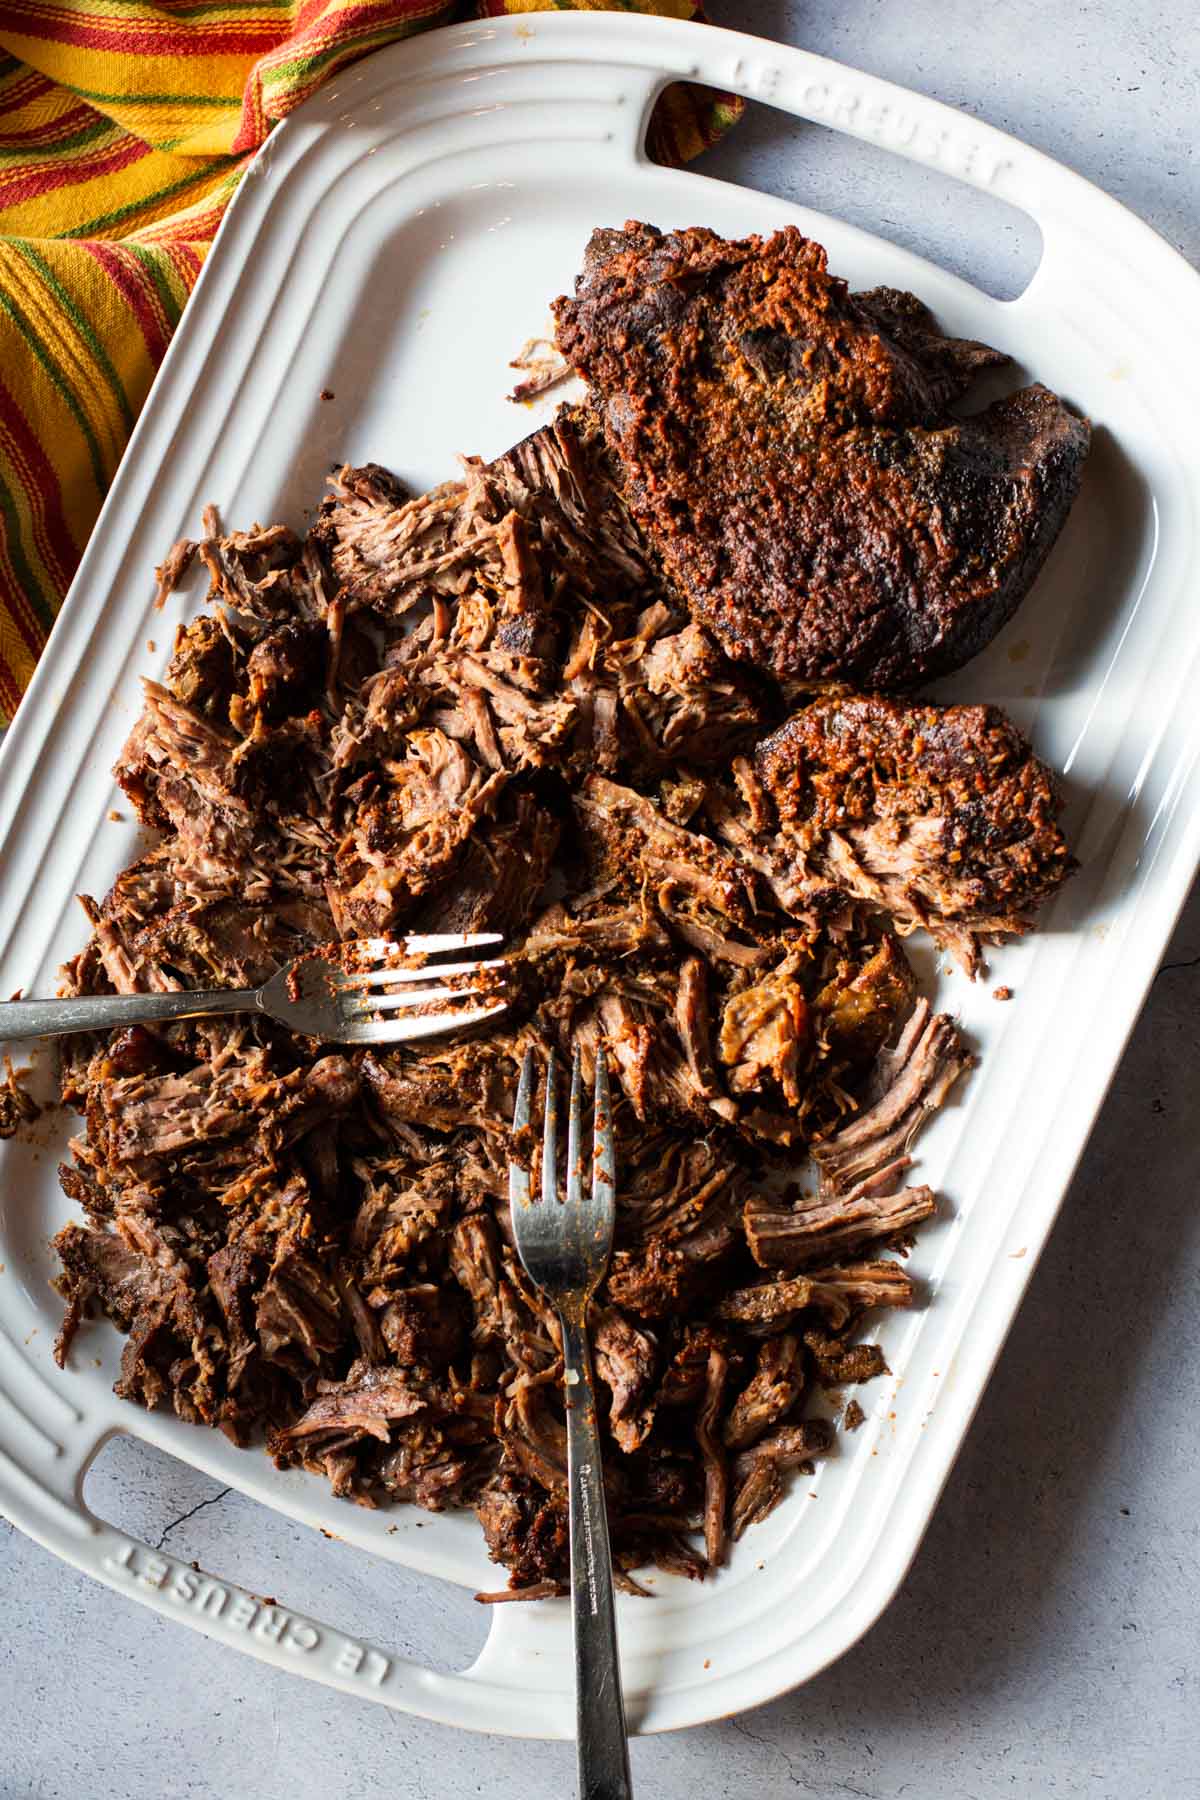
    Slow cooker shredded beef barbacoa on a white platter.
    1. Step 3: Stir in the remaining ingredients, then add the beef. Bring to a boil, scraping the browned bits off the bottom of the pan. Reduce heat to low, cover and simmer slowly for about 2 hours. Turn the meat after one hour of cooking.
    2. Step 4: The meat should be very tender and should easily fall apart when pricked with a fork. Remove from heat, remove meat to a cutting board and shred with a pair of forks. Return shredded meat to the pan and stir.

    What Is Braising?

    Braising is simple two step process where meat is seared until it’s well browned on both or all sides. It’s then partially submerged in liquid, routinely ½ way up the side of the meat. The meat is then slow-cooked at a moderately low temperature until the meat becomes very tender. Braising is my favorite way to cook meat during the cold months. The aroma that fills the house is intoxicating, and its classic comfort food at its best.

    How To Serve It

    Now that you’ve got all that glorious Mexican meat, here are some ideas on ways to serve it. Tacos (pictured above) are a traditional way to serve this Beef Machaca, but let’s think outside that taco shell.
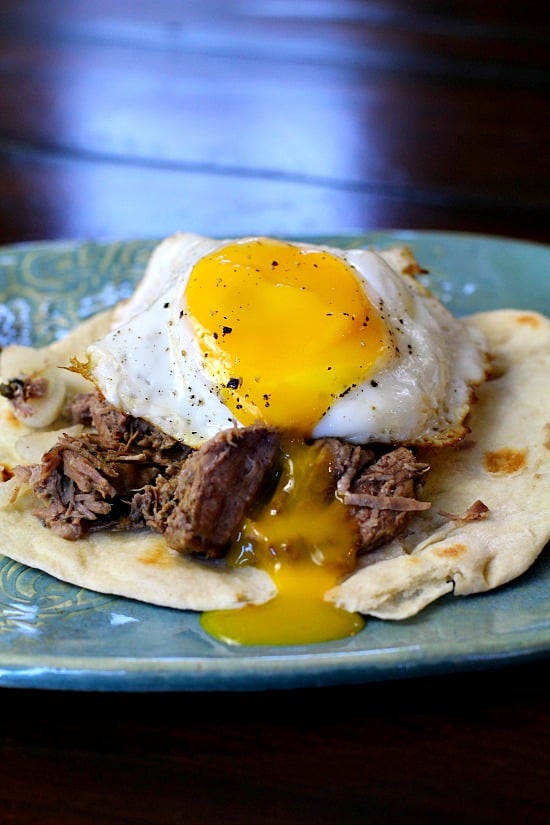
    Beef Machaca Huevos. Mexican shredded beef is served on a flour tortilla and topped with an egg.

    Machaca con Huevos: Simply add some of the shredded meat to a flour tortilla and top with a over-easy fried egg. Voila, beef machaca huevos. An easy and delicious breakfast.
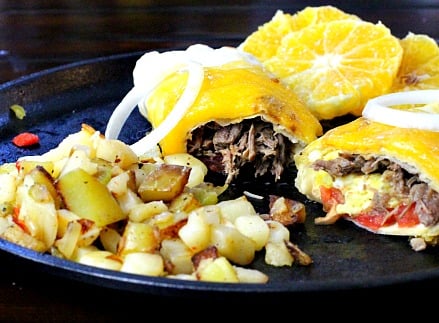
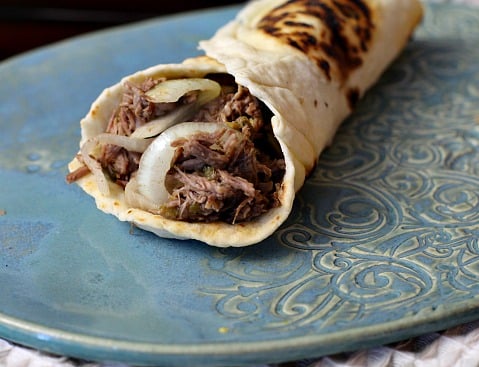
    Mexican Shredded Beef Breakfast Burritos.
    Beef machaca burrito. Filled with mexican shredded beef.
    • Breakfast: Wrap beef machaca and scrambled eggs in a flour tortilla. During tomato season, add some fine chopped tomatoes. Top with cheese for a breakfast burrito. Don’t forget the skillet fried potatoes.
    • Dinner Burritos: And for the simplest of all, simply wrap the beef along with some thin sliced sweet onion for a quick burrito, street style.
    • Tacos: And of course, the easiest way to serve Machaca been is Machaca tacos. Hard corn shells, soft corn shells, or small flour tortillas. All you need is a sprinkling of grated cheese, crumbled Cotija cheese and some chopped cilantro.

    Toppings For Beef Machaca

    Whether serving machaca for burritos, tacos or for breakfast, here are some topping ideas to elevate the flavors even more:

    • Salsa: You’ve got lots of options here. Try machaca with a drizzle of Mexican Restaurant Salsa, or go green with Roasted Tomatillo Salsa Verde or Hatch Green Chile Sauce.
    • Sauce: Go bold with a drizzle of authentic New Mexico Red Chile Sauce, or Salsa Macha (Mexican Chile Oil).
    • Onions: Friends don’t let friends eat Mexican food without Mexican Pickled Onions. They’re easy to make and totally delicious. And if you’re looking for a spicier pickled option, check out my recipe for Pickled Jalapeno Peppers.

    What To Serve It With

    A side dish of Oven Baked Mexican Rice is always a good choice. Or take a look at these Mashed Potato Stuffed Poblano Peppers. And if you’re looking for something less carb heavy, try this Southwest Salad with Black Beans.

    Storage and Reheating

    • Store any leftover meat in it’s liquid for up to 4 – 5 days in an air tight container in the refrigerator. To reheat, simmer the beef on low stovetop, or microwave in one minute increments at 50% power. Stirring every minute.
    • Freeze the meat in a freezer safe zip-lock style bag. Just place the meat in the bag, press the air out, then store laying flat. A freezer bag is a great way to save freezer space.

    FAQ’s

    Can I Make This Beef Machaca Recipe In The Slow Cooker?

    Yes. After the marinade, and once the beef is seared, simply transfer the ingredients to a crock pot. Cook on low for 8 hours. Shred the beef and then return the meat to the crockpot and let it cook for another 30 minutes or so. Voila, slow cooker Mexican shredded beef.

    Is Beef Machaca Spicy?

    That’s the beauty of any Mexican food recipe. You control the spice level. Using a mild chile powder will keep the heat level down. Changing out jalapeno peppers for poblano peppers will also tame that heat.

    Can This Recipe Be Made Ahead?

    Yes. This is one one of those recipes that if it sits in the refrigerator for a day, the flavors will be even more enhanced. The beef will keep moist because after shredding, you add it back into the cooking liquid. Covered in the refrigerator, this will keep very well for 3 – 4 days.

    Why Add Vinegar At The End Of This Recipe?

    Vinegar is magic. And in my kitchen, it's as important as salt and pepper. Plain and simple, a splash of vinegar can brighten, balance and sharpen your food. Tip: Does your recipe have an overwhelming strong bite of tomato flavor? A splash of vinegar will balance the flavor.

    Carne Machaca is a great example of cooking with one of my favorite techniques, braising. I look forward to making this again to use it in rellenos, enchiladas and beyond. So many possibilities.

    The inspiration for this recipe came from Texas Cooking. I made a few tweaks and it made some of the best Mexican shredded beef tacos I’ve ever had..

    And if you’re looking for more South of The Border Mexican Roast Beef ideas, you won’t want to miss my recipe for Mexican Pot Roast. Just right spicy and a more tomato based recipe than Machaca Beef.

    Explore More Mexican Beef Recipes
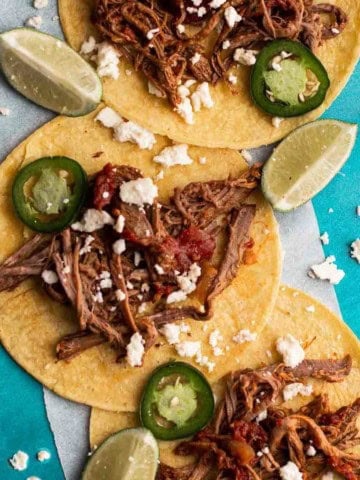
    • Tri-tip tacos served on corn tortillas.
      Smoky Dutch Oven Tri-Tip Tacos
    • Mexican Pacholas, Mexican meat patties topped with salsa.
      Mexican Pacholas Recipe
    • Ground Beef Red Chile Sauce Enchiladas.
      Blue Corn, Red Chile Ground Beef Enchiladas (New Mexico Style)
    • Fried tacos served with salsa and sour cream.
      Mexican Fried Tacos (Tacos Dorados)

    And if you’re looking for more Mexican Food Recipes, don’t miss my Mexican Southwest Category. You’ll find lots of great recipe ideas, including this recipe for traditional Mexican Carne Asada on the Grill.

    If you liked this recipe, please leave a star ⭐⭐⭐⭐⭐ rating in the recipe card below and leave a comment. I always appreciate your feedback and hearing how everything went.

    And, don’t forget to subscribe to my newsletter for more delicious recipes and cooking tips. Make it a delicious day … every day.

    Beef Machaca Tacos.
    Print Recipe
    4.70 from 10 votes

    Beef Machaca Recipe (Carne Machaca)

    Pot roast is slow braised in Mexican spices and then shredded. Great for tacos, burritos and all things Mexican and Tex-Mex.
    Prep Time30 minutes mins
    Cook Time2 hours hrs 30 minutes mins
    Total Time3 hours hrs
    Course: Main Course Beef
    Cuisine: Mexican
    Diet: Gluten Free
    Servings: 12
    Calories: 238kcal
    Author: Lea Ann Brown

    Ingredients

    • For the marinade:
    • 2-3 pounds Chuck Roast or Skirt Steak trimmed and cut into portions.
    • ¼ cup Worcestershire sauce
    • Juice of two limes
    • 1 teaspoon garlic powder
    • 1 teaspoon ground cumin
    • 1 teaspoon New Mexico chili powder or Ancho Chile Powder
    • ½ teaspoon salt
    • ½ teaspoon black pepper
    • ½ cup vegetable oil or olive oil
    • To cook the beef:
    • Vegetable oil for searing the beef
    • 1 large sweet onion diced
    • ½ green bell pepper diced
    • 4 cloves of garlic minced or pressed
    • 1 jalapeno pepper minced
    • 1-14 ounce can diced tomatoes or tomatoes with green chilies
    • ¼ cup beef broth
    • 1 tablespoon dried Mexican oregano or Marjoram
    • 1 tablespoon ground cumin
    • 1 teaspoon hot pepper sauce such as Tabasco
    • salt and pepper to taste
    • ½ teaspoon cider vinegar

    Instructions

    • For the marinade, Combine all the ingredients in a bowl then whisk to blend well. Cut the beef into large chunks. Add the beef to the marinade making sure every piece is evenly coated. Cover and refrigerate overnight.
    • Remove meat from marinade, drain thoroughly and pat meat dry with a paper towel.
    • In a Dutch oven, heat a few tablespoons of oil over medium-high heat until very hot.
    • Sear the beef a few pieces at a time to develop a rich brown color on all sides. Do this in several batches if the pot is too crowded.
    • When all the beef is browned remove it from the pan. Turn down the heat to medium and add the onions, and peppers to the hot pan. Saute for a few minutes then add the garlic. Cook until garlic is fragrant. About 1 minute.
    • Stir in the remaining ingredients, then add the beef.
    • Bring to a boil, scraping the browned bits off the bottom of the pan. Reduce heat to low, cover and simmer slowly for about 2 hours. Turn the meat after one hour of cooking.
    • The meat should be very tender and should easily fall apart when pricked with a fork. Remove from heat, remove meat to a cutting board and shred with a pair of forks.
    • Return beef to the pot and bring to a simmer, uncovered for about 10 minutes. At this point, adjust the seasoning with salt and pepper and any additional chile powder for more heat.
    • Finish by stirring in the vinegar. 
    Notes

    Pro Tip: Don't skip searing the meat. This is a crucial step in getting the most flavor out of this meal. Searing creates what is technically called Maillard reaction. Maillard reaction is the process where a crust is created, creating a layer of deep flavor and sealing in juices.
    This is one one of those recipes that if it sits in the refrigerator for a day, the flavors will be even more enhanced. The beef machaca will keep moist because after shredding, you add it back into the cooking liquid. Covered in the refrigerator, this will keep very well for 3 – 4 days.
    Store any leftover beef in it’s liquid for up to 4 – 5 days in an air tight container in the refrigerator. To reheat, simmer the beef on low stovetop, or microwave in one minute increments at 50% power. Stirring every minute.
    Freeze machaca meat in a freezer safe zip-lock style bag. Just place the meat in the bag, press the air out, then store laying flat. A freezer bag is a great way to save freezer space.

    Nutrition

    Calories: 238kcal | Carbohydrates: 5g | Protein: 15g | Fat: 18g | Saturated Fat: 5g | Cholesterol: 52mg | Sodium: 252mg | Potassium: 373mg | Fiber: 1g | Sugar: 2g | Vitamin A: 113IU | Vitamin C: 8mg | Calcium: 39mg | Iron: 3mg

    Easy Cheesy Chorizo Omelette

    December 27, 2022 By Lea Ann Brown Leave a Comment

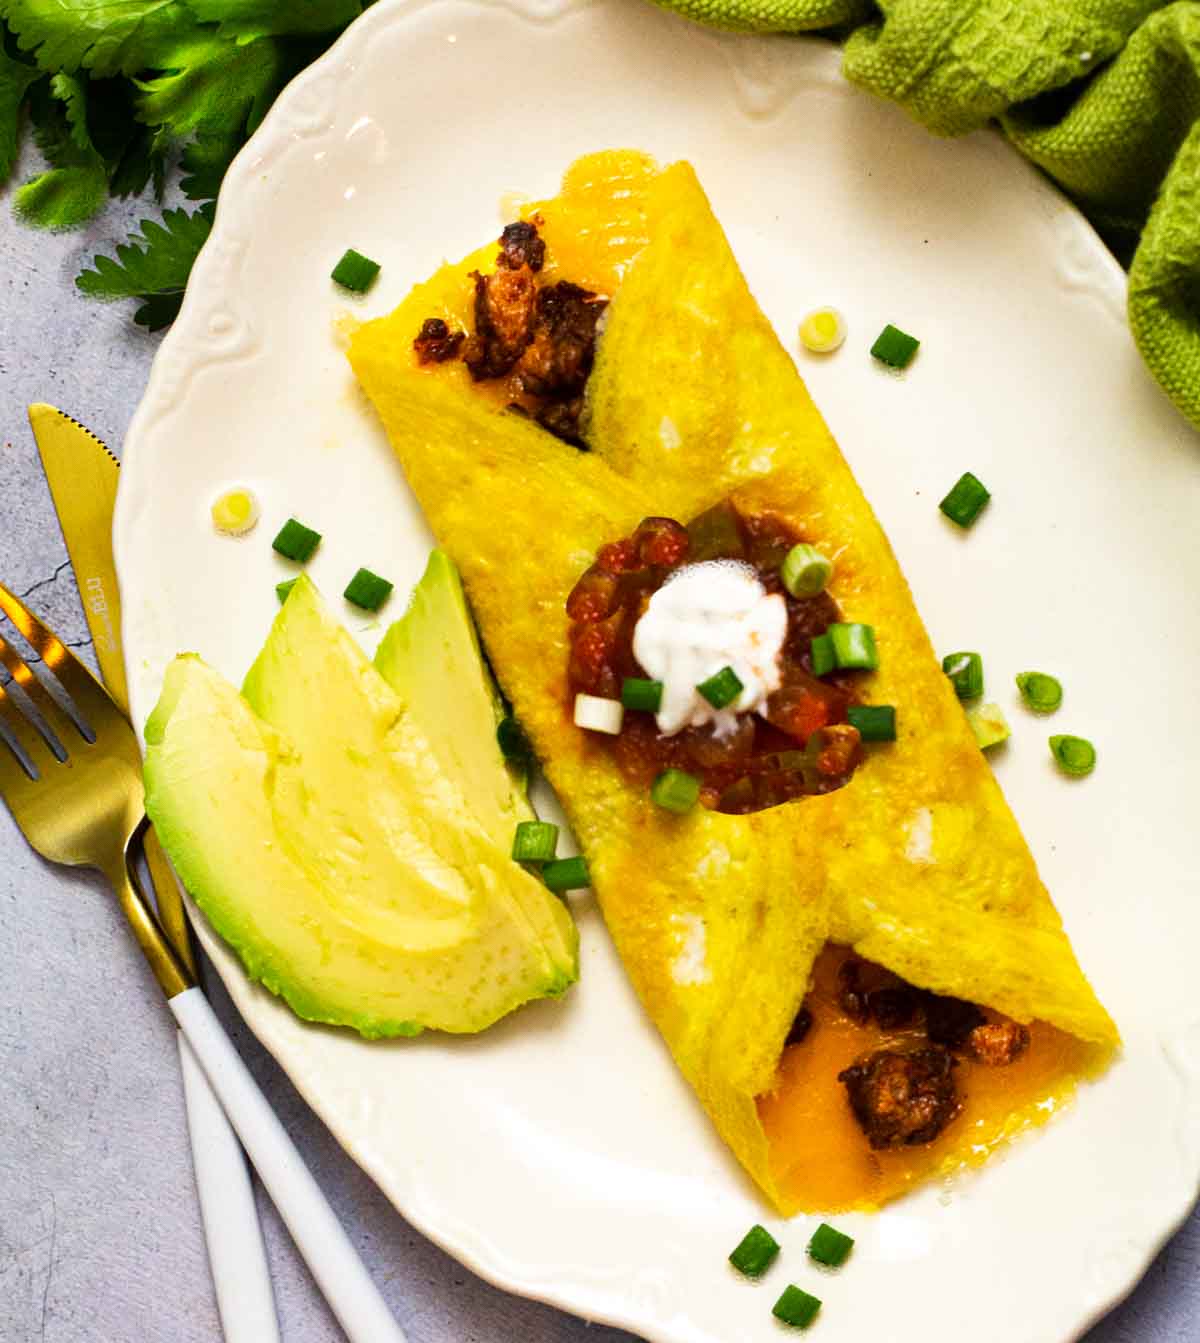
    Chorizo omelette topped with salsa and sour cream.

    Keeping the filling simple, this Chorizo Omelette is a quick breakfast, lunch or light dinner. Super easy to make, in just a matter of minutes you’ll bring a fiesta of flavor to your table. let’s take a look:

    If you enjoy a good Southwestern breakfast, try my Chorizo Breakfast Burrito with Potatoes and Eggs, made with crispy hash browns, scrambled eggs and Mexican chorizo and finished with New Mexico red chile sauce.

    Mexican omelette with chorizo and cheese.

    What You Can Expect From This Recipe

    We all love omelettes, but haven’t you had your fair share of mediocre versions? Like an omelette so heavy with ingredients, that the eggs have broken and it more resembles scrambled eggs? Or an omelette that’s browned too much, compromising the flavor?

    Leave it to my tenure at Culinary School for a deep dive into how to make a consistently good omelette. And I’ll show you how:

    • If you follow the simple rule of “less is more“, you’ll always turn out an omelette you can be proud of.
    • The ingredients should be simple and minimal so the creamy flavor of the egg doesn’t get lost. After all, the eggs are what it’s all about.
    • For this chorizo omelette, keep in mind that we’re not making an egg burrito, we want the ingredients to compliment and enhance the flavor of the egg, rather than over-power. If the ingredients are too heavy, they’ll tear the delicate shell of the omelette. A good rule of thumb ratio is 2 eggs and 2 ounces of cooked chorizo.
    • Chorizo is heavy in texture and big on flavor, so keeping a good ingredient balance, this chorizo omelette is an example of how to make an omelette that will allow each flavor to shine.
    • Mexican chorizo and cheese unite with two large eggs for a Fiesta of a breakfast.

    The end result is creamy eggs and cheese with smoky spicy chorizo for an exciting breakfast entree.

    Mexican versus Spanish Chorizo

    For this recipe we’re using Mexican Chorizo.

    • Mexican Chorizo: Is a ground pork product that is sold raw and seasoned with Mexican spices. I prefer to purchase Mexican chorizo that is sold in packages that resembles ground beef. Another option are the tubes of finely ground chorizo which contain a lot of oil. This products cooks down the a very fine texture, rather than a chunkier version of burger type product.
    • Spanish Chorizo: And don’t confuse Spanish chorizo with Mexican Chorizo. Spanish chorizo is a hard sausage product that is already cured and cooked. It has a totally different flavor profile than Mexican chorizo and a hard texture. Spanish chorizo is a product that you might find in Paella, or on a charcuterie board.
    • Tip: If you simply can’t find Mexican Chorizo, pick up some Spanish chorizo. Slice it very thin and treat it as an add-in at the end of cooking. No need to pre-cook to render fat.

    Mexican Chorizo Omelette Ingredients

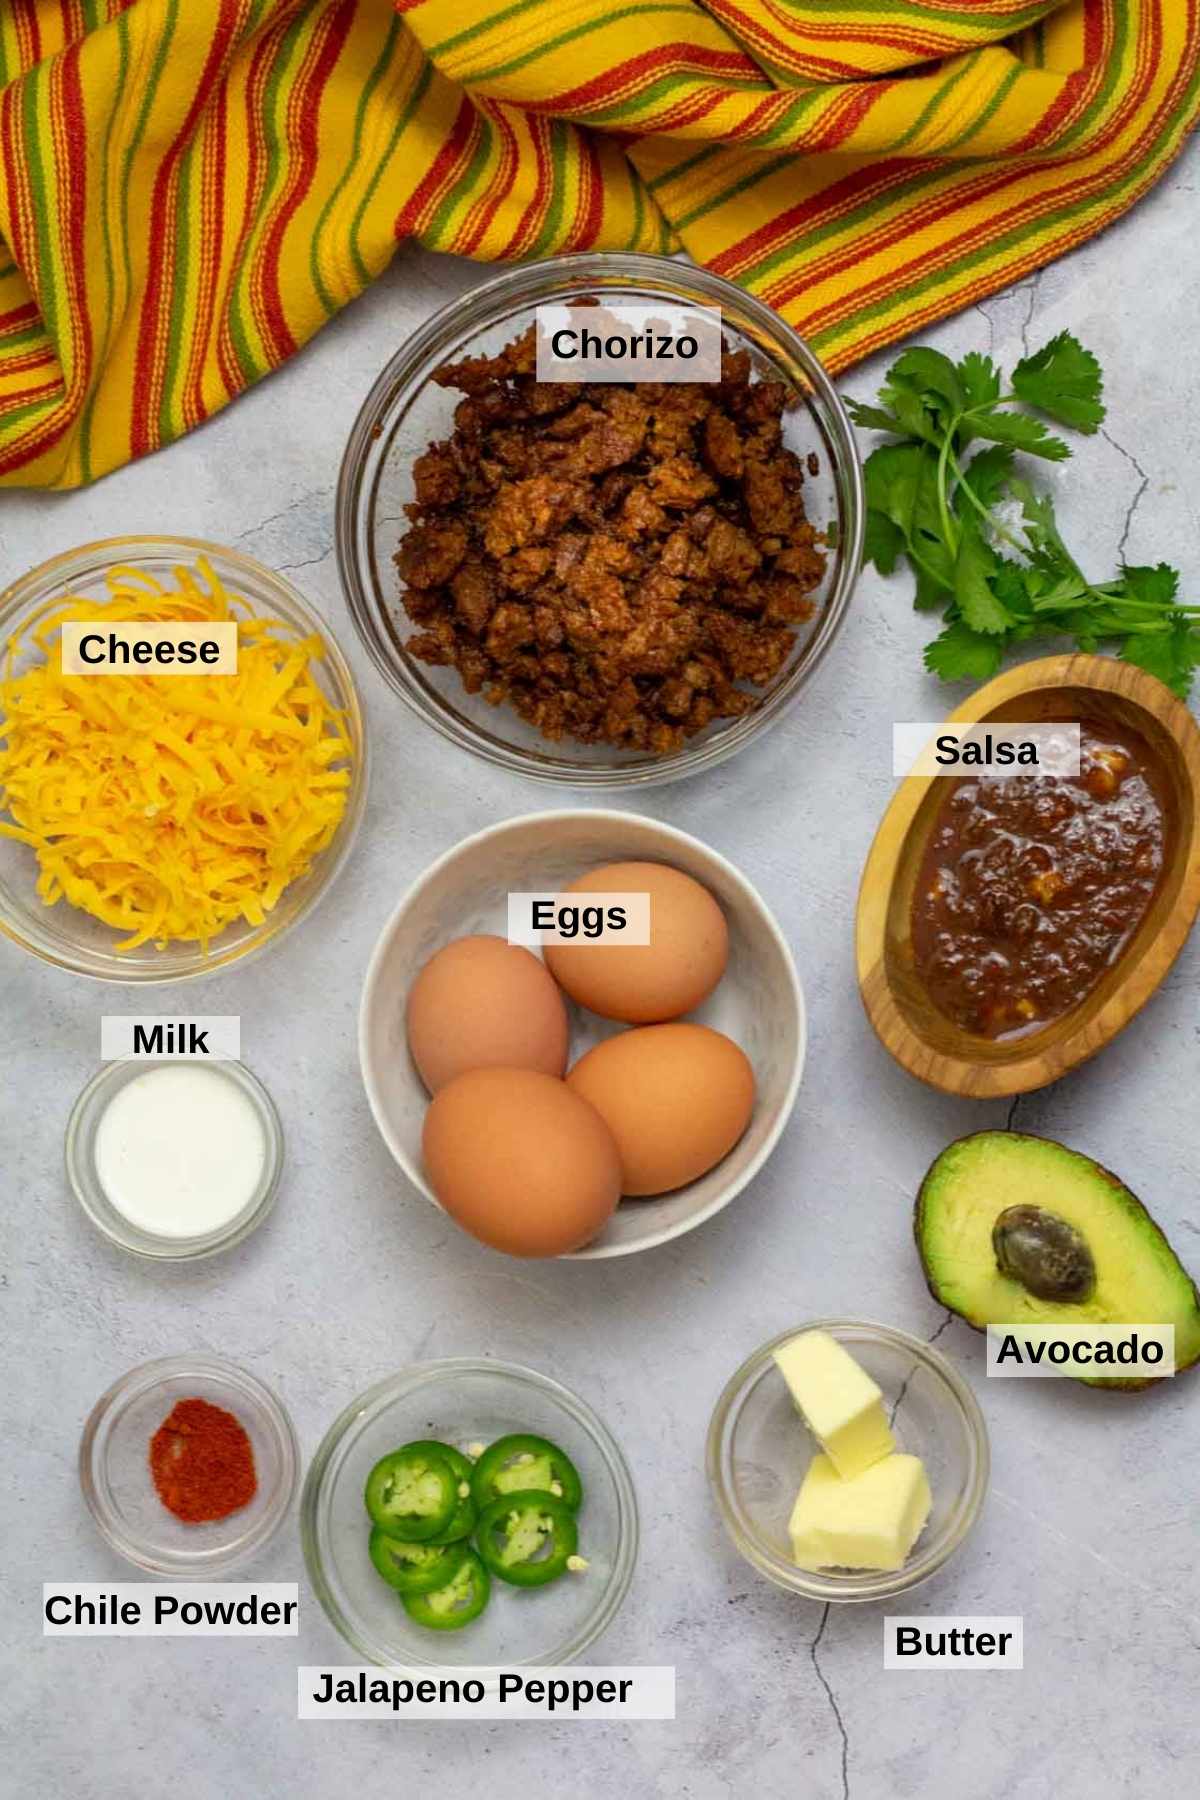
    Ingredients to make a Mexican Omelette.
    • Mexican Chorizo Sausage: Browned and fat rendered.
    • Shredded Cheese: see below for suggestions
    • Tomato based Salsa
    • Eggs: Good quality and fresh
    • Chile Powder: A single blend rather than Chili powder, a blend of seasonings used for Chili style soups.
    • Jalapeno Pepper

    Best Cheese For A Chorizo Omelette

    Use a good quality melting cheese. A mild flavored cheese that melts easily.

    • A shredded medium cheddar works well here. Use a microplane zester to fine grate this cheese for quick melting results.
    • Monterey Jack and Pepper Jack are soft cheeses that will melt quickly.
    • If you’ve never tried Muenster in Mexican recipes, give it a try. Mild flavored and quick melting, it’s a great choice here.
    • Don’t forget about Mexican melting cheeses. Seek out Oaxaca or Asadero.
    • Avoid hard cheeses like Parmesan, or a Mexican crumbling cheese such as Cotija. I also don’t like to use Mozzarella. Even though it’s a great melting cheese, it’s strings once it’s melted, making it hard to eat.

    Ingredient Substitutions

    • Meat: You can also use ground beef or ground chicken that’s been seasoned with taco seasoning.
    • Chile Powder: New Mexico Red Chile Powder is recommended, or Ancho chile powder.
    • Butter: Omelettes take on a creamy buttery flavor using butter, but you can use a non-stick cooking spray for a low-fat option.
    • Milk: Substitute Mexican crema or sour cream. I do this a lot when making scrambled eggs or omelettes.

    Step by Step Instructions, It’s Easy

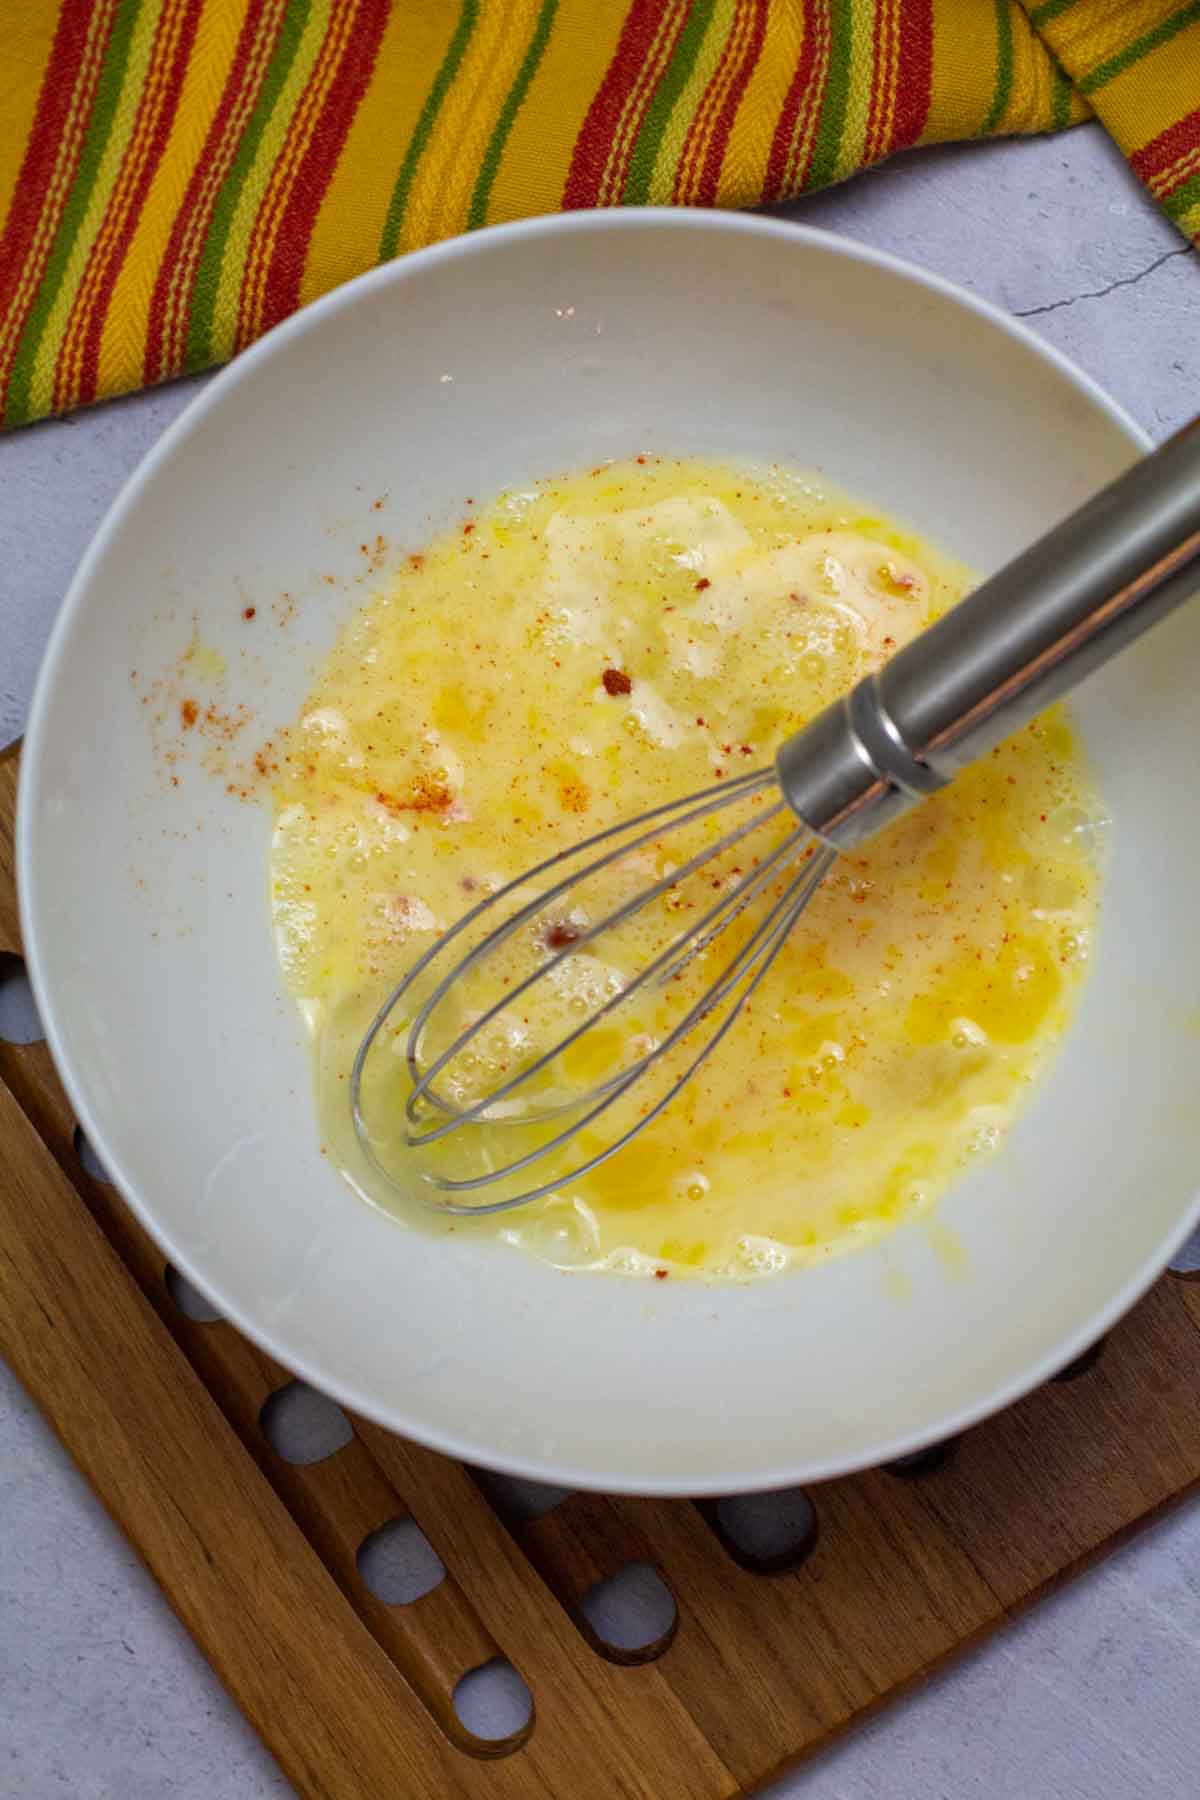
    Mixing eggs with chile powder to make a Mexican Omelette,
    How to make a Mexican Omelette in an omelette pan.
    1. Step 1: Working with one omelette a time: Use a whisk to beat two eggs, milk and chile powder.

    Pro Tip: Don’t over mix the eggs. Mix just enough to combine eggs until a few bubbles appear. If you over-mix it will cause the protein to break down resulting in rubbery texture.
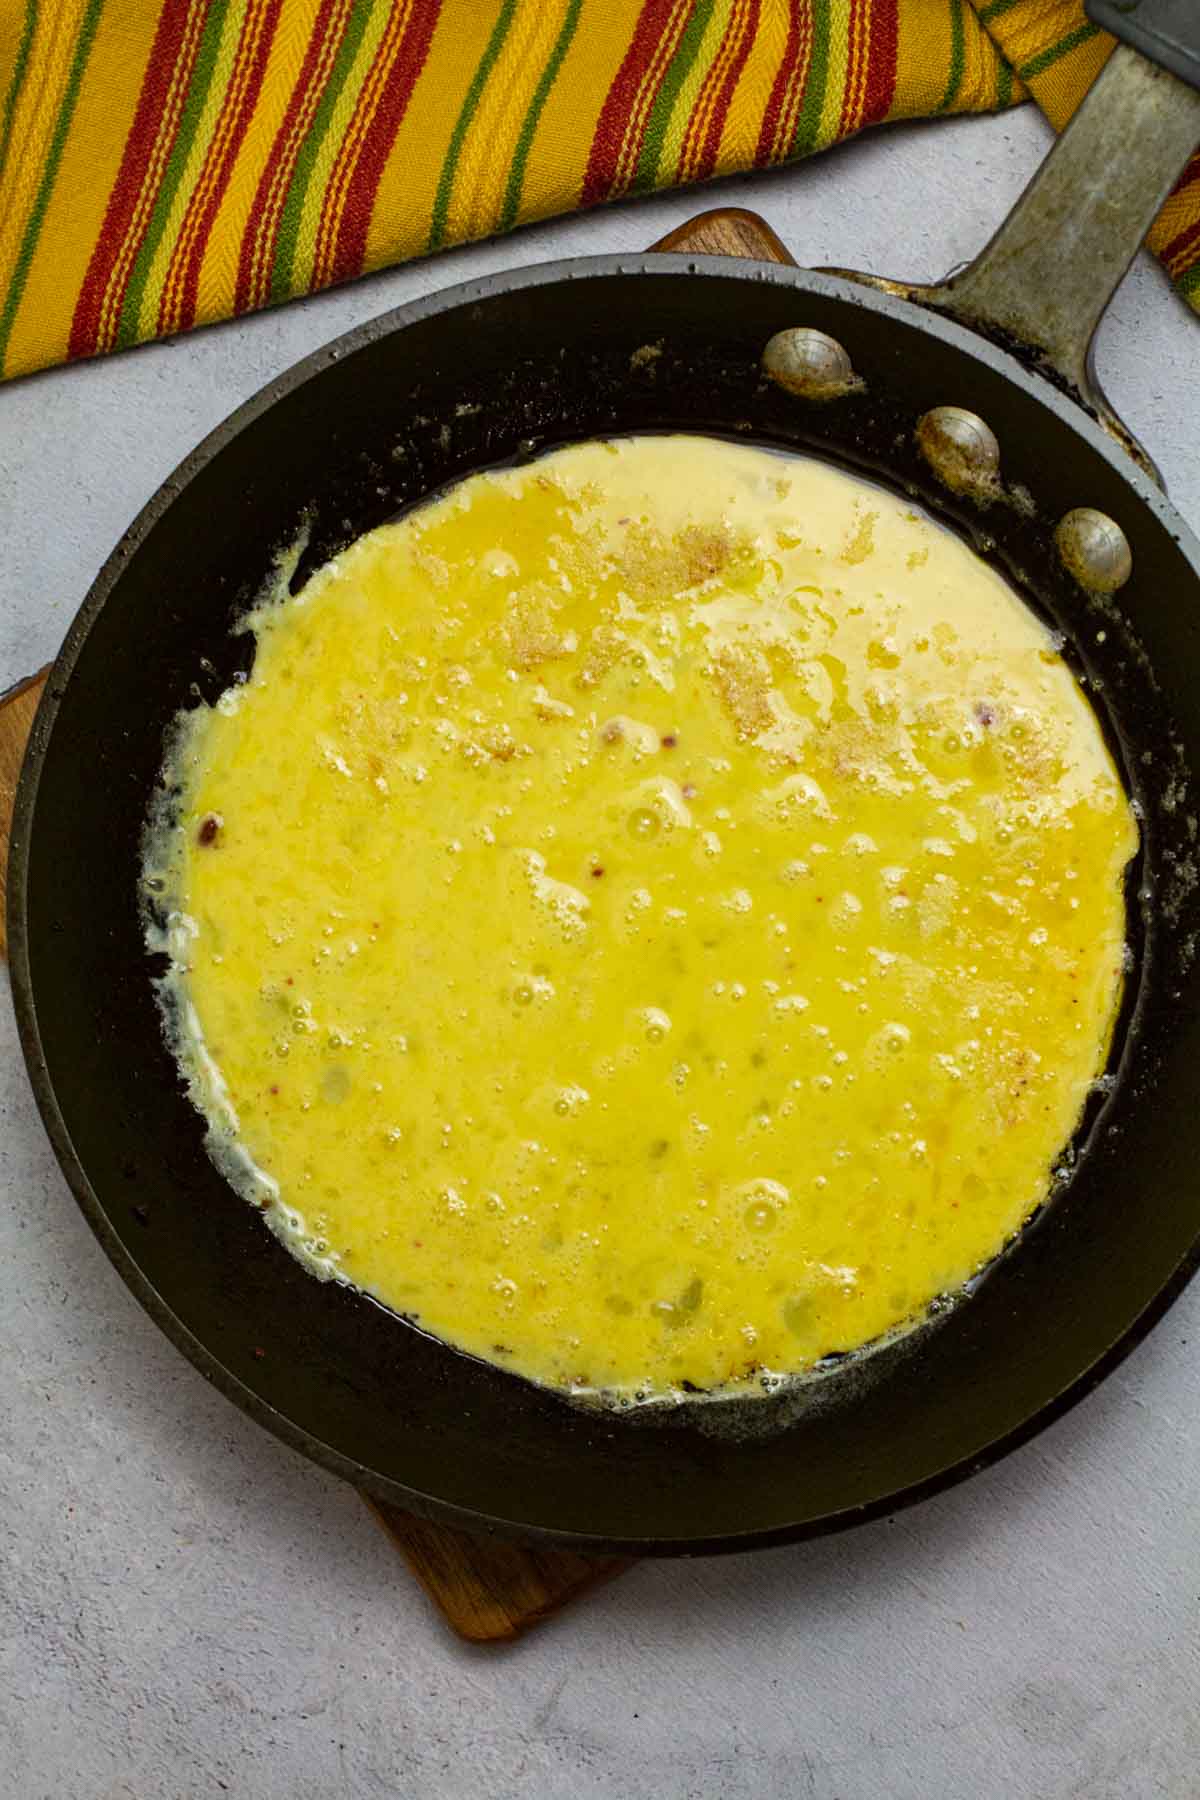
    1. Step 2: Melt 1 Tablespoon butter, in an 8 – 10 inch omelette pan. Once the butter is melted and bubbles start to subside, add the eggs. Let the eggs sit for a minute before moving the pan to cook the omelette.
    2. Step 3: With the pan setting on the burner, move it in a circular motion. This movement will distribute the uncooked eggs in the pan and set the omelette quicker.
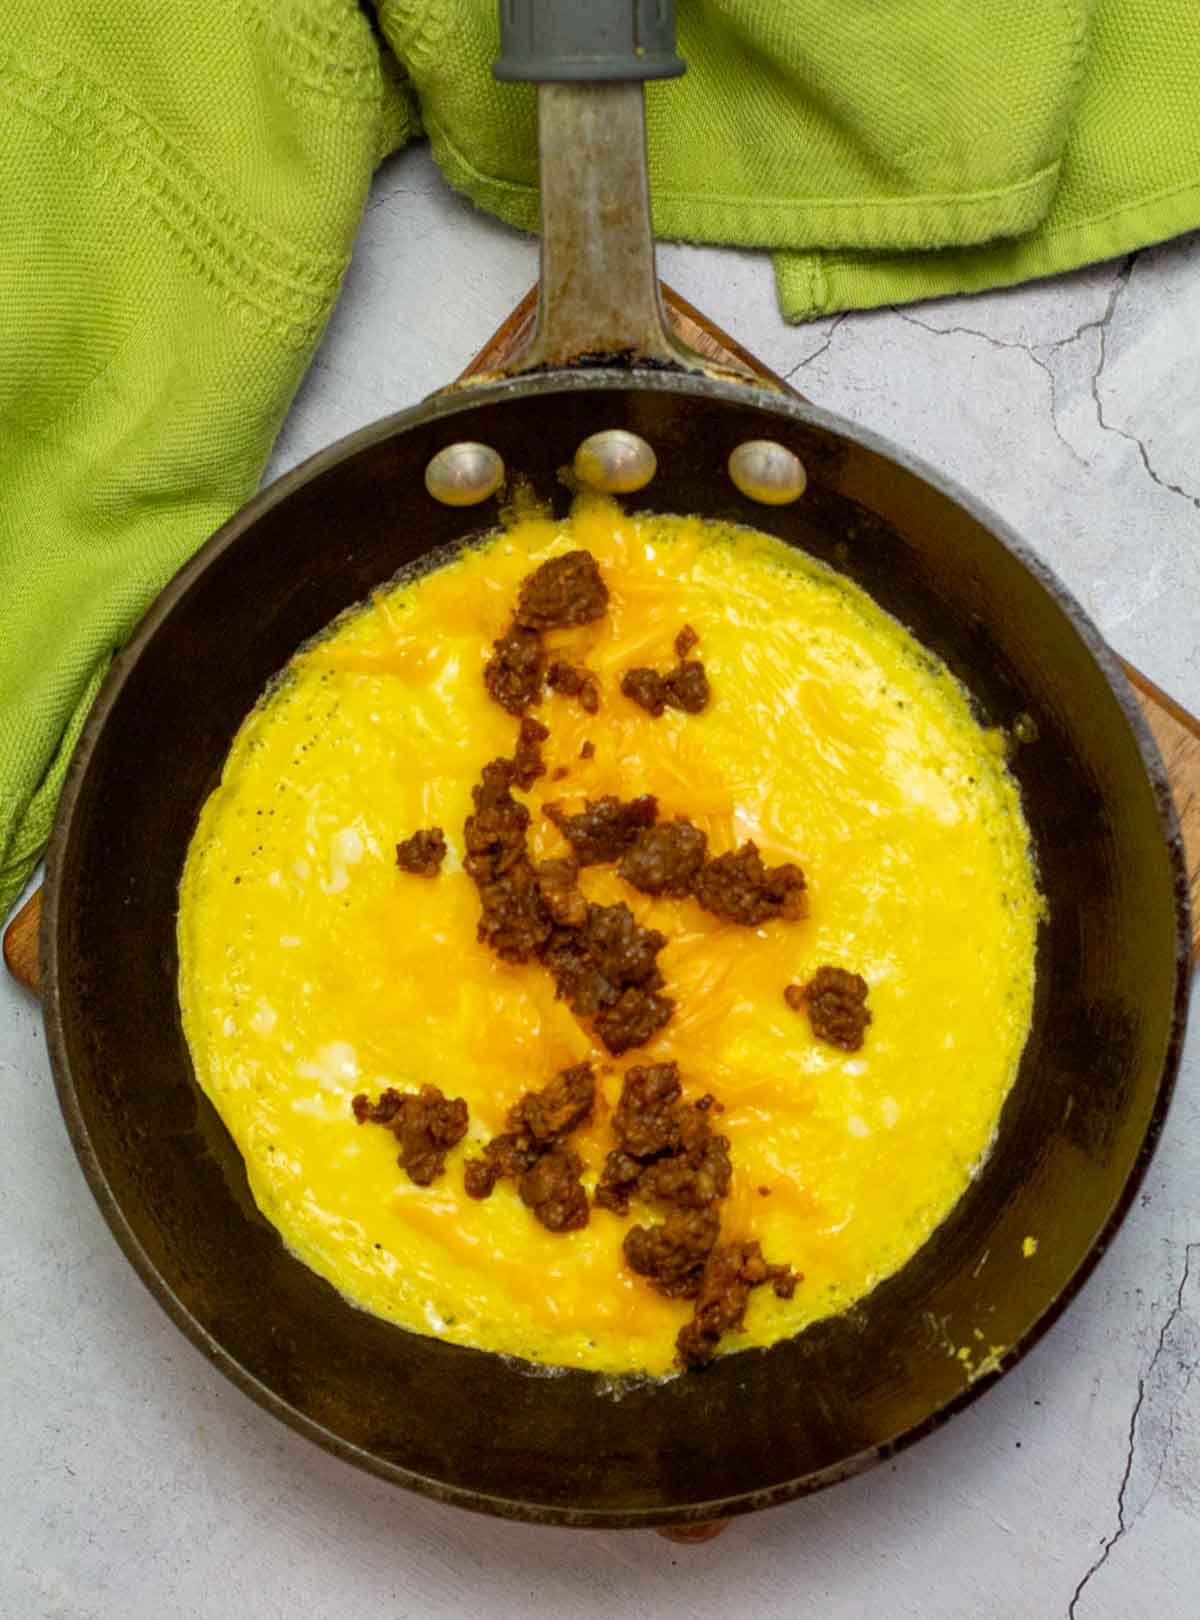
    Making a Mexican Omelette with Chorizo and Cheese.
    1. Step 4: Once the eggs are almost set, add the cooked chorizo and cheese on top of the egg mixture. Using a flexible spatula, quickly roll or fold the omelette. The residual heat from the eggs will melt the cheese and set the remaining soft eggs.

    Omelette Tips

    • We made hundreds of omelettes in Culinary School, following the rules of quick and fast. An omelette should take about two minutes to make, from start to finish.
    • Any filling for any omelette should be added right before folding the omelette which means it’s necessary for all fillings to be fully cooked.
    • More than likely any omelette will include cheese, so it’s imperative that the cheese be fine grated, so the heat from the eggs will melt it when you fold the omelette.
    • Grate the cheese yourself. Bags of pre-grated cheese contains chemicals to keep the cheese from sticking together. This will also cause the cheese to melt slower.
    • Don’t let the eggs brown on the bottom. You’ll lose that delicate texture and flavor.
    • Equipment Needed: An Omelette pan doesn’t have to be expensive. Purchase an inexpensive non-stick 8″ omelette pan and reserve its use for fried eggs, scrambled eggs and omelettes. Don’t use a large skillet, as it will cause the eggs to spread and you’ll have a very large, too thin, mess.

    What To Serve It With

    I always like to serve potatoes with this Mexican omelette. Try this recipe for Savory Skillet Potatoes. Refried beans are also a good choice. Everyone loves biscuits, take a look at this recipe for Fried Biscuits.

    Warmed flour or corn tortillas are also a good option. Along with a bowl of fresh berries.

    TIP: Omelettes are so quick to make, prepare any side dish before you start cooking the eggs.

    Chorizo Omelette Variations

    • Add some fine chopped fresh jalapeno pepper to the chorizo while cooking. This will give you a lovely blast of spicy heat.
    • Garnish with your favorite brand of salsa and a dollop of sour cream or better yet, Mexican Crema. Mexican Crema is a thinner and tarter version of sour cream.
    • Sprinkle with sliced green onions, or rings of fresh sliced jalapeno.
    • Add chopped or sliced avocado to the omelette once it’s plated.
    • Fine chopped cilantro is always welcome.
    • For an additional spritz of heat, sprinkle the finished omelette with a pinch New Mexico Red Chile Powder. The hint of red also adds a nice splash of color.
    • Switch out traditional salsa for a spoonful of green chile sauce .
    • Tex-Mex: Sprinkle on some some warmed black beans and corn, use pepper jack cheese, then top with Pico de Gallo

    FAQ’s

    Can I Use Olive Oil Instead of Butter?

    You’re better off using vegetable oil. Vegetable oil has a higher smoking point that olive oil. Which means that the oil will heat faster. This is beneficial when adding eggs to the pan. You won’t risk the egg omelette sitting in oil that’s not hot enough, which will lead to the eggs soaking up the oil, rather than frying.

    Is This Omelette Gluten Free?

    This omelette is naturally gluten free and a great source of protein.

    Why Is My Chorizo Omelette Greasy?

    Perhaps the chorizo wasn’t browned completely, leaving some of the un-rendered grease behind. And also remember, to drain the sausage on paper towels. Fold the paper towels over the sausage and gently press to release remaining grease.

    Looking for more perfect omelette tips? Visit my article about making a two egg omelette, perfect every time.

    More Mexican Breakfast Ideas

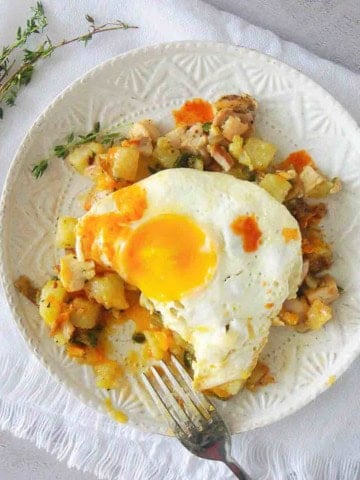
    • Chicken Hash topped with a fried egg.
      Chicken and Eggs Hash, Southwestern Style
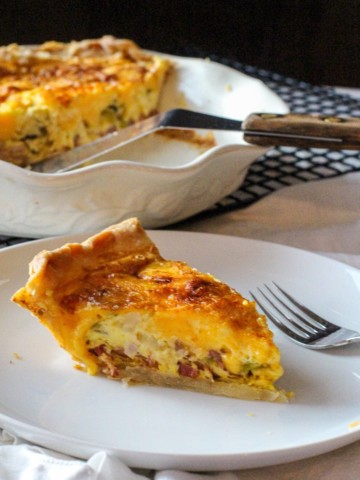
    • A slice of hatch green chile bacon quiche with a deep dish pie pan with quiche and spatula
      Hatch Green Chile Quiche With Bacon
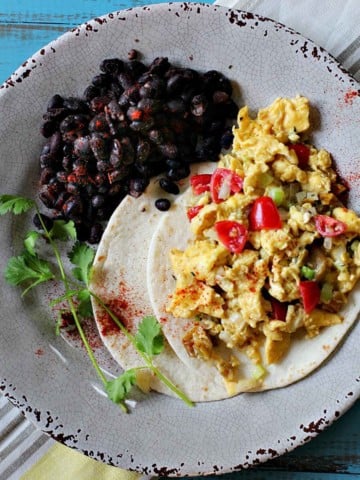
    • Mexican breakfast scrambled eggs with black beans.
      Eggs Rio Grande, New Mexican Breakfast Eggs
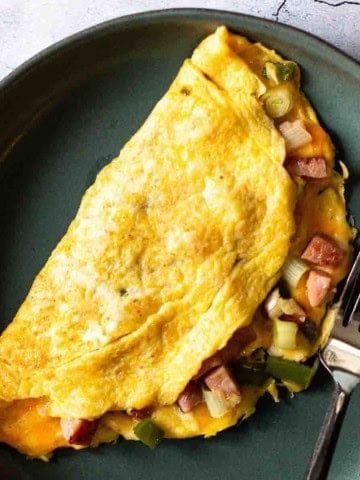
    • Western omelette recipe.
      Traditional 2-Egg Western Omelette Recipe

    Love scrambled egg recipes? Take a look at my easy recipe for Huevos a la Mexicano (easy Mexican scrambled eggs).

    And if you love breakfast as much as we do, don’t miss my Breakfast Category. You’ll find lots of eye opening recipes, and the most popular breakfast recipe on my site for Country Potatoes with Ham.

    If you liked this recipe, please leave a star ⭐⭐⭐⭐⭐ rating in the recipe card below and leave a comment. I always appreciate your feedback and hearing how everything went.

    And, don’t forget to subscribe to my newsletter for more delicious recipes and cooking tips. Make it a delicious day … every day.

    Chorizo omelette topped with salsa and sour cream.
    Print Recipe
    5 from 1 vote

    Cheesy Mexican Chorizo Omelette

    Keeping the filling simple with chorizo and cheese, this Mexican Chorizo Omelette is a quick breakfast, lunch or light dinner.
    Prep Time10 minutes mins
    Cook Time2 minutes mins
    Total Time12 minutes mins
    Course: Breakfast Recipes
    Cuisine: Mexican
    Diet: Gluten Free
    Servings: 2 omelettes
    Calories: 538kcal
    Author: Lea Ann Brown

    Equipment

    • Omelette pan non-stick

    Ingredients

    • ¼ pound Mexican Chorizo bulk, cooked
    • 4 large eggs
    • 1 Tablespoon milk divided
    • 2 Tablespoons butter divided
    • 1 teaspoon New Mexico Red Chile Powder divided, or Ancho Chile Powder
    • ½ Cup Shredded Cheddar Cheese

    Instructions

    • Working with one omelette a time: Use a whisk to beat two eggs, milk and chile powder.
    • Melt 1 Tablespoon butter in an omelette pan over medium heat. Once the butter is melted and bubbles start to subside, add the eggs. Let the eggs sit for a minute before moving the pan to cook the omelette.
    • With the pan setting on the burner, move the pan in a circular motion, This movement will distribute the uncooked eggs around in the pan and set the omelette quicker.
    • Once the eggs are almost set, add half the cooked chorizo and half of the cheese down the center of the omelette. Using a flexible spatula, quickly roll or fold the omelette. The residual heat from the eggs will melt the cheese and set the remaining soft eggs.
    • Repeat to make the 2nd omelette.
    • Top with sour cream or Mexican Crema. Salsa, Cilantro, or chopped or sliced avocado.

    Notes

    Tip: An Omelette pan doesn’t have to be expensive. Purchase an inexpensive non-stick omelette pan and reserve it to only cook eggs and omelettes.
    • Add some fine chopped fresh jalapeno pepper to the chorizo while cooking. This will give you a lovely blast of spicy heat.
    • Garnish with your favorite brand of salsa and a dollop of sour cream or better yet, Mexican Crema. Mexican Crema is a thinner and tarter version of sour cream.
    • Sprinkle with sliced green onions, or rings of fresh sliced jalapeno.
    • Add chopped or sliced avocado to the omelette once it’s plated.
    • Fine chopped cilantro is always welcome.
    • For an additional spritz of heat, sprinkle the finished omelette with a pinch New Mexico Red Chile Powder. The hint of red also adds a nice garnish presentation.
    Keep the first omelette warm by tenting with foil, while you make the 2nd omelette.

    Nutrition

    Calories: 538kcal | Carbohydrates: 4g | Protein: 28g | Fat: 45g | Saturated Fat: 21g | Polyunsaturated Fat: 3g | Monounsaturated Fat: 9g | Trans Fat: 1g | Cholesterol: 467mg | Sodium: 841mg | Potassium: 194mg | Fiber: 0.3g | Sugar: 1g | Vitamin A: 1785IU | Vitamin C: 0.01mg | Calcium: 272mg | Iron: 2mg

    Mexican Chorizo Omelette … It’s Whats for Breakfast

    Adobo Shrimp Tostadas with Lime Slaw

    December 18, 2022 By Lea Ann Brown 7 Comments

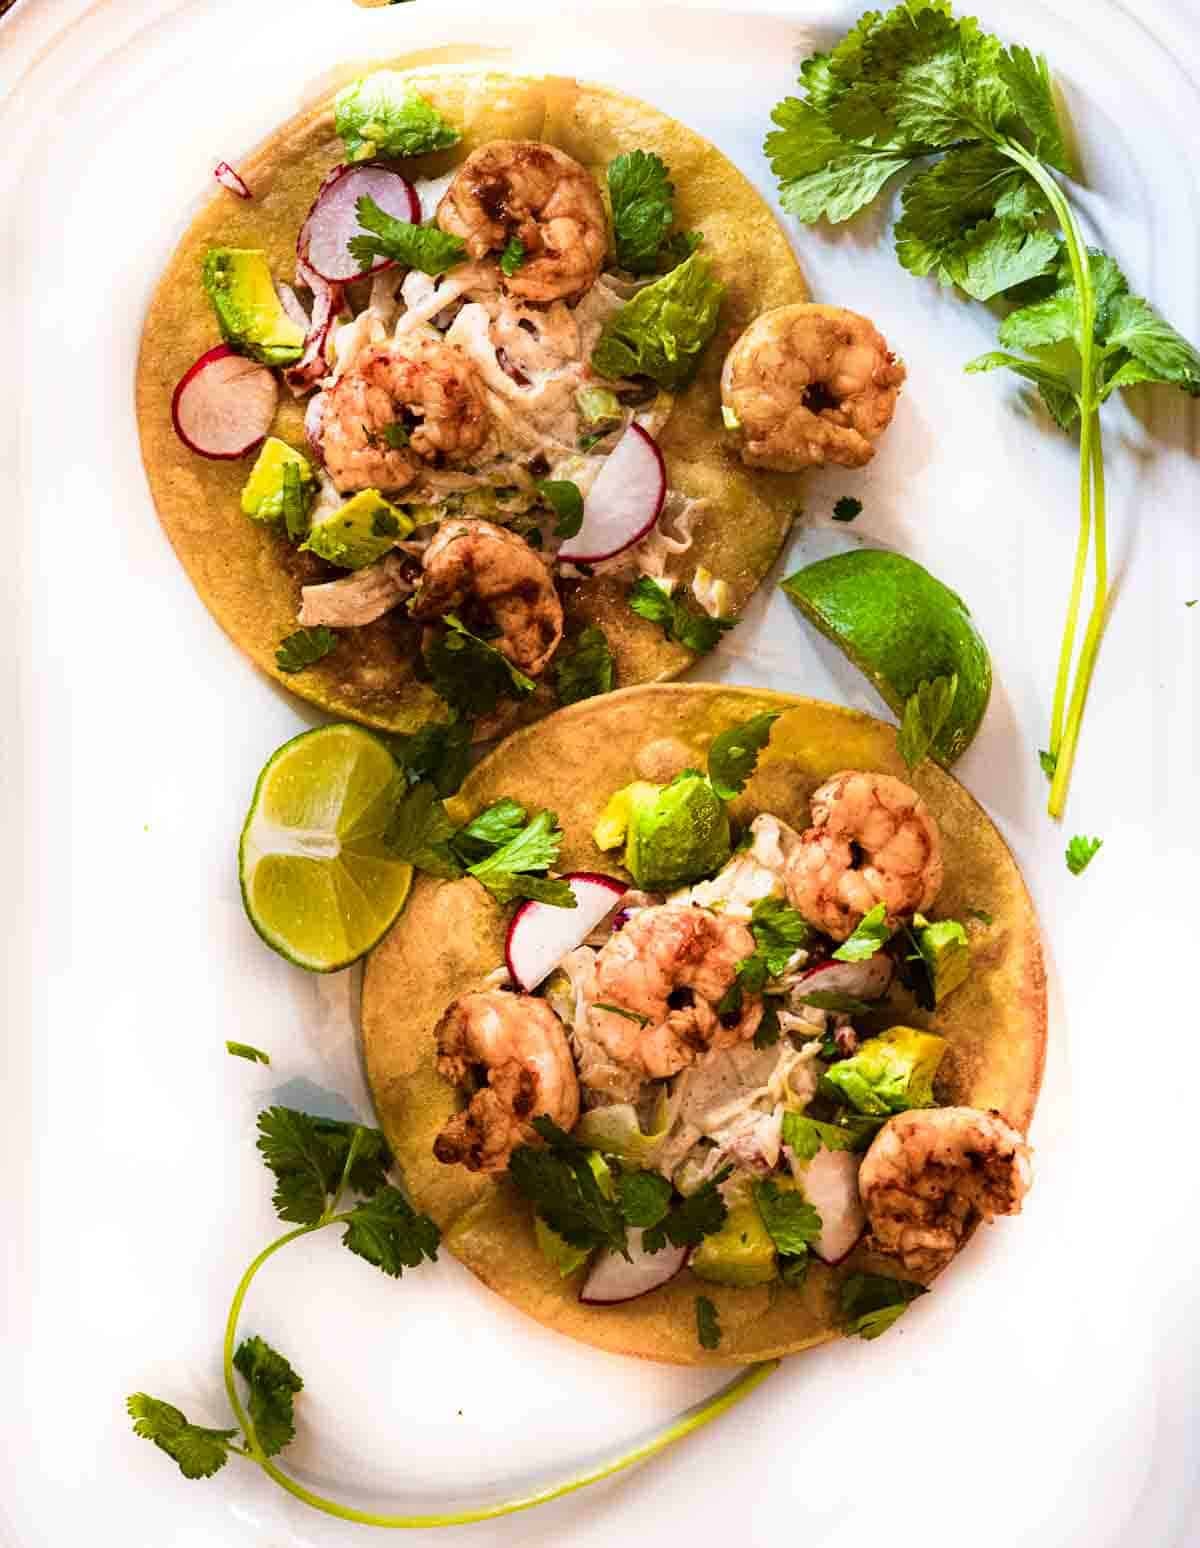
    Shrimp tostadas with lime slaw and toppings.

    What makes these Shrimp Tostadas so irresistible? It’s the combination you might not expect. Smoky chipotle shrimp meet a cool, creamy Southwestern slaw made with sour cream instead of mayonnaise, creating layers of flavor and texture in every crunchy bite.

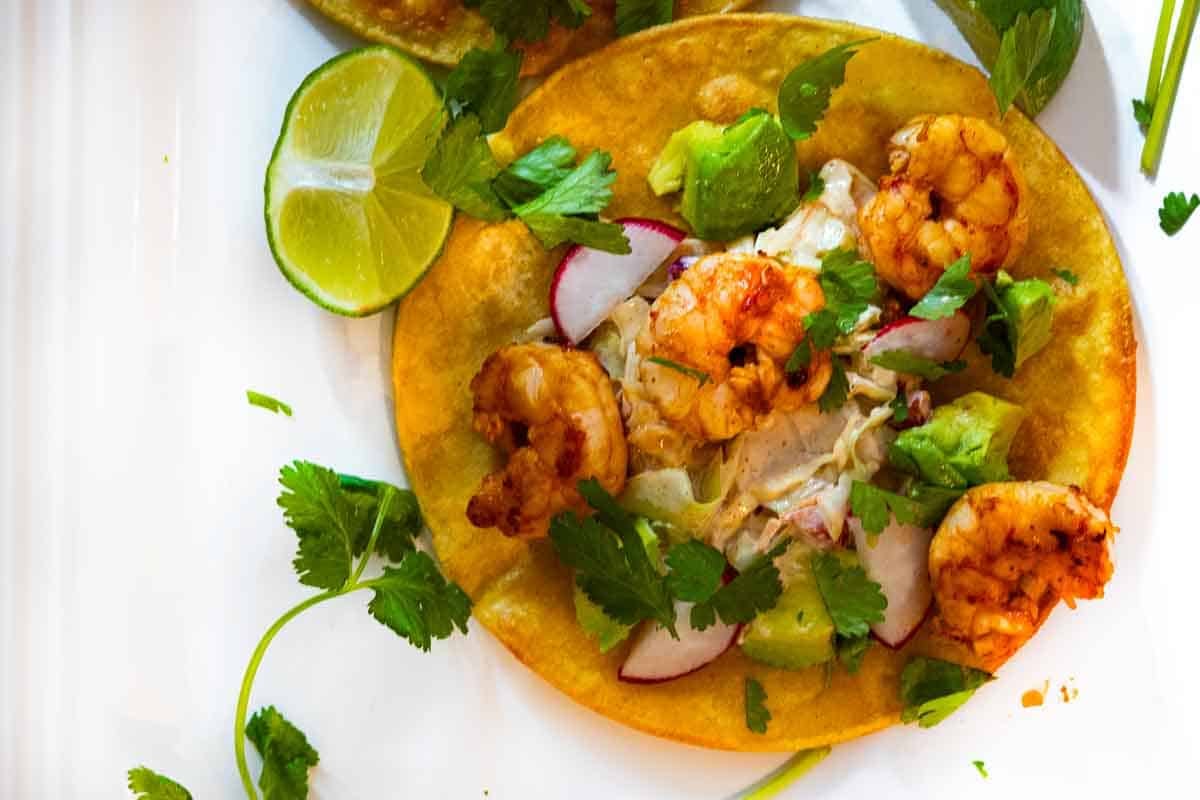
    Shrimp tostadas with lime slaw topped with avocado, radish, cilantro.

    What Is A Tostada?

    Tostadas are basically an open-faced taco, with endless possibilities for toppings. Pronounced “toe-staa-duh”, it’s referred to Mexican dishes made using flat crispy corn tortillas.

    What Is Adobo Sauce

    If you’ve never opened a can of chipotle peppers in adobo, you’re in for a treat.

    Chipotle peppers are simply ripe jalapeños that have been smoked and dried. They’re packed into a rich tomato-based adobo sauce seasoned with vinegar, garlic, and spices. The peppers bring most of the heat. The sauce carries smoky, earthy flavor that works beautifully with seafood.

    You only need a spoonful or two for this recipe. I freeze the rest in small portions, and it’s ready whenever I need a quick shot of smoky chile flavor.

    What You Can Expect From This Recipe

    • These shrimp tostadas are easy, fresh, delicious and with the addition of adobo sauce, addicting in flavor. 
    • The base of creamy coleslaw dressing made with sour cream rather than mayo is a refreshing surprise. And with Chimayo Chile Powder, and a squeeze of lime, a Southwestern version of coleslaw to compliment the adobo sauced shrimp.
    • Coating the shrimp with adobo sauce before cooking, makes this a just right spicy shrimp tostada.
    • This recipe is naturally gluten free.
    • This is a fairly quick fix, on the dinner table in around 30 minutes.

    My Culinary School Take on Building Better Tostadas

    One thing culinary school drilled into me was balance. A great dish isn’t just about seasoning. It’s about contrast.

    In this case, a tostada should crack when you bite into it. The slaw should be cool and creamy. The shrimp should be warm, smoky, and just a little spicy. Fresh cilantro and lime wake everything up at the end. Skip one of those pieces and the whole thing falls a little flat.

    Honestly, that’s why I don’t believe in stacking ingredients just because they look pretty. Every layer should earn its place. Take a look at the article I posted on How To Make A Great Tostada.

    Why I Skip Mayonnaise in the Slaw

    You’ll find plenty of slaws built around mayonnaise. This recipe isn’t one of them.

    Sour cream has a fresher, tangier flavor that feels right at home with Southwestern cooking. It coats the cabbage without making it heavy, and it doesn’t compete with the smoky adobo shrimp. The shrimp stay front and center, exactly where they belong.

    Ingredients You’ll Need

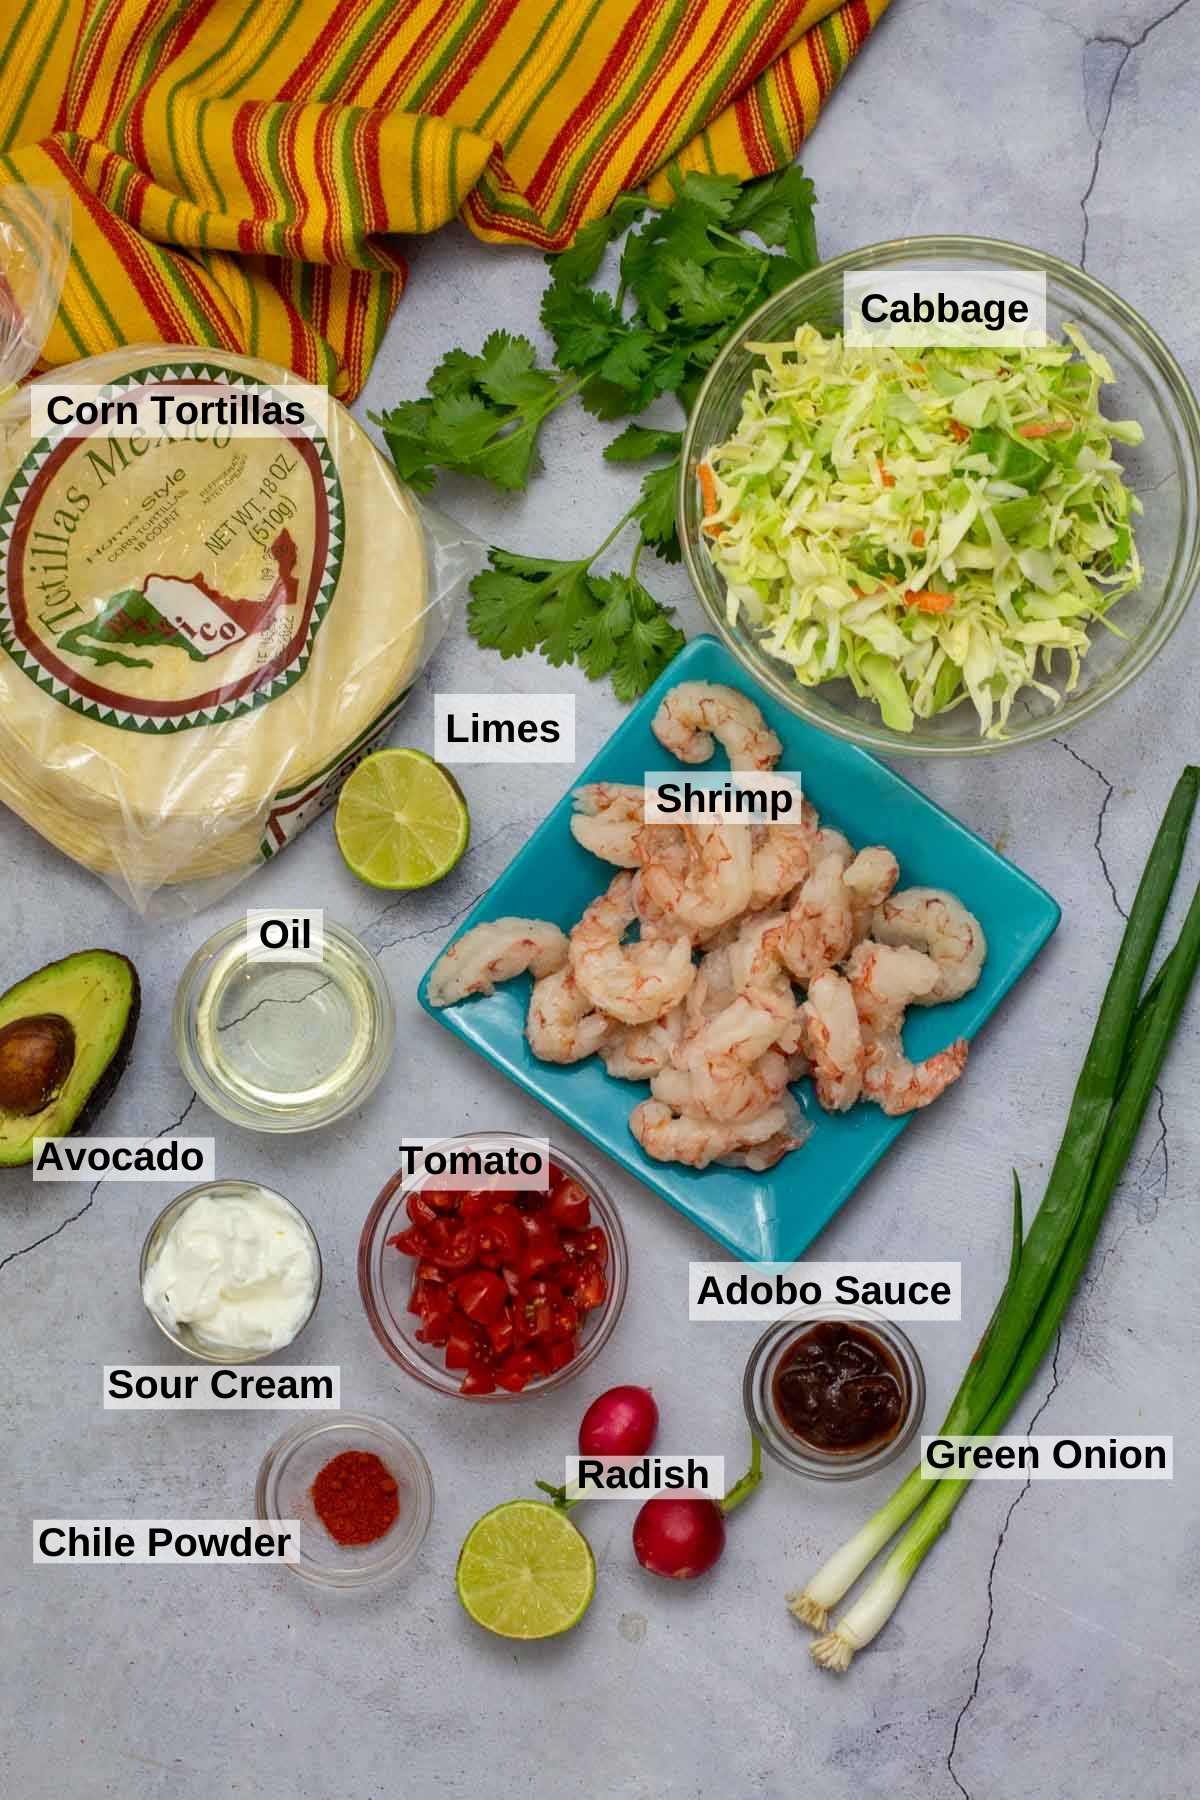
    Ingredients-to-make-shrimp-tostadas

    For The Homemade Tostada Shells

    • Soft Corn Tortillas: I like using sturdier yellow corn tortillas, they’re easier to fry. But feel free to use white corn.
    • Oil: To fry tortillas: Vegetable or Canola oil is good for frying. Avoid olive oil, as it doesn’t have as high of a smoke point to crisp the tortillas properly.

    Note: You can purchase tostada shells at your local grocer on the Mexican Food aisle. I like to make my own, but the packaged version is a time saver and they’re good.

    The Best Shrimp For Tostadas

    • Large: I almost always reach for large shrimp. They’re substantial enough to stand up to all the toppings, yet they still cook in just a few minutes.
    • Frozen shrimp work beautifully. Honestly, that’s what I buy most of the time. Just thaw them well and pat them completely dry before seasoning.
    • If you can find wild-caught shrimp, even better. I think they have a sweeter flavor and a firmer texture after cooking. They’re shrimp that actually taste like shrimp. Purchase peeled and deveined to save time. All you have to do is remove the tails.

    To Season the Shrimp: Adobo Sauce; Purchase a can of chipotle peppers in adobo at the store. You’ll use only the sauce for this recipe.

    For The Creamy Southwestern Slaw

    • Cabbage: Shredded
    • Limes
    • Sour Cream
    • Green Onion
    • Tomato
    • Chile Powder: A single ground chile powder such as New Mexico Red, Chimayo Chile Powder preferred or Ancho. Chili powder (with an “i”) is a blend of spices used to make chili soup. To learn more about chili, chile and chilli, take a look at my article, Chili vs. Chile.

    Tostada Toppings, Don’t Go Overboard

    • Radish, thinly sliced.
    • Avocado, chopped or thin sliced
    • Cilantro, chopped
    • Lime wedges

    Ingredient Substitutions

    • Corn Tortillas: You can purchase pre-made tostada shells to make this an easier fix. You’ll find them on the Mexican food aisle at the grocery store.
    • Cabbage: Purchase a bag of cole-slaw mix to save time.
    • Sour Cream: Mexican Crema is a great substitute, and an even more authentic than our sour cream. Mexican crema is a thinner and tangier version of our American sour cream.

    Chef Tip: I like to purchase Cherub brand tomatoes. Cherubs are a variety of grape tomatoes which have a stronger outer skin and meatier, less watery flesh. They are easier to slice for salads, hold up better during cooking or roasting and are reliable year round with their mild, sweet flavor.

    Step by Step Instructions, It’s Easy!

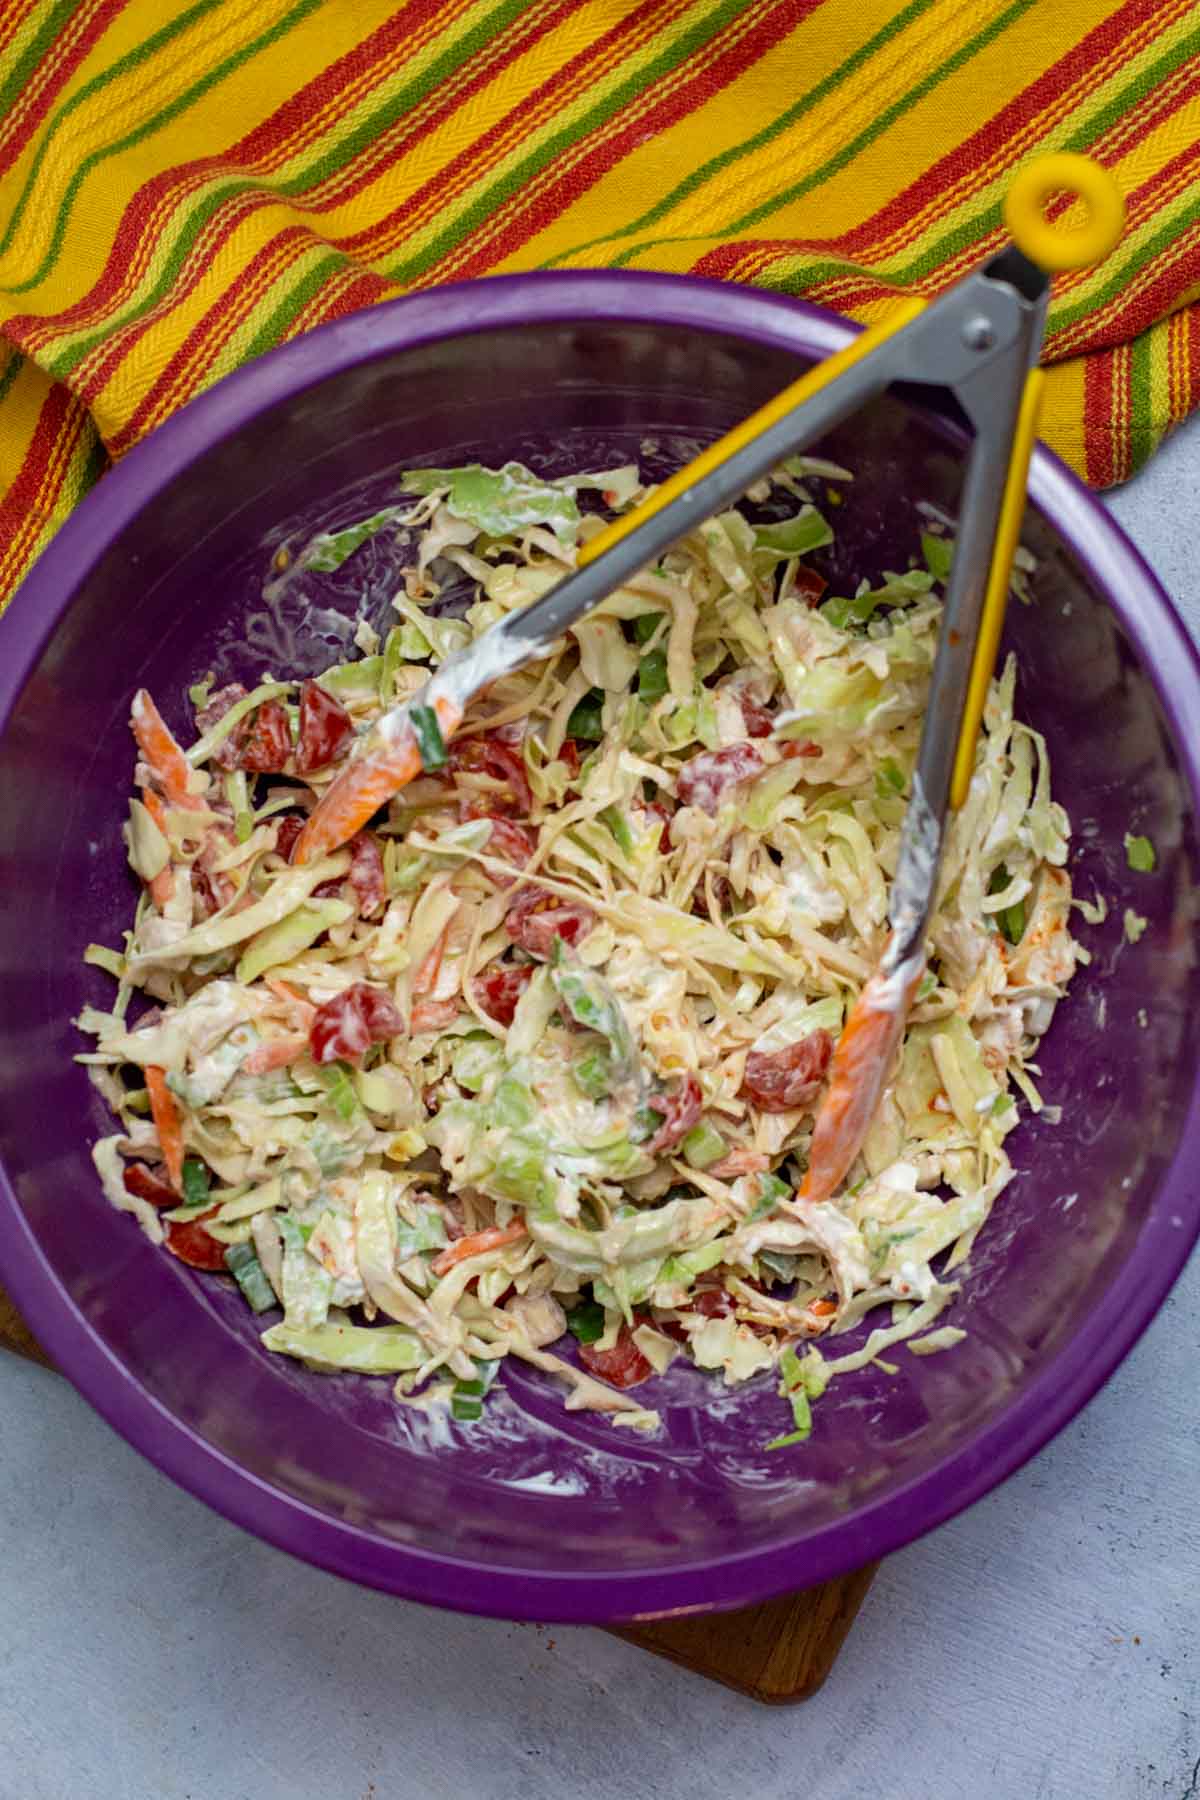
    Cabbage slaw for shrimp tostadas
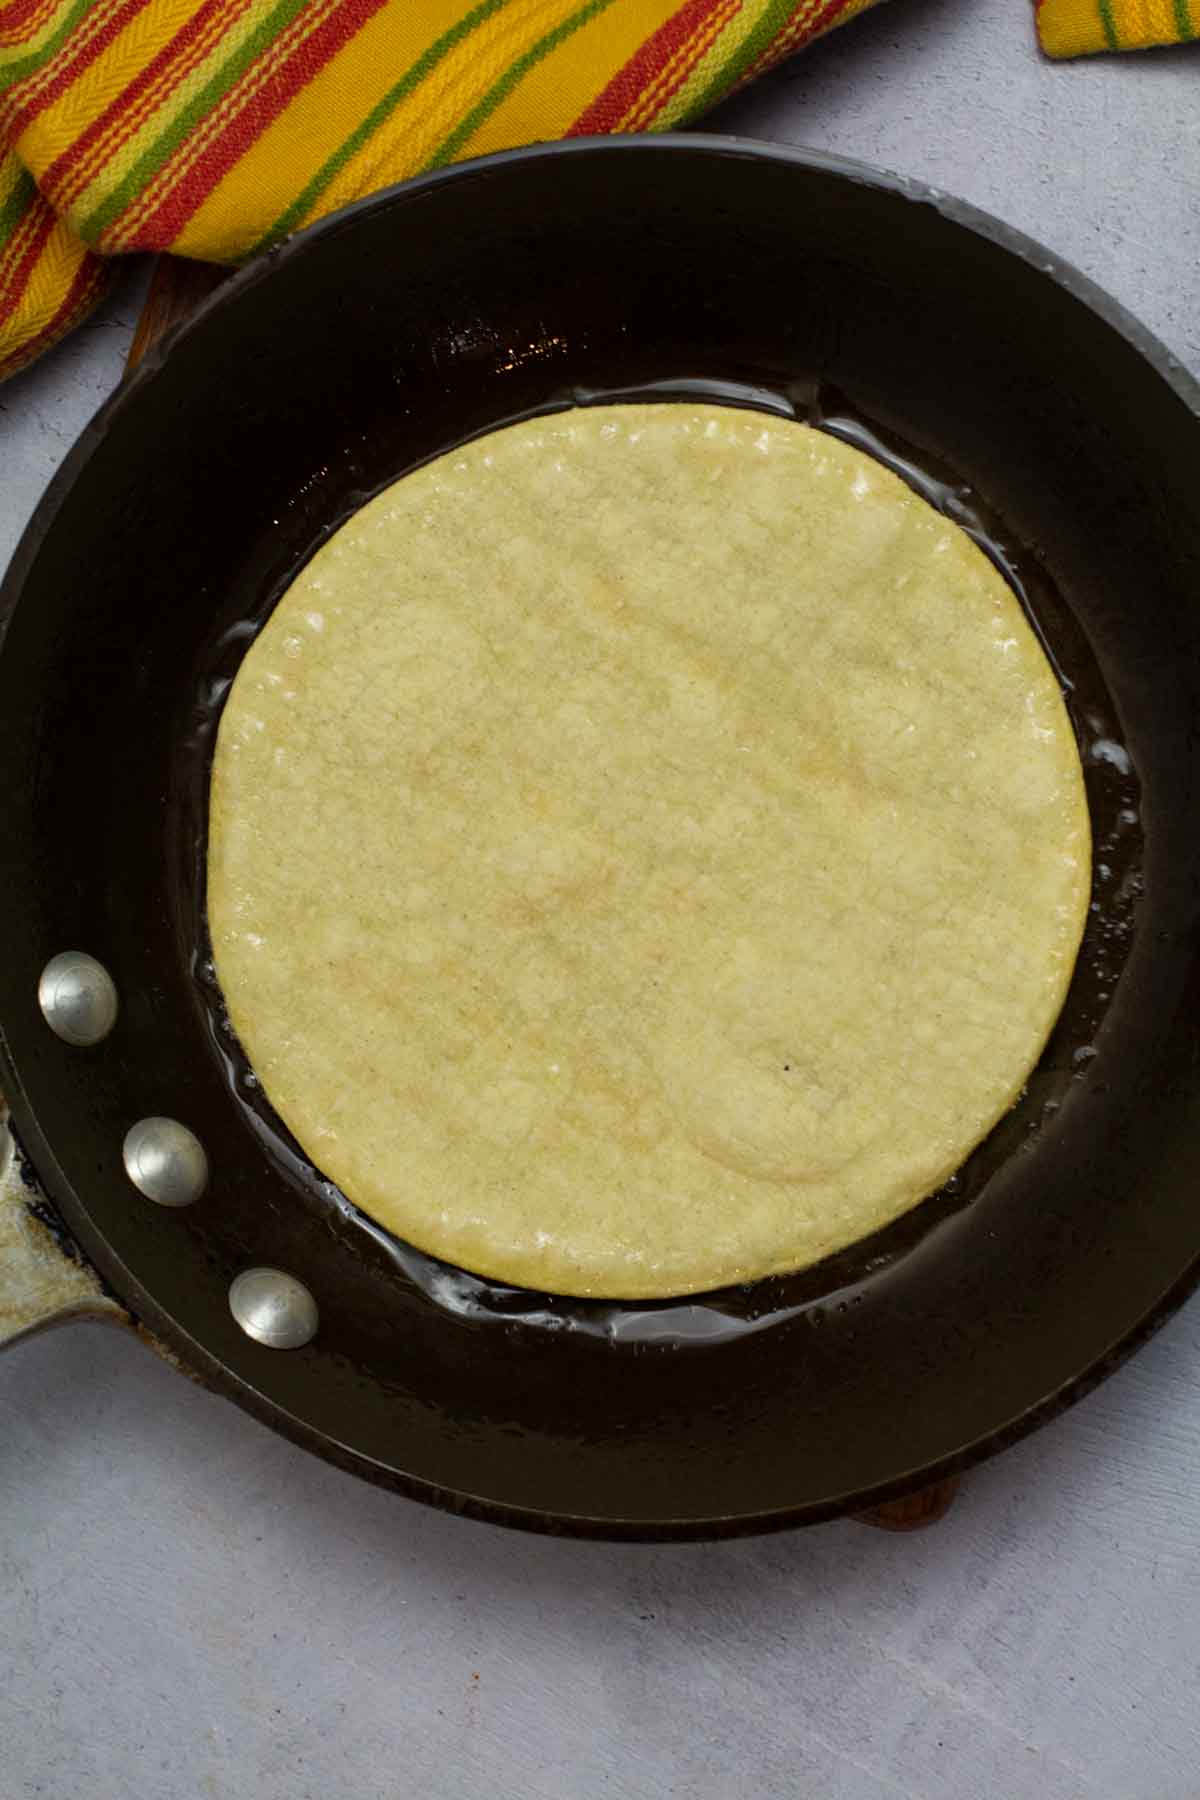
    Frying a corn tortilla to make shrimp tostadas.
    1. Step 1: Make The Southwestern Slaw: In a medium bowl, toss the cabbage with the tomato, green onions, sour cream, chile powder and lime juice. Season with salt and set aside. Letting the slaw sit for about 15 minutes before proceeding with this recipe will allow the flavors to marry.
    2. Step 2: Make Homemade Tostada Shells: Heat a medium deep skillet over medium high heat. Add the oil. Once the oil is shimmering, fry one tortilla at a time.
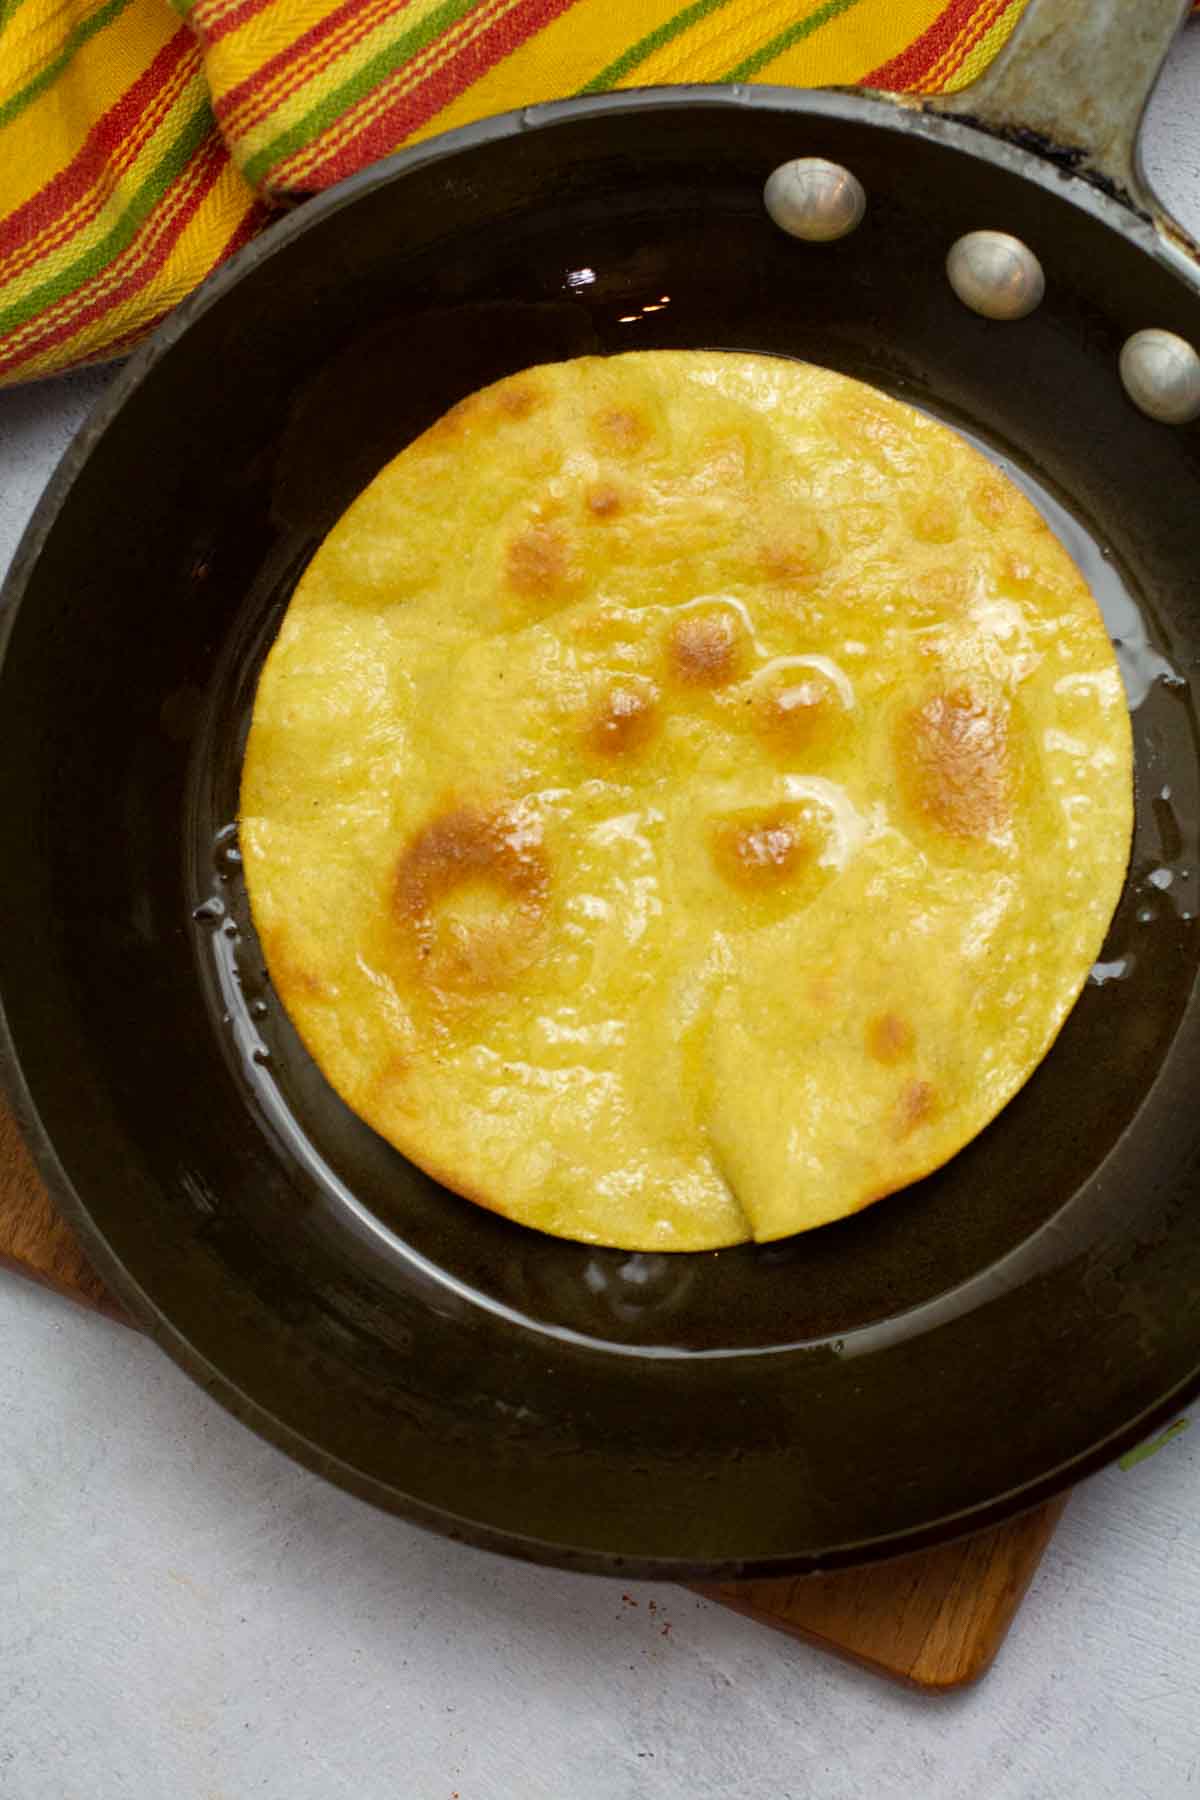
    Frying corn tortillas to make shrimp tostadas.
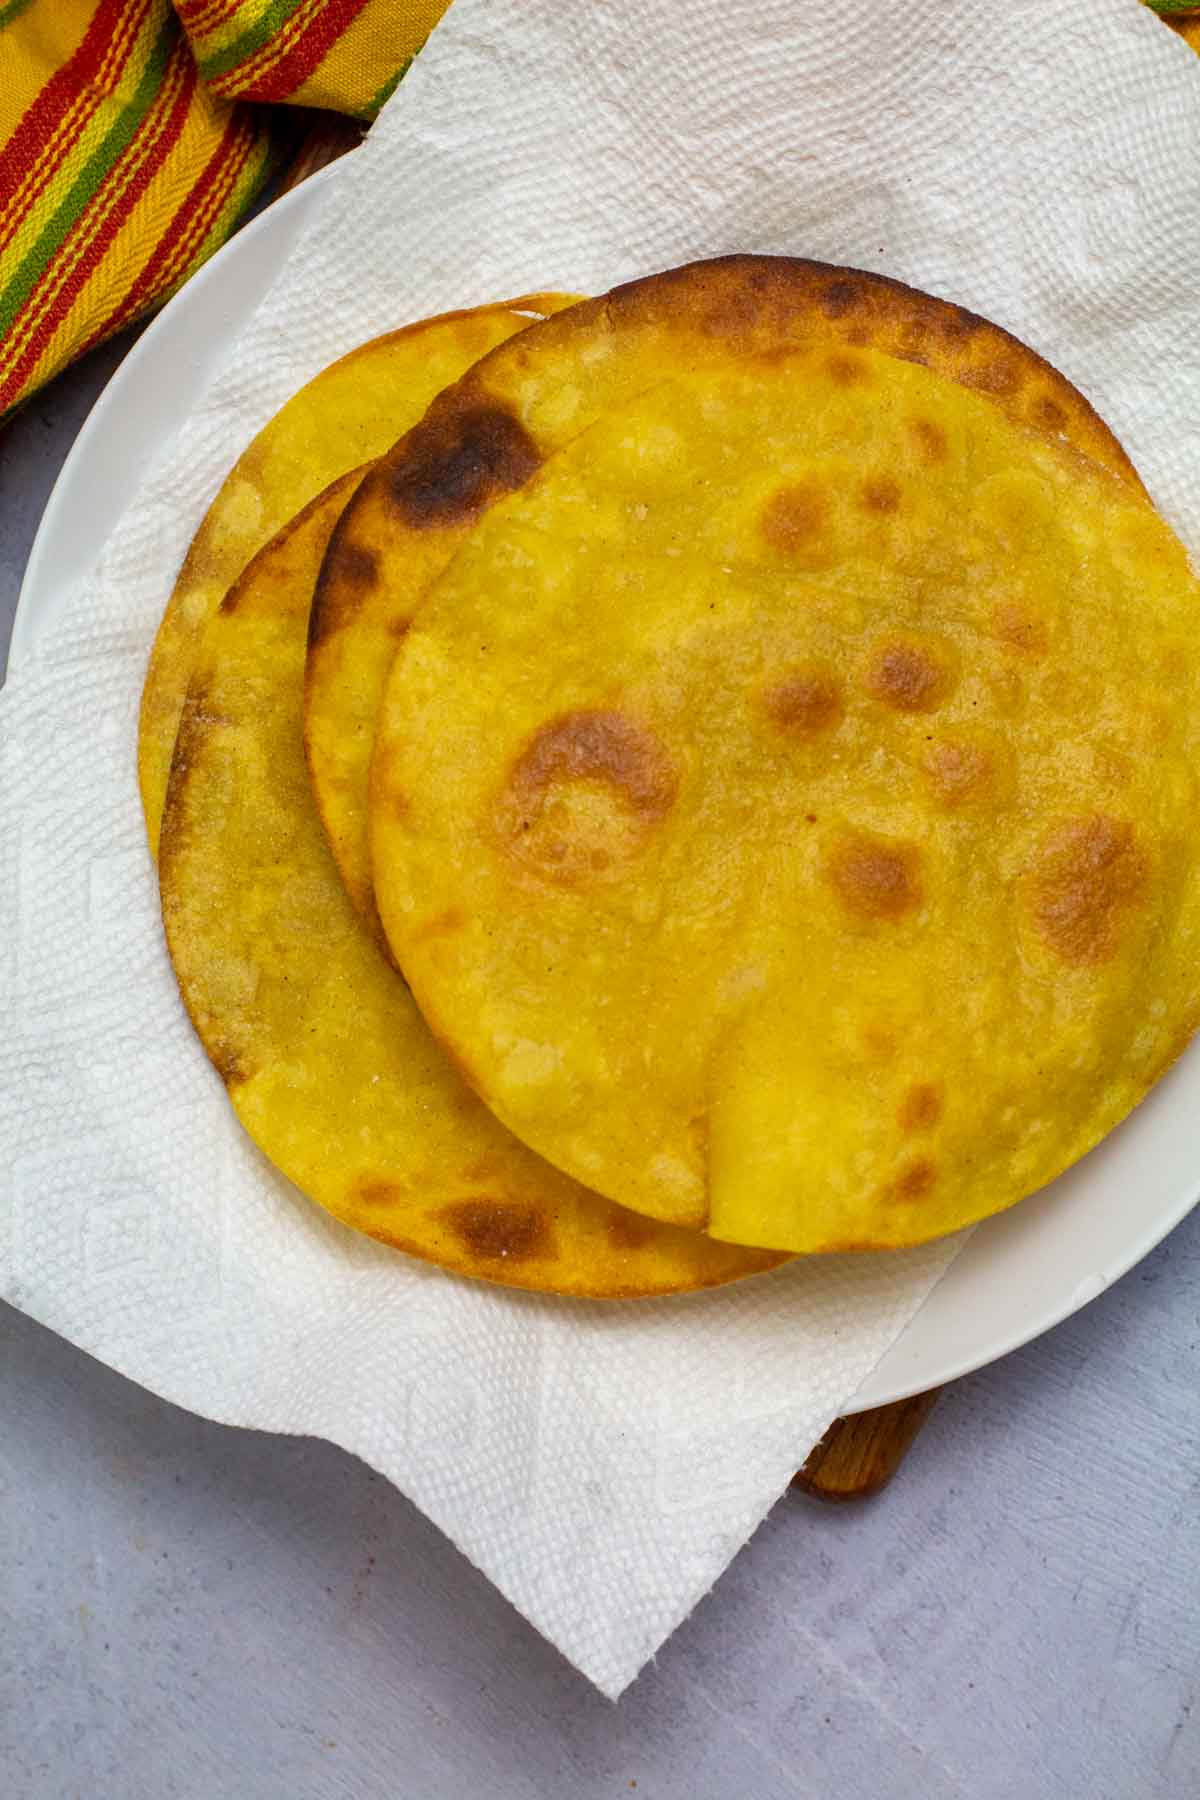
    Stacked fried corn tortillas for shrimp tostadas.
    1. Step 3: Fry each tortilla one minute per side, turning, until lightly golden on both sides, about 1 minute per side.
    2. Step 4: Transfer each fried tortilla to a plate lined with a paper towel to drain. Sprinkle each lightly with salt as you’re stacking them.
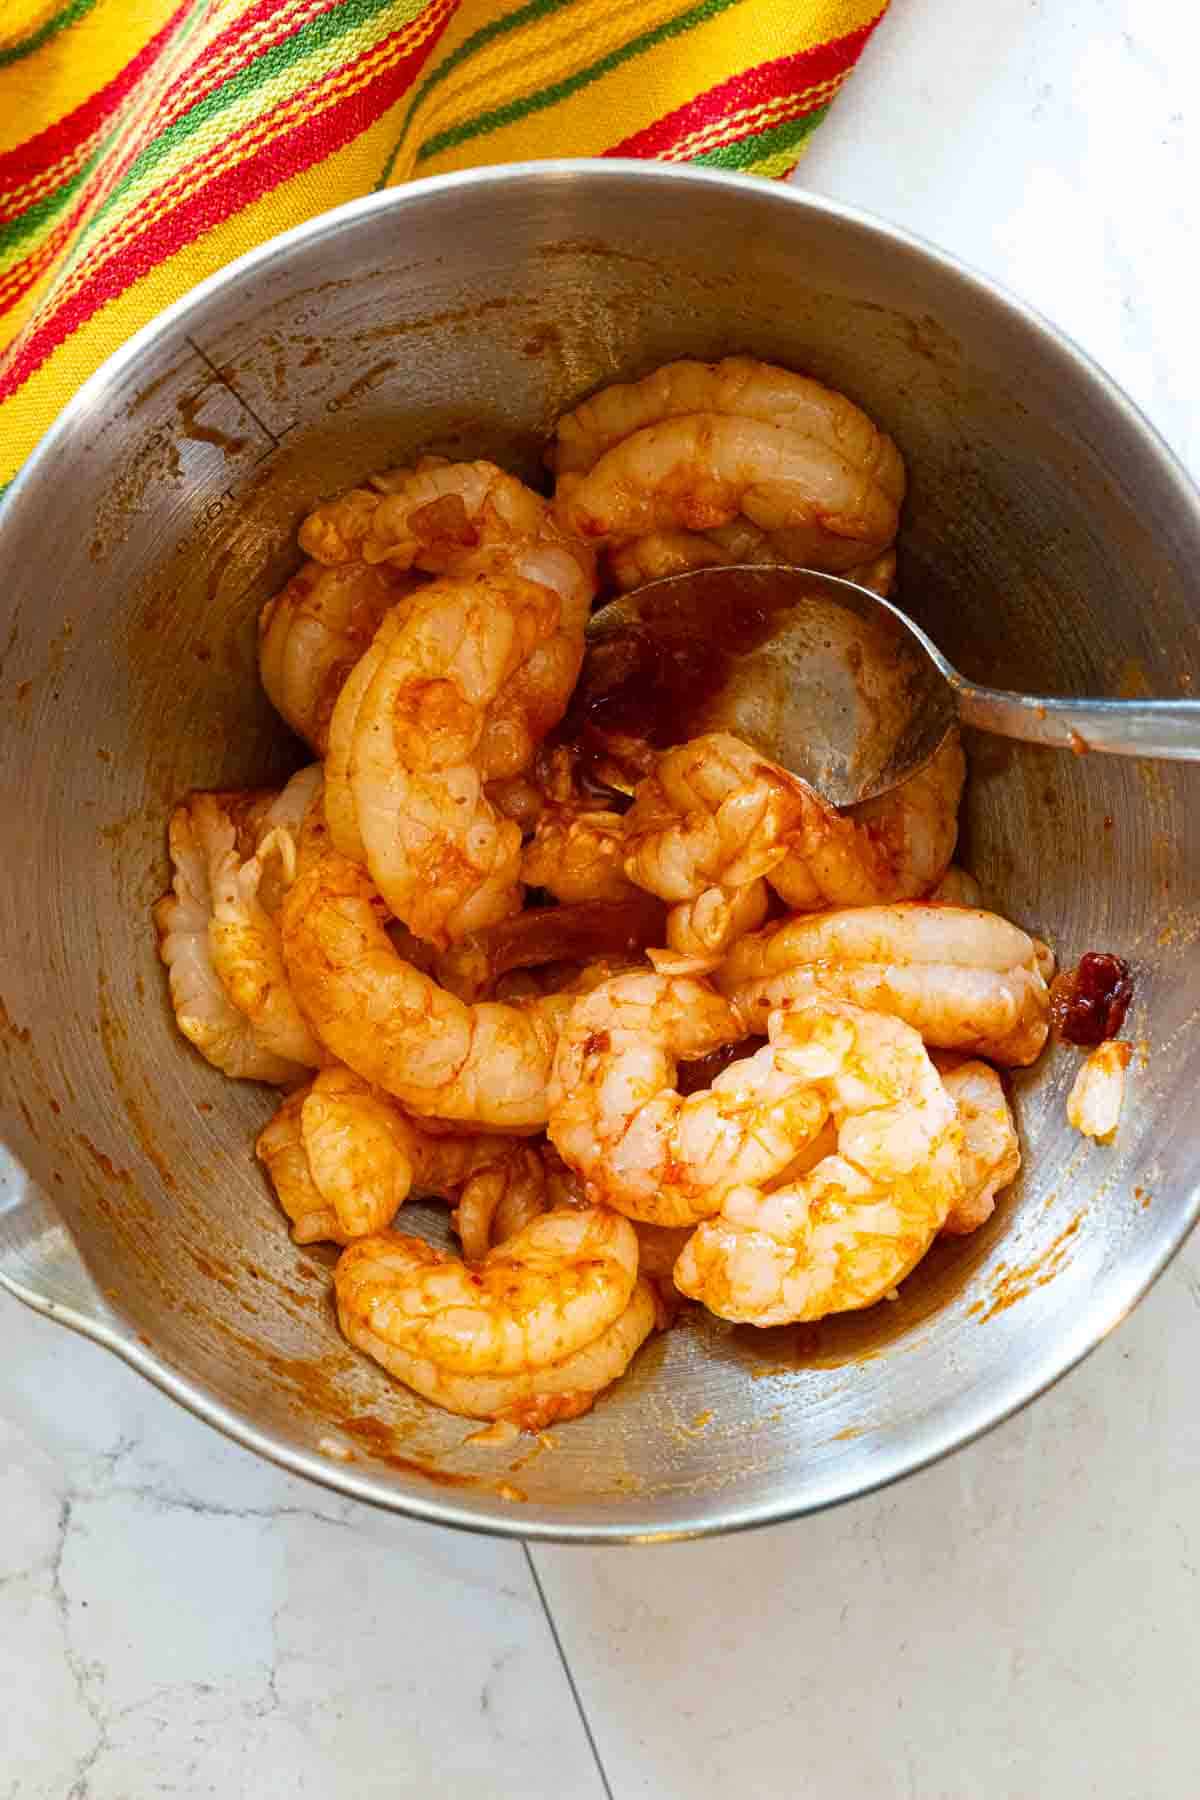
    Coating shrimp in adobo sauce to make shrimp tostadas.
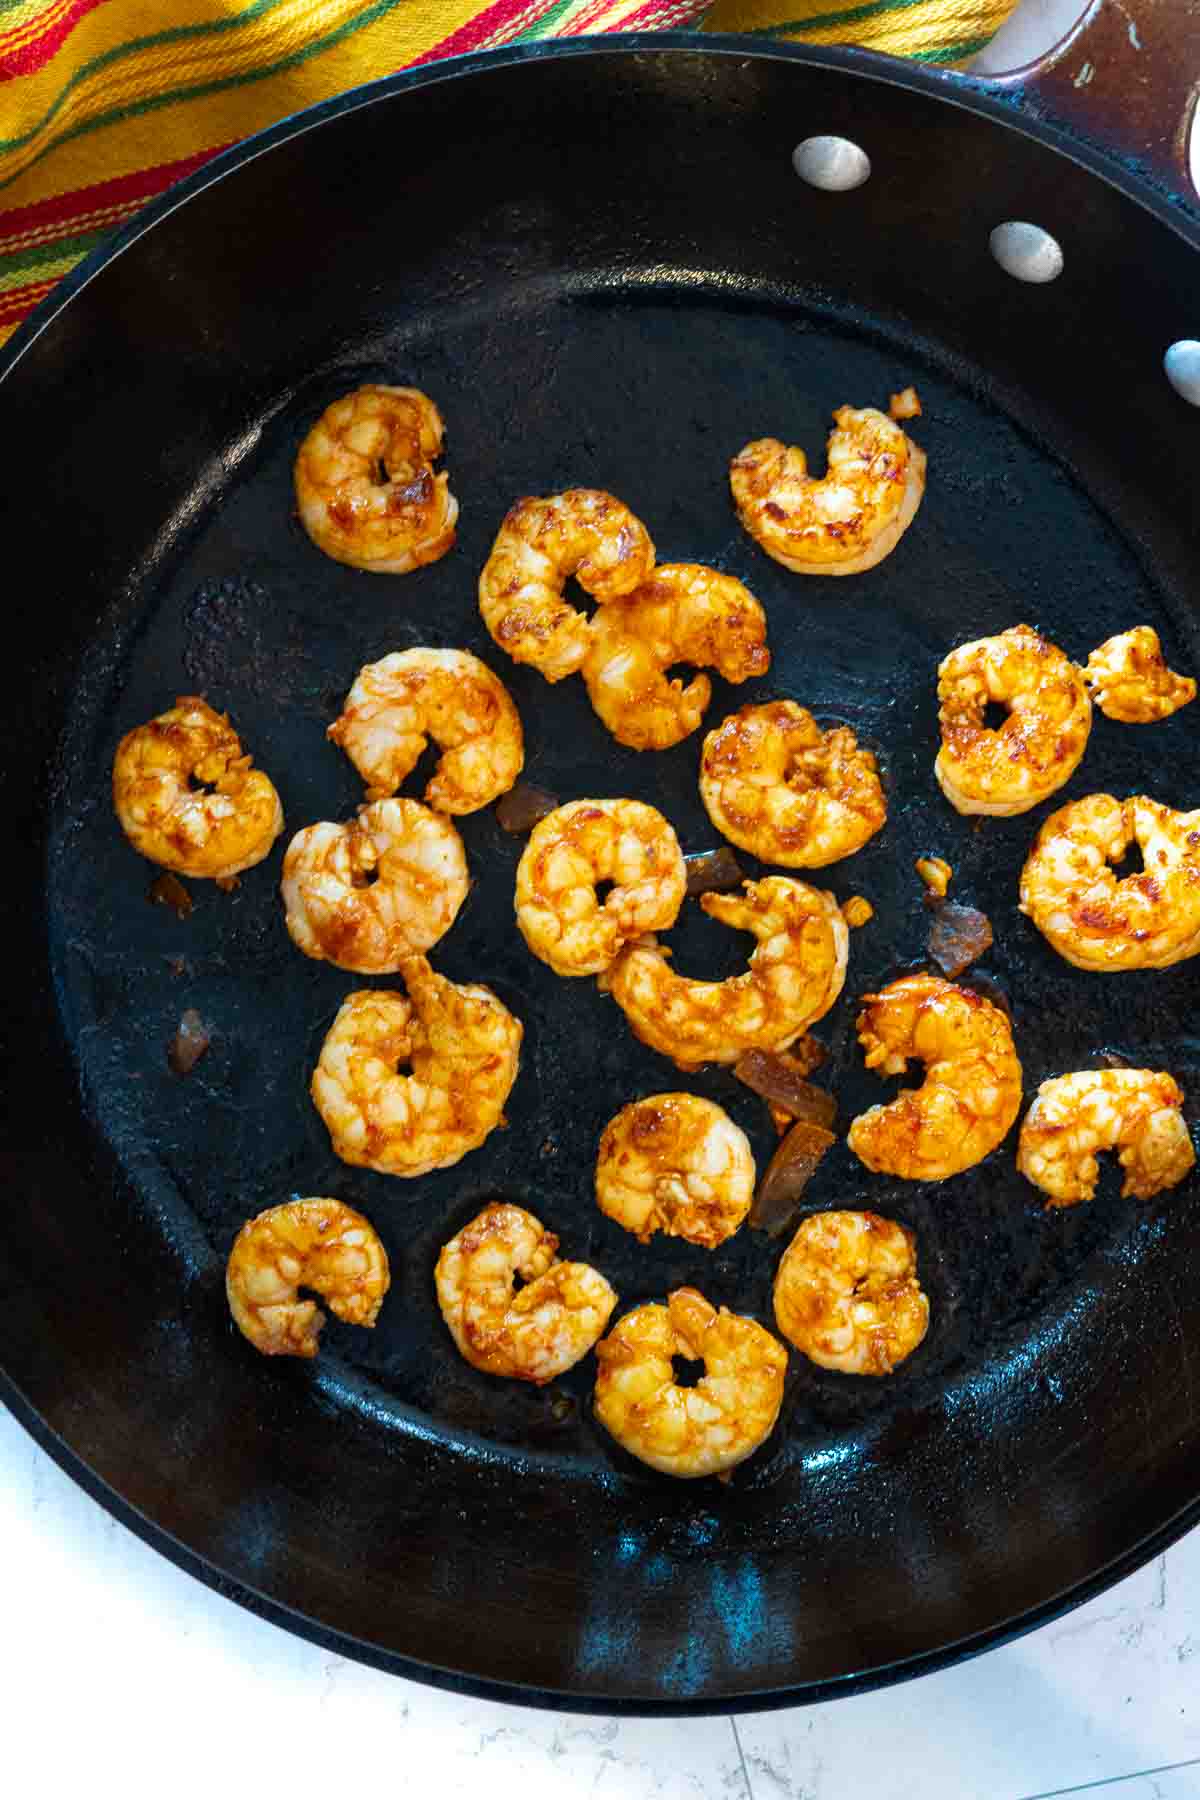
    Cooking shrimp in a cast iron pan to make shrimp tostadas.
    1. Step 5: Season the Shrimp: Place peeled, deveined and tails removed shrimp in a bowl. Add the chipotle sauce and stir well.
    2. Step 6: Cook The Chipotle Shrimp: Drain the grease from the pan that you fried the corn tortillas. You’ll have enough oil coating the pan to cook the shrimp. Get the pan hot, add the shrimp and cook about 1 – 2 minutes per side. They’ll cook quickly.

    How To Build Shrimp Tostadas

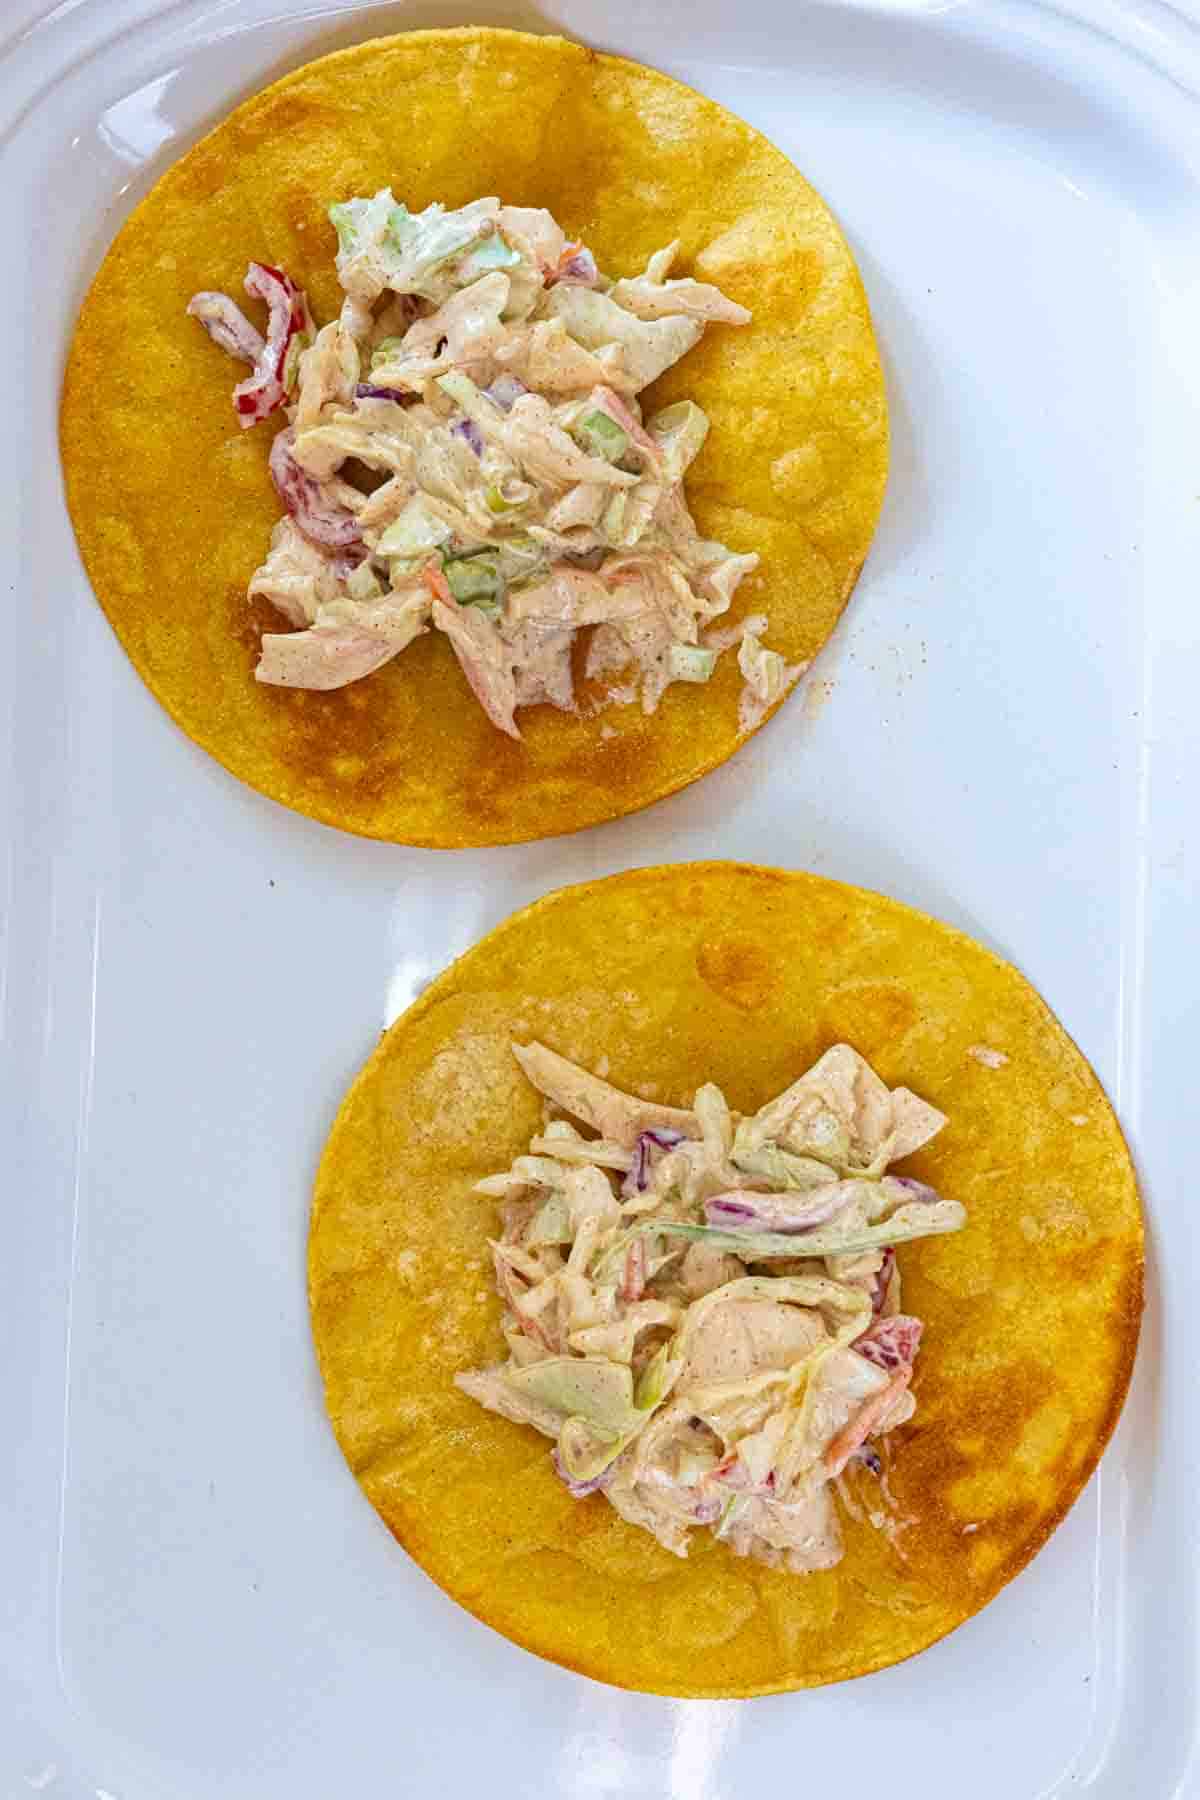
    Adding Southwestern Slaw to Tortilla Shells to make Shrimp Tostadas.
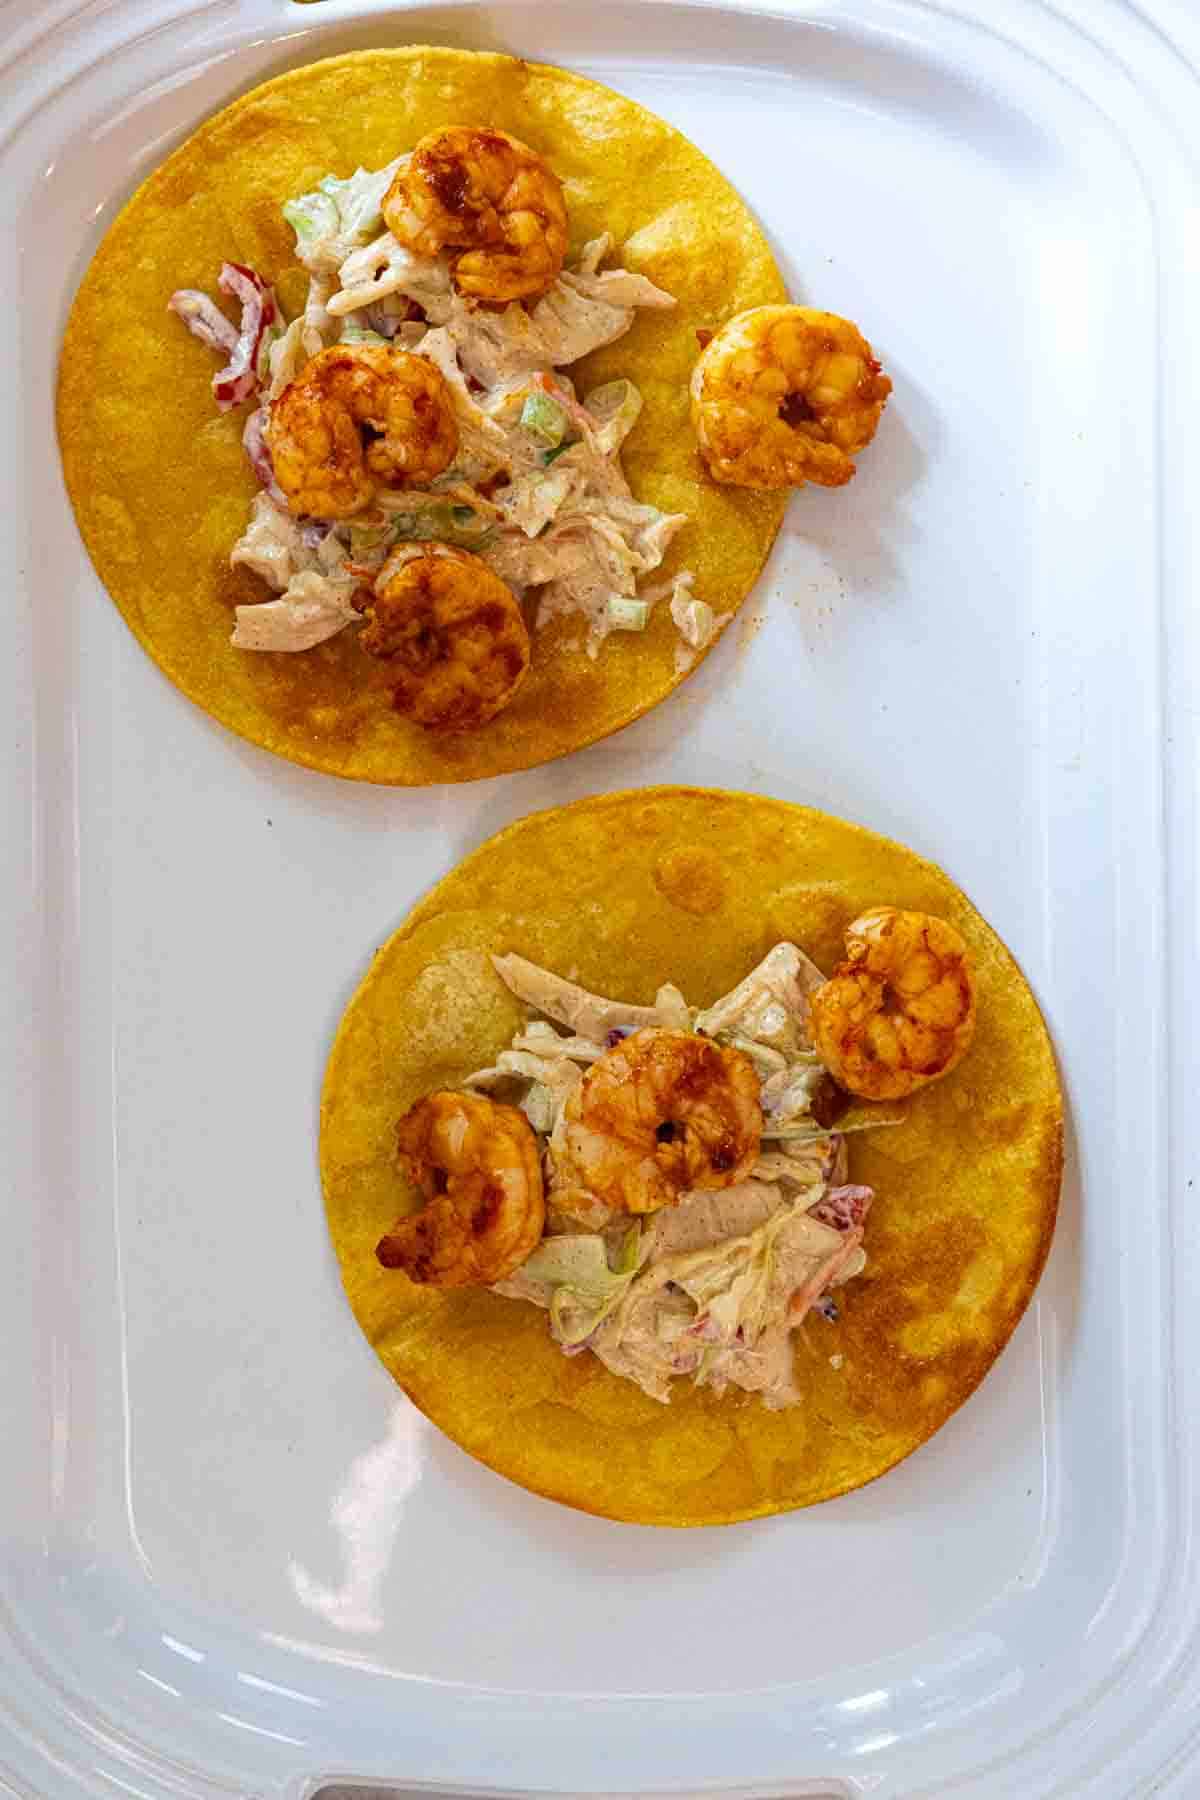
    Adding adobo shrimp to tostadas to make shrimp tostadas, step 2.
    1. Step 7: Add a scoop of the Southwestern Slaw to the tostada shell.
    2. Step 8: Add 4-5 adobe shrimp on top of the slaw.

    Add The Toppings

    Adding toppings to shrimp tostadas.
    1. Step 9: Sprinkle on sliced radishes, sliced or chopped avocado and chopped cilantro.
    2. Step 10: Finish with a squeeze of lime. The lime juice finishes the whole tostada with bright flavor.

    Tips For Success

    • Pat the shrimp dry before frying.
    • Assemble the tostadas right before serving.
    • Don’t pile on too much slaw.
    • Keep wetter ingredients away from the edges.
    • If purchasing pre-made tostada shells from the store, warm them for a few minutes before building them. They taste fresher and crisp up beautifully. A few minutes in the oven or a few seconds in the microwave.

    What To Serve With Shrimp Tostadas

    • Mexican rice
    • Cowboy Beans
    • Mexican Street Corn Salad
    • Fresh guacamole
    • Margaritas

    Storage and Make-Ahead Tips

    • Leftover Shrimp: Cooked shrimp keep well in the refrigerator for a couple of days.
    • Make Ahead: The slaw can be prepared a few hours ahead.
    • Homemade Tostada Shells: Don’t assemble the tostadas until you’re ready to eat. Those crispy shells don’t wait around very long before they start softening. And as far as storage, they simply won’t store well. Discard any unused shells.

    A Colorado Take on Southwestern Flavor

    Living and cooking in Colorado means Southwestern flavors are always finding their way into my kitchen.

    Everyone talks about Hatch chiles, and I love cooking with them. But when Pueblo chile peppers are in season, they’re every bit as exciting. I often slice a few over these tostadas for another layer of fresh and spicy chile flavor. To learn more about the two chile pepper options, take a look at my article Pueblo Chile vs. Hatch Chile.

    Summer farmers markets are another bonus. Colorado-grown cabbage, sweet corn, cilantro, and tomatoes all make these tostadas even better.

    That’s one of the things I enjoy most about cooking here. Southwestern recipes naturally blend with Colorado’s incredible produce.

    FAQ’s

    How Do You Eat A Tostada

    There’s no doubt about it, tostadas can be messy to eat. Because of the crispy shell, using a knife and fork simply won’t work. The best way to dig in is to eat a tostada with your hands. Like you would a slice of pizza.

    Can I Bake My Own Tostada Shells?

    Yes, and the method works very well. Place corn tortillas on a large baking sheet. Using a basting brush, spread each side of the tortilla with a bit of oil. Sprinkle each side with a pinch of salt and a pinch of chile powder if you’d like. Bake at 400 degrees until crispy. For a step by step tutorial check out my article on How To Make a Great Tostada.

    Can I Use Frozen Shrimp?

    Absolutely. Once thawed, you’ll find a lot of moisture. Drain it off and use paper towels to pat dry before coating with the adobo sauce and frying.

    Can I Use Pre-Cooked Shrimp?

    You could, but I’d advise against it. Pre-cooked shrimp will most certainly save you time, but shrimp only takes a couple of minutes to cook. And cooking shrimp coated in the adobo sauce will bring more flavor. Purchase peeled and deveined shrimp to make this recipe super easy.

    How Do I Keep Tostada Shells From Getting Soggy?

    Make sure the oil is hot before frying. Use a digital real thermometer to test temperature. 350 degrees is a good temp. If they cook too slow, the’ll absorb the oil and become soggy. And don’t add the slaw until ready to eat. The sauce will absorb into the shell and could cause it to become soggy.

    Recipe for Shrimp Tostadas with Lime Slaw

    I’ve tested these shrimp tostadas more times than I can count, tweaking little things here and there until they landed exactly where I wanted them. They’re fresh, colorful, a little messy, and completely worth it. Honestly, once you take that first crunchy bite, you’ll understand why they keep showing up on my dinner table all summer long.

    Explore More Southwestern Shrimp Recipes

    • Shrimp taco lettuce wraps with crunchy vegetables and lime dressing.
      Shrimp Taco Lettuce Wraps with Lime Dressing
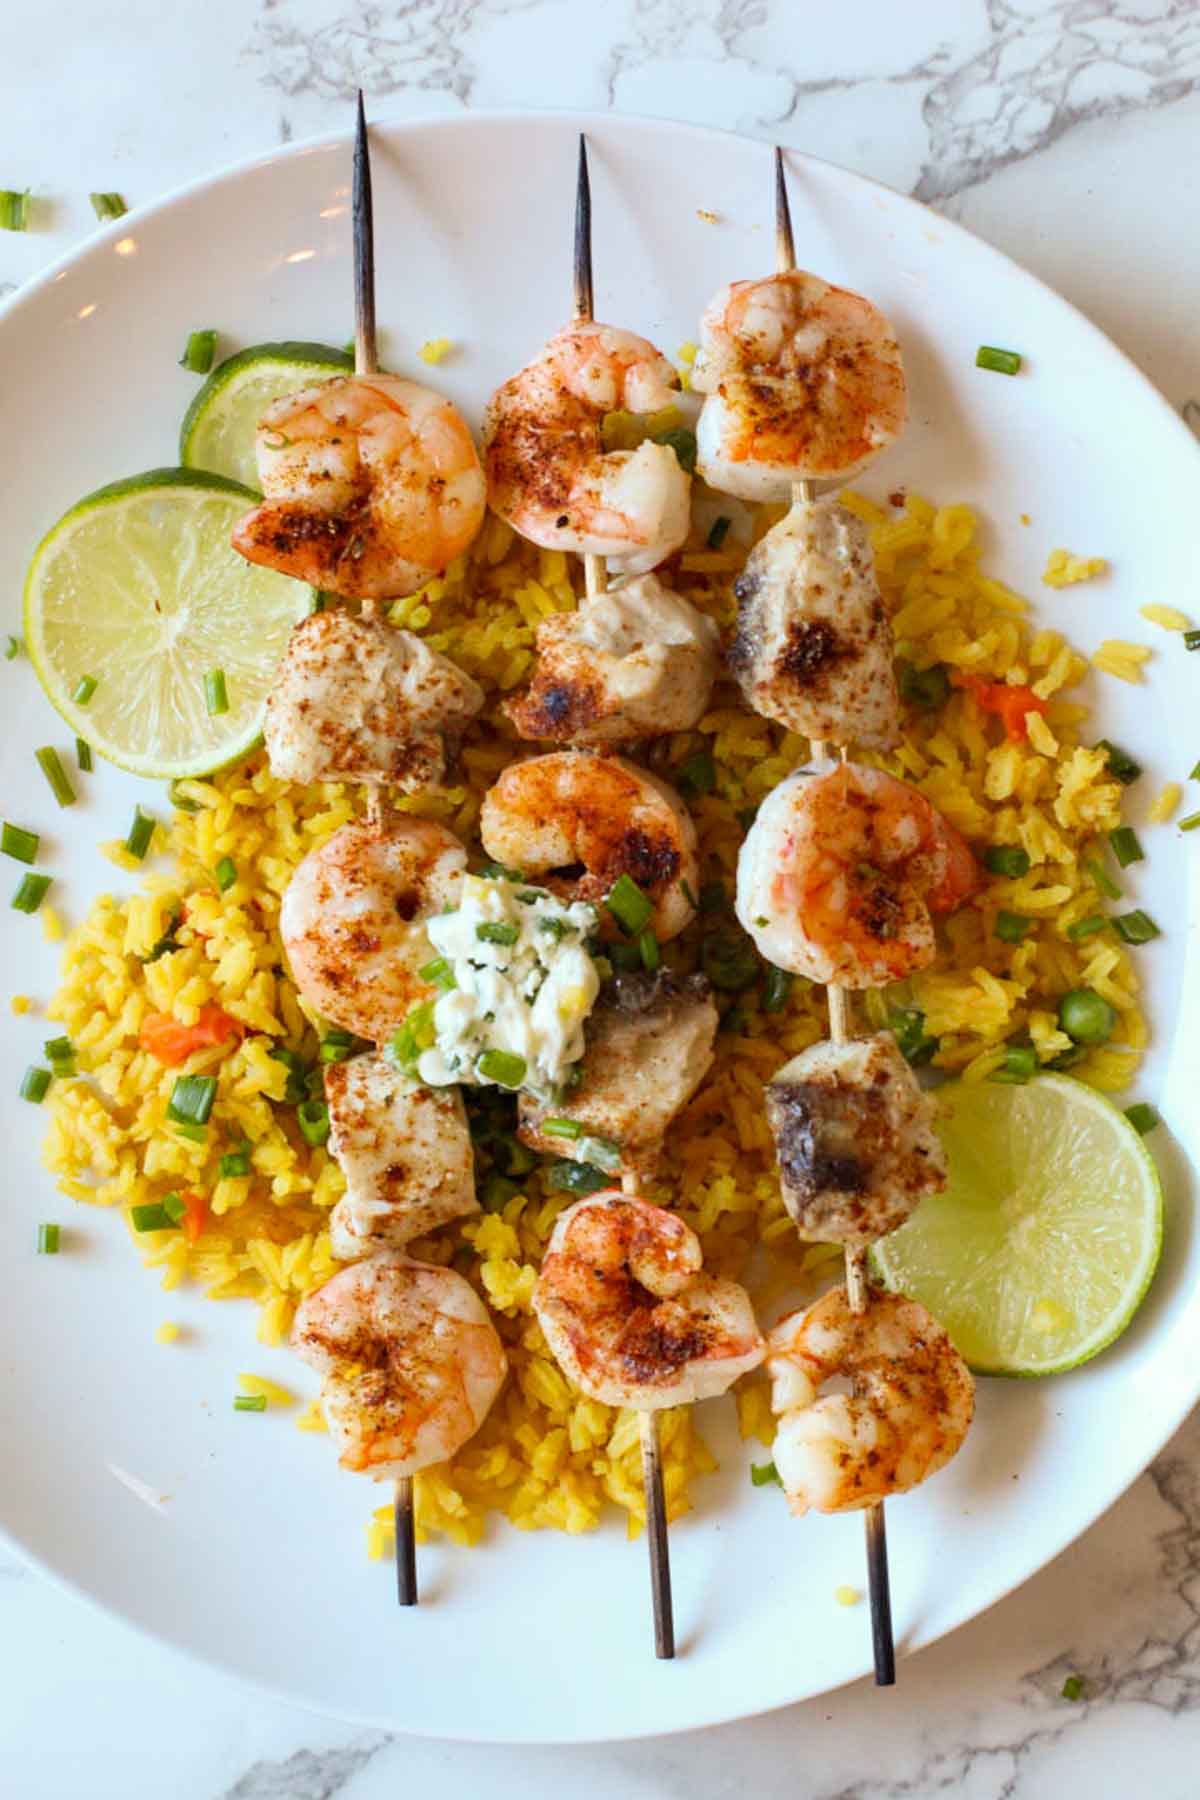
    • Shrimp and mahimahi kabobs served over yellow rice with a dollop of jalapeno butter.
      Shrimp and Mahi Mahi Kabobs with Jalapeno Butter
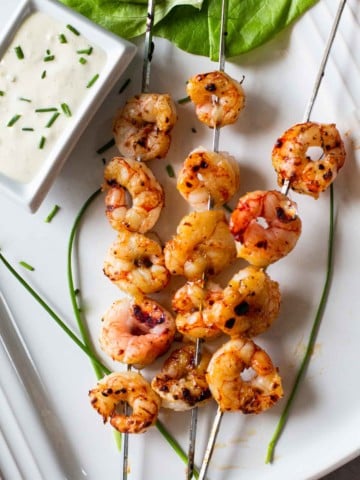
    • Grilled firecracker shrimp served on a white platter with blue cheese dressing dipping sauce.
      Super Easy Firecracker Shrimp
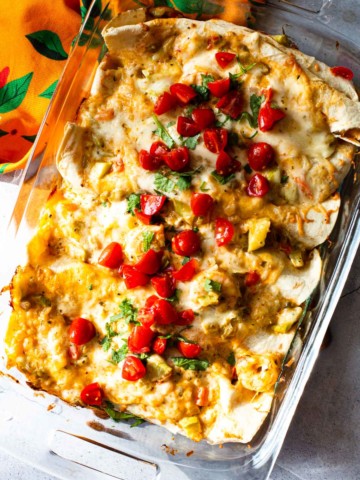
    • Shrimp burritos baked in a casserole dish.
      Baked Shrimp Burritos Con Queso

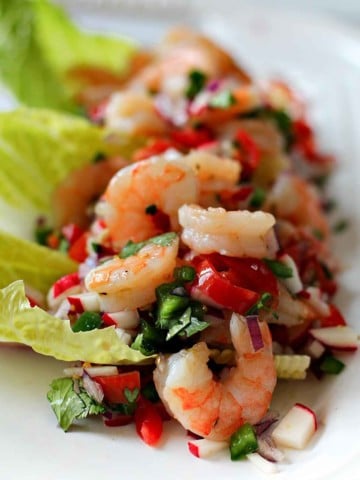
    And if you love Mexican Food as much as we do, don’t miss my Mexican/Southwest Category. You’ll find lots of great recipes, including the most popular Mexican shrimp recipe on my site Shrimp Campechana, Mexican shrimp cocktail.

    If you liked this recipe, please leave a star ⭐⭐⭐⭐⭐ rating in the recipe card below and leave a comment. I always appreciate your feedback and hearing how everything went.

    And, don’t forget to subscribe to my newsletter for more delicious recipes and cooking tips. Make it a delicious day … every day.

    Shrimp tostadas with lime slaw and toppings.
    Print Recipe
    5 from 2 votes

    Adobo Shrimp Tostadas with Southwestern Lime Slaw

    Shrimp tossed with smoky adobo sauce makes mighty fine Shrimp Tostadas. Served with a fresh cabbage lime slaw made with sour cream, lime and chile powder, this is a healthy light easy dinner.
    Prep Time20 minutes mins
    Cook Time15 minutes mins
    Total Time35 minutes mins
    Course: Main Course Seafood
    Cuisine: Mexican
    Servings: 4 tostadas
    Calories: 258kcal
    Author: Lea Ann Brown

    Ingredients

    • For The Southwestern Lime Slaw
    • 2 cups shredded cabbage
    • 1 medium tomato rough chopped, about 1 cup
    • 2 green onions thinly sliced
    • ¼ cup sour cream
    • ½ teaspoon Chimayo Chile Powder or Ancho chile powder.
    • 1 ½ teaspoon fresh lime juice
    • ½ teaspoon Kosher salt
    • For The Tostada Shells
    • ⅛ Cup Neutral Oil Canola or vegetable oil work well here.
    • 4 corn tortillas
    • For The Shrimp
    • 20 large shrimp enough for 4 – 5 shrimp per tostada
    • 1 Tablespoon adobo sauce from canned chilies in adobo sauce
    • Shrimp Tostada Garnish
    • 1 Avocado sliced
    • 2 medium radishes thinly sliced
    • ¼ cup cilantro leaves chopped
    • Lime wedges for serving

    Instructions

    • In a medium bowl, toss the cabbage with the tomato, green onions, sour cream, Chimayo chile powder and lime juice. Season with salt and set aside. Letting the slaw sit for about 15 minutes before proceeding with this recipe will allow the flavors to marry.
    • In a medium skillet, heat the oil until shimmering. Fry one tortilla at a time over moderately high heat until lightly golden on both sides, about 2 minutes per side or until starting to brown. As you fry each tortilla, remove to a plate with paper towel to drain. Top with a paper towel to keep them warm.
    • Peel and devein the shrimp. Toss with the adobo sauce and cook either by frying, roasting, or grilling. Whatever your preference. I like to use a skillet and fast fry the shrimp. Drain the oil from cooking the tortillas. You'll have a nice coating of oil left and enough to fry the the shrimp. Once the skillet is hot, using tongs, add the shrimp and cook each side for a couple of minutes. Remove to a paper towel and build the shrimp tostadas.
    • Set the tortillas on plates and top with the cabbage slaw, shrimp, avocado, radishes and sprinkle with some cilantro leaves. Serve with lime wedges.

    Notes

    To save time, purchase a package of coleslaw mix at the grocery store, rather than shredding fresh cabbage. You can also purchase pre-made tostada shells on the Mexican aisle.
    About tomatoes: I like to purchase Cherub brand tomatoes. Cherubs are a variety of grape tomatoes which have a stronger outer skin and meatier, less watery flesh. They are easier to slice for salads, hold up better during cooking or roasting and are reliable year round with their mild, sweet flavor.
    More Tips For Success:
    • Pat the shrimp dry before frying.
    • Assemble the tostadas right before serving.
    • Don’t pile on too much slaw.
    • Keep wetter ingredients away from the edges.
    • If purchasing pre-made tostada shells from the store, warm them for a few minutes before building them. They taste fresher and crisp up beautifully. A few minutes in the oven or a few seconds in the microwave.
     

    Nutrition

    Calories: 258kcal | Carbohydrates: 21g | Protein: 4g | Fat: 19g | Saturated Fat: 3g | Polyunsaturated Fat: 4g | Monounsaturated Fat: 11g | Trans Fat: 0.03g | Cholesterol: 8mg | Sodium: 1096mg | Potassium: 484mg | Fiber: 7g | Sugar: 3g | Vitamin A: 666IU | Vitamin C: 25mg | Calcium: 71mg | Iron: 1mg

    Shrimp Tostadas …They’re What’s For Dinner

    Black Bean Soup with Ham (Easy Sherried Recipe)

    December 14, 2022 By Lea Ann Brown 36 Comments

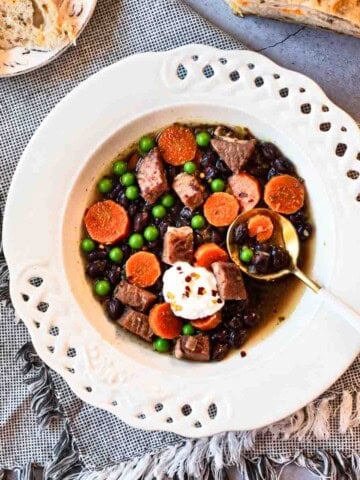
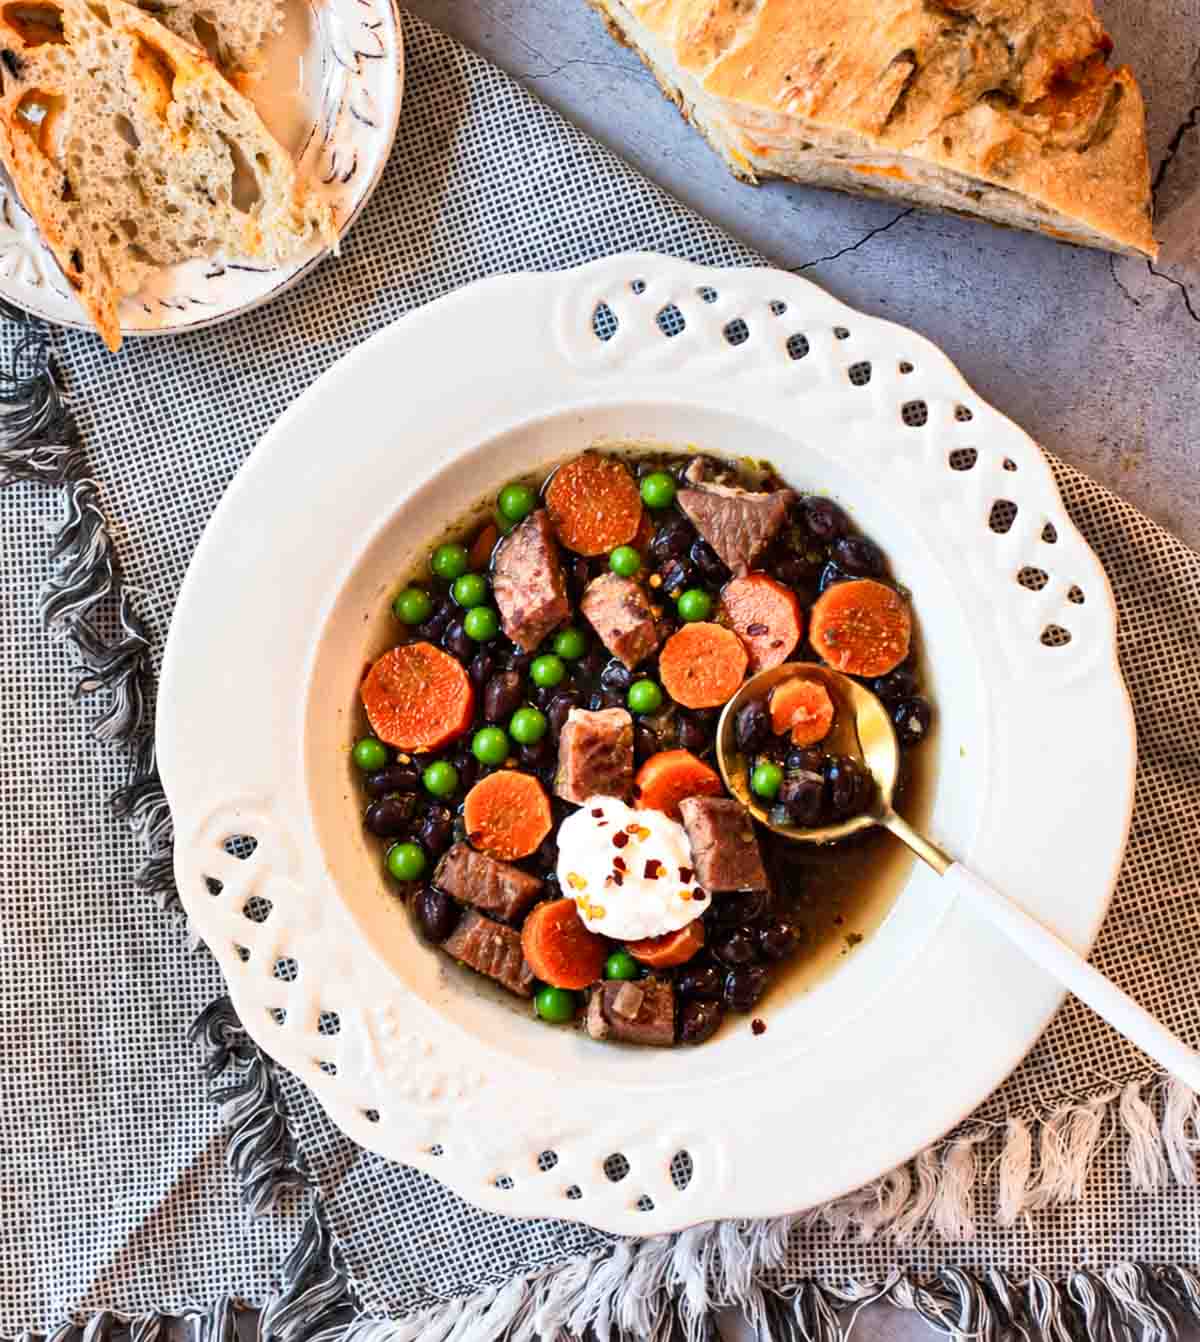
    Ham and Black Bean soup with sherry.

    This Black Bean Soup With Ham is a simple, hearty soup with a distinctive twist: dry sherry. The sherry adds a noticeable depth of flavor to the savory broth, complementing the black beans, tender ham and vegetables. Made with canned beans and ready in about 45 minutes, it’s an easy way to make a satisfying homemade soup without a long simmer.

    I consider soups and stews to be my specialty. Take a look at this full-flavored Bean and Beef Soup. It feeds an army with delicious pizzaz.

    Black bean soup with ham.

    Quick Look: Black Bean Soup with Ham

    • 🧁 Serves: 4
    • ⭐ Features: Distinctive ✓ Hearty ✓ Effortless ✓
    • ⌛️ Prep Time: 15 minutes
    • 🍪 Cook Time: 30 minutes
    • 🕑 Total Time: 45 minutes
    • 👩‍🍳 Skill Level: Beginner
    • 🏆 Why make THIS version? Easy to make, with a brothy, savory flavor and a splash of sherry that adds a distinctive depth you won’t find in most recipes.

    SUMMARIZE AND SAVE THIS POST ON

    ChatGPT
    Google AI
    Perplexity
    Claude
    Add us as a trusted site on Google

    Why You’ll Love This Recipe

    • Distinctive flavor: Dry sherry gives this black bean soup a sophisticated flavor that sets it apart from more traditional ham and bean soups.
    • Weeknight friendly: Canned black beans and fully cooked ham make this a practical soup to prepare in about 45 minutes.
    • Light and brothy: Unlike thick, pureed black bean soups, this version has a savory broth with whole beans and tender vegetables.
    • Simple ingredients: It’s made with familiar ingredients, with sherry providing the unexpected flavor that makes the soup memorable.
    [feast_advanced_jump_to]

    Key Ingredients

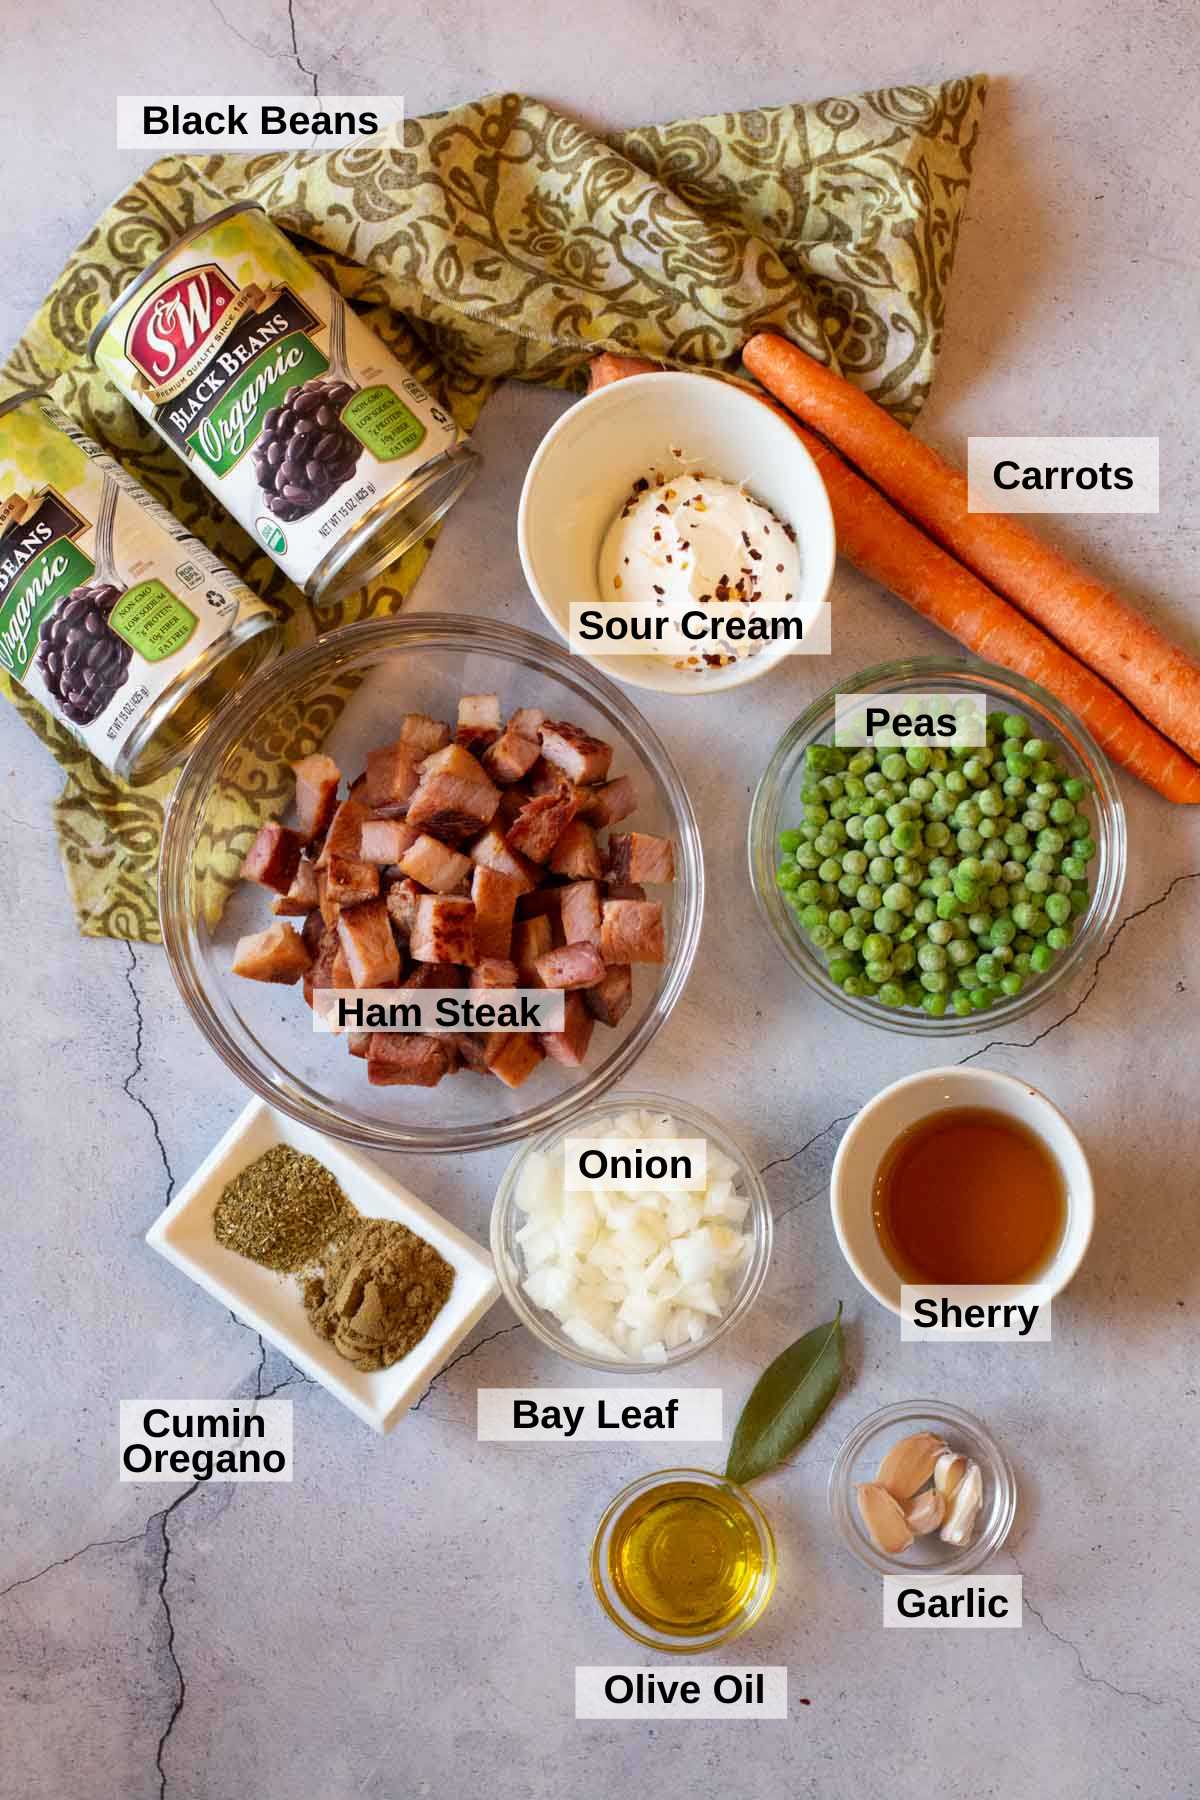
    Ingredients to make black bean soup with ham.
    • Black Beans: Canned black beans make this soup convenient, eliminating the need to soak and cook dried beans. They also allow the other ingredients to develop their flavor without a lengthy cooking time.
    • Ham Steak: Fully cooked ham adds savory flavor and satisfying bites of meat. Ham steak is convenient because it doesn’t require the long cooking time needed to tenderize a ham hock or ham bone.
    • Dry Sherry: Dry sherry is the ingredient that makes this soup distinctive. It contributes a noticeable, complex flavor that complements the beans and ham, adding depth to the broth without requiring hours of simmering.
    • Carrots and Onion: Carrots bring a mild sweetness and tender texture, while onion provides a savory foundation for the broth.
    • Peas: Added toward the end of cooking, frozen peas contribute a little sweetness, color and texture to the finished soup.
    • Spices: Cumin, Oregano, Bay Leaf, Garlic: These seasonings complement the black beans and ham, rounding out the savory flavor of the soup.
    • Sour Cream: Sour cream provides a creamy, tangy contrast to the brothy soup when used as a garnish or as directed in your recipe.

    Why I Use Sherry In Black Bean Soup

    My appreciation for cooking with sherry began in culinary school, where I learned how much character it can bring to a dish. I also developed an appreciation for sherry vinegar and the complex flavor it can also contribute to vinaigrettes, like my recipe for Wilted Spinach Salad with Warm Sherry Vinaigrette Dressing.

    In this black bean soup, sherry isn’t just a background ingredient. Its flavor is noticeable, adding a sophisticated depth to the broth that complements the ham and black beans. It’s a simple addition that gives an everyday soup a more distinctive character.

    How To Make Black Bean Soup With Ham

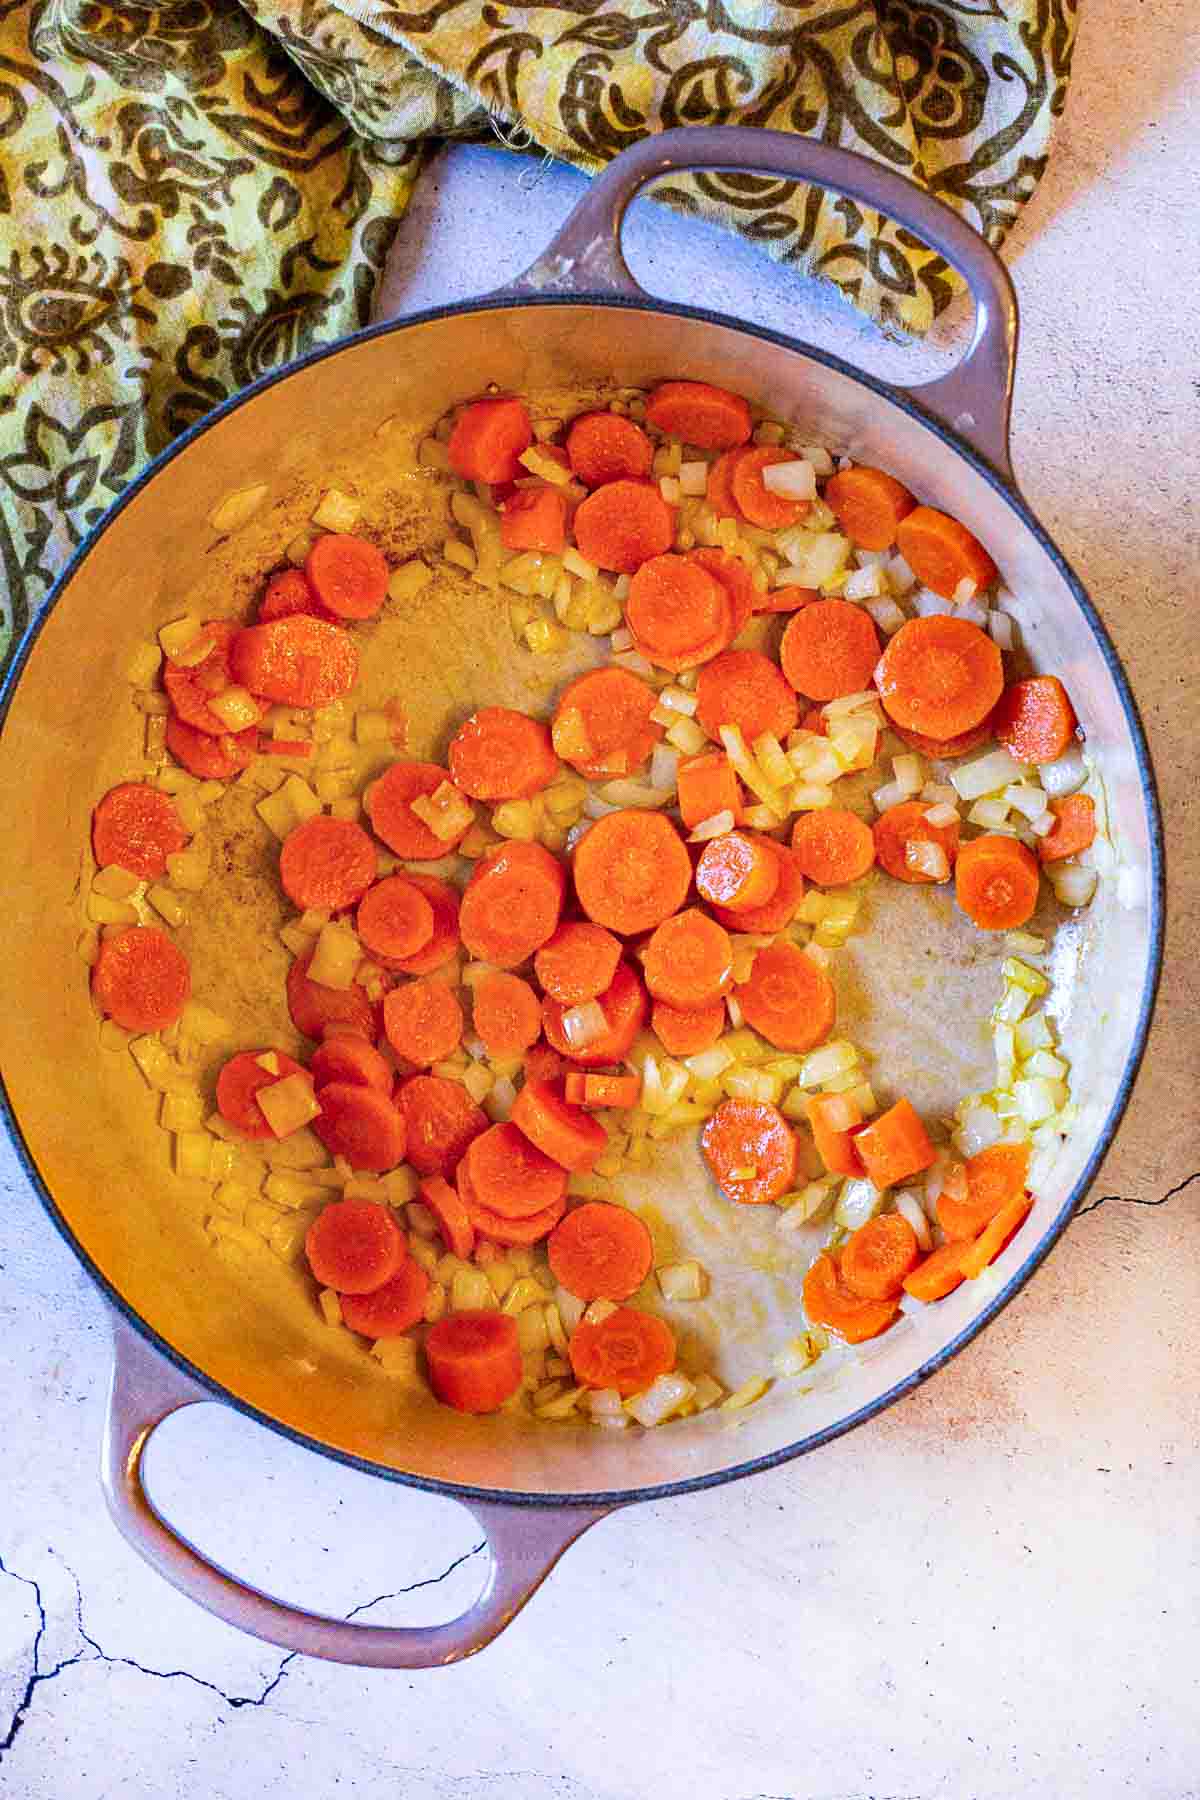
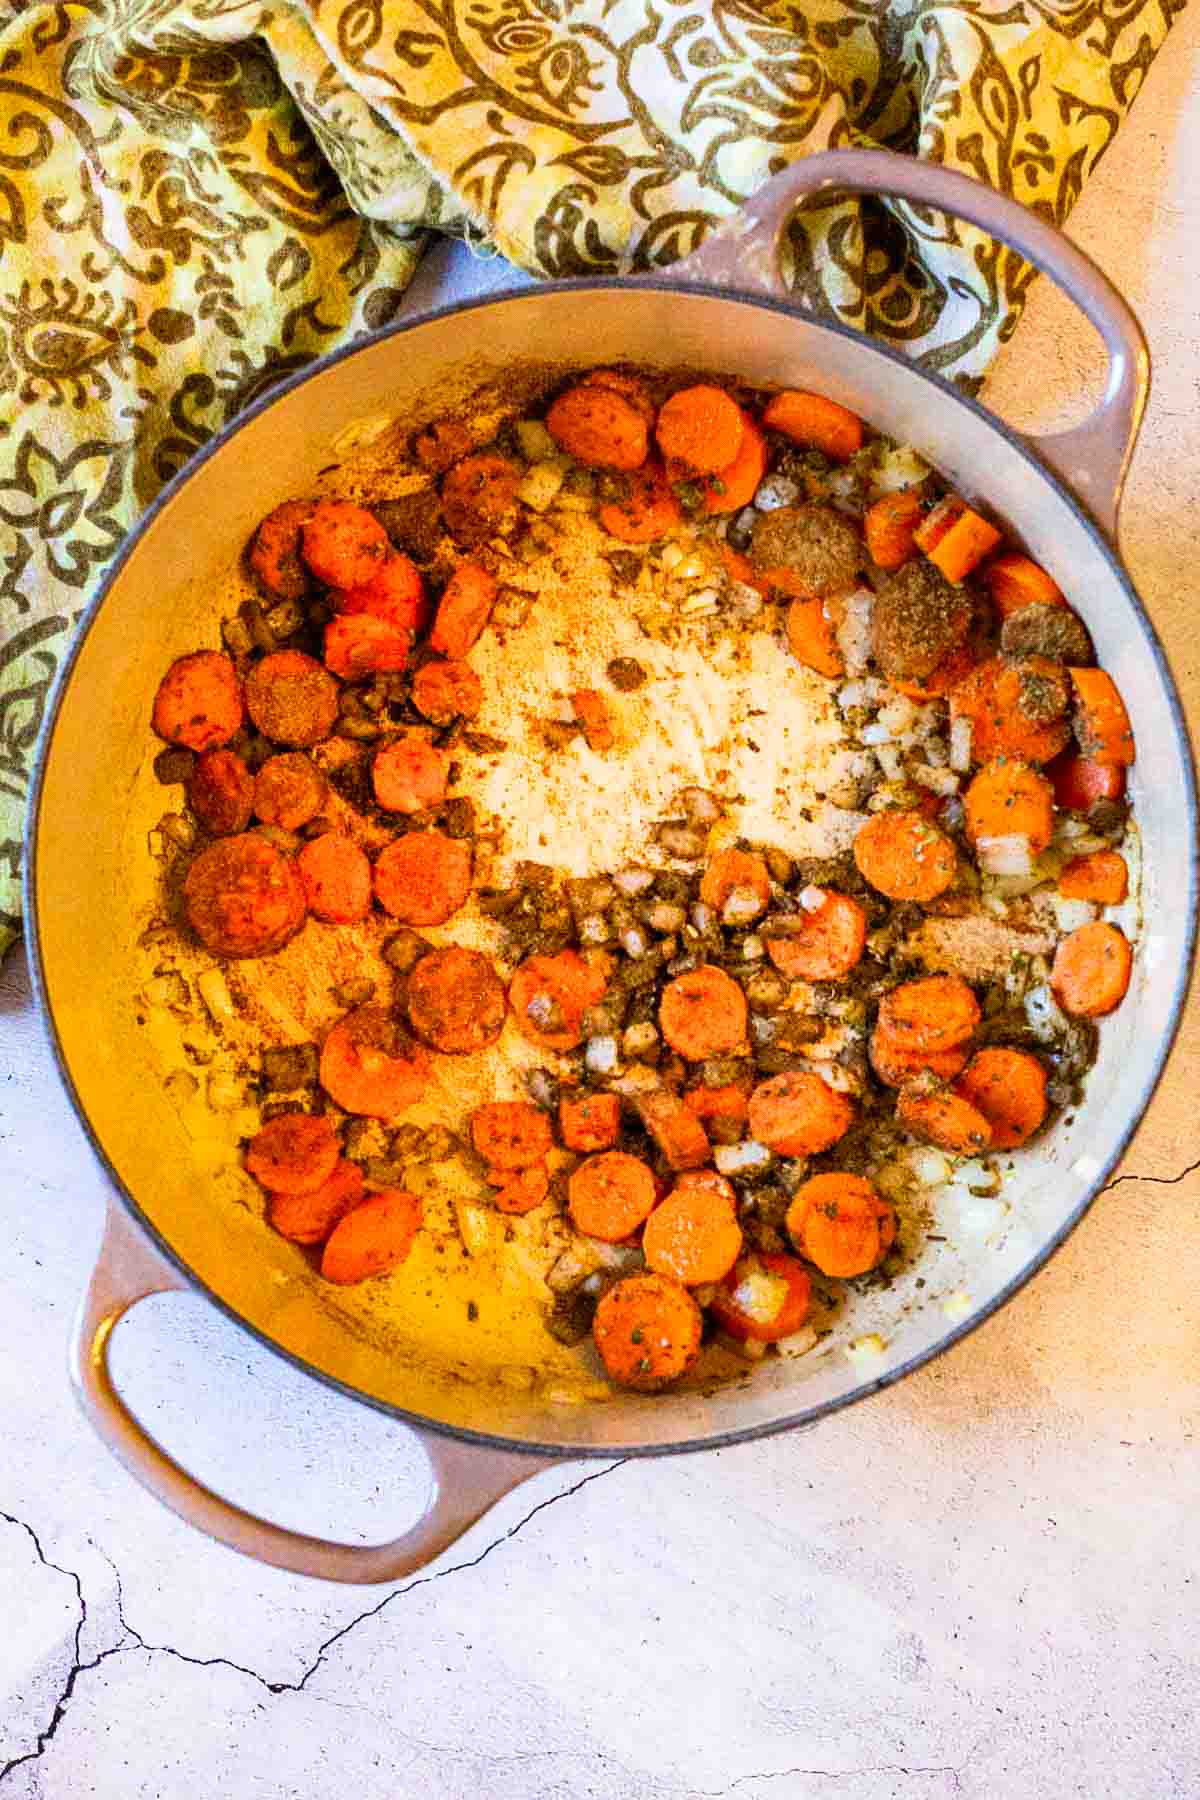
    Sauteeing carrots and onions to make black bean soup with ham.
    Step 2: Adding spices to vegetables to make black bean soup with ham.
    1. Step 1: Heat oil in a Dutch oven over medium high heat. Add onion and carrot and cook until onion is soft, about 5 minutes. Add garlic and cook until fragrant. About 30 seconds.
    2. Step 2: Add cumin and oregano. Stir and cook for a few seconds or until spices are fragrant.
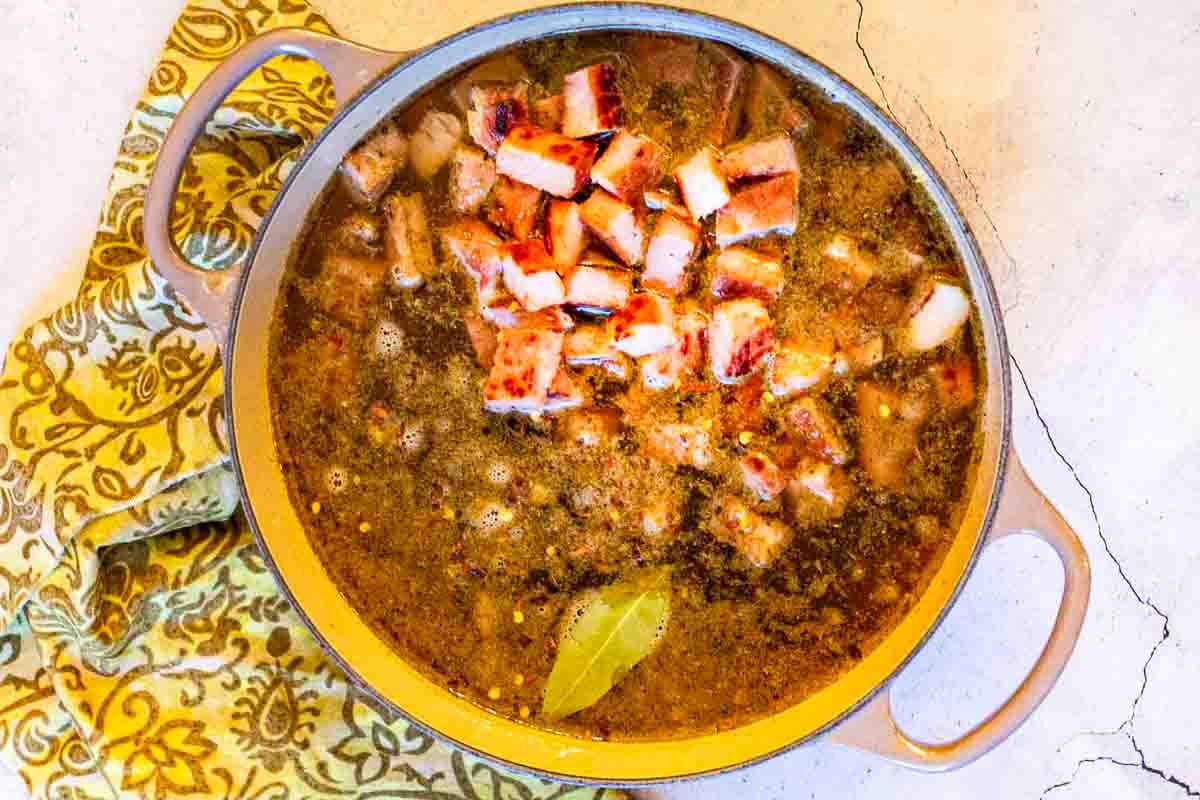
    Step 3: adding water, ham and black beans to soup ingredients to make black bean soup.
    1. Step 3: Add canned black beans, water, cooked ham steak, sherry, chopped red pepper flakes and bay leaf. Simmer uncovered for 20 minutes.
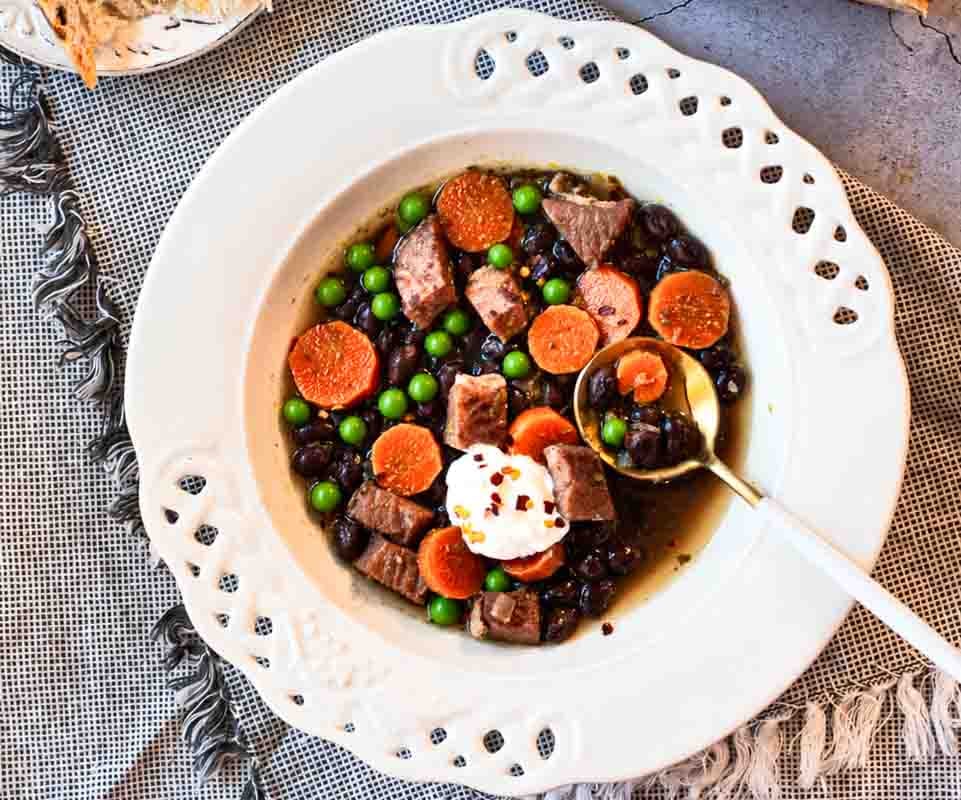
    2. Step 4: Serve: Spoon a few thawed peas on the bottom of each soup bowl. Ladle in the soup and top with a dollop of sour cream.
    Ham and black bean soup served in a white bowl.

    Chef Lea Ann’s Tips For Success

    • Use dry sherry: The recipe is designed around dry sherry, whose distinctive flavor is an important part of the finished soup.
    • Keep the broth brothy: This is a light, broth-based soup rather than a thick, pureed black bean soup. The whole beans and vegetables provide the texture.
    • Add the peas at the end: This is part of the recipe’s intended cooking method. The hot soup will warm the delicate peas.
    • Watch the salt: Ham can contribute a considerable amount of salt. Taste the broth before adding any additional salt, especially if your ham is particularly salty.

    Substitutions and Variations

    • Can I use leftover ham? Yes. Fully cooked leftover ham can be used in place of ham steak. Cut it into bite-sized pieces and follow the recipe’s instructions for adding the ham.
    • Can I use dried black beans? This recipe is written for canned black beans. Dried beans require additional preparation and cooking, so they aren’t a direct substitution in this 45-minute recipe.

    If you have a leftover ham bone rather than a ham steak, try my Slow Cooker Ham and Beans with a leftover ham bone . It’s a traditional, hands-off meal made with creamy white beans and smoky ham.”

    Storage and Leftovers

    • Store any leftovers in an air tight container in the refrigerator for up to four days.
    • This black bean and ham soup will also freeze well. Place soup in a freezer safe container and store for up to 3 months.
    • To reheat, let the soup thaw in the refrigerator overnight. Re-heat either stove-top or microwave.

    What To Serve It With

    This brothy black bean soup makes a satisfying lunch or light dinner. Serve it with my recipe for Cheesy Cornbread, crusty bread or a simple green salad dressed with Red Wine Vinegar Dressing for a more substantial meal.

    Black Bean Soup With Ham FAQ’s

    Is Ham Steak Already Cooked?

    IMPORTANT: Please be aware that some ham steaks are not cooked when purchased. They must be cooked before eating and USDA recommends an internal temperature of 145 degrees. If the package indicates that the ham steak is fully cooked, just add the ham when the recipe indicates. If the ham steak is not cooked, fry it in a pan with a little oil before starting this recipe.

    Explore More Bean Soups

    One of the most popular bean soups on my site is this one for Slow Cooker 15 Bean Soup With Ham Recipe. And here’s some more you might enjoy.

    • Mayocoba bean soup with potatoes and vegetables.
      Mayocoba Bean Soup with Potatoes, Vegetables and Parsley Lemon Sauce
    • Ground chicken chile with white beans.
      Giada’s Ground Chicken Chili with White Beans
    • Garbanzo Beans and Chicken soup with white beans.
      Southwest Garbanzo Bean Soup With White Beans and Chicken
    • Mexican chorizo meatball soup with spinach and beans.
      Chorizo Albondigas Bean Soup

    And if you’re soup lovers like us, don’t miss my soup category. I consider Soups and Stews to be my specialty. If you enjoy brothy bean soups, my Great Northern bean soup with smoky bacon  offers another comforting option. And for a heartier Southwestern meal with black beans, try my Bison Chili with Black Beans and Lime Crema.

    .

    If you liked this recipe, please leave a star ⭐⭐⭐⭐⭐ rating in the recipe card below and leave a comment. I always appreciate your feedback and hearing how everything went.

    And, don’t forget to subscribe to my newsletter for more delicious recipes and cooking tips. Make it a delicious day … every day.

    Ham and Black Bean soup with sherry.
    Print Recipe
    5 from 3 votes

    Black Bean Soup With Ham (Easy Sherried Recipe)

    This Black Bean Soup With Ham is a simple, hearty soup with a distinctive twist: dry sherry. The sherry adds a noticeable depth of flavor to the savory broth, complementing the black beans, tender ham and vegetables.
    Prep Time15 minutes mins
    Cook Time30 minutes mins
    Total Time45 minutes mins
    Course: Soup, Stews and Chilis
    Cuisine: American
    Servings: 4
    Calories: 204kcal
    Author: Lea Ann Brown

    Ingredients

    • 1 Tablespoon Olive oil
    • 2 large Carrots cleaned and thin sliced
    • ½ large Sweet onion chopped
    • 4 cloves garlic diced
    • 2 teaspoon Ground cumin
    • 1 teaspoon Dried oregano
    • 4 Cups Water
    • 2 15-ounce canned black beans drained and rinsed well
    • 8 ounces ham steak fully cooked and chopped
    • ¼ cup Dry Sherry
    • ⅛ teaspoon Ground red pepper flakes
    • 1 bay leaf
    • ½ Cup Frozen peas thawed
    • Sour Cream for garnish

    Instructions

    • Measure out frozen peas to thaw while you cook.
    • Heat oil in a large saucepan over medium high heat. Add carrots and onions. Cook for about 3 minutes until onions are tender and carrots are starting to cook. Add garlic and cook until tender.
    • Stir in cumin and oregano and cook about 30 seconds or until herbs are fragrant.
    • Stir in water, beans, ham, sherry, red pepper flakes and bay leaf. Bring to a boil then reduce heat and simmer uncovered for 20 minutes.
    • Remove and discard bay leaf. To serve, sprinkle a few thawed peas on the bottom of the bowl, spoon the soup and a dollop of sour cream. The heat from the soup will heat the delicate peas.

    Notes

    Tips For Success
    • Use dry sherry: The recipe is designed around dry sherry, whose distinctive flavor is an important part of the finished soup.
    • Keep the broth brothy: This is a light, broth-based soup rather than a thick, pureed black bean soup. The whole beans and vegetables provide the texture.
    • Add the peas at the end: This is part of the recipe’s intended cooking method.
    • Watch the salt: Ham can contribute a considerable amount of salt. Taste the broth before adding any additional salt, especially if your ham is particularly salty.

    Nutrition

    Calories: 204kcal | Carbohydrates: 11g | Protein: 19g | Fat: 8g | Saturated Fat: 2g | Cholesterol: 40mg | Sodium: 1176mg | Potassium: 538mg | Fiber: 3g | Sugar: 5g | Vitamin A: 6166IU | Vitamin C: 41mg | Calcium: 58mg | Iron: 2mg

    Smoky Swiss Chard with Eggs

    December 12, 2022 By Lea Ann Brown 96 Comments

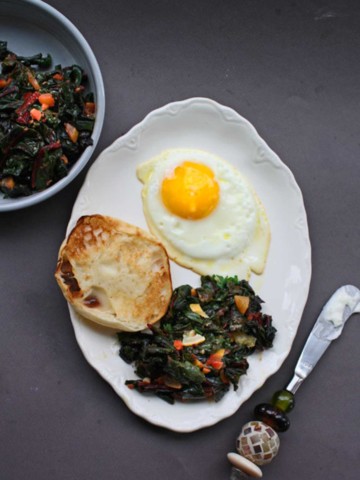
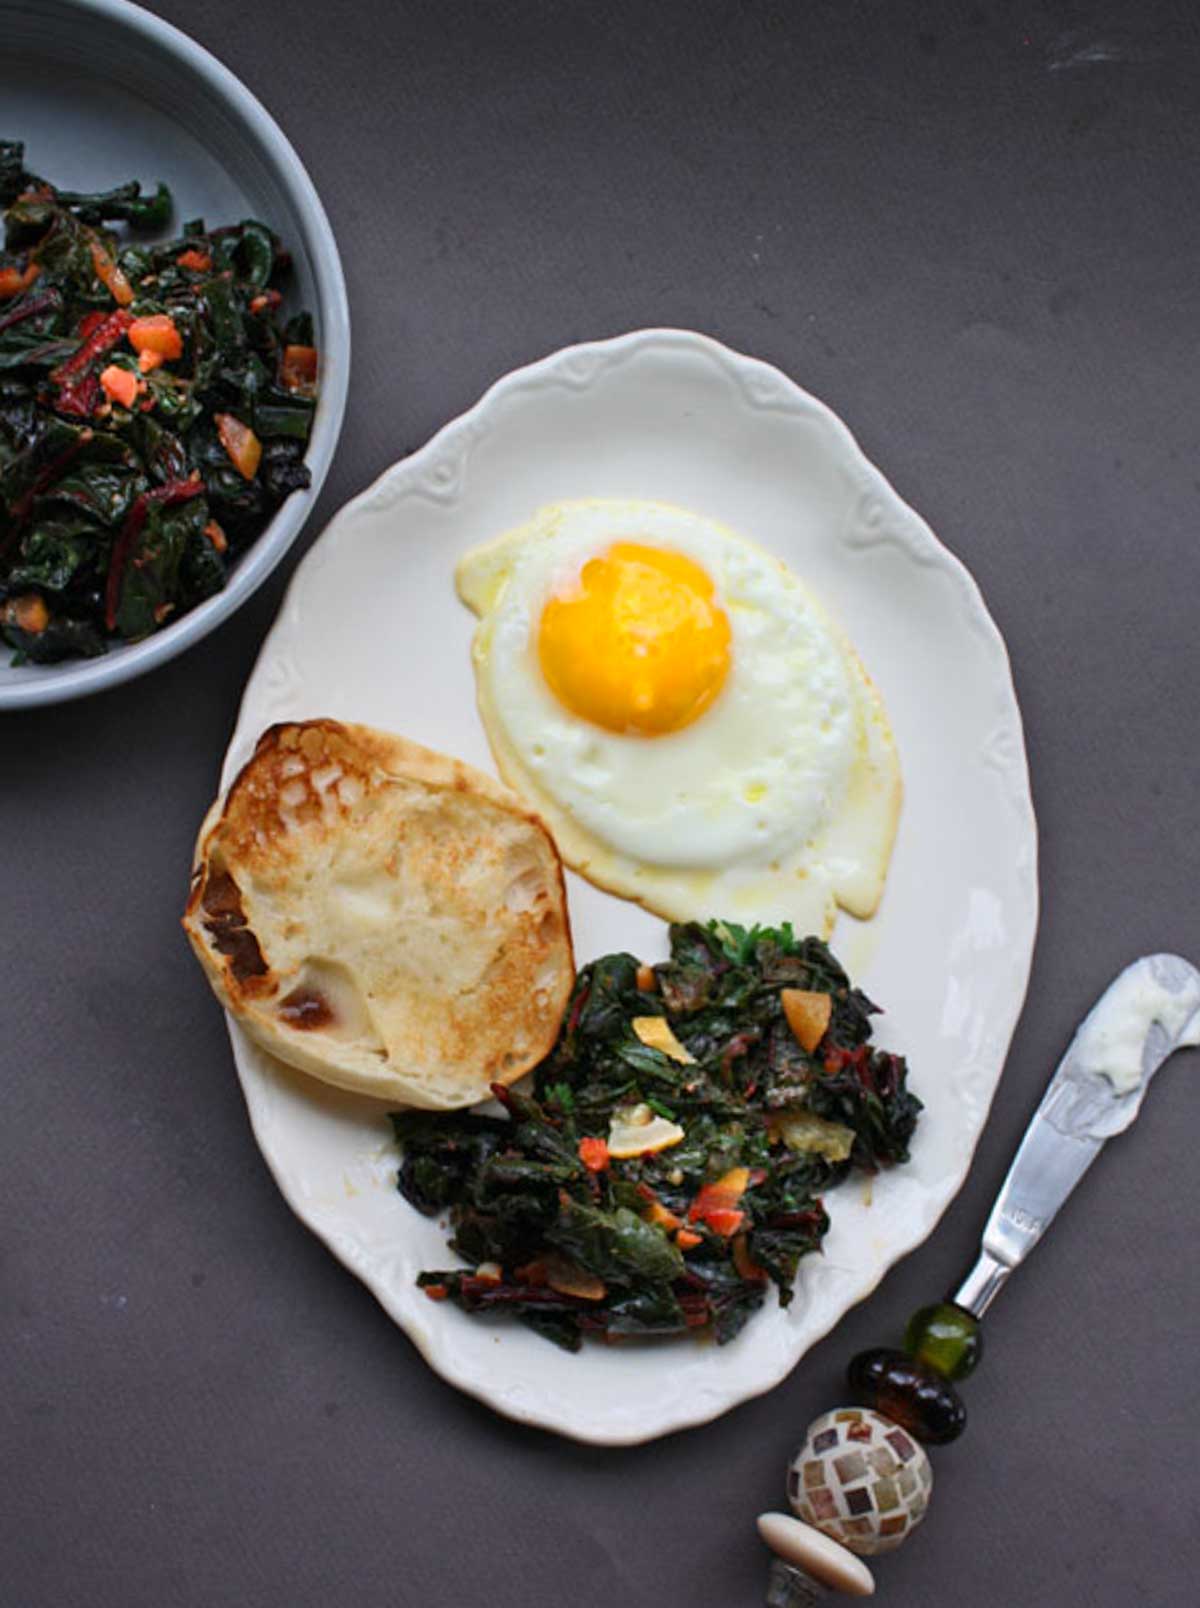
    Swiss chard and fried egg with an english muffin

    Adding preserved lemon, cumin and smoked paprika to Swiss chard makes for a super flavorful way to enjoy greens for breakfast. Served these greens with fried eggs.

    Swiss chard and fried egg with an english muffin

    What You Can Expect From This Recipe

    Swiss Chard and eggs. It’s not exactly what you’d expect on a breakfast table in Colorado. Perhaps steak and eggs?

    Thinking outside the box, this recipe which features Swiss chard and eggs will bring a whole new level of fresh and exciting flavors to your breakfast table.

    This healthy breakfast recipe is earthy with smoked paprika, sultry with cumin, and lively with chili powder … you’ll simply savor every bite.

    So jam packed full of flavor, and quick and easy to make, you’ll find yourself serving it time after time.

    And with a sunny side up egg nestled alongside, what a delightful way to go green. And it’s a quick fix.

    A recipe from Culinary School, let’s take a look.

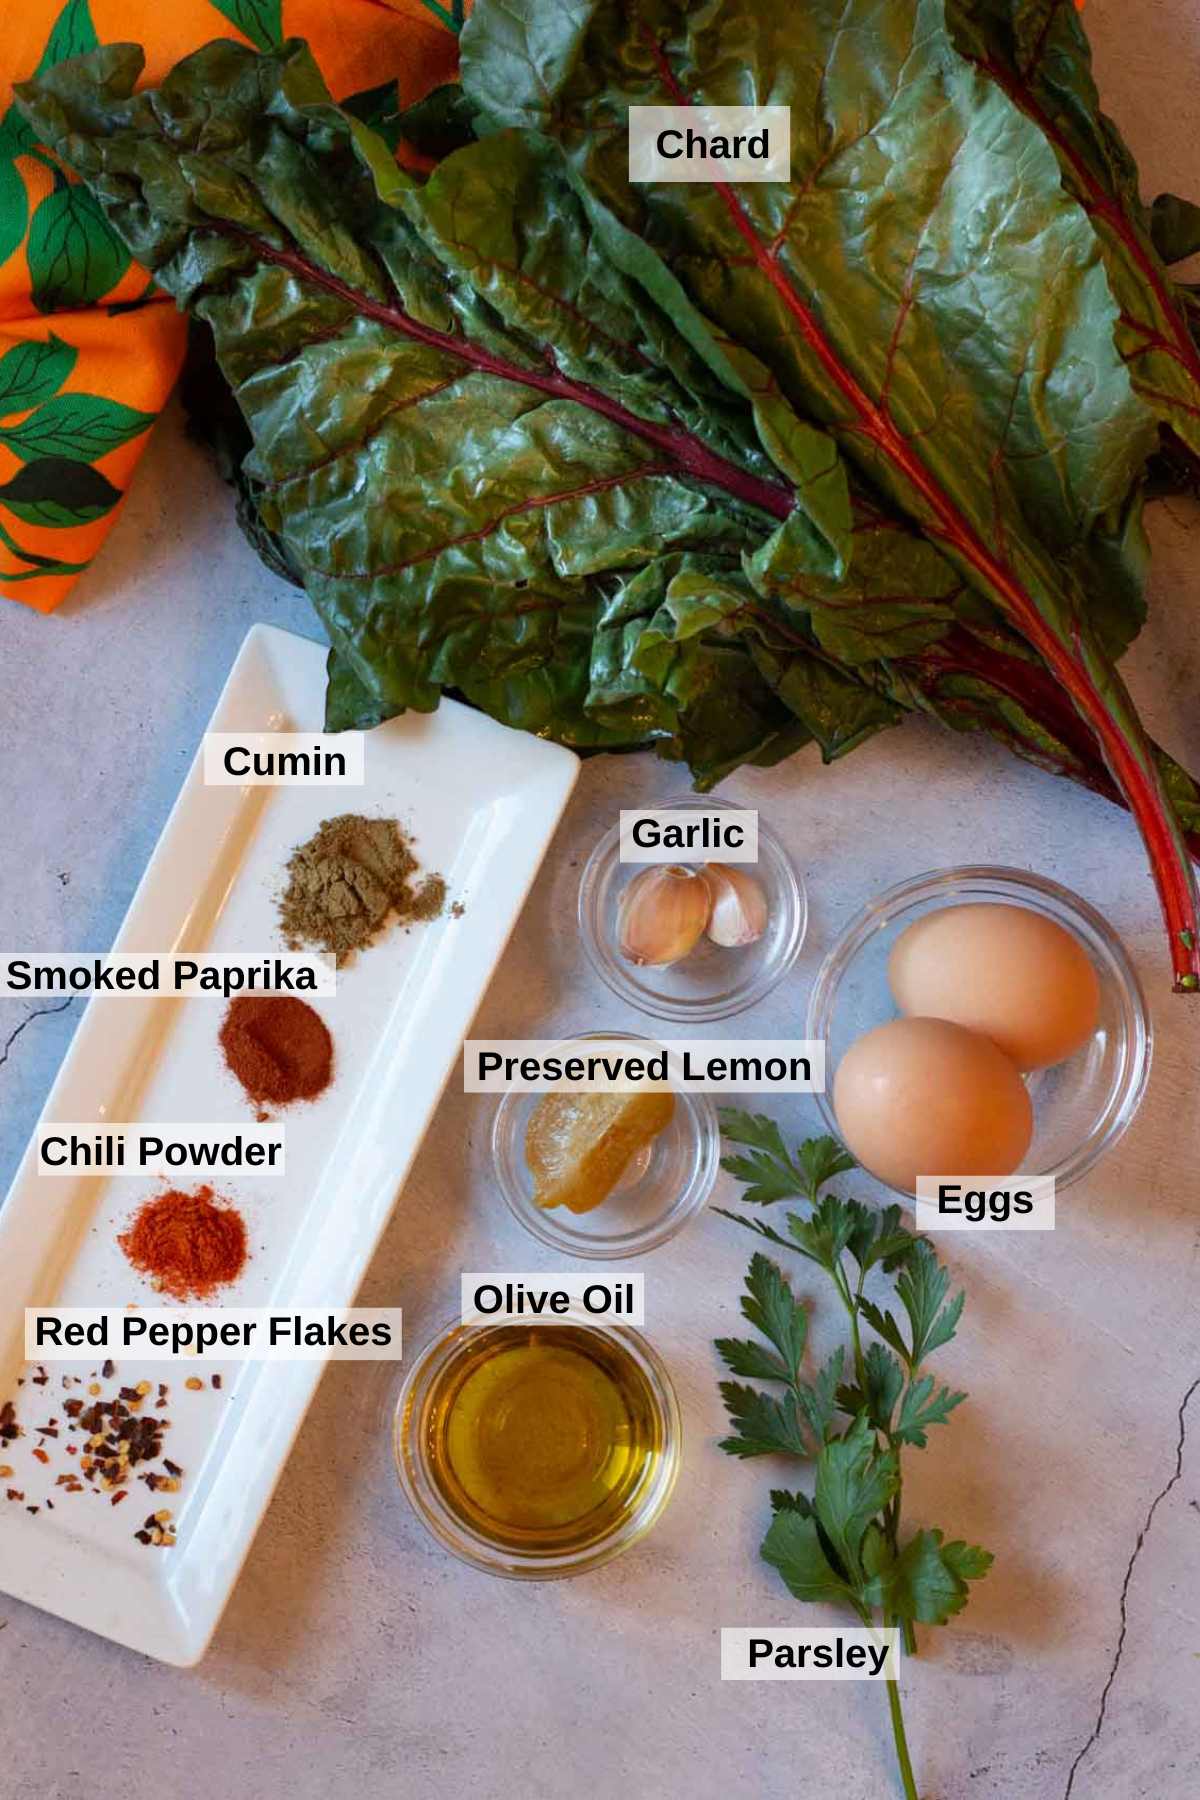
    Ingredients You’ll Need

    Ingredients to make moroccan breakfast with eggs.
    • Swiss Chard (Rainbow Chard).
    • Garlic.
    • Preserved Lemon
    • Olive Oil
    • Parsley
    • Spices and Seasonings: Cumin, Smoked Paprika, Chili Powder and Red Pepper Flakes.
    • Eggs.

    Ingredient Substitutions

    • Chard: Fresh spinach is the best substitute for Swiss Chard. Kale is also a good choice, but the leaves are tougher and will have to be cooked longer.
    • Garlic: Substitute a fine chopped medium shallot for the garlic.
    • Oil: If you don’t have olive oil, substitute a neutral oil such as Canola or vegetable oil.

    Step by Step Instructions, It’s Easy!

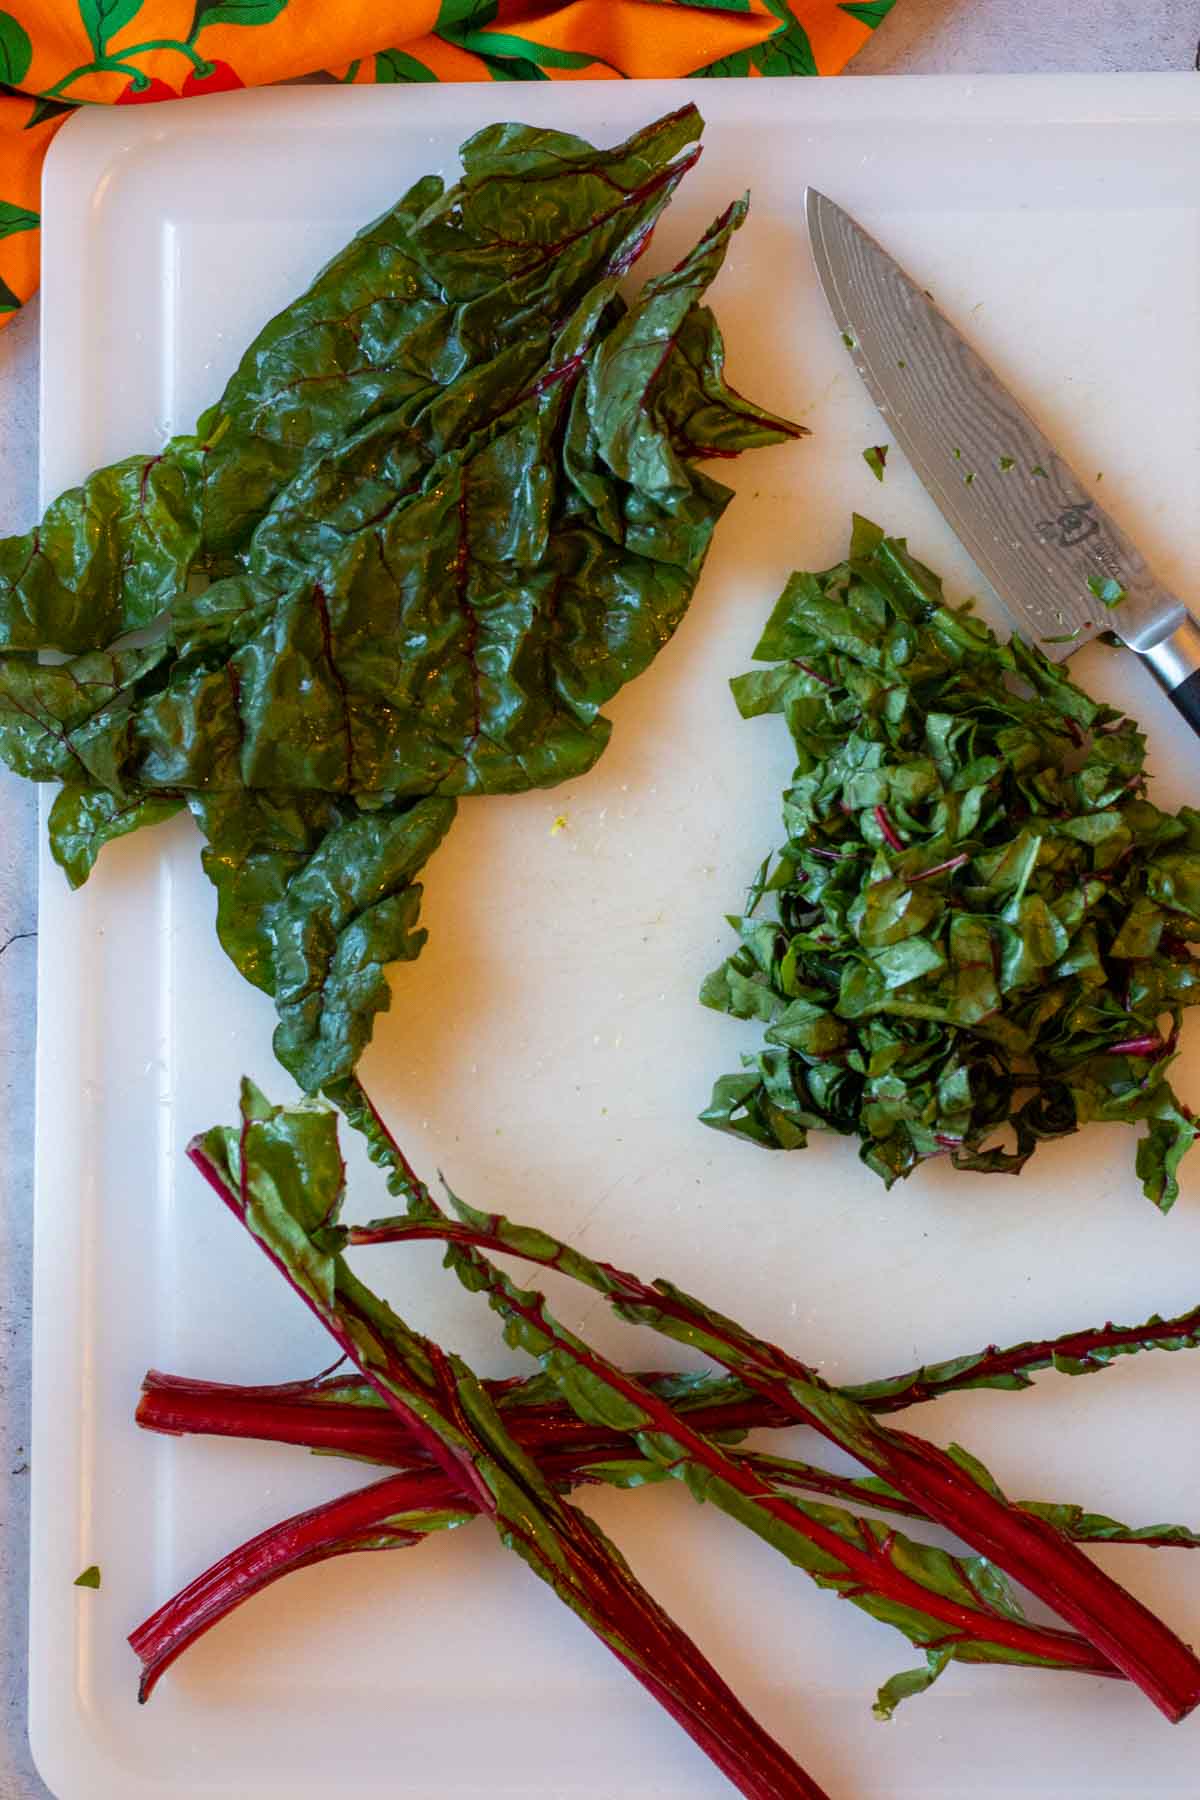
    Removing leaves from Swiss Chard.
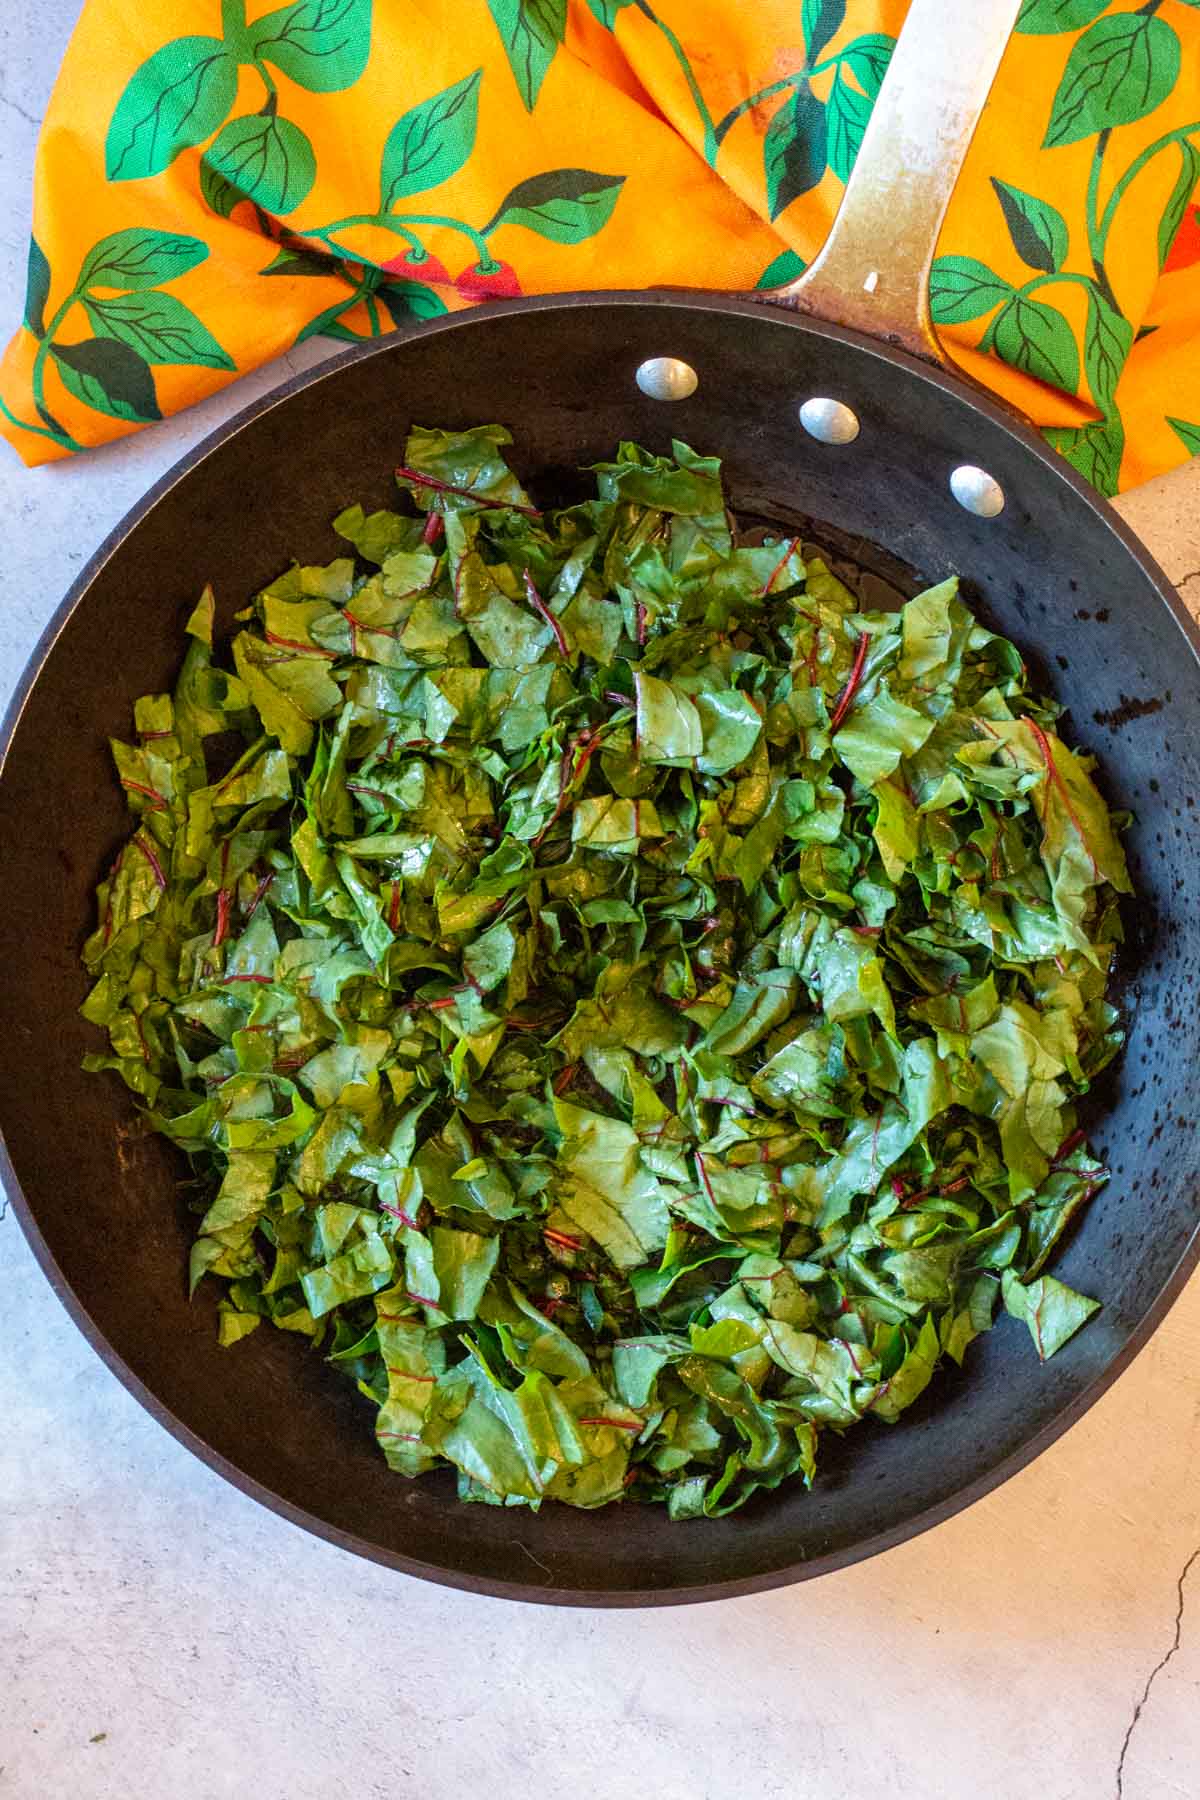
    Chopped Swiss Chard in a fry pan.
    • Step 1: Rinse and dry the leaves of the Swiss Chard. Use a knife to cut the leaves off of the tough large stems. Cut the leaves into large pieces, or stack them up, roll the stack of leaves and cut to create thin ribbons.
    • Step 2: Heat a skillet over medium high heat. Add the oil. Once the oil is hot add the chopped Swiss chard.
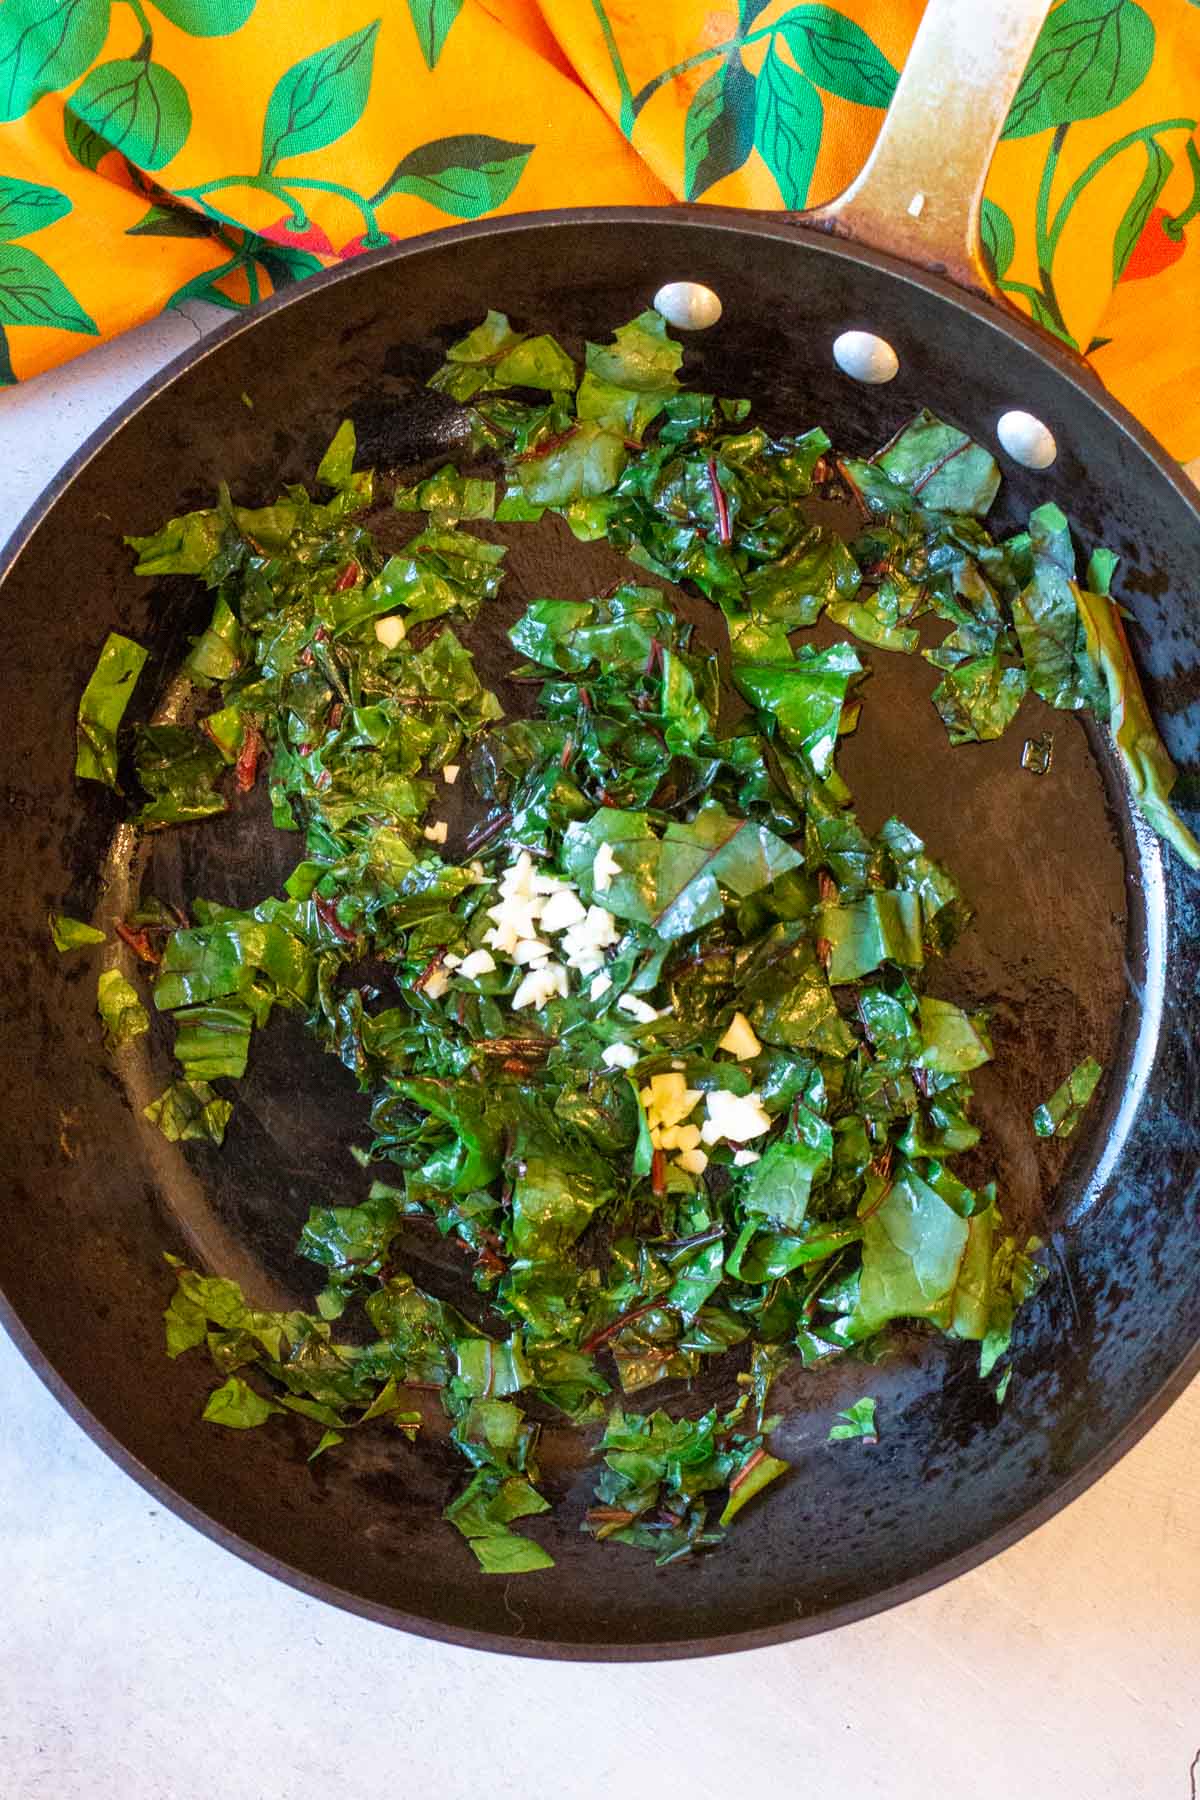
    Cooking chopped Swiss chard in a fry pan with garlic.
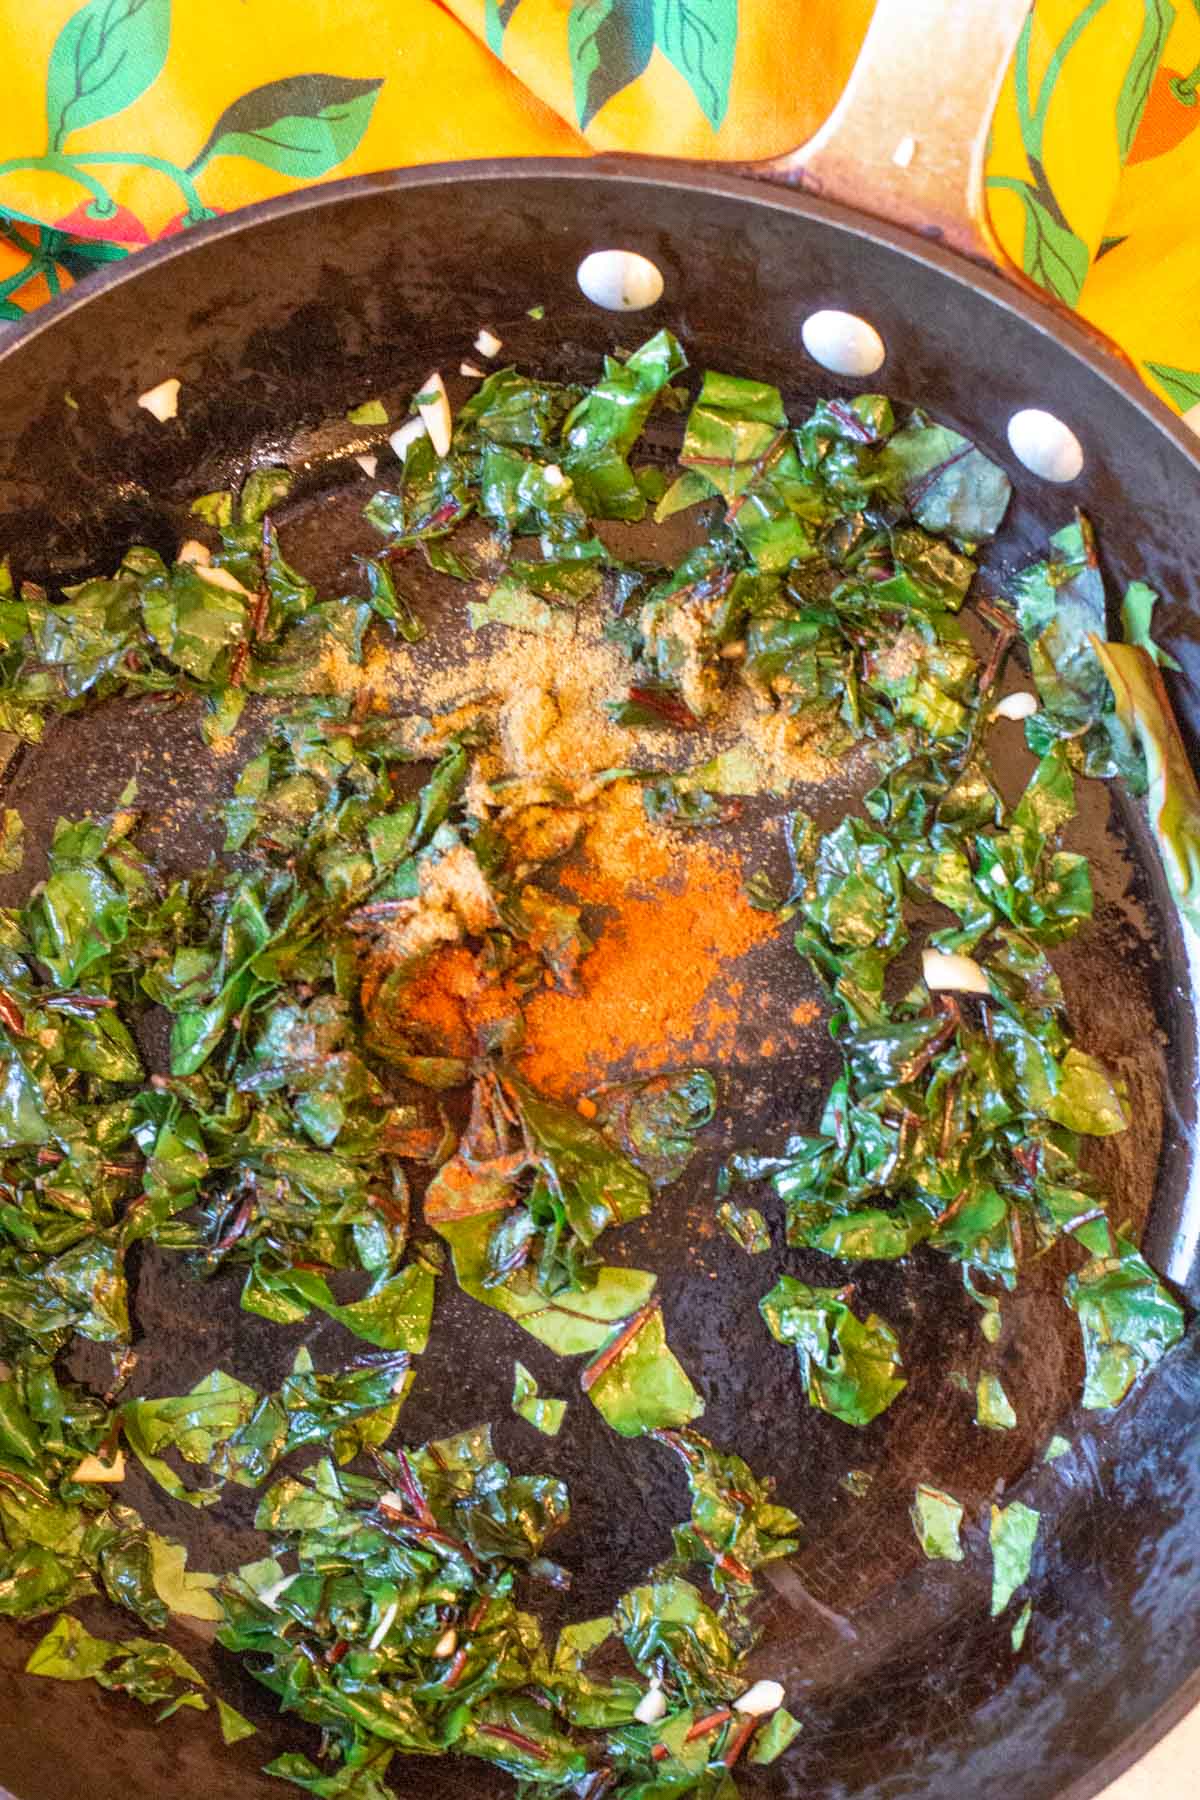
    Adding spices to Cooked Swiss Chard.
    • Step 3: Cook the chard until it becomes wilted. Add garlic and cook until the garlic becomes fragrant. About 1 minute.
    • Step 4: Add the cumin, chili powder and paprika. Stir, cover with a lid and turn down the heat to low. Let it steep and simmer for 5 minutes. Add the preserved lemon and stir.

    For the Eggs: During the time you’re cooking the chard, fry two eggs. Over easy is always a good choice. Serve the cooked chard next to the fried eggs. Toast, English muffins, or flat bread is a good addition.

    Is This Recipe Gluten Free?

    If you don’t add bread as a side dish, this breakfast is naturally gluten free.

    Variation

    Serve these smoky flavored greens topped with a poached egg, rather than fried eggs.

    Smoky Swiss Chard and Eggs

    If you never tried greens for breakfast you in for a treat. The warm spices and style of recipes are some of my favorites.

    If you’re looking for super healthy breakfast recipes for weight loss, this one is right up your alley. So healthy. So low-carb. So perfect.

    More Easy Breakfast Recipes

    • Open faced avocado and egg sandwich with bacon.
      Avocado Egg Sandwich with Bacon
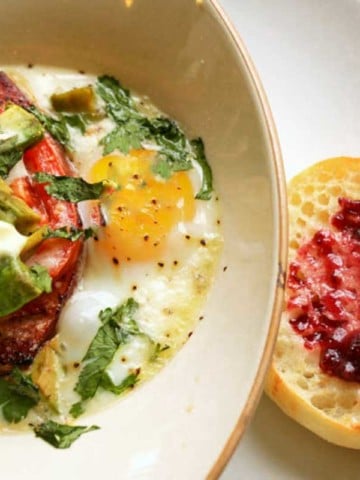
    • Baked Eggs with Ham and Avocado served with an English muffin.
      Baked Avocado and Egg Breakfast with Ham and Fresh Tomatoes
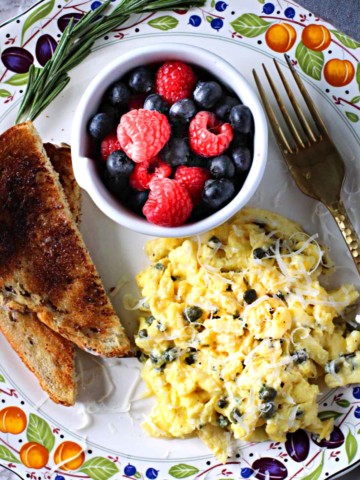
    • Scrambled eggs with capers served with toast and fresh berries
      Scrambled Eggs with Cream, Rosemary and Capers
    • Chicken Hash topped with a fried egg.
      Chicken and Eggs Hash, Southwestern Style

    And don’t miss my Breakfast Category. You’ll find plenty of fabulous recipes to start your day. Including the most popular breakfast recipe on my site for Hatch Chile Smothered Breakfast Burritos.

    Swiss chard and fried egg with an english muffin
    Print Recipe
    4.80 from 5 votes

    Smoky Swiss Chard and Fried Eggs

    Swiss Chard with preserved lemon, smoked paprika and cumin make a wonderful side for fried eggs.
    Prep Time10 minutes mins
    Cook Time20 minutes mins
    Total Time30 minutes mins
    Course: Breakfast Recipes
    Cuisine: American
    Diet: Gluten Free, Low Calorie, Low Fat
    Servings: 2
    Calories: 251kcal
    Author: Lea Ann Brown

    Equipment

    • Large Fry Pan

    Ingredients

    • 3 Tablespoons olive oil or canola oil (divided)
    • 2 bunches Swiss chard red stems removed and rough chopped
    • 2 cloves garlic fine chopped
    • ½ teaspoon cumin
    • ¼ teaspoon smoked paprika
    • ¼ teaspoon chili powder
    • 1 pinch salt
    • ¼ preserved lemon chopped, flesh only
    • 1 Tablespoon fresh parsley chopped
    • 1 pinch crushed pepper flakes for garnish

    Instructions

    • Wash the Swiss chard leaves well and pat them dry with paper towels.
    • Use a knife to cut the leaves off of the tough large stems. Cut the leaves into large pieces, or stack them up, roll the stack of leaves and cut to create thin ribbons.
    • Heat a large fry pan over medium high heat. Add the oil and once the oil is hot add the chard and cook stirring frequently. When the chard start to wilt, add the garlic and cook until fragrant. About 1 minute.
    • Add the cumin, smoked paprika and chili powder. Stir and cover with a lid. Turn down the heat to low and let it steep for 5 minutes.
    • Stir in the preserved lemon and parsley. Stir and cover and cook on low for an additional 5 minutes.
    • In the meantime, fry two eggs. Or poach two eggs.
    • Plate the Chard, drizzle with a little olive oil and sprinkle with red chile flakes. Serve alongside eggs and toast, English muffin or flatbread.

    Notes

    If you don’t add bread as a side dish, this breakfast is naturally gluten free.
    Fresh spinach is the best substitute for Swiss Chard. Kale is also a good choice, but the leaves are tougher and will have to be cooked longer.

    Nutrition

    Calories: 251kcal | Carbohydrates: 13g | Protein: 6g | Fat: 22g | Saturated Fat: 3g | Sodium: 646mg | Potassium: 1137mg | Fiber: 5g | Sugar: 3g | Vitamin A: 18714IU | Vitamin C: 94mg | Calcium: 158mg | Iron: 6mg

    Moroccan Breakfast, Swiss Chard with Eggs … It’s what’s for Breakfast

    « Previous Page
    Next Page »

    I'm Lea Ann

    Welcome to my Colorado kitchen. If you're a fan of rustic homestyle cuisine, you've come to the right place. I'm a Culinary School Grad with a passion to inspire you to cook as often as you can. I offer reliable, approachable and easy to follow recipes. So grab that skillet and let's cook.

    More about me

    Soup and Stew Recipes

    • Southwest chicken soup with hominy and potatoes.
      Sopa Ranchera, Southwest Chicken Soup
    • Creamy chicken tortilla soup with rotel tomatoes.
      Southwestern Creamy Chicken Tortilla Soup
    • Cowboy chili garnished with grated cheese and jalapeno pepers.
      New Mexico Style Cowboy Chili
    • Ground chicken chile with white beans.
      Giada’s Ground Chicken Chili with White Beans
    • Beef stew with mushrooms served in a skillet.
      Beef Stew With Mushrooms – Crock Pot Method
    • 7-can taco soup with ranch dressing.
      Original 7 Can Taco Soup with Ranch Dressing

    Reader Favorites

    • Super Moist Cheesy Cornbread with Creamed Corn
    • Flemings steakhouse macaroni and cheese in a white bowl.
      Flemings Steakhouse Mac and Cheese
    • A slice of Layered Mexican Casserole with ground beef and corn tortillas.
      Mexican Casserole with Ground Beef and Corn Tortillas
    • Beef Tagliata, thin sliced flank steak served over arugula and cherry tomatoes.
      Beef Tagliata (Italian Steak)
    • Ham and cheese quesadilla made with corn tortillas and topped with a fried egg.
      Crispy Ham and Cheese Corn Tortilla Quesadillas
    • Spinach chicken mushroom skillet dinner.
      Chicken Mushroom and Spinach Skillet

    Footer

    • Contact
    • About
    • Privacy Policy
    • Accessibility Statement
    • ↑ back to top

    Copyright © 2024 Cooking on the Ranch • Powered by Feast+

    Rate This Recipe

    Your vote:


    A rating is required
    A name is required
    An email is required