Cooking On The Ranch

  • Home
  • About
  • Recipe Roundup
  • Contact Me
  • Join Community
menu icon
go to homepage
  • Home
  • Our Favorite Grilling Recipes
  • About
  • Recipe Roundup
  • Contact Me
    • Facebook
    • Instagram
    • Pinterest
  • search icon
    Homepage link
    • Home
    • Our Favorite Grilling Recipes
    • About
    • Recipe Roundup
    • Contact Me
    • Facebook
    • Instagram
    • Pinterest
  • ×
    Home

    Andouille Sausage Pigs in a Blanket (With Puff Pastry)

    October 31, 2016 By Lea Ann Brown 17 Comments

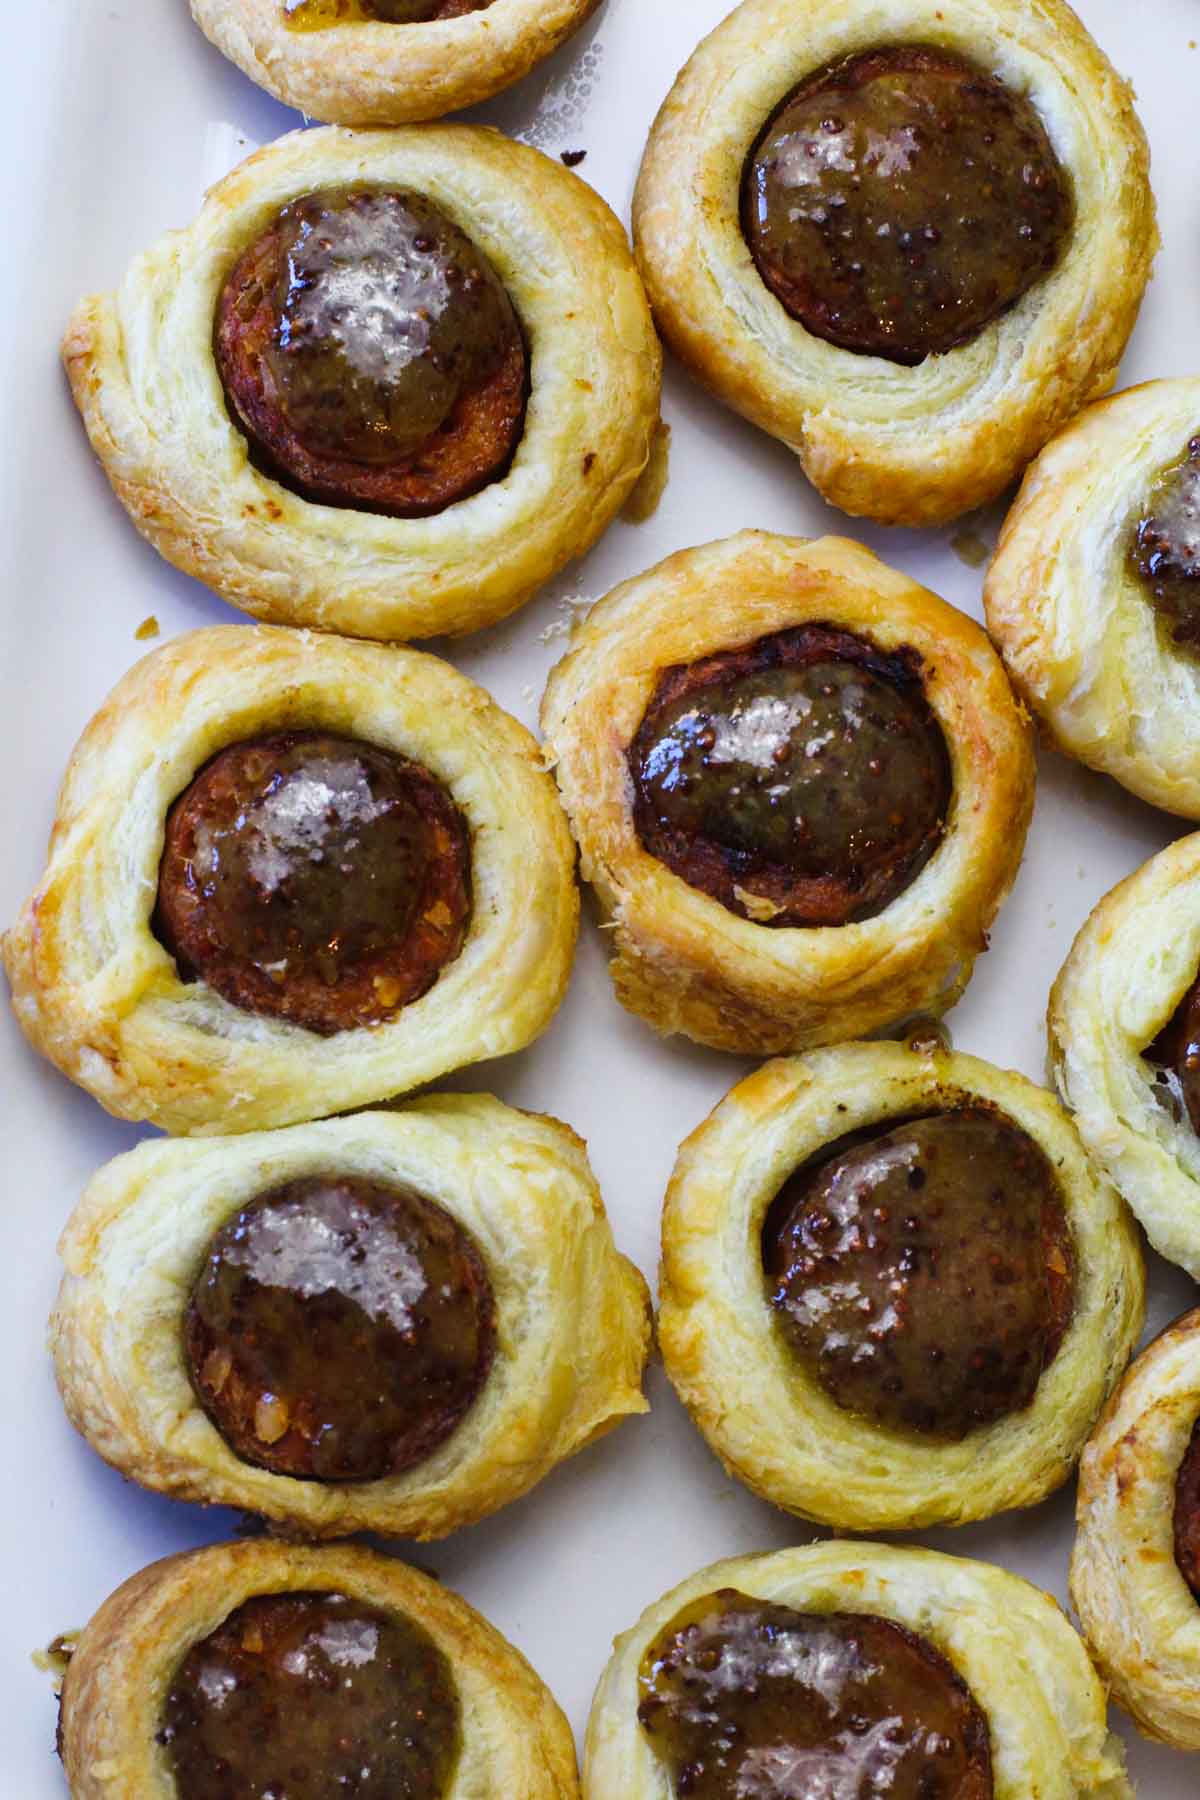
    Andouille sausage pigs in a blanket made with Puff Pastry.

    A high brow version of pigs in a blanket, these sausage pigs in a blanket switch out hot dogs for Andouille Sausage. Baked, then glazed with a chutney mustard sauce, this is an easy fix and perfect party finger food. A great recipe for making pigs in a blanket using puff pastry.

    Puff pastry pigs in a blanket with andouille sausage.

    What Are Andouille Sausage Pigs In A Blanket?

    Pigs in a blanket … is it really a party without them? Little wieners stuffed into a crispy shell of pastry with an irresistible dipping sauce? And they’re so easy to make and easy to eat. Perfect finger food and you don’t even need to balance a plate.

    • These pigs in a blanket differ from conventional pigs in a blanket due to the fact that we’re using smoked andouille sausage rather than hot dogs.
    • And we’re using puff pastry instead of more commonly used crescent roll dough.
    • I think you’re going to fall in love with this flaky texture difference.
    • It’s like taking pigs in a blanket, dressing them up and taking them out on the town.
    • We’re upping the ante and switching out mustard for a dipping sauce. This sausage in a blanket appetizer doesn’t dunk at all, but hot out of the oven, are glazed with a chutney mustard combination. = DEE-licious. We all love a good sweet, salty, spicy combination.

    Why Use Puff Pastry Instead of Crescent Dough?

    • Puff pastry is a non-yeasted laminated dough that creates a light, crisp, flaky texture once baked.
    • Crescent roll dough is softer and more bread like.
    • These buttery flaky layers of puff pastry will hold up just fine with the smoked sausage and create a pig in a blanket experience with a special texture.

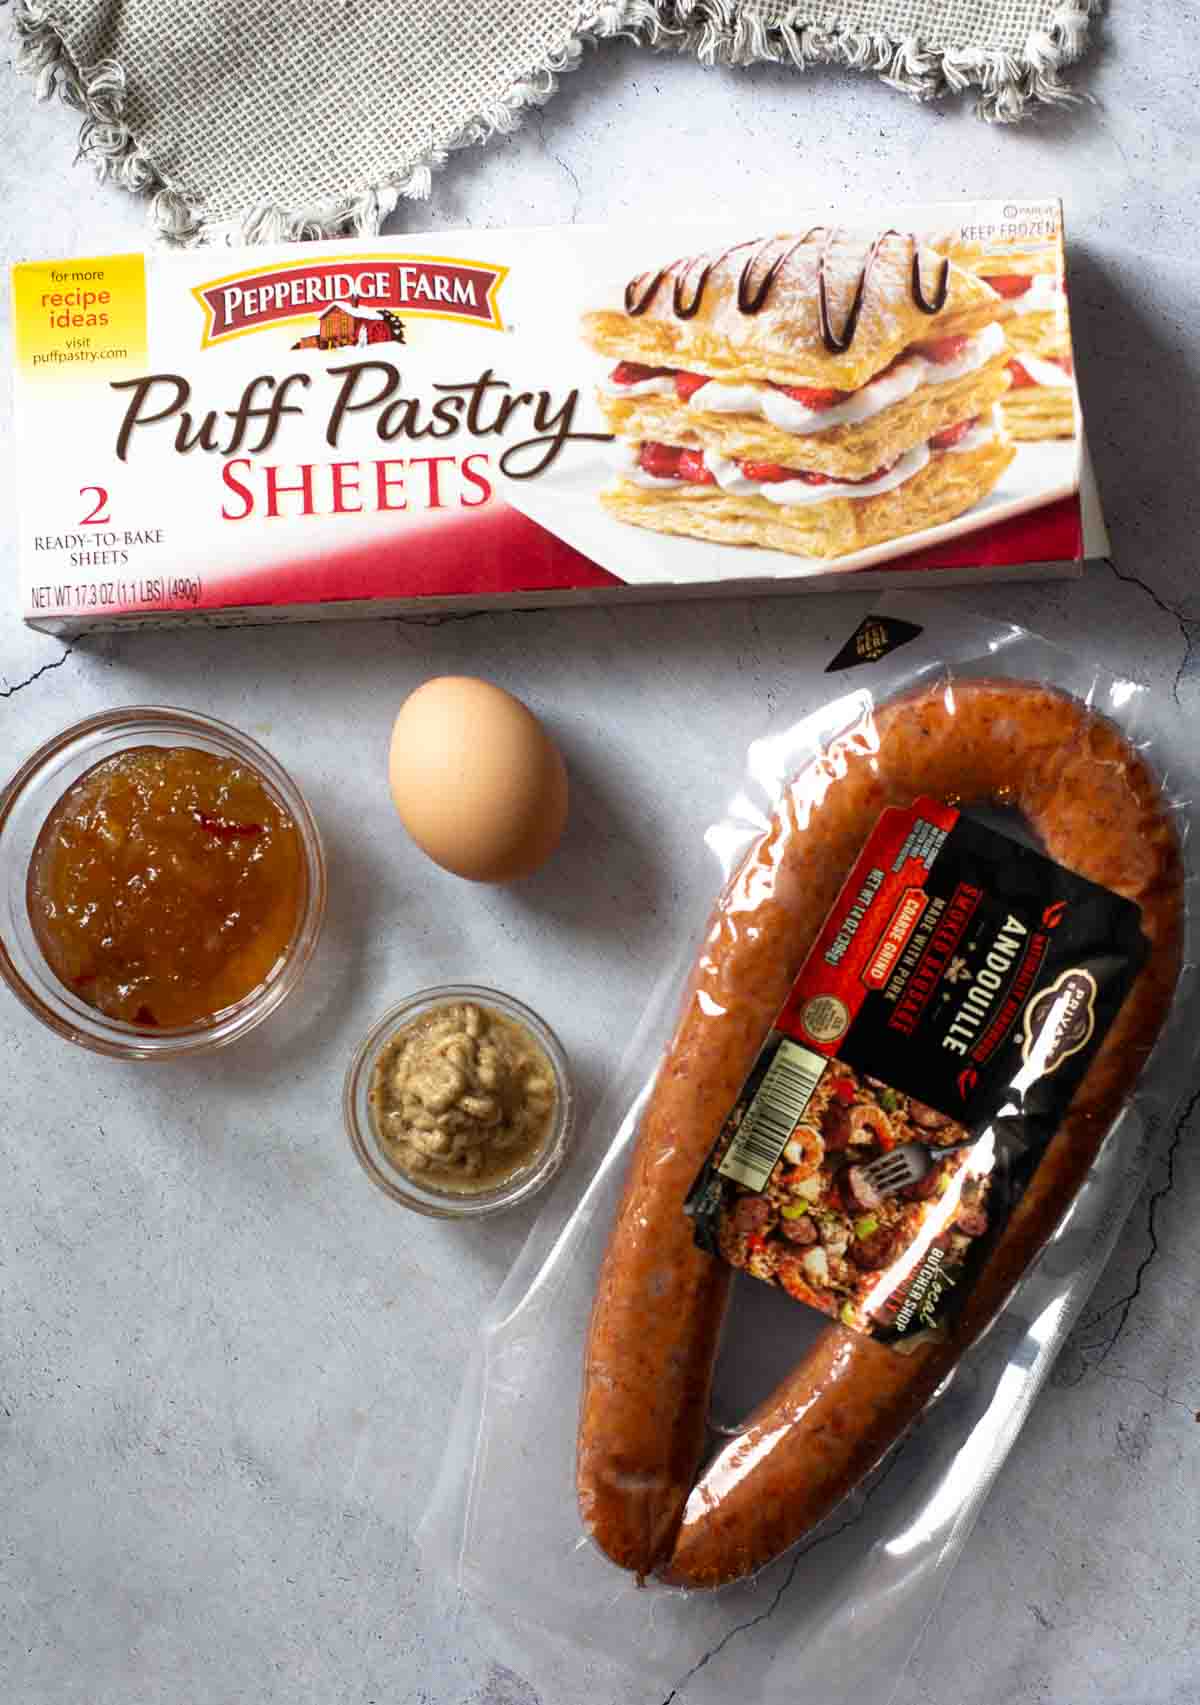
    Ingredients You’ll Need

    Ingredients to make sausage pigs in a blanket.
    • Frozen Puff Pastry – is readily available in the frozen section of your supermarket.
    • One Egg – we’ll be used to seal the dough together.
    • Major Gray’s Mango Chutney – a popular sweet and savory condiment with a perfect bite of spice.
    • Spicy Mustard – will add a wonderful bite of flavor to the glaze.
    • Cooked Andouille Sausage

    Ingredient Substitutions

    • Mustard: I always have spicy mustard in the fridge, but play around with this one. Use a whole grain mustard, or any specialty mustard that has a bit of a strong kick to it. There are so many specialty mustards to choose from, have fun with this one.
    • Sausage: We like andouille sausage for this recipe for its spiciness. Try any type of smoked sausage like Kielbasa, or even smoked turkey sausage. I’ve even made this recipe with Aidells Smoked Chicken and Apple Sausage links.

    Step by Step Instructions, It’s So Easy
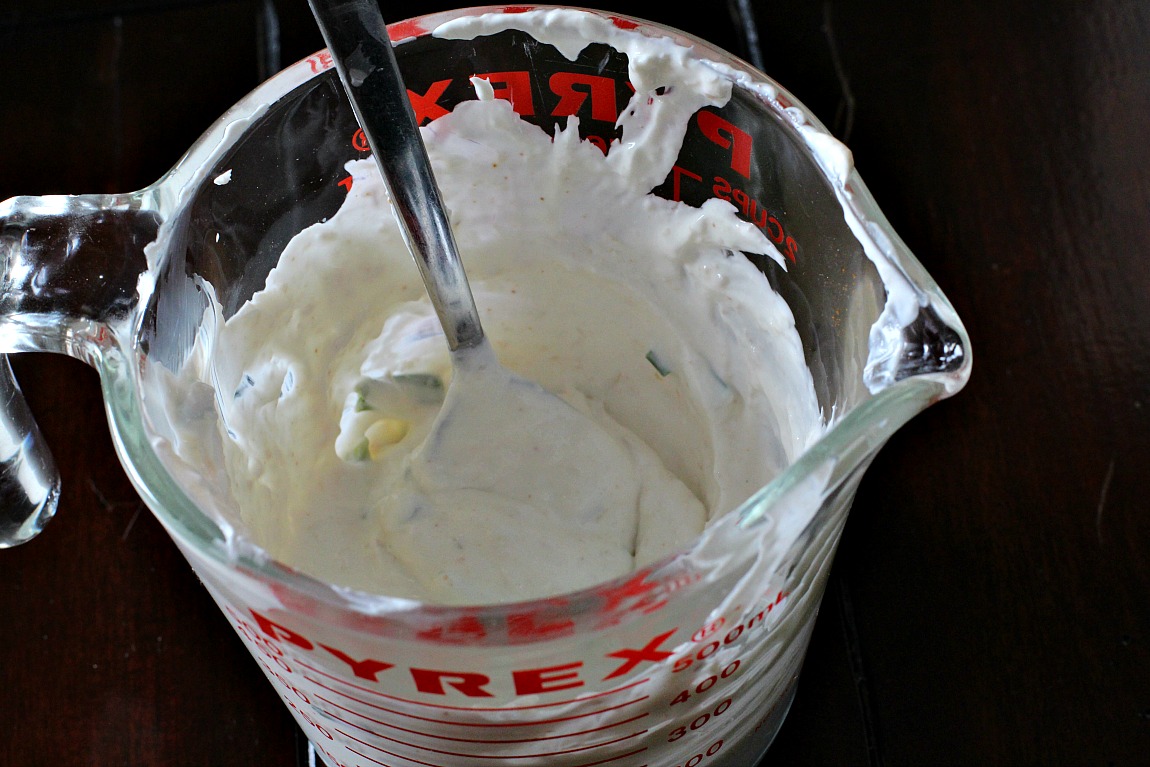
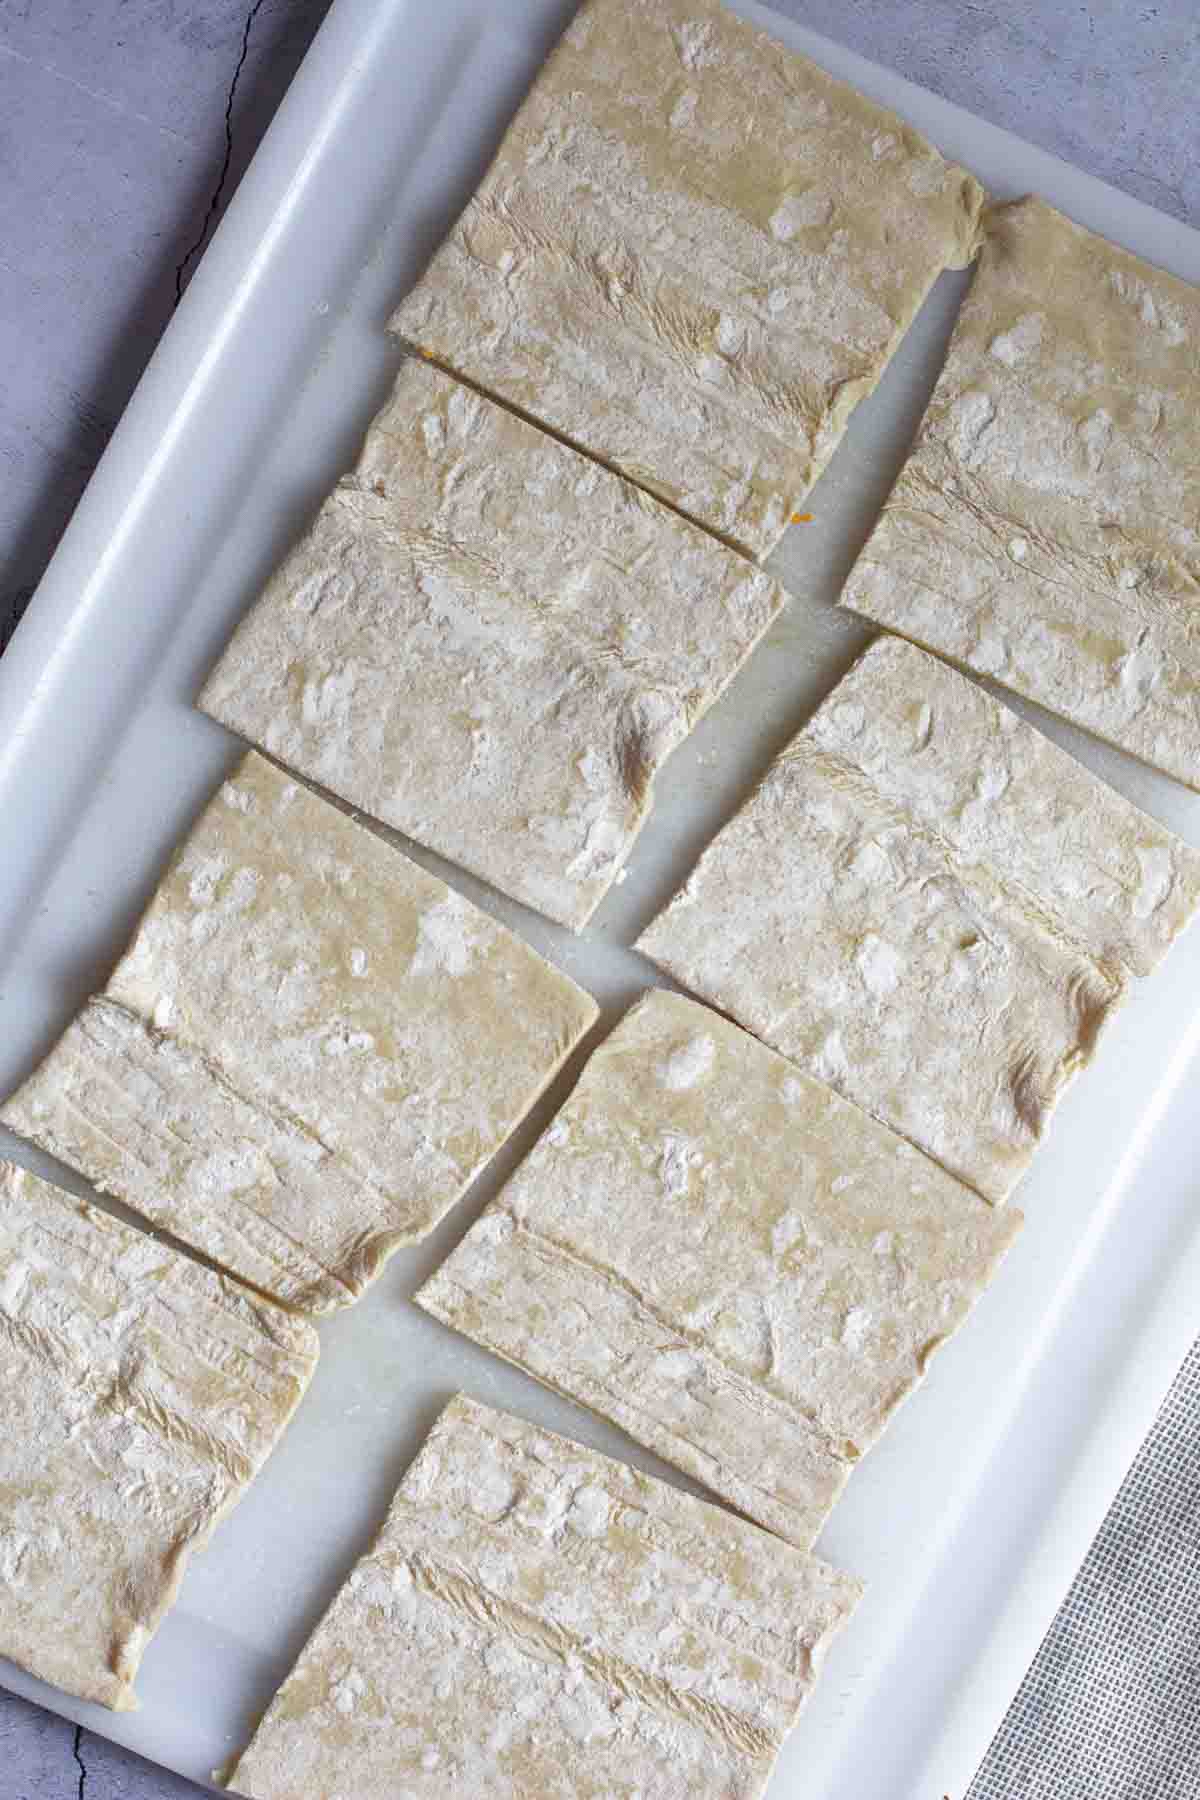
    Thawed Puff Pastry cut into squares.
    1. Step 1: Allow about an hour for the puff pastry to thaw at room temperature. Unfold one sheet and cut into 4 squares. Note: For this photo, I cut two squares of the pastry because I was doubling the recipe.
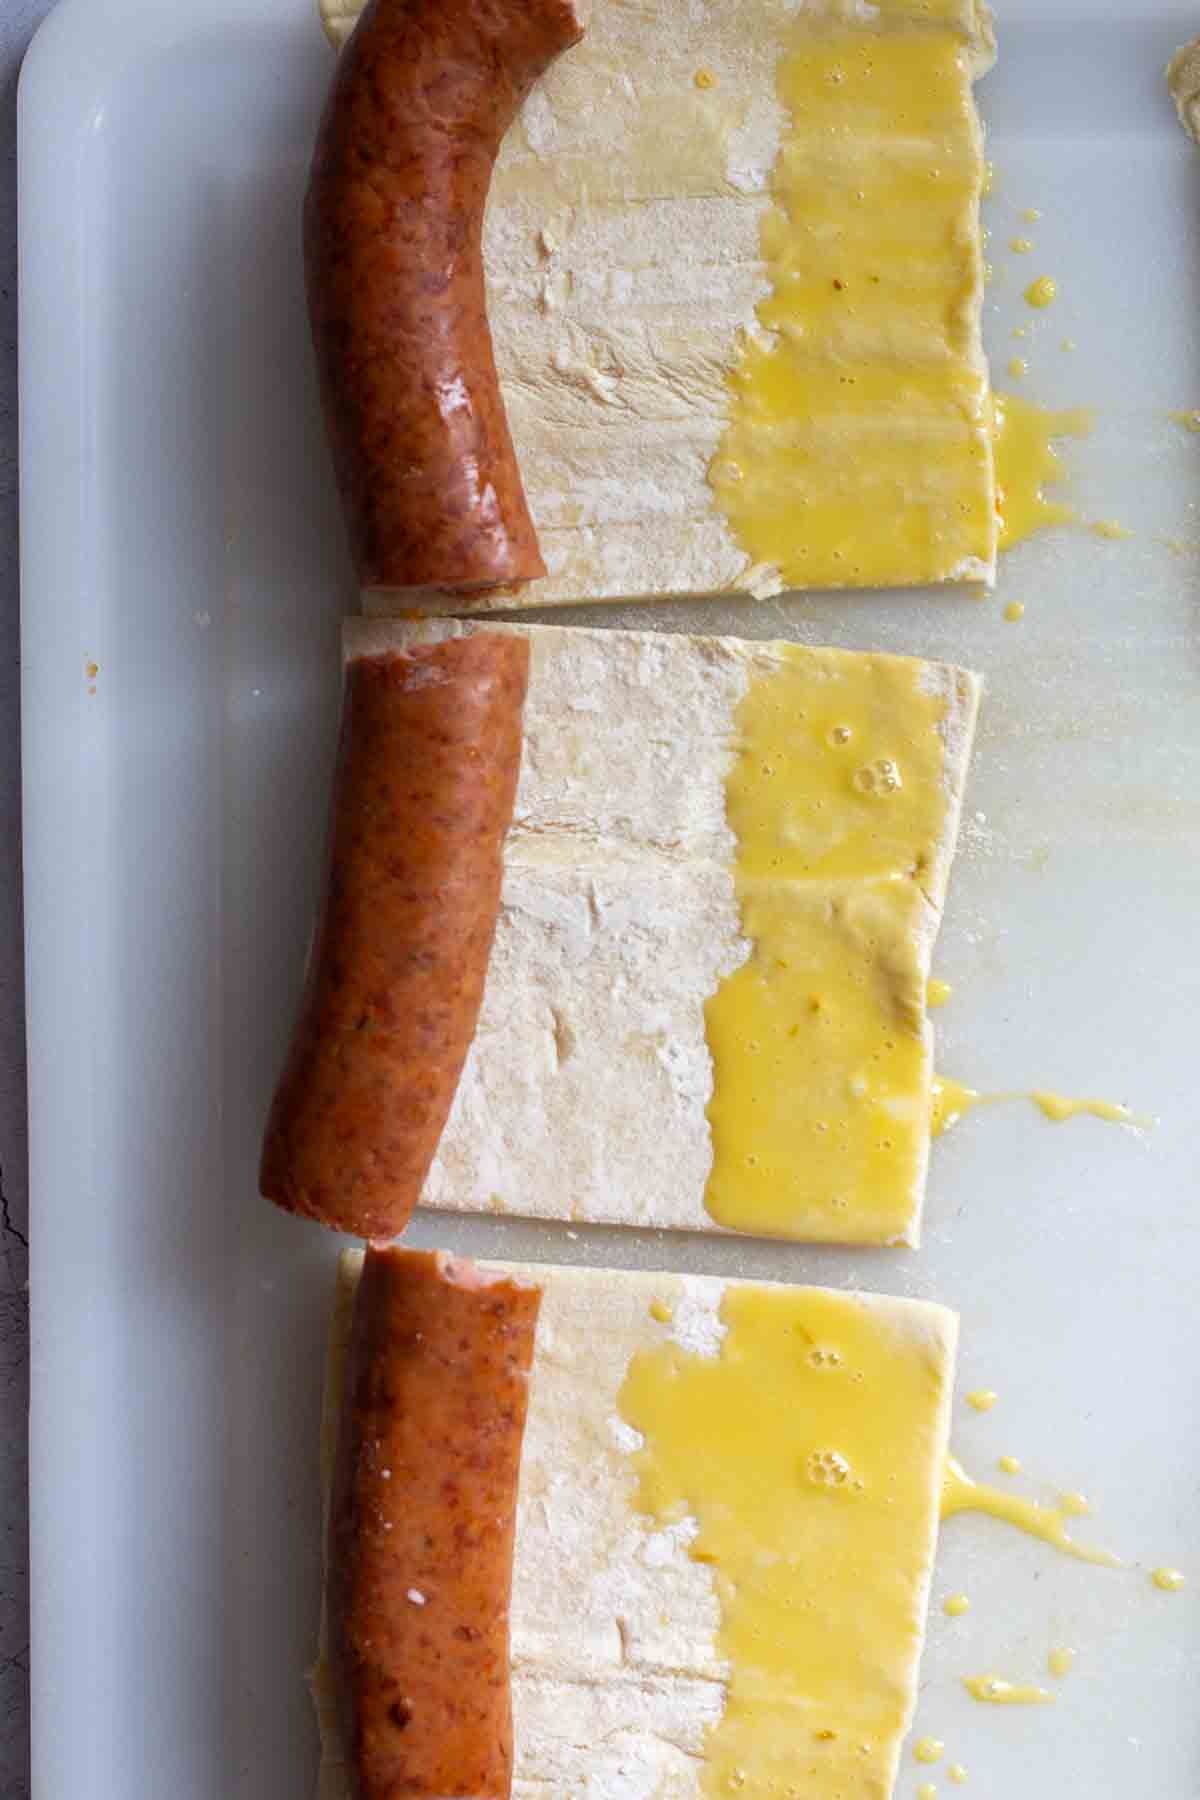
    2. Step 2: Using a fork, whisk one egg yolk with one tablespoon water. Cut the sausage links to fit the pastry sheets and lay each link along the bottom side of each pastry square. Using a silicone brush, brush a generous layer of the egg wash on the top edge of the pastry square.
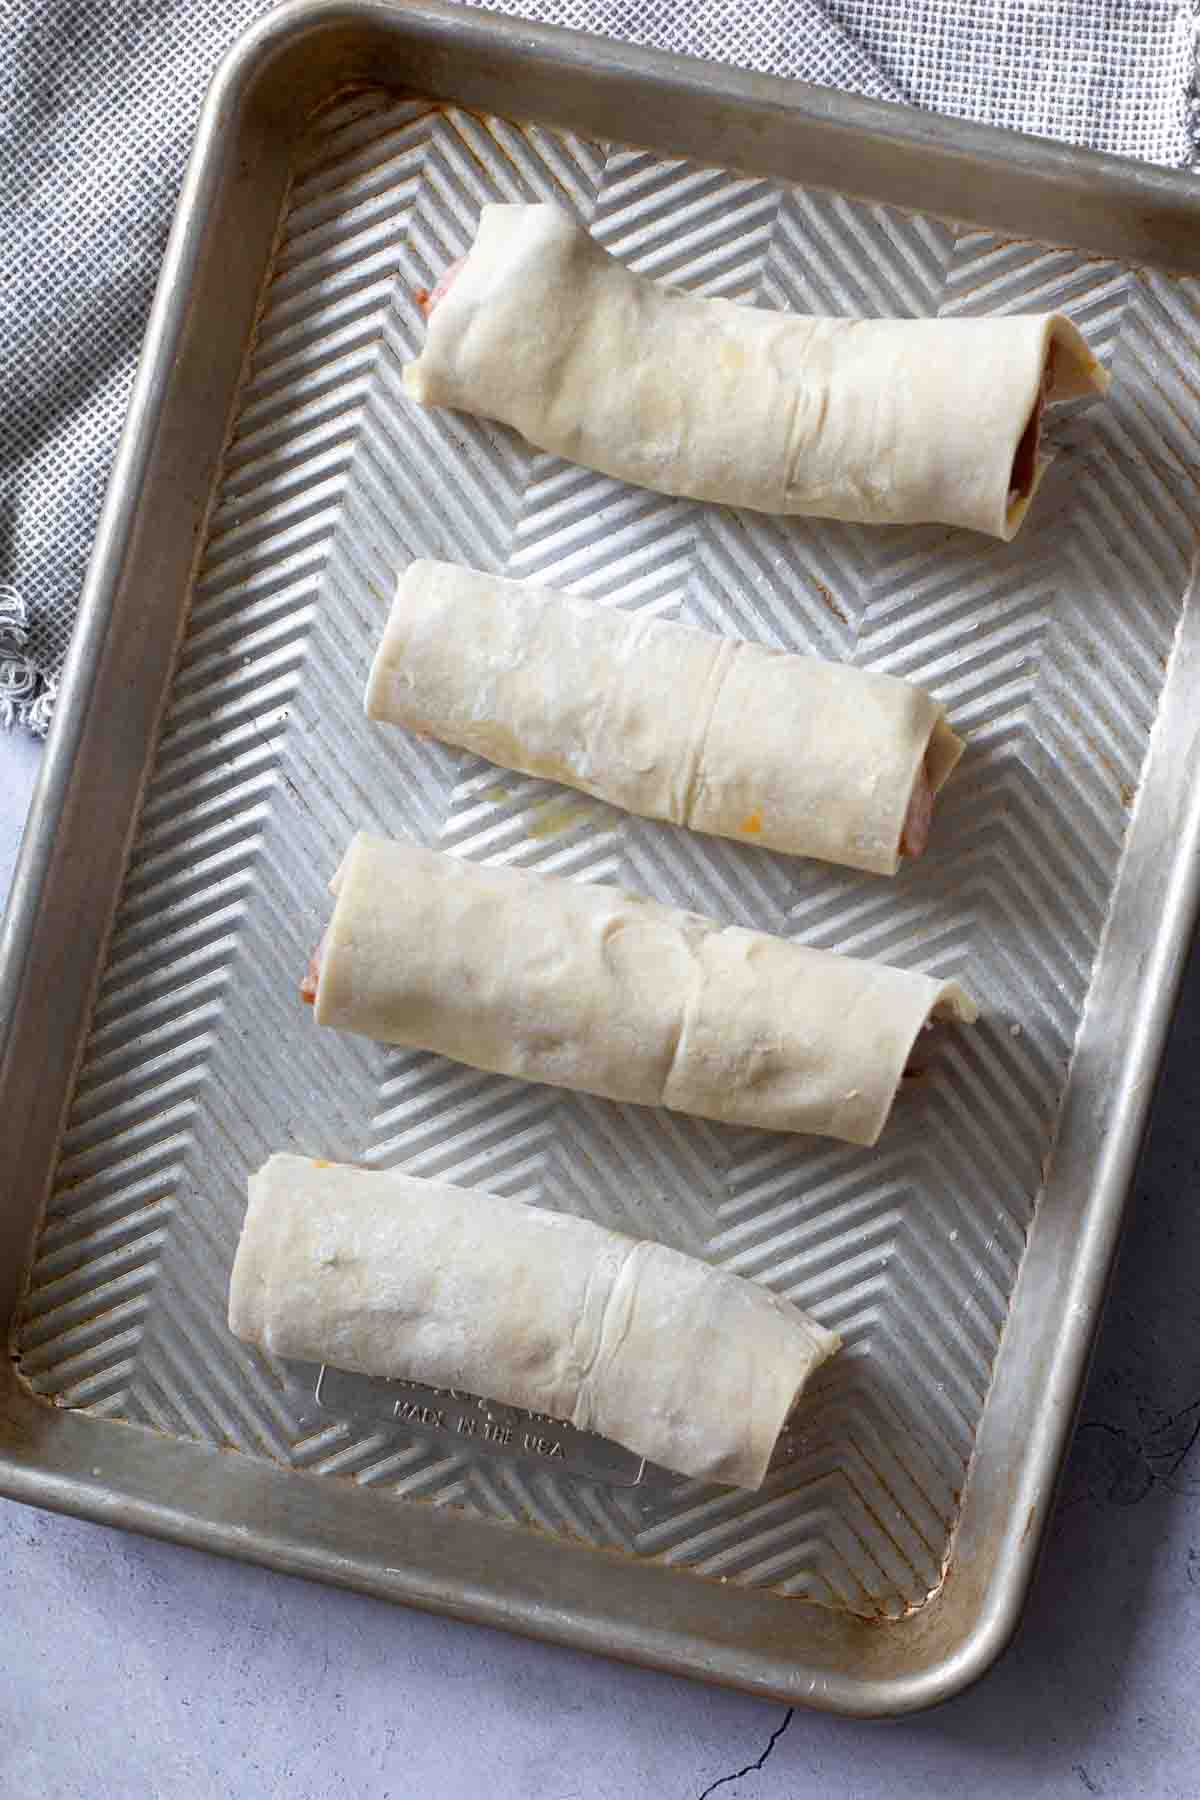
    Sausage links wrapped in puff pastry dough.
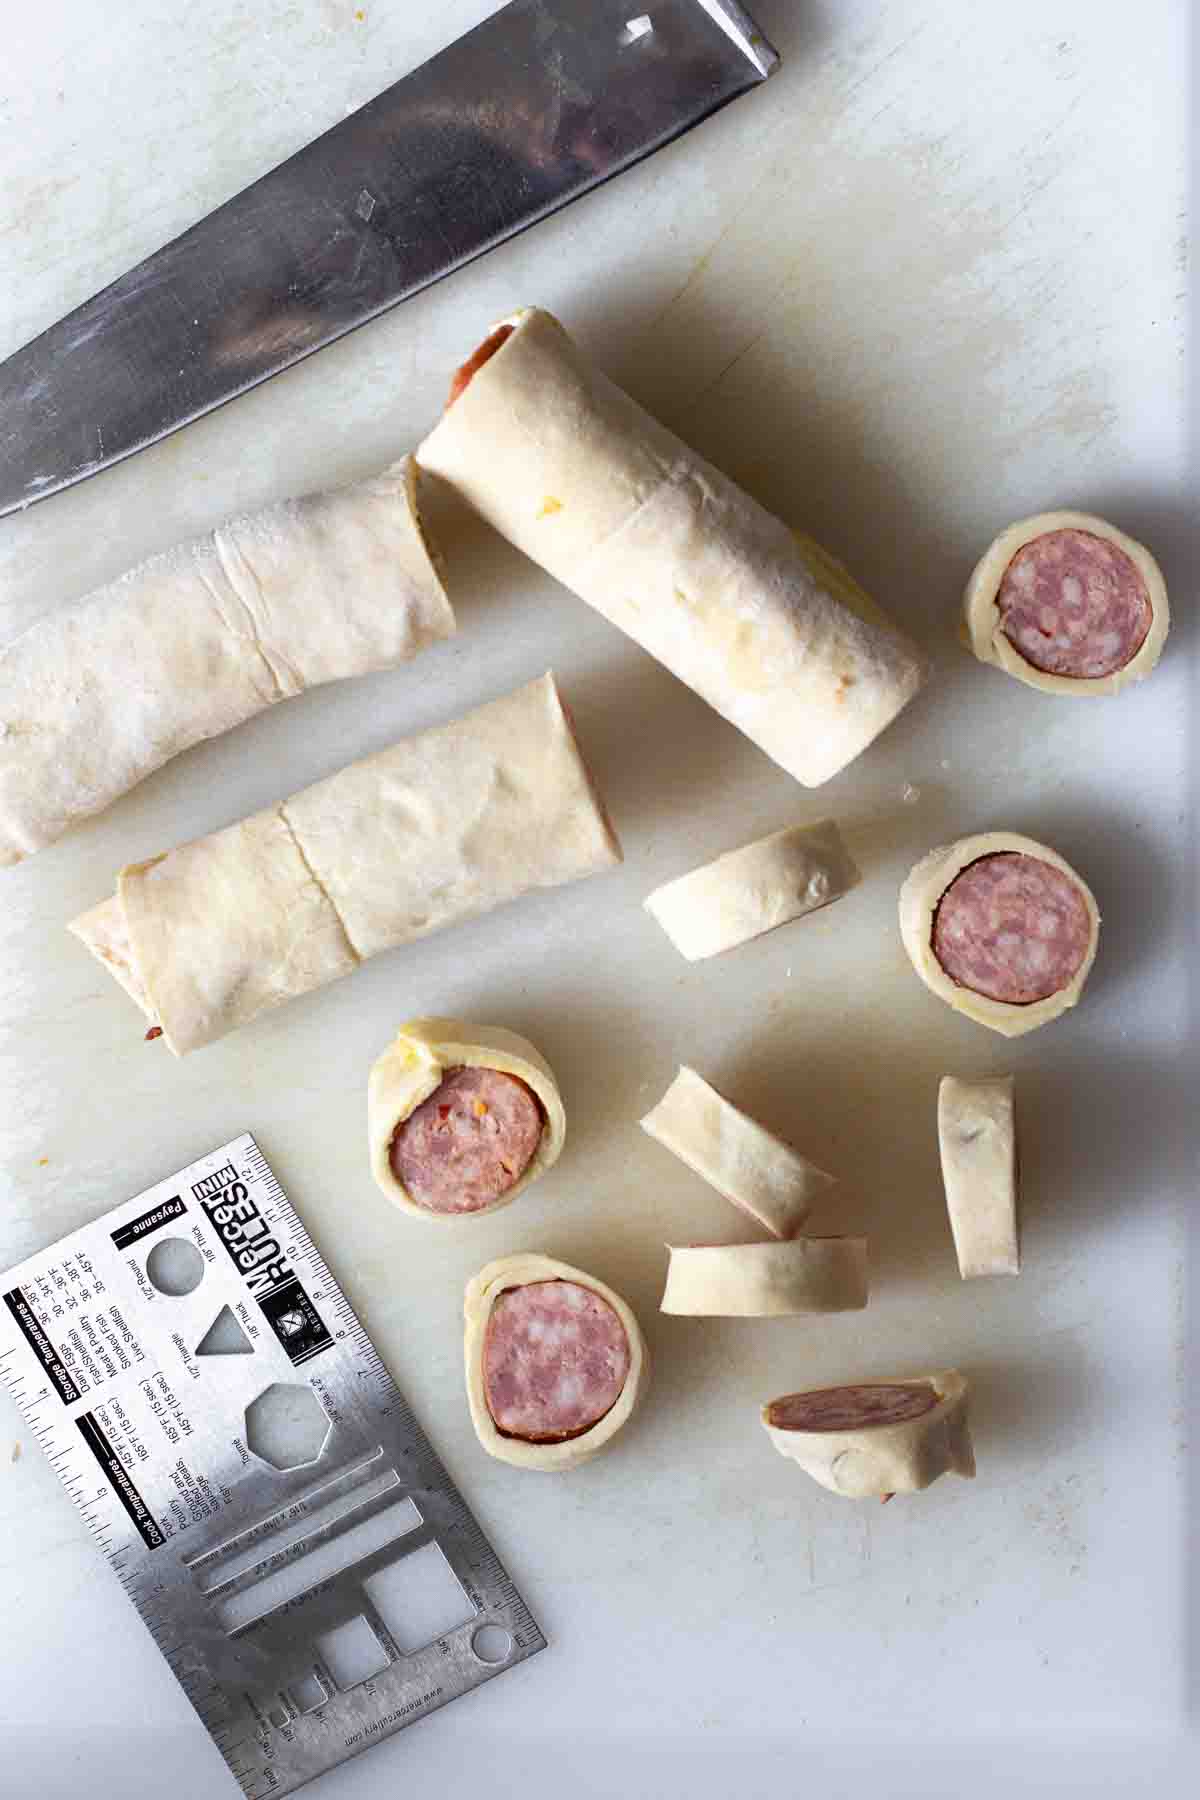
    Cutting sausage in a blanket before baking.
    1. Step 3: Roll the sausage bundles pressing the seam together and place on a baking sheet, seam side down. Freeze the sausage bundles for 10 minutes.
    2. Step 4: Remove from freezer and cut the sausage bundles into ½ inch slices.
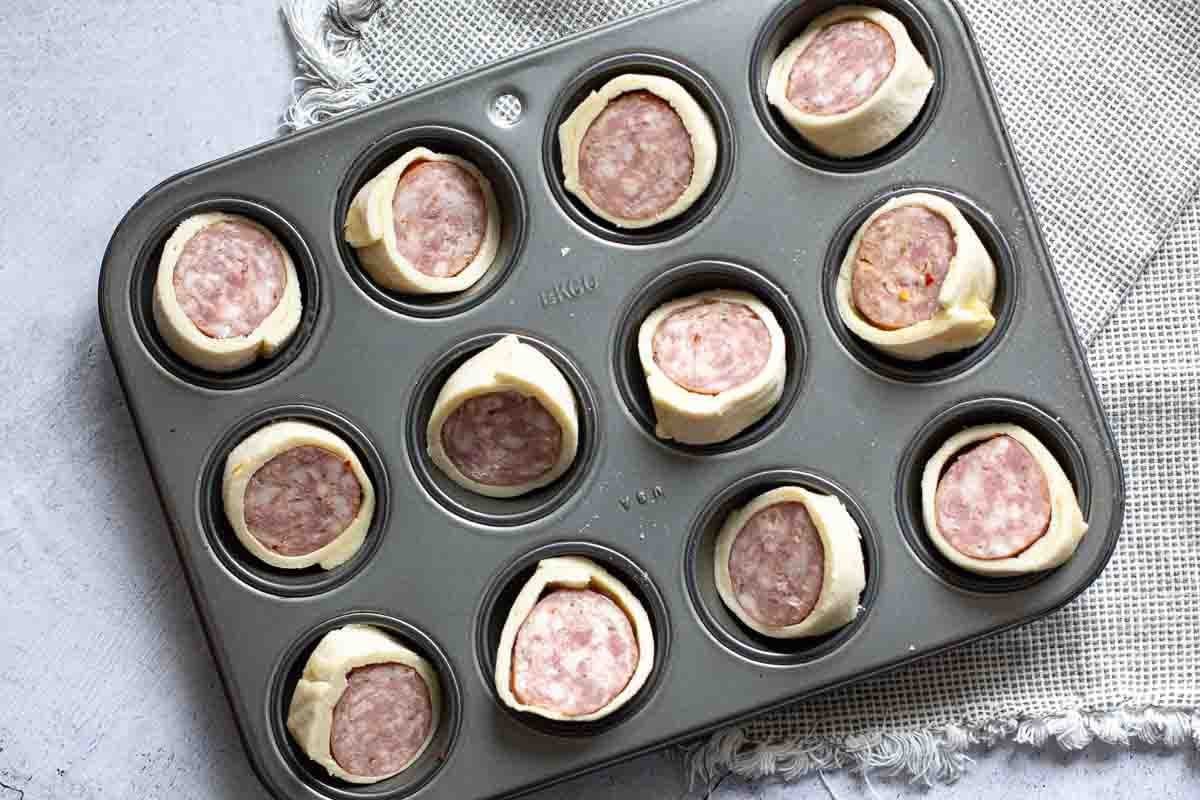
    Sliced sausage in.a blanket in a mini-muffin pan.
    1. Step 5: Place the sliced sausage in a blankets into mini-muffin pans. Bake for about 25 minutes or until pastry is starting to become golden brown.
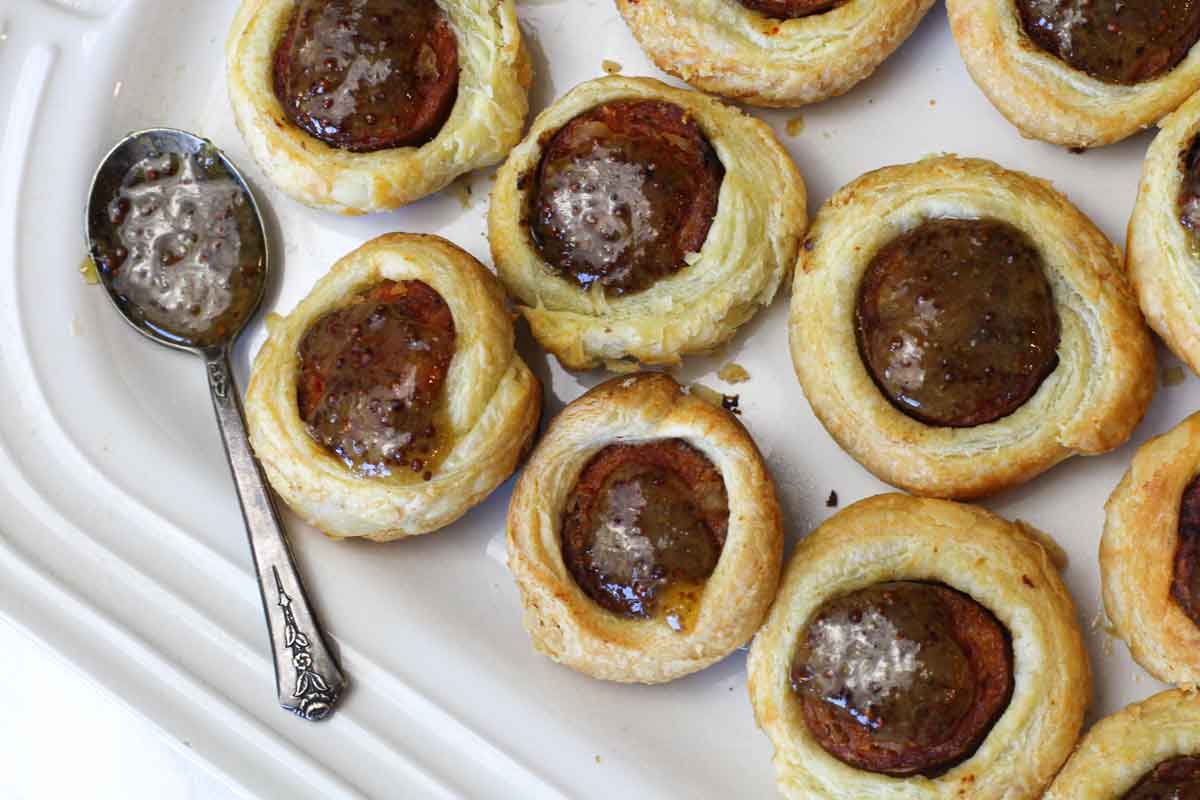
    Pigs in a blanket using andouille sausage.
    1. Step 6: While they’re baking, combine the mustard and chutney in a small bowl. Once they’re baked, remove them to a platter and while hot, use a small spoon to add a dollop of the sauce to each piece.

    More Dipping Sauce Ideas

    If you want to venture out and try a dipping sauce other than this chutney mustard sauce, here are some ideas including some Southwestern ideas:

    • Balsamic Fig Glaze
    • Horseradish Cream Sauce
    • Chipotle Mayo Dipping Sauce
    • Jalapeno Aioli with Cilantro and Lime
    • White Queso Dip would be divine with these.

    Tips for Success

    • Thawing: Make sure to let the dough thaw enough that you can easily unfold it without it breaking.
    • Binding: Don’t skip the egg binding process. If you do, the puff pastry won’t hold together and will unravel.
    • Foil: Storing any leftovers in foil will work better than a tightly sealed environment. Sealed pigs in a blanket may become soggy.
    • Double this recipe, they’ll go fast.

    FAQ’s

    What If I Don’t Have Mini-Muffin Pans?

    Cooking these on a baking sheet will work just fine. Mini muffin pans simply allow air to circulate around the slices of pastry, allowing them to cook more evenly and avoid soggy bottoms.

    Can You Use Uncooked Sausage?

    No. There will simply be too much grease involved with uncooked sausage. Choose a packaged smoked sausage that is already cooked. Packages labeled smoked, are fully cooked. Do you cook the sausage before making pigs in a blanket? If using raw sausage, cook it well, and let it cool before proceeding with this recipe.

    Can You Use Cooked Breakfast Sausage Links?

    Breakfast link sausage are routinely very small in diameter. Puff pastry dough is relatively thick. The end result ratio would be too much dough and too little sausage.

    Make Ahead, Storage and Reheating Tips

    • Make Ahead: Assemble recipe and the unbaked sliced rounds can be frozen for up to one month. Thaw before baking.
    • Traveling? If taking these to a party, Sausage Pigs In A Blanket work well served at room temperature. If you’re traveling with this appetizer, once baked, move them to a serving platter and cover, rather than glazing them while hot. Once at your location provide the chutney mustard mixture in a bowl, as a dipping sauce.
    • Got leftovers? Store any leftovers wrapped in foil, in the refrigerator for up to four days. Warm them up in a microwave in 15 second increments, or reheat in a 300 degree oven on a baking sheet until just warmed. Using an air-fryer will also work well. Just watch them close to cook until toasty.

    Recipe for Andouille Sausage Pigs In A Blanket

    Sausage pigs in a blanket using puff pastry are about to make you very popular. So easy to eat, so easy to make, and a hit at any party.

    Make this easy pigs in blanket with sausage for holiday gatherings, football parties, back yard bbq gatherings or how about just for snacking. Even though this might be considered an adult pigs in a blanket, kids are going to love them too.

    Explore More Popular Party Appetizer Recipes

    If you’re looking for bold, savory and spicy, here are some great ideas.

    • Prosciutto wrapped shrimp drizzled with honey and chopped chives.
       Honeyed Prosciutto Wrapped Shrimp
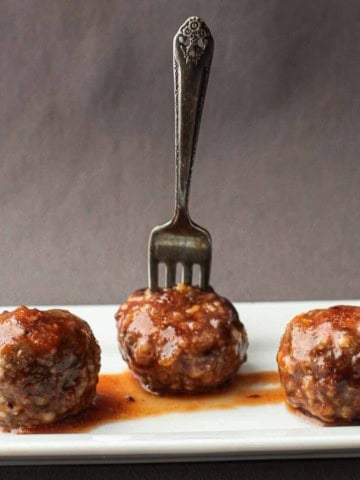
    • Honey sriracha meatballs served on a white platter.
      Sweet-Spicy Honey Sriracha Meatballs With Cranberry Sauce
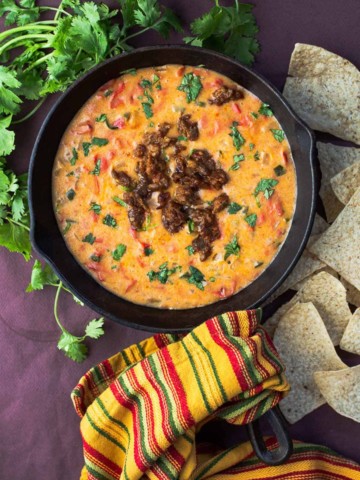
    • Queso fundido with tequila served in a cast iron skillet and topped with cooked chorizo
      Queso Fundido con Chorizo
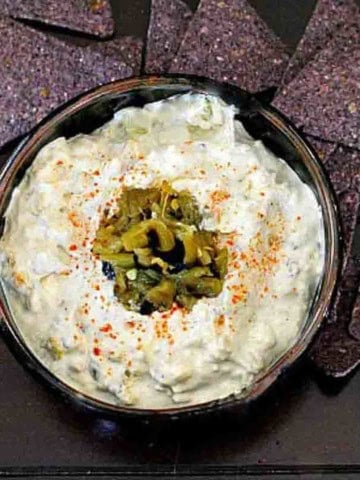
    • Hatch green chile dip served with blue corn tortilla chips.
      Hatch Green Chile Cheese Dip

    If you love easy party appetizers don’t miss my Appetizer Category. You’ll find tons of great recipes. Including my most crowd-pleasing appetizer recipe on my site for Oven Meatballs in BBQ Sauce.

    If you liked this recipe, please leave a star ⭐⭐⭐⭐⭐ rating in the recipe card below and leave a comment. I always appreciate your feedback and hearing how everything went.

    And, don’t forget to subscribe to my newsletter for more delicious recipes and cooking tips. Make it a delicious day … every day.

    Andouille sausage pigs in a blanket made with Puff Pastry.
    Print Recipe
    5 from 5 votes

    Andouille Sausage Pigs In A Blanket (With Puff Pastry)

    Andouille Sausage Pigs In A Blanket made using puff pastry glazed with a chutney mustard sauce. Perfect game day party appetizer.
    Prep Time15 minutes mins
    Cook Time25 minutes mins
    Total Time40 minutes mins
    Course: Appetizer Recipes
    Cuisine: American
    Servings: 32 pieces
    Calories: 79kcal
    Author: Lea Ann Brown

    Ingredients

    • 1 Sheet Puff pastry thawed and cut into even squares
    • 1 large egg yolk mixed with 1 tablespoon of water
    • 4 Andouille sausages smoked = fully cooked. Or a 14 ounce package link, then cut to fit the puff pastry sheets.
    • ¼ cup Major Grey's chutney
    • 2 tablespoons Spicy Brown Mustard or whole grain mustard.

    Instructions

    • Preheat oven to 375° and position a rack in the center.
    • Allow about an hour for the puff pastry to thaw at room temperature.
    • Unfold one sheet and cut into 4 squares.
    • Using a fork, combine one egg yolk with one tablespoon water.
    • If using a package of of one long smoked sausage, cut the sausage links to fit the pastry sheets. If using individual packaged sausages you won't need to cut them. Lay each link along the bottom side of each pastry square. Using a silicone brush, brush a layer of the egg mixture on the top end of the pastry square.
    • Roll the sausage bundles pressing the seam together and place them on a baking sheet, seam side down. Freeze the sausage bundles for 10 minutes.
    • Remove from freezer and cut the sausage bundles into ½ inch slices.
    • Place the sliced sausage in a blanket into mini-muffin pans. Bake for about 25 minutes or until pastry is starting to become golden brown.
    • While they're baking, combine the mustard and chutney in a small bowl. Once they're baked, remove them to a platter and while hot, use a small spoon to add a dollop of the sauce to each slice.

    Notes

    Tips for Success
          • Thawing: Make sure to let the dough thaw enough that you can easily unfold it without it breaking.
          • Binding: Don’t skip the egg binding process. If you do, the puff pastry won’t hold together and will unravel.
          • Foil: Storing any leftovers in foil will work better than a tightly sealed environment. Sealed pigs in a blanket may become soggy.
          • Double this recipe, they’ll go fast

      Nutrition

      Serving: 1piece | Calories: 79kcal | Carbohydrates: 5g | Protein: 2g | Fat: 5g | Saturated Fat: 2g | Polyunsaturated Fat: 1g | Monounsaturated Fat: 3g | Trans Fat: 0.02g | Cholesterol: 13mg | Sodium: 98mg | Potassium: 37mg | Fiber: 0.2g | Sugar: 1g | Vitamin A: 12IU | Vitamin C: 0.2mg | Calcium: 3mg | Iron: 0.3mg

      Andouille Sausage Pigs In A Blanket … It’s What’s For An Appetizer

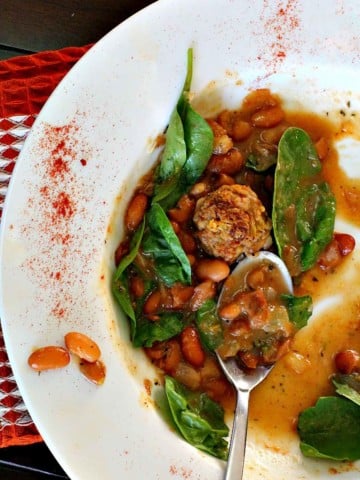
      Chorizo Albondigas Bean Soup

      October 11, 2016 By Lea Ann Brown 12 Comments

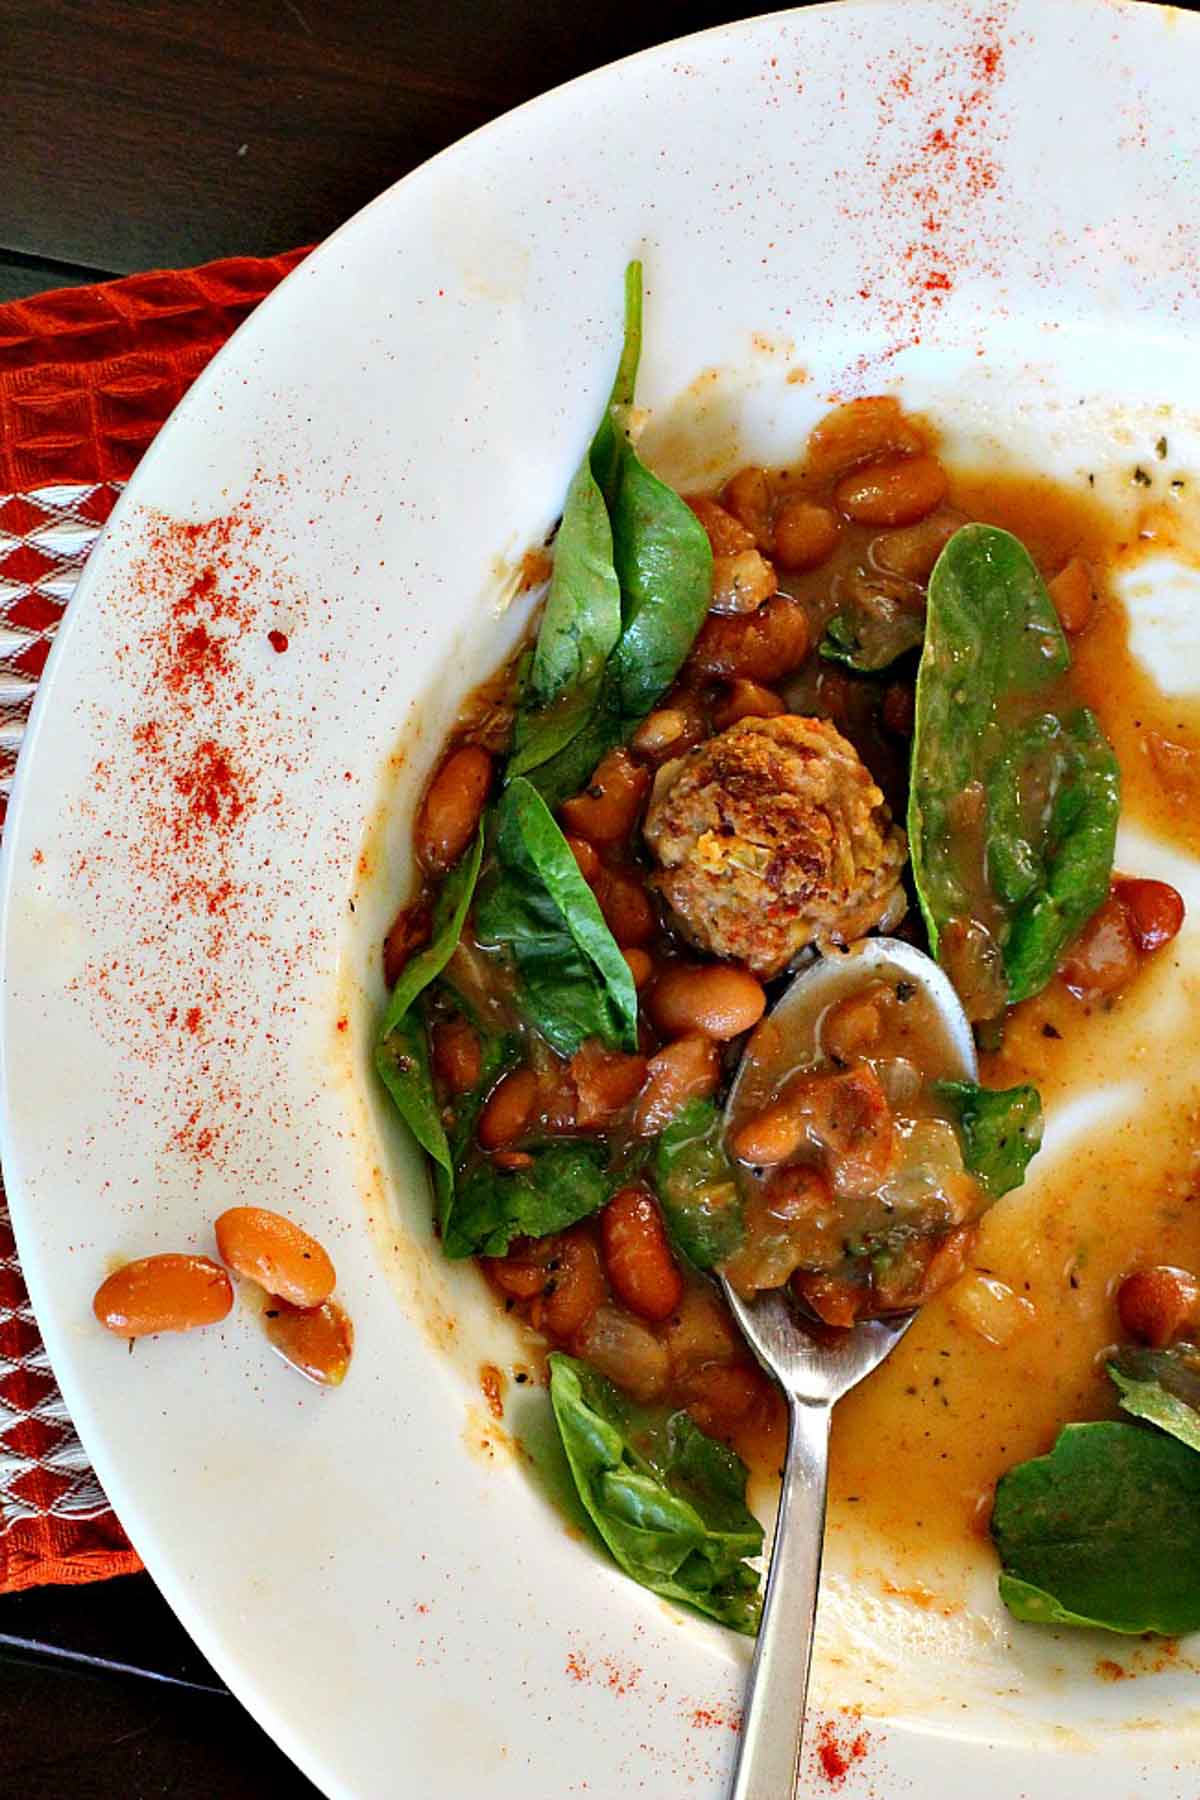
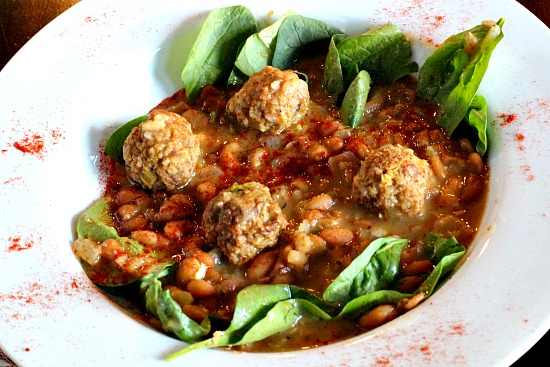
      Mexican chorizo meatball soup with spinach and beans.

      Albondigas soup is a traditional Mexican meatball soup…most always loaded with vegetables and full of flavor. For this Chorizo Albondigas Bean Soup I made meatballs with Mexican Chorizo and added Mayocoba Beans for the soup. Let’s take a look:

      Mexican chorizo meatball soup with spinach and beans.

      September and October are my favorites when it comes to food, and my favorite gold cardigan for that matter. 

      Ninety degree temperatures peter out and we welcome highs in 70’s and delight when those crisp Fall evenings have us grabbing for a sweater.

      Chile roasters are in full swing, and Chile Ristras make an appearance at our markets. Bins of fresh Colorado peaches are replaced with all kinds of fancy squash and my Dutch oven gets front and center for soups, stews and chili’s.

      Mexican Chorizo Meatball Soup. With fresh spinach and myacoba beans.

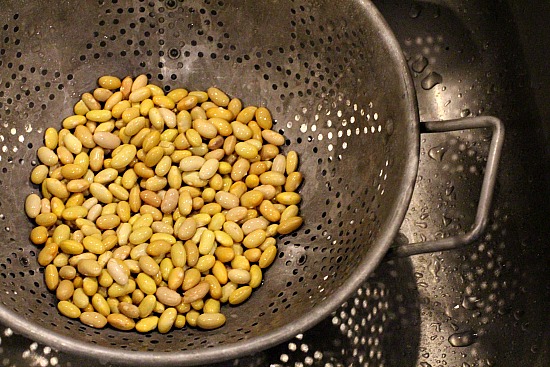
      I found a bag of Mayocoba beans on our last trip to LuLu’s Farm in Brighton. I can’t resist a bag of beans that offers a new adventure with a variety that I’ve never tried.

      Myacoba Beans for Mexican Meatball Soup.

      A classic bean from Peru, the Mayocoba is also known as Canario or Peruano. It’s a small but meaty thin-skinned bean that will take on all the flavors you can throw at it, and still hold its shape.

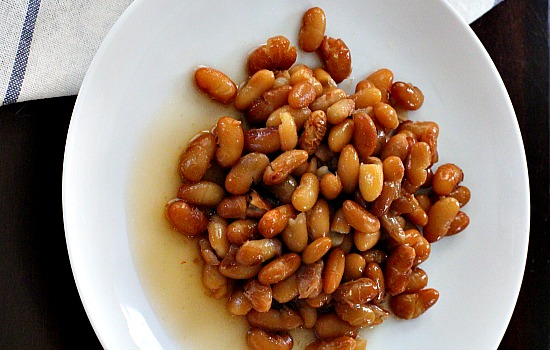
      Myacoba beans for Mexican Meatball Soup

      Great as a substitute for Cannellini, or great Northern beans, but unique in their own right. After they’re cooked, they turn a slightly darker color. The texture is soft and flavorful.

      Of course, if you can’t find these beans, you can substitute any white dried bean.

      This is a beautiful soup in appearance and flavor. A couple of reasons: mustard in the meatballs and a dusting of smoked sweet paprika.

      And if you’re meatball fans like us, don’t miss my recipe for Albondigas en Chipotle. Raw meatballs are dropped into a luscious chipotle tomato sauce and cooked to perfection.

      More Hearty Winter Soups and Stews

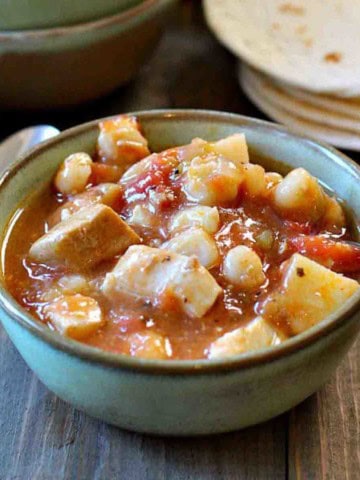
      • Green chile pork stew served in a green Frankhoma bowl.
        Green Chile and Pork Stew
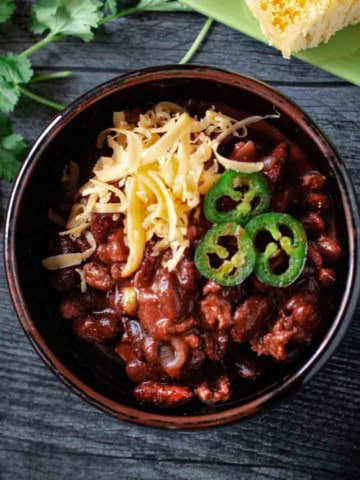
      • Cowboy chili garnished with grated cheese and jalapeno pepers.
        New Mexico Style Cowboy Chili
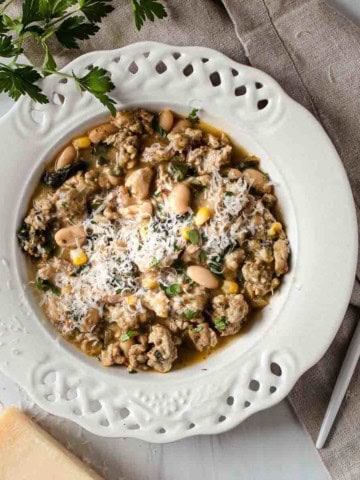
      • Ground chicken chile with white beans.
        Giada’s Ground Chicken Chili with White Beans
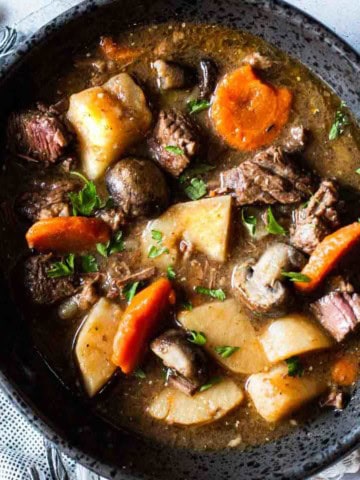
      • Beef stew with mushrooms served in a skillet.
        Hearty Beef Stew With Mushrooms – Crock Pot Method

      I consider soup and stew recipes to be my speciality, so if you’re looking for more recipes, don’t miss my Soup Category. You’ll find lot of recipes, including the most popular on my site for Anthony Bourdain’s New Mexico Style Chili.

      If you liked this recipe, please leave a star ⭐⭐⭐⭐⭐ rating in the recipe card below and leave a comment. I always appreciate your feedback and hearing how everything went.

      And, don’t forget to subscribe to my newsletter for more delicious recipes and cooking tips. Make it a delicious day … every day.

      Mexican chorizo meatball soup with spinach and beans.
      Print Recipe
      5 from 4 votes

      Chorizo Albondigas White Bean Soup

      Albondigas soup is a traditional Mexican meatball soup…most always loaded with vegetables and full of flavor. For this Chorizo Albondigas Bean Soup I made meatballs with Mexican Chorizo and added Mayocoba Beans for the soup
      Prep Time20 minutes mins
      Cook Time8 hours hrs
      Total Time8 hours hrs 20 minutes mins
      Course: Soup, Stews and Chilis
      Cuisine: Mexican
      Servings: 8
      Calories: 344kcal
      Author: Lea Ann Brown

      Ingredients

      • For The Beans
      • 1 tablespoon Lard a generous heaping tablespoon
      • 1 bay leaf
      • 1 cup dried white beans rinsed and misfits removed or 2 15 ounce cans white beans, drained and rinsed.
      • For the Meatballs
      • 1 pound Mexican Chorizo bulk, not in tubes
      • 1 small onion fine chopped
      • 2 stalks celery fine chopped
      • 1 tablespoon mustard
      • 1 egg slightly beaten
      • 1 cup Panko bread crumbs
      • salt and fresh ground pepper to taste
      • For the Soup
      • 2 tablespoons olive oil divided, plus more for drizzling
      • 1 small onion chopped
      • 2 cloves garlic minced
      • 1 sprig thyme
      • 2 cups chicken broth
      • salt and freshly ground pepper
      • 5 ounces baby spinach about 10 cups
      • Smoked paprika for dusting or chipotle chile powder

      Instructions

      • For The Beans
      • Place dried beans and enough water to cover them by an inch, in a crockpot. Add a scoop of lard and a bay leaf. Cook on low for 7-8 hours or until beans are tender. Discard bay leaf when done cooking.
      • For The Meatballs
      • Preheat oven to 350 degrees. In a fry pan, heat oil over medium high heat. Add the onions and celery and cook until tender. About 5 minutes. Let cool slightly.
      • In a large bowl, add chorizo, onion and celery mixture, the egg, Panko bread crumbs, salt and pepper. Blend and then shape into balls. Place meatballs on a sheet pan and bake for 25 minutes.
      • To Make The Soup
      • In a Dutch oven heat the oil and cook the onion until tender, about 5 minutes. Add garlic and cook until fragrant, about 1 minute. Add chicken broth, thyme, bay leaf, and cooked beans. Simmer for about 20 minutes.
      • Add in cooked meatballs and gently stir until meatballs are covered in the soup mixture. Add the fresh spinach just before serving.
      • Spoon into bowls and garnish with a good sprinkle of smoked sweet paprika or chipotle chile powder.

      Nutrition

      Calories: 344kcal | Carbohydrates: 26g | Protein: 17g | Fat: 19g | Saturated Fat: 6g | Cholesterol: 56mg | Sodium: 731mg | Potassium: 673mg | Fiber: 5g | Sugar: 2g | Vitamin A: 2040IU | Vitamin C: 12mg | Calcium: 109mg | Iron: 4mg

      Mexican Albondigas Soup …. It’s What’s For Dinner

      Butter Lettuce Salad With Peaches and Pistachio Vinaigrette

      September 7, 2016 By Lea Ann Brown 14 Comments

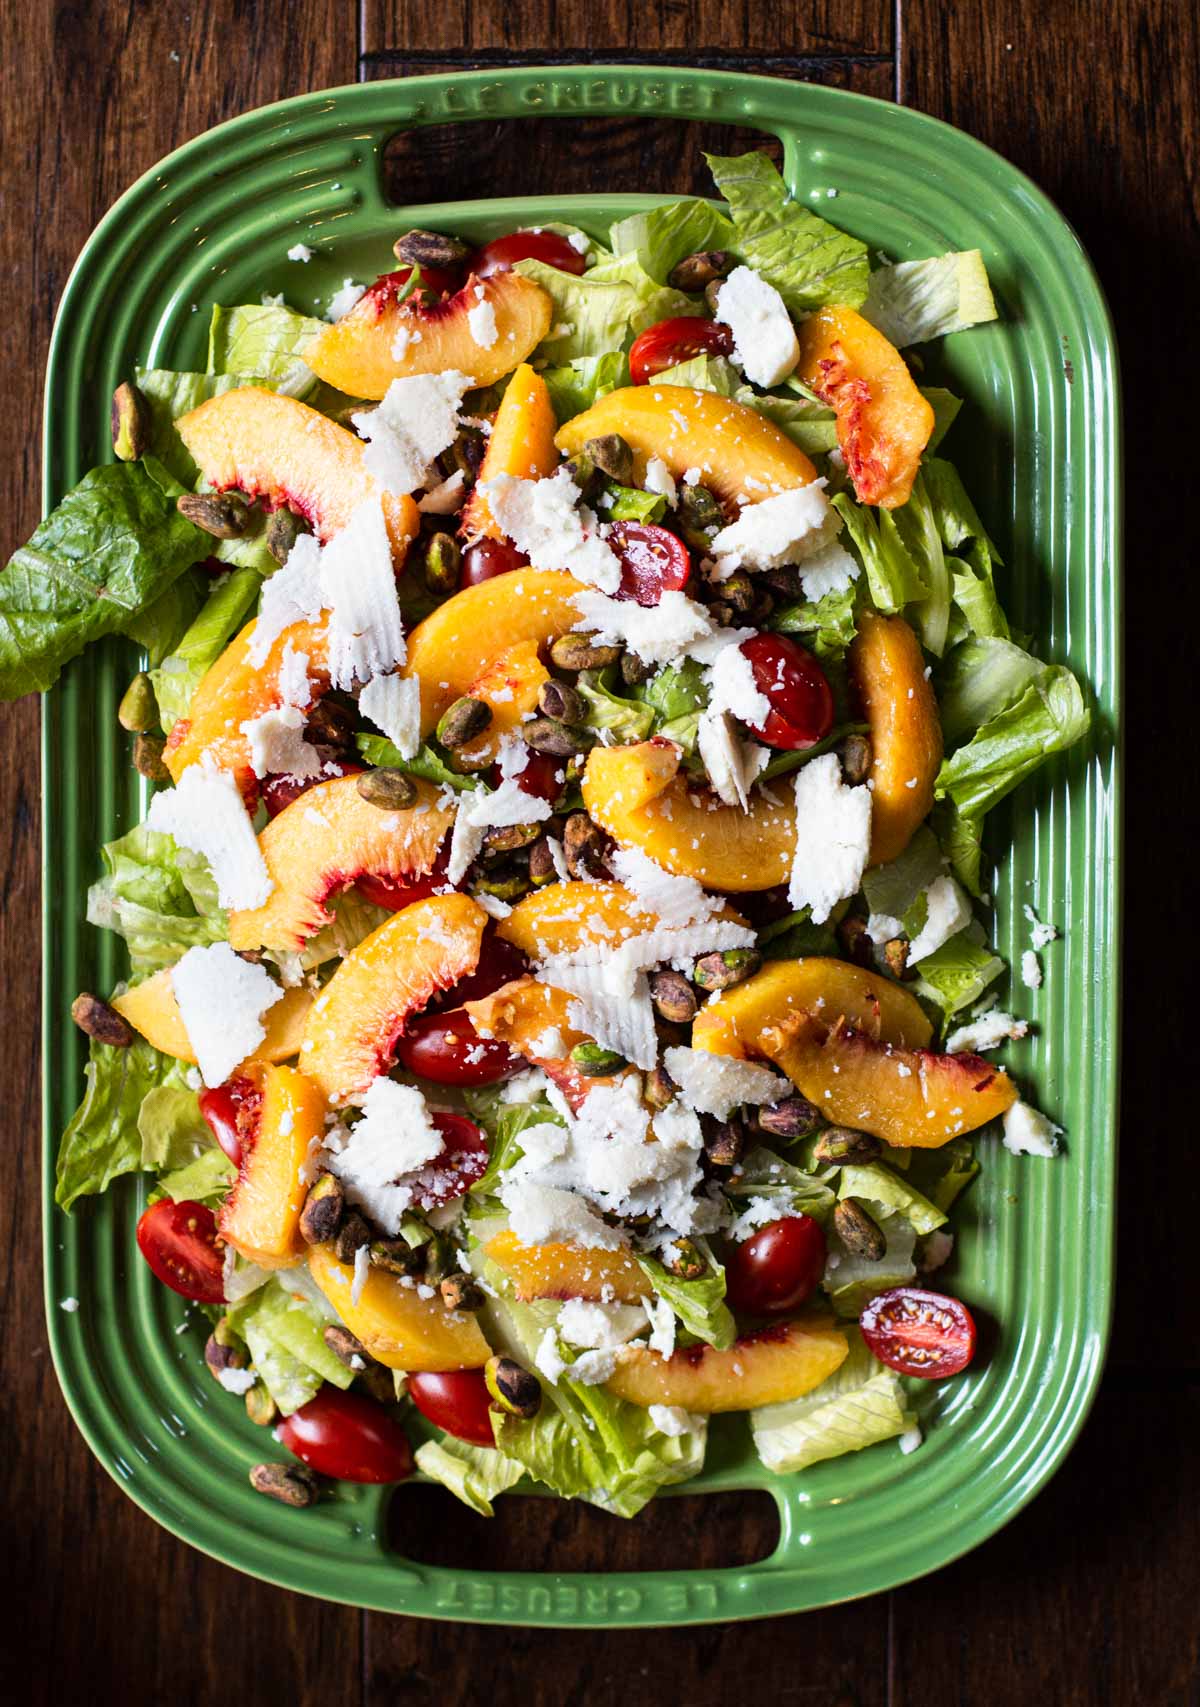
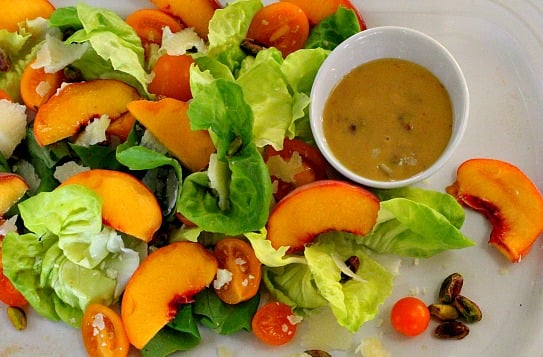
      Peach salad with butter leaf lettuce, cheese, cherry tomatoes and pistachio dressing.

      This recipe for Butter Lettuce Salad with Peaches and Pistachio Vinaigrette and topped with shaved Manchego cheese is a perfect fresh peach Summer salad for your next Grilled Steak Dinner.

      Peach salad with butter leaf lettuce, cheese, cherry tomatoes and pistachio dressing.

      Isn’t butter lettuce just gorgeous? The shades of green, the velvety soft and tender leaves. A butter leaf salad is perfect in my book.

      I’m still up to my ears in Palisade Colorado Western Slope peaches and I happened upon this recipe from a Georgia peach website. What a great salad recipe.

      Fresh peach salad with lettuce, manchego cheese and tomatoes.

      The pistachio vinaigrette is thick and luxurious using a peeled and pitted peach, pistachio meats, Dijon mustard, brown sugar and, of course, olive oil.

      The salad is fresh and colorful with sweet peaches, a few orange mini-tomatoes and topped with some nutty flavored shaved Manchego cheese. What an impressive gathering of flavors and textures.

      Pro Tip: The Certified Cheese Specialist at Whole Foods suggested I pick a younger Manchego, one aged less than three months. He advised the flavor would be saltier and nuttier and a better compliment to the flavor combination.

      This salad was a perfect pair with our favorite Lemon/Lime Salmon dinner. Let’s take a look.

      Looking for more recipes using fresh peaches? You might want to take a look at:

      • Peach curd tart topped with peaches and whipped cream.
        Fresh Peach Curd Tart with Basil Sugar Whipped Cream
      • Peach Pizza.
        Peach Pizza With Bacon and Jalapeno
      • Vanilla roasted peaches with mascarpone, raspberries on a Versace plate.
        Vanilla Roasted Peaches With Mascarpone Cheese
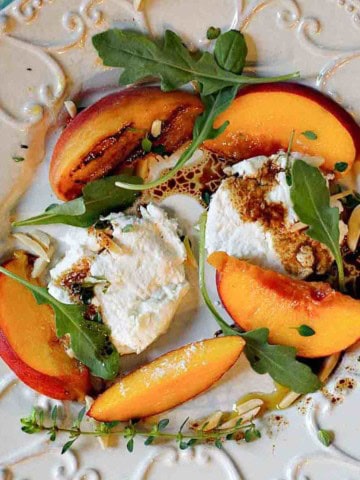
      • A salad with grilled peaches, arugula and goat cheese.
        Arugula Goat Cheese Salad with Grilled Peaches

      And if you’re salad fans like us, don’t miss my post on 9 Secrets To A Remarkable Tossed Salad. A step by step guide on how to make the best tossed salad ever.

      Recipe for Butter Lettuce Salad with Pistachio Vinaigrette

      Butter leaf lettuce and fresh peach salad with pistachios and peach vinaigrette

      I hope you give this pistachio peach salad recipe a try. And if you do, please come back and let me know how you liked it and give the recipe a star rating.

      If you liked this recipe, please leave a star ⭐⭐⭐⭐⭐ rating in the recipe card below and leave a comment. I always appreciate your feedback and hearing how everything went.

      And, don’t forget to subscribe to my newsletter for more delicious recipes and cooking tips. Make it a delicious day … every day.

      Peach salad with butter leaf lettuce, cheese, cherry tomatoes and pistachio dressing.
      Print Recipe
      5 from 3 votes

      Butter Lettuce Salad with Peaches and Pistachio Vinaigrette

      a beautiful butter lettuce peach salad with pistachios and a peach pistachio vinaigrette. Top with shaved Manchego cheese makes this a perfect fresh peach Summer salad for your next grilled steak dinner.
      Prep Time15 minutes mins
      Total Time15 minutes mins
      Course: Salads, Salad Dressings and Vinaigrettes
      Cuisine: American
      Servings: 4
      Calories: 365kcal
      Author: Lea Ann Brown

      Ingredients

      • 3 fresh peaches divided
      • 1 cup olive oil
      • 1 teaspoon sea salt
      • 2 Tablespoons packed light brown sugar
      • ½ cup red wine vinegar
      • 1 ½ teaspoon whole grain mustard
      • 2 heads butter lettuce rinsed, dried, roughly chopped and chilled
      • ½ cup Manchego cheese shaved
      • 1 cup pistachio nutmeats divided
      • mini orange tomatoes optional

      Instructions

      • For the vinaigrette, peel and pit one fresh peach and place in a blender. Add olive oil, salt, sugar, and vinegar and blend to combine. Once smooth, turn off the blender and add mustard and ½ cup of pistachio nutmeats. Pulse the blender a few times to emulsify, leaving pieces of the pistachios intact.
      • Place the cold lettuce in a serving bowl and sprinkle the shaved cheese and remaining pistachios on top. Pit and slice the remaining two fresh peaches and add to the salad. Serve the dressing on the side or toss lightly just before serving, as butter lettuce will quickly wilt once dressed.

      Nutrition

      Calories: 365kcal | Carbohydrates: 27g | Protein: 12g | Fat: 25g | Saturated Fat: 6g | Cholesterol: 15mg | Sodium: 697mg | Potassium: 735mg | Fiber: 6g | Sugar: 18g | Vitamin A: 3271IU | Vitamin C: 12mg | Calcium: 224mg | Iron: 3mg

      Butter Lettuce Salad with Peaches and Pistachio Vinaigrette …It’s what’s for Dinner.

      Hatch Green Chile Quiche With Bacon

      August 20, 2016 By Lea Ann Brown 25 Comments

      A slice of hatch green chile bacon quiche with a deep dish pie pan with quiche and spatula

      Hatch Green Chile Quiche is made irresistible with bacon and lots of cheese. With a flaky homemade pie crust, half and half, eggs, and just right spicy with green chile peppers, this is an easy breakfast quiche recipe that is most certainly a crowd pleaser.

      If you’re looking for more easy recipes to feed a breakfast crowd, don’t miss my recipe for Overnight Breakfast Burrito Casserole.

      A slice of hatch green chile bacon quiche with a deep dish pie pan with quiche and spatula

      Hatch Chile Peppers, They’re An Obsession

      Gentlemen…start your roasters.

      Hatch Chiles are here. Each Fall, we celebrate the arrival of Hatch Chile peppers. Parking lot and roadside stands fire up their chile roasting drums and the aromas of New Mexico chiles fill the air.

      We evangelize and we obsess. We talk constantly about them and we add Hatch chile peppers to almost everything.

      We clear out our freezers to make room for as many packages of roasted chile peppers as we can possibly squeeze in. A Winter stash is a cache to cherish.

      And one of the first things I like to is this very popular Hatch Chile Quiche with Bacon. Let’s take a look.

      Ingredients You’ll Need

      • Hatch Chile Peppers
      • Crumbled cooked bacon
      • Monterey Jack Cheese
      • Cheddar Cheese
      • Chopped Sweet Onion
      • Half and Half
      • Eggs

      Step By Step Instructions

      green chile, bacon bits and chopped onion in a pie crust for bacon chile quiche
      • Step 1: After you cook the bacon bits, place them in an unbaked pie shell along with chopped onions and chopped hatch chile peppers.
      Cubed cheddar cheese and shredded cheese to make a quiche
      • Step 2: Top with your choice of cheese. Cubed cheddar and cubed Monterey Jack Cheese, or a combo of cheddar and shredded three cheese Mexican blend.
      Half and Half and cheese in a pie shell for hatch chile quiche
      • Step 3: Pour in the egg and half and half and egg mixture.
      Hatch chile and bacon quiche on white linens with forks
      • Step 4: Bake for 45-ish minutes at 350 degrees or until a knife inserted into the middle comes out clean.

      Tips For Success

      • Don’t have Hatch chile peppers? Substitute roasted poblano peppers.
      • Please make a homemade pie crust. So much tastier and more pleasing texture than store purchased. Something every home cook should learn to do.  There’s such a vast difference, you’ll wonder why you don’t make more quiche recipes.
      • Want to make this green chile quiche crustless? Just spray the deep dish pie plate with PAM and then layer in the ingredients. Bake per instructions below.

      Recipe for Hatch Chile and Bacon Quiche

      A slice of green chile bacon quiche on a white plate

      To celebrate chile season make this Hatch Chile Bacon Quiche recipe, this cheesy green chile quiche is totally delicious. It’s a big hit for dinner or brunch.

      The Hatch chile pepper flavor is the star, even beating out the bacon …if you can imagine that.

      This Hatch Chile Bacon Quiche was such a treat. Cheesy, chile-y and with bacon, who can resist a slice?

      More Green Chile Breakfast Recipes

      • Mexican Divorced Eggs served on a plate with corn chips.
        Huevos Divorciados (Divorced Eggs)
      • Mexican breakfast scrambled eggs with black beans.
        Eggs Rio Grande, New Mexican Breakfast Eggs
      • Green chile smothered breakfast burrito.
        Hatch Green Chili Breakfast Burrito With Potatoes
      • Western omelette recipe.
        Traditional 2-Egg Western Omelette Recipe

      And if you’re looking for more breakfast recipes, don’t miss my Breakfast Category. You’ll find lots of breakfast and brunch recipes including one of the most popular for Home Fried Potatoes with Ham.

      And if you're looking to learn more about Colorado and New Mexico Chile Peppers and how to use them, don't miss my article on Chile vs Chili … Know The Difference.

      If you liked this recipe, please leave a star ⭐⭐⭐⭐⭐ rating in the recipe card below and leave a comment. I always appreciate your feedback and hearing how everything went.

      And, don’t forget to subscribe to my newsletter for more delicious recipes and cooking tips. Make it a delicious day … every day.

      A slice of hatch green chile bacon quiche with a deep dish pie pan with quiche and spatula
      Print Recipe
      5 from 12 votes

      Hatch Chile and Bacon Quiche

      Hatch Green Chile and Bacon Quiche. A great way to showcase those Hatch chile and a wonderful Southwestern breakfast or brunch recipe.
      Prep Time15 minutes mins
      Cook Time1 hour hr 40 minutes mins
      Total Time1 hour hr 15 minutes mins
      Course: Breakfast Recipes
      Cuisine: Southwestern
      Servings: 8
      Calories: 347kcal
      Author: Lea Ann Brown

      Ingredients

      • 1 Pie Crust
      • 4 strips bacon cooked and crumbled
      • 1 cup Monterey Jack Cheese small cubes
      • 1 cup Mild Cheddar Cheese small cubes
      • ½ cup Hatch chiles roasted, peeled and rough chopped. 4 – 8 chiles depending on size. Add more if you'd like more spice.
      • ¼ cup sweet onion chopped
      • 1 ¼ cup Half and Half
      • 4 Eggs
      • Salt and Pepper to taste

      Instructions

      • Preheat oven to 350°F.
      • Gently press homemade pie crust into 9-inch deep dish plate.
      • Cook bacon in large skillet over medium heat until brown. Drain grease and pat with paper towels to remove excess grease. Crumble bacon.
      • Sprinkle bacon, Hatch chiles onions over the pie crust. Add the cheese cubes.
      • Mix together half-and-half, eggs, salt and pepper in a medium bowl. Once mixed, pour mixture into crust.
      • Bake quiche for 30 – 40 minutes, or until knife inserted into center comes out clean.
      • Let quiche stand for 5 minutes. Cut into wedges and serve.

      Notes

      Use 1 or 2 4-ounce cans of chopped Hatch Chile peppers from the Mexican food aisle if you don’t have fresh roasted chiles. 
      If you have a kitchen scale, cube the cheese and measure out to 6 ounces. 
      This recipe makes an ample amount for one deep dish pie shell. Or enough for two 9″ tart pans.
      I’ve also used 1 cup cubed cheddar cheese and 1 cup of shredded Mexican cheese blend. That combination also works very well. 

      Nutrition

      Calories: 347kcal | Carbohydrates: 16g | Protein: 14g | Fat: 25g | Saturated Fat: 12g | Cholesterol: 130mg | Sodium: 520mg | Potassium: 153mg | Fiber: 2g | Sugar: 2g | Vitamin A: 503IU | Vitamin C: 6mg | Calcium: 263mg | Iron: 1mg

      Hatch Chile and Bacon Quiche … It’s What’s for Breakfast.

      Mexican Fried Tacos (Tacos Dorados)

      August 7, 2016 By Lea Ann Brown 23 Comments

      Fried tacos served with salsa and sour cream.

      Crisp up your next taco night with Mexican Fried Tacos. Corn tortillas are filled with a rich and robust savory cooked ground beef, then pan fried. These crispy tacos are a unique addition to your next taco night.

      Serve this with Gulf Coast Style Baked Rice or a Southwestern Salad for a balanced meal.

      Authentic Mexican Fried Tacos on a white platter served with salsa and sour cream.

      What You Can Expect From This Recipe

      Tacos are our culinary hero. A typical Mexican dish where a tortilla is simply folded around food and eaten with your hands, tacos provide us with so much culinary inspiration that the variations seem endless.

      But have you ever had Tacos Dorados? Or Fried Tacos? Tacos Dorados is a rolled or folded tortilla filled with either seasoned beef, chicken or even potatoes. The tacos are then pan fried for a wonderful crispy tacos treat.

      This unique version features taco seasoned ground beef that once cooked is folded inside a corn tortilla, then fried until crispy. You’re basically frying tacos with meat inside.

      But the taco filling isn’t your run of the mill ground beef taco meat. A good amount of tomato paste, some smoked paprika and red chile flakes makes for a unique, robust and rich flavored taco filling.

      I guarantee you’ve never tasted anything quite like it. These crispy pan fried tacos are indulgent, crispy meaty bites of awesome.

      The key for light and crispy tacos is keeping the oil at the right temperature. You’ll find more about how to do this later in this article.

      The inspiration for this recipe comes from a very popular local Mexican restaurant chain. I simply couldn’t wait to recreate these Sonoran inspired tacos at home. So with lots of research, and lots of trials and tests, here’s my Fried Tacos version.

      Noteworthy Ingredients

      Nothing fancy, nothing complicated, mostly pantry items.

      Ingredients to make Mexican fried tacos.
      • Ground Beef: Choose a lean blend. 93-7% works well here.
      • Bell Pepper: Choose any bell pepper. I like red to add some color and sweetness. A green bell pepper will bring a grassier flavor. A poblano pepper would also be a good choice here and bring a little heat.
      • Spices: The spices in the ground beef mixture for this recipe are the key to the rich and robust flavor. Mexican Oregano, Hot Smoked Paprika, Cumin, Red Pepper Flakes and Garlic.

      Mexican Oregano is preferred for this recipe. It's peppery, grassy, earthy flavor is a good compliment for Mexican Food. If you don't have Mexican Oregano, substitute Marjoram. Known for its aroma and delicate flavor, its related to oregano and will bring a sweet undertone to any recipe.

      Chef’s Secret: Tomato paste is an MVP in the kitchen. The long cooking time used to make tomato paste gives it a concentrated sweet rich flavor. Just a dollop can add a subtle burst of robust flavor and body into just about any soup or tomato based pasta sauce. Add tomato paste at the beginning of the cooking process to add another layer of flavor. It’s a brilliant little trick.

      Step by Step Instructions

      Browning ground beef to make Fried Tacos.
      Cooking meat and vegetables to make fried tacos.
      1. Step 1: Cook the ground beef in a skillet until the pink is just starting to leave the meat. Stirring and breaking up with a spatula or wooden spoon and seasoned with salt and pepper.
      2. Step 2: Add the chopped onion, and chopped bell pepper and cook stirring for two minutes. Add minced arlic and cook, stirring occasionally until fragrant, about 30 seconds.
      Adding seasonings to ground beef to make fried tacos.
      Seasoned ground beef to make fried tacos.
      1. Step 3:Stir in the herbs and spices. Add the tomato paste and stir well.
      2. Step 4: Stir in the water, cover and simmer on low for 10 minutes.
      Warming corn tortillas to make fried tacos.
      Adding seasoned meat to a corn tortilla to make fried tacos.
      1. Step 5: How To Warm Corn Tortillas: You can't just take a corn tortilla out of the package and fill it with taco ingredients. They'll be rubbery and break. You have warm the tortilla shells into a pliable taco shell. I like to use this microwave Imusa Tortilla Warmer. They work quick and they work very well. I’ve provided an Amazon link to this product. Disclaimer: I am an Amazon affiliate. If you purchase this item, I receive a small commission at no extra charge to you.
      2. Step 6: Place 3-4 Tablespoons of beef mixture on each warmed corn tortilla.
      Folding a corn tortilla and securing with a toothpick to make fried tacos.
      Pan frying ground beef tacos.

      How To Fry Tacos With Meat Inside

      1. Step 7: Fold the taco shell in half over the meat mixture. Gently slide a toothpick into the open end to secure and keep the taco closed.
      2. Step 8: How To Fry Tacos: It’s very important to heat the oil to the proper temperature of 350 degrees F. Or 175 degrees C. If the oil isn’t hot enough the tortillas will soak up the oil and become soggy and undesirable. I like to heat the oil in the pan and then tip the pan so the oil pools to one side. Use an Instant Read Digital Thermometer to measure the heat. Once it reads 350 degrees you’re ready to fry the tacos. Place them in the pan and fry for 3 – 4 minutes. Then turn and cook another 3 – 4 minutes or until golden brown. Voila, crispy tacos.

      How To Warm Corn Tortillas

      If you don’t have a tortilla warmer like shown above, I've always found the Rick Bayless method to warm corn tortillas to work well. Drizzle about three tablespoons of water over a clean kitchen towel. Wrap your corn tortillas in the towel. Slide the package into a gallon sized plastic bag. Don't seal the bag. Microwave the tortillas at 50% power for four minutes. This creates a steamy packet. Let sit 2 -3 minutes inside package before making any taco recipe.

      Questions You May Have

      Can I Make Crispy Fried Tacos With Flour Tortillas?

      You can. Use a smaller sized flour tortilla and find a brand that’s thinner in thickness. A thicker flour tortilla may become soggy during the frying process. I personally prefer fried tacos using corn tortillas.

      Do I Have To Use Ground Beef?

      You can substitute ground turkey, ground chicken, or even ground pork. If using chicken or turkey, make sure it’s a blend, rather than just breast meat. You’ll need a little fat.

      Can I Use A Deep Fryer?

      If you own a deep fryer you can most certainly use it. However, I find these pan fried tacos to be easy and hassle free.

      What To Do With Leftover Taco Meat?

      Here’s what I do. I heat it in the microwave and use it as a dip for tortilla chips. It makes a great light lunch.

      Tips for Success

      • Don’t over fill the corn tortillas. Too much ground beef filling will cause the ingredients to spill out when frying.
      • It is very important to keep the oil at the correct temperature when frying tacos. If the oil is not hot enough, you’ll end up with oil soaked tacos that will be very unpleasant to eat. You want to keep fried tacos light and fluffy.
      • Fry the tacos in batches. Don’t over crowd the pan. Keep the tacos separated. A crowded pan will result in lowering the oil temp. Plus touching tacos will create a steaming effect that will compromise the crispy texture.
      • Always warm more corn tortillas than you’ll need. There are bound to be a couple here and there that will break or tear when trying to secure them with the toothpick.

      How To Serve Fried Tacos

      Toppings and sides are the fun part of serving any type of tacos. Here are some ideas.

      • Offer these tacos with sour cream and your favorite homemade salsa recipe or Pico de Gallo.
      • Sliced fresh jalapeno peppers or rings of Pickled Jalapenos are also welcome.
      • Chopped cilantro and a sprinkling of cheese are great additions. Use Cotija cheese, a salty Mexican crumbling cheese.
      • Serve with Guacamole of avocado slices.
      • To make it a meal, traditional side dishes would be Refried Beans, or a Mexican style rice like this recipe for Toasted Green Rice.
      • Looking for a dessert to serve with fried tacos? Try this traditional Mexican Caramel Flan.
      • And don’t forget the cocktails. Take a look at this recipe for Mexican Micheladas.

      Storage

      Fried Tacos are best served and eaten as they will lose their beautiful crispy texture once they sit for awhile. However, if you want to keep any leftovers, store in the refrigerator in loosely tented foil. Reheat in a 350 degree oven or better yet, for a few minutes in an air fryer. Reheating in a microwave will soften the shells and you’ll no longer have crispy tacos.

      Recipe for Ground Beef Pan Fried Tacos

      A platter of fried tacos served with sour cream and salsa.

      If you’re looking for a more traditional seasoned ground beef taco, don’t miss my recipe for Homemade Taco Seasoning. It’s a special blend that will take those beef tacos to the next level. You can use it to season the ground beef for this recipe.

      Explore More Southwestern Beef Taco Recipes

      We love our tacos here on the Ranch. Here are some more taco recipes to try.

      • Tri-tip tacos served on corn tortillas.
        Smoky Dutch Oven Tri-Tip Tacos
      • Chile Rubbed Braised Beef Tacos with Red Cabbage Slaw
      • Beef Machaca Tacos.
        Mexican Beef Machaca Recipe (Carne Machaca)
      • Crock Pot Shredded Beef Tacos, Roast beef tacos.
        Crockpot Chuck Roast Beef Tacos

      And don’t miss my Taco Category, you’ll find more recipes and the most popular taco recipe on my site for Slow Cooker Tinga de Pollo Tacos. With poblano peppers this is a lively taco filling that you’ll want to make over and over.

      If you liked this recipe, please leave a star ⭐⭐⭐⭐⭐ rating in the recipe card below and leave a comment. I always appreciate your feedback and hearing how everything went.

      And, don’t forget to subscribe to my newsletter for more delicious recipes and cooking tips. Make it a delicious day … every day.

      Fried tacos served with salsa and sour cream.
      Print Recipe
      4.78 from 9 votes

      Authentic Mexican Fried Tacos (Tacos Dorados)

      Crisp up your next taco night. Great Mexican recipe with a unique seasoning for the ground beef mixture. This is a recipe for fried tacos where seasoned and cooked ground beef are placed in tortillas, then pan fried for a wonderful crispy taco.
      Prep Time30 minutes mins
      Cook Time10 minutes mins
      Total Time40 minutes mins
      Course: Main Course Beef
      Cuisine: Mexican
      Servings: 12
      Calories: 168kcal
      Author: Lea Ann Brown

      Ingredients

      • 1 pound Lean ground beef 93 – 7% blend works well here
      • ½ teaspoon Kosher salt
      • ¼ teaspoon Freshly ground pepper
      • 1 Medium Onion chopped, about 1 cup
      • 1 Red Bell Pepper chopped.
      • 3 cloves garlic minced
      • 1 teaspoon Oregano preferably Mexican Oregano
      • ½ teaspoon Hot smoked paprika
      • ½ teaspoon Ground cumin
      • ¼ teaspoon Dried red pepper flakes
      • ¼ cup Tomato paste
      • ⅓ Cup Water
      • 12 tortillas for frying
      • ½ Cup Neutral Oil Canola, Vegetable, peanut or Avocado oil work well here.
      • Sour cream and salsa for serving

      Instructions

      • Cook the ground beef in a skillet until the pink is just starting to leave the meat. Stirring and breaking up with a spatula or wooden spoon and seasoned with salt and pepper.
      • Add the chopped onion, and chopped bell pepper and cook stirring for two minutes. Add minced garlic and cook, stirring occasionally until fragrant, about 30 seconds.
      • Stir in the herbs and spices. Add the tomato paste and stir well. Stir in the water Cover and cook on low for 10 minutes.
      • You can't just take a corn tortilla out of the package and fill it with taco ingredients. They'll be rubbery and break. You have warm them into a pliable taco shell. Use a tortilla warmer, or the Rick Bayless microwave method: Drizzle about three tablespoons of water over a clean kitchen towel. Wrap your corn tortillas in the towel. Slide the package into a gallon sized plastic bag. Don't seal the bag. Microwave the tortillas at 50% power for four minutes. This creates a steamy packet. Let sit 2 -3 minutes inside package before making tacos.
      • Place 3-4 Tablespoons of beef mixture on each warmed and pliable corn tortilla and roll up. Secure with a wooden toothpick and fry for about three minutes in a little oil until golden. Turn the tacos over and fry for another three minutes. Move to a paper towel and cover with another paper towel while you fry the rest of the tacos.
      • Serve with sour cream and salsa.

      Notes

      Tips For Success: 
      • Don’t over fill the corn tortillas. Too much ground beef filling will cause the ingredients to spill out when frying.
      • It is very important to keep the oil at the correct temperature when frying tacos. If the oil is not hot enough, you’ll end up with oil soaked tacos that will be very unpleasant to eat. You want to keep fried tacos light and fluffy.
      • Fry the tacos in batches. Don’t over crowd the pan. Keep the tacos separated. A crowded pan will result in lowering the oil temp. Plus touching tacos will create a steaming effect that will compromise the crispy texture.
      • Always warm more corn tortillas than you’ll need. There are bound to be a couple here and there that will break or tear when trying to secure them with the toothpick.

      Nutrition

      Calories: 168kcal | Carbohydrates: 15g | Protein: 9g | Fat: 8g | Saturated Fat: 3g | Cholesterol: 27mg | Sodium: 125mg | Potassium: 284mg | Fiber: 2g | Sugar: 2g | Vitamin A: 414IU | Vitamin C: 11mg | Calcium: 36mg | Iron: 2mg

      Crispy Fried Tacos … They’re what’s for Dinner.

      « Previous Page
      Next Page »

      I'm Lea Ann

      Welcome to my Colorado kitchen. If you're a fan of rustic homestyle cuisine, you've come to the right place. I'm a Culinary School Grad with a passion to inspire you to cook as often as you can. I offer reliable, approachable and easy to follow recipes. So grab that skillet and let's cook.
      More about me

      Favorite Grilling Recipes

      • Beef kabobs on a bed of fresh spinach.
        Lemon Curry Marinade for Steak Kababs
      • Grilled t-bone steaks served with cowboy butter.
        Grilled T-Bone Steaks with Cowboy Butter
      • Southwestern grilled ground chicken burgers served with watermelon.
        Grilled Southwest Ground Chicken Burgers, Juicy and Flavor Packed
      • Best grilled shrimp recipe served with dipping sauce.
        Best Grilled Shrimp Recipe
      • Steak Sauce Burgers.
        Jalapeno Steak Sauce Burgers
      • Maple syrup glazed grilled chicken breast kabobs served over spinach greens.
        Maple Syrup Glazed Grilled Chicken Breast Kabobs

      Reader Favorites

      • Super Moist Cheesy Cornbread with Creamed Corn
      • Flemings steakhouse macaroni and cheese in a white bowl.
        Flemings Steakhouse Mac and Cheese
      • Layered Mexican Casserole in a 9 x 13 pyrex dish with ground beef and corn tortillas, garnished with tomatoes and cilantro
        Mexican Casserole with Ground Beef and Corn Tortillas
      • Beef Tagliata, thin sliced flank steak served over arugula and cherry tomatoes.
        Beef Tagliata (Italian Steak)
      • Ham and cheese quesadilla made with corn tortillas and topped with a fried egg.
        Crispy Ham and Cheese Corn Tortilla Quesadillas
      • Spinach chicken mushroom skillet dinner.
        Chicken Mushroom and Spinach Skillet

      Footer

      • Contact
      • About
      • Privacy Policy
      • Accessibility Statement
      • ↑ back to top

      Copyright © 2024 Cooking on the Ranch • Powered by Feast+

      Rate This Recipe

      Your vote:


      A rating is required
      A name is required
      An email is required