Cooking On The Ranch

  • Home
  • About
  • Recipe Roundup
  • Contact Me
  • Join Community
menu icon
go to homepage
  • Home
  • Soups and Stews
  • About
  • Recipes
  • Contact Me
    • Facebook
    • Instagram
    • Pinterest
  • search icon
    Homepage link
    • Home
    • Soups and Stews
    • About
    • Recipes
    • Contact Me
    • Facebook
    • Instagram
    • Pinterest
  • ×
    Home

    Sweet Spicy Jalapeno Pineapple Salsa

    April 13, 2026 By Lea Ann Brown 5 Comments

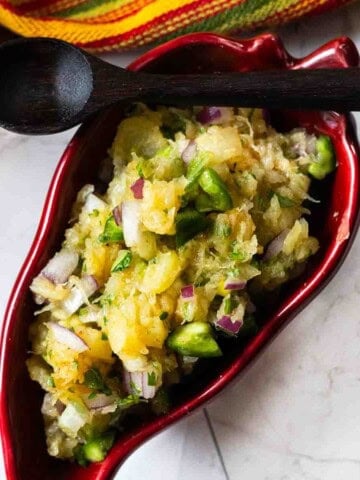
    Jalapeno pineapple salsa in a red chile shaped serving bowl.

    A great combo of sweet and spicy, this Jalapeno Pineapple Salsa is my go-to fruit salsa recipe to serve as a topping for grilled meats. It’s also a great stand alone salsa and a candidate for serving with tortilla chips as a dip. Using canned crushed pineapple, this Southwestern Salsa recipe is ready in 10 minutes.
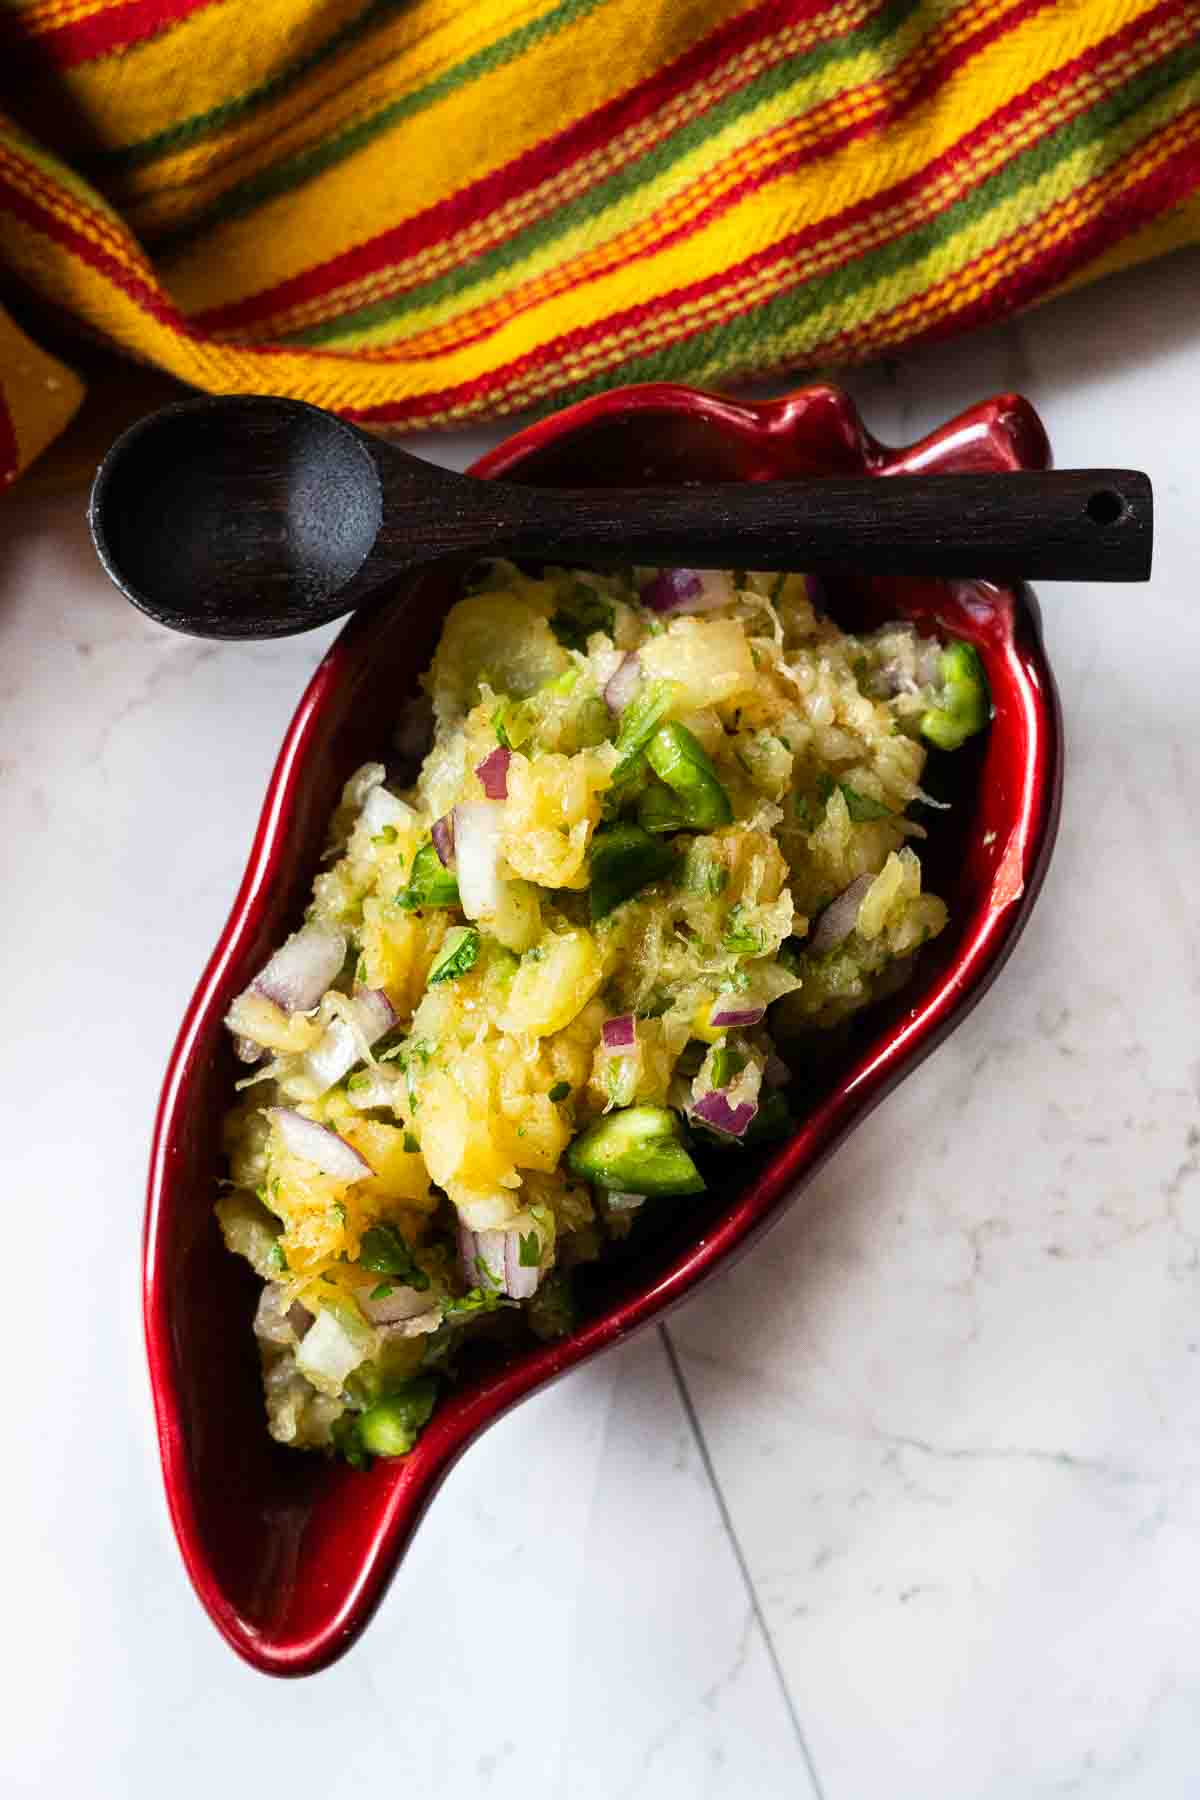
    Jalapeno pineapple salsa in a red chile shaped bowl.

    Quick Look: Jalapeno Pineapple Salsa

    • 🧁 Servings: 3 Cups
    • ⭐ Features: Fresh ✓ Healthy ✓Slight “heat” ✓
    • ⌛️ Prep Time: 10 minutes
    • 🍪 Cook Time: 0 minutes
    • 🕑 Total Time: 10 minutes
    • 👩‍🍳 Skill Level: Beginner
    • 🏆 Why make THIS version? This fruit salsa recipe tastes way bigger than the effort it takes. And it’s fantastic for grilled meat or tortilla chip thrown it’s way.

    SUMMARIZE AND SAVE THIS POST ON

    ChatGPT
    Google AI
    Perplexity
    Claude
    Add us as a trusted site on Google

    What Is Jalapeno Pineapple Salsa?

    • A fresh, sweet-and-spicy salsa made with pineapple, jalapeños, vinegar, and simple add-ins.
    • This version uses canned crushed pineapple for convenience and consistent flavor.
    • With no cooking time required, it’s ready in minutes and works well as a dip, taco topper or grilled meat garnish.

    Why You'll Love This Recipe

    • Uses pantry-friendly canned pineapple (no chopping a whole fruit).
    • Balanced heat that’s easy to customize the spicy level.
    • Quick prep (10 minutes or less).
    • Versatile: tacos, grilled chicken, shrimp kabobs, use as a dip for tortilla chips.
    • Naturally gluten-free and dairy-free.

    Ingredients You’ll Need
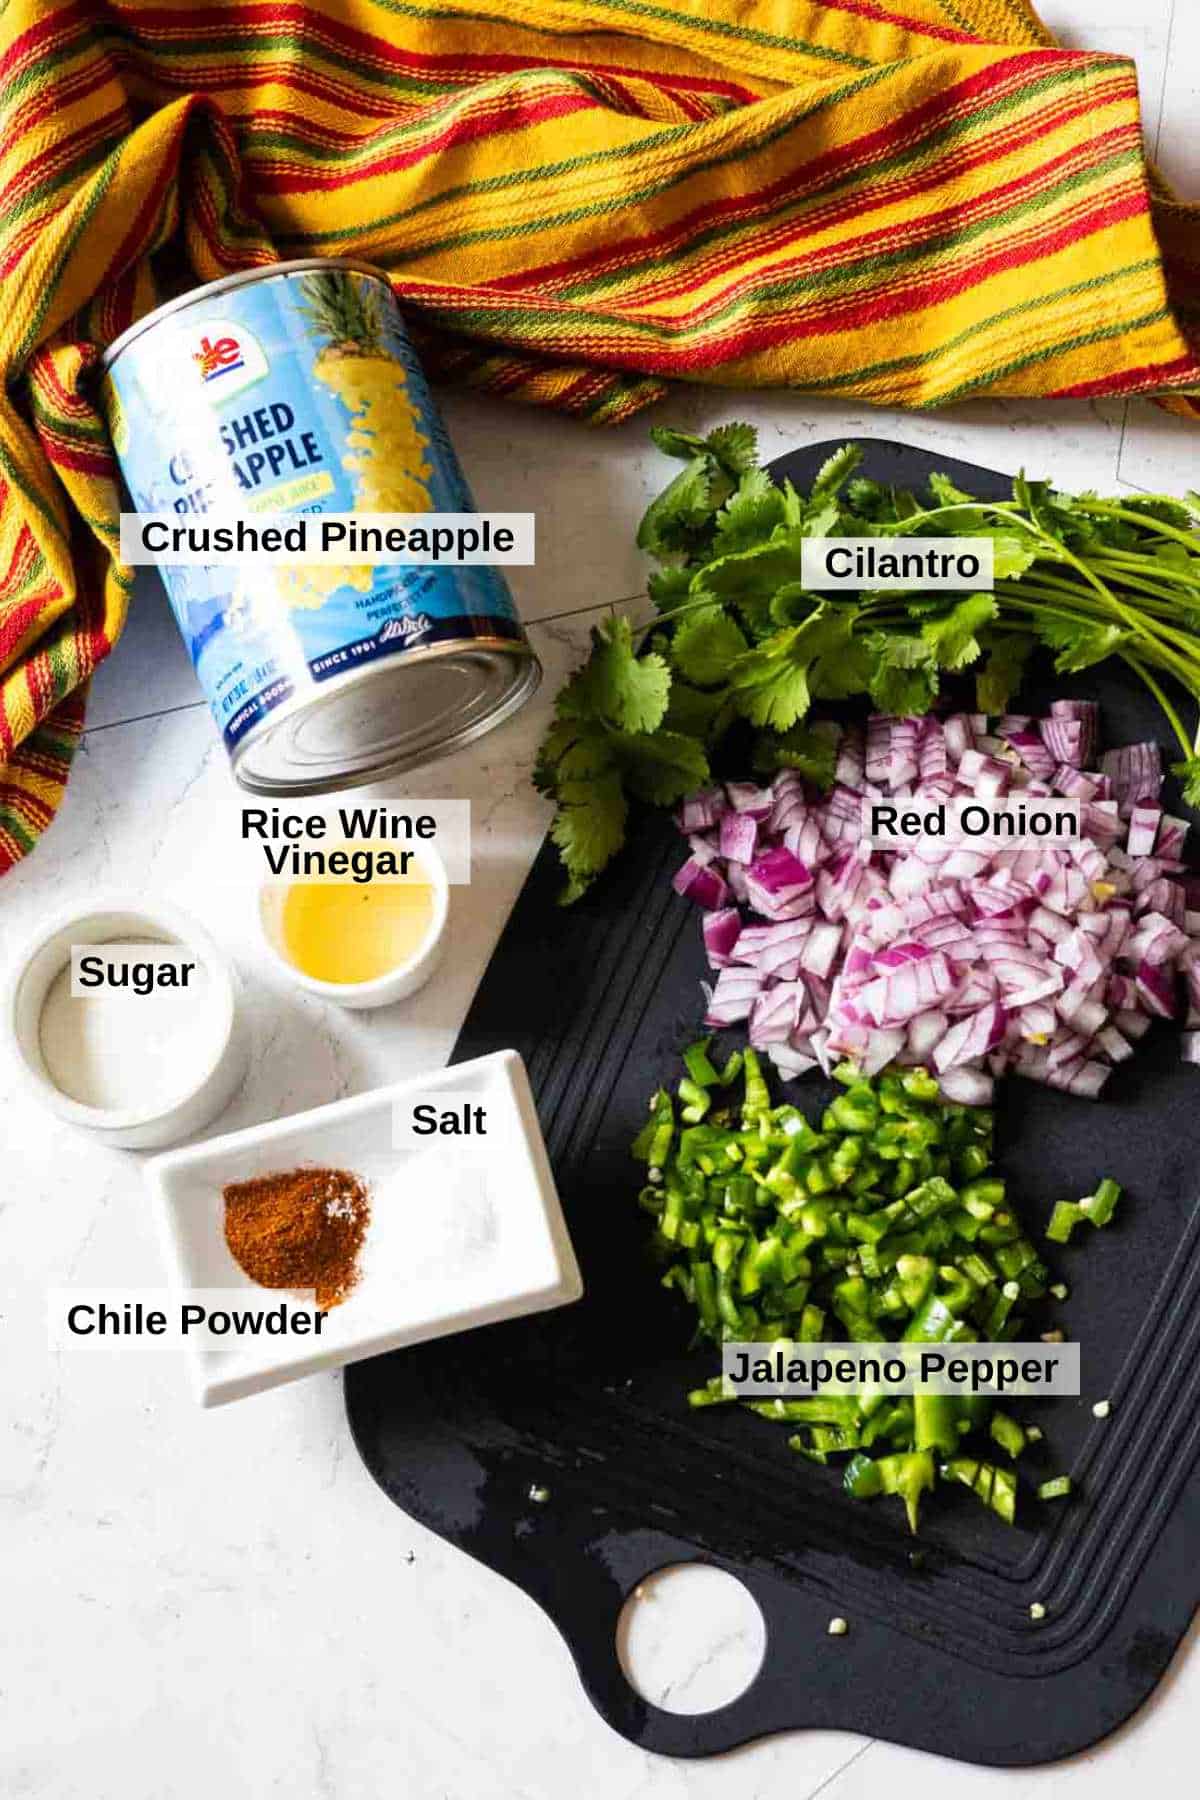
    Ingredients to make Jalapeno Pineapple Salsa.
    • Canned crushed pineapple – drained
    • Jalapeno Pepper
    • Red onion
    • Fresh cilantro
    • New Mexico Chimayo Red Chile Powder
    • Cilantro
    • Kosher Salt and Sugar
    • Seasoned Rice Vinegar: I like using rice vinegar due to it’s mild, sweet and savory flavor profile. It’s less acidic than white vinegar. I suggest apple cider vinegar as a substitute.

    Optional Add Ins and Substitutions

    • Lime Juice: Swap out lime juice for the vinegar.
    • Honey works well to substitute for sugar.
    • Sweet onion can be substituted for red onion.
    • Add red bell pepper for color.
    • Fine diced avocado is always welcome in most salsas.
    • Diced fresh garlic or garlic powder is a welcome flavor booster.

    Why Use Canned Crushed Pineapple?

    • Saves prep time, no tedious peeling or coring a fresh pineapple.
    • Consistent sweetness year-round.
    • It’s softer texture blends beautifully into salsa.
    • Holds up well for make-ahead salsa recipes.

    How To Make Jalapeno Pineapple Salsa (Step by Step)
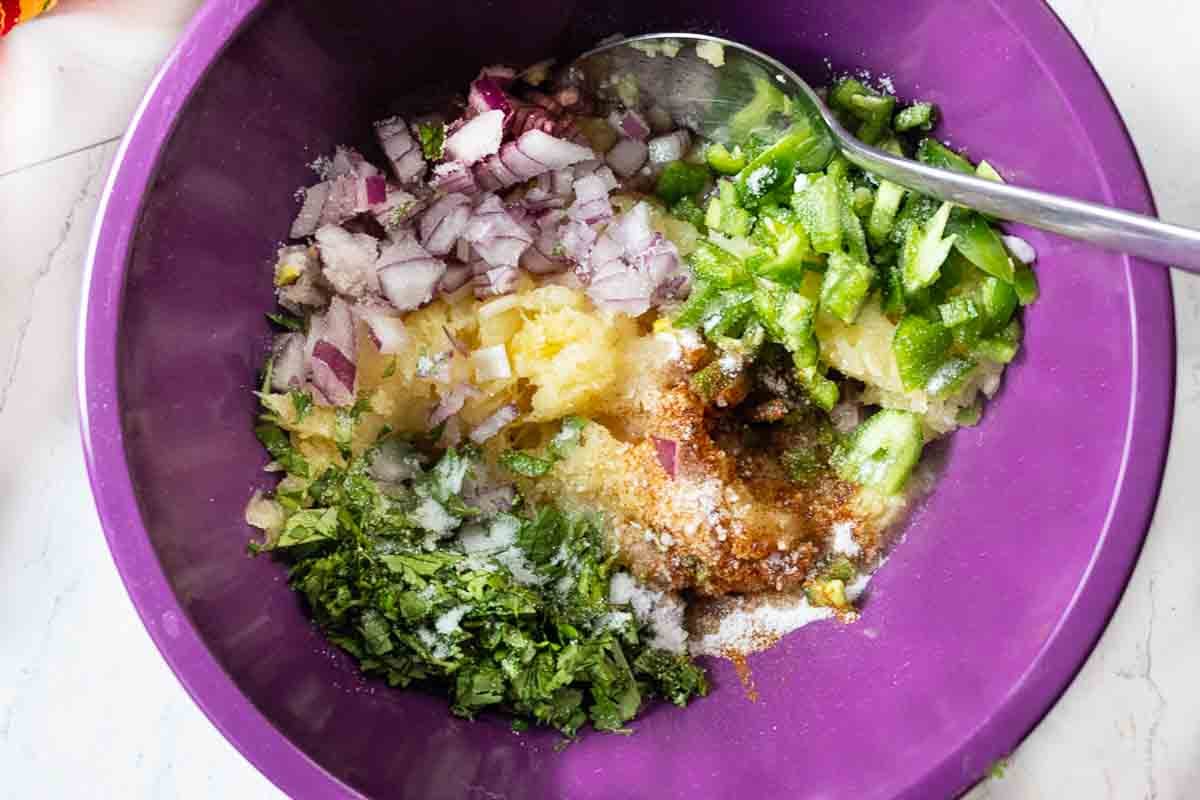
    Step 1 how to make jalapeno pineapple salsa.
    1. Step 1: Chop onion, jalapeno pepper and cilantro. Drain crushed pineapple and add all ingredients to a large bowl.
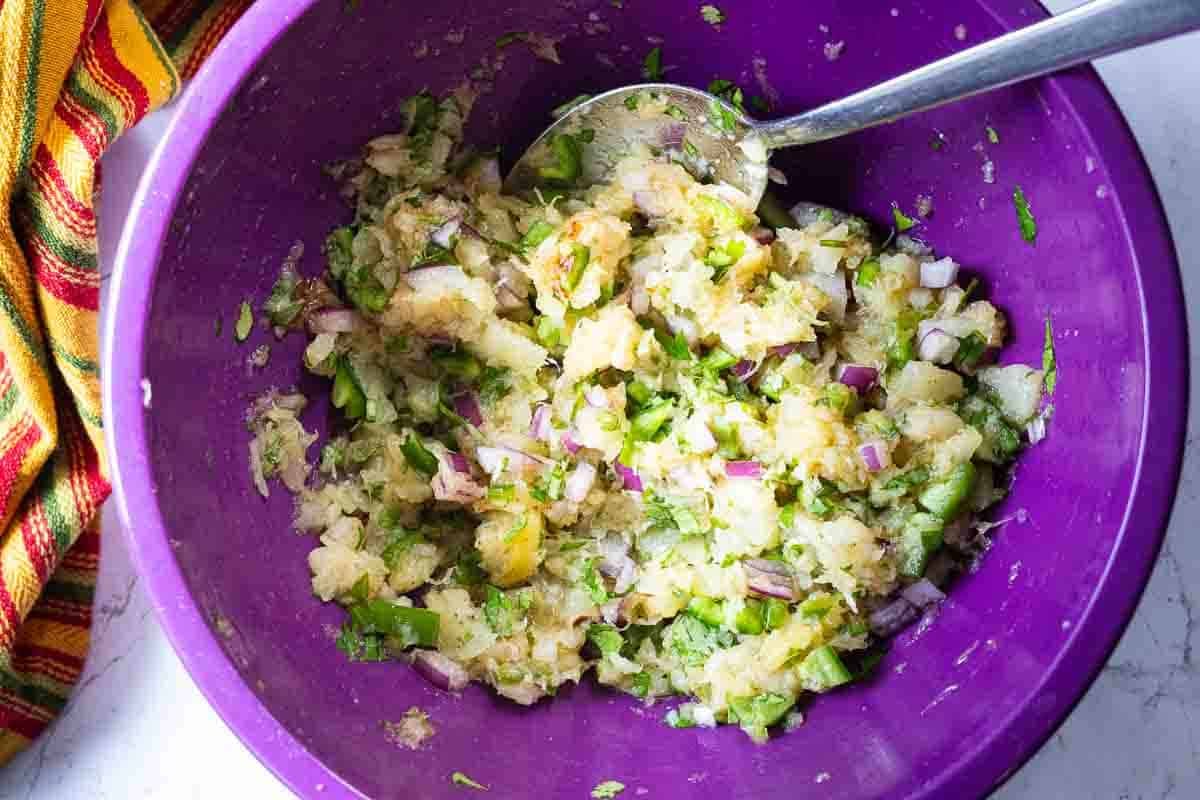
    Step 2, how to make jalapeno pineapple salsa.
    1. Step 2: Use a spoon to stir and combine ingredients.

    How Spicy Is It?

    • That’s the beauty of working with New Mexico Red Chile Powder. You can purchase mild, medium or hot to accommodate your heat level tolerance.
    • Jalapeno peppers do carry some heat. To tame the spice, cut off the top of the pepper and use the handle of a spoon or fork to scrape out the seeds and veins. That’s where the heat lies. Removing them will remove a lot of the hot spice.

    Tips For Best Flavor

    • To avoid watery salsa, drain the pineapple thoroughly, in a colander in the sink. I even like to use a paper towel to pat the top of it as it drains to remove excess moisture.
    • Let it sit 10-15 minutes before serving.
    • Practice those knife skills. Uniform chopping of the onion and jalapeno pepper will yield even and balanced bites for a better flavor experience.

    Pro Tip Knife Skills: Always keep the hand that’s gripping the knife clean and dry. A wet hand could cause slips resulting in nicks or worse a nasty slice on your hand. 

    Serving Ideas

    As I mentioned above, this is my go-to recipe for my Grilled Maple Syrup Chicken Kabobs. Here are some more ideas:

    • Spoon over grilled chicken or grilled shrimp.
    • Use as a topping for Fish Tacos.
    • Serve with tortilla chips as an appetizer.
    • Pair with pork tenderloin. And the flavor is mild enough to compliment Pan Seared Veal Pan Seared Veal Loin Chops Recipe, Simply Seasoned, Perfectly TenderLoin Chops.
    • Substute this as a topping for my grilled ham steak, instead of the brown sugar glaze.
    • Spoon over a simple grilled flank steak.
    • Use as a topping for these Shrimp Avocado Quesadillas.

    How To Store Jalapeno Pineapple Salsa

    Store in an airtight container in the refrigerator for up to 4 days. Unfortunately this recipe is not a good candidate for freezing.

    Jalapeno Pineapple Salsa FAQ’s

    Can You Use Canned Pineapple to Make Jalapeno Pineapple Salsa?

    Yes, canned crushed pineapple works great and saves time while delivering consistent sweetness.

    How Do You Keep Pineapple Salsa From Being Watery?

    Drain, drain and drain. Place a colander in the sink and let the canned pineapple drain for about 10 minutes. Pressing the top of the draining pineapple with a paper towel will also help release the moisture through the colander and dry the top of the pineapple

    Explore More Southwestern Salsa Recipes
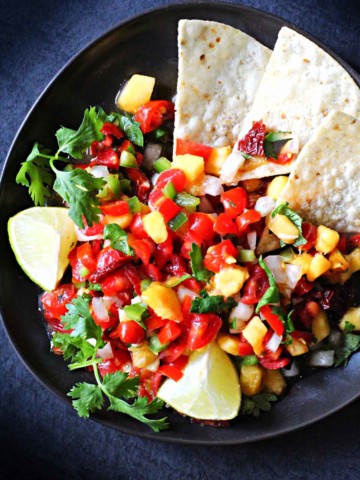
    • spicy peach salsa recipe served with tortilla chips
      Chipotle Peach Salsa Recipe
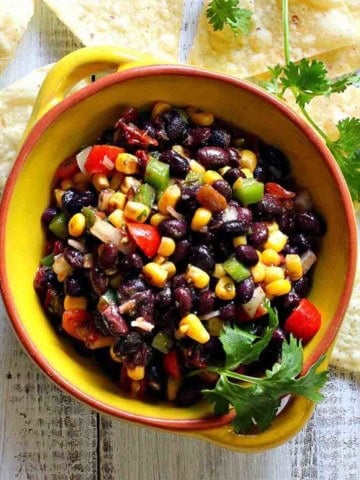
    • Black bean corn salsa dip in a yellow bowl.
      Black Bean And Corn Salsa
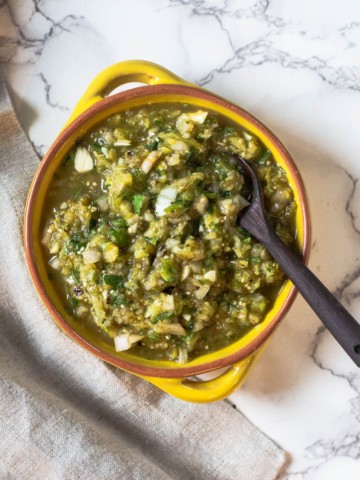
    • Homemade Roasted Tomatillo Salsa Verde
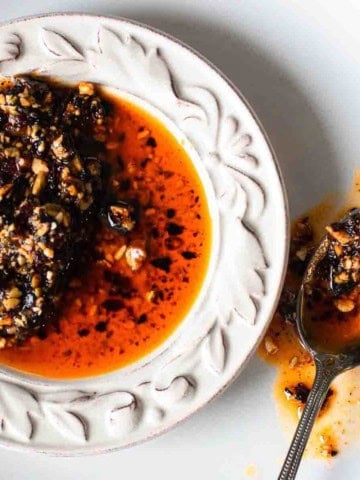
    • Salsa Macha, Mexican chile oil on a white plate.
      Salsa Macha Recipe, Mexican Chile Oil

    And don’t miss the most popular salsa recipe on my site for Homemade Mexican Restaurant Style Salsa. A must have recipe for anyone serious about Mexican food. And check out my category for Southwestern Mexican Food Recipes. You’ll find lots of recipes to spice up your meal plans.

    If you liked this recipe, please leave a star ⭐⭐⭐⭐⭐ rating in the recipe card below and leave a comment. I always appreciate your feedback and hearing how everything went.

    And, don’t forget to subscribe to my newsletter for more delicious recipes and cooking tips. Make it a delicious day … every day.
    Jalapeno pineapple salsa in a red chile shaped serving bowl.
    Print Recipe
    5 from 1 vote

    Sweet Spicy Jalapeno Pineapple Salsa (using canned pineapple)

    A great combo of sweet and spicy, this is my go-to recipe to serve as a topping for my simple grilled meats. It's also a great stand alone salsa and a great candidate for serving with tortilla chips as a dip. Using canned crushed pineapple, this Southwestern salsa recipe is ready in 10 minutes.
    Prep Time10 minutes mins
    Total Time10 minutes mins
    Course: Appetizer Recipes
    Cuisine: Southwestern
    Servings: 3 cups
    Calories: 155kcal
    Author: Lea Ann Brown

    Ingredients

    • 20 ounce Canned crushed pineapple

      well drained

    • 2 medium Jalapeno peppers deseeded, deveined and minced
    • ½ cup Fresh cilantro chopped
    • 1 cup Red Onion chopped
    • 1 Tablespoon Rice Wine Vinegar or White Vinegar
    • 1 Tablespoon Sugar
    • ½ teaspoon Kosher Salt
    • ¼ to ½ teaspoon New Mexico Red Chile Powder Chimayo Chile Powder preferred

    Instructions

    • Chop onion, jalapeno pepper and cilantro. Drain crushed pineapple and add all ingredients to a large bowl.
    • Use a spoon to stir and combine ingredients.

    Notes

    Tips For Success
    • To avoid watery salsa, drain the pineapple thoroughly, in a colander in the sink. I even like to use a paper towel to pat the top of it as it drains to remove excess moisture.
    • Let it sit 10-15 minutes before serving.
    • Practice those knife skills. Uniform chopping of the onion and jalapeno pepper will yield even and balanced bites for a better flavor experience.
    Nutrition

    Calories: 155kcal | Carbohydrates: 39g | Protein: 2g | Fat: 0.3g | Saturated Fat: 0.1g | Polyunsaturated Fat: 0.1g | Monounsaturated Fat: 0.05g | Sodium: 396mg | Potassium: 353mg | Fiber: 4g | Sugar: 34g | Vitamin A: 426IU | Vitamin C: 34mg | Calcium: 47mg | Iron: 1mg

    Oven Roasted Chuck Eye Roast

    March 12, 2026 By Lea Ann Brown 3 Comments

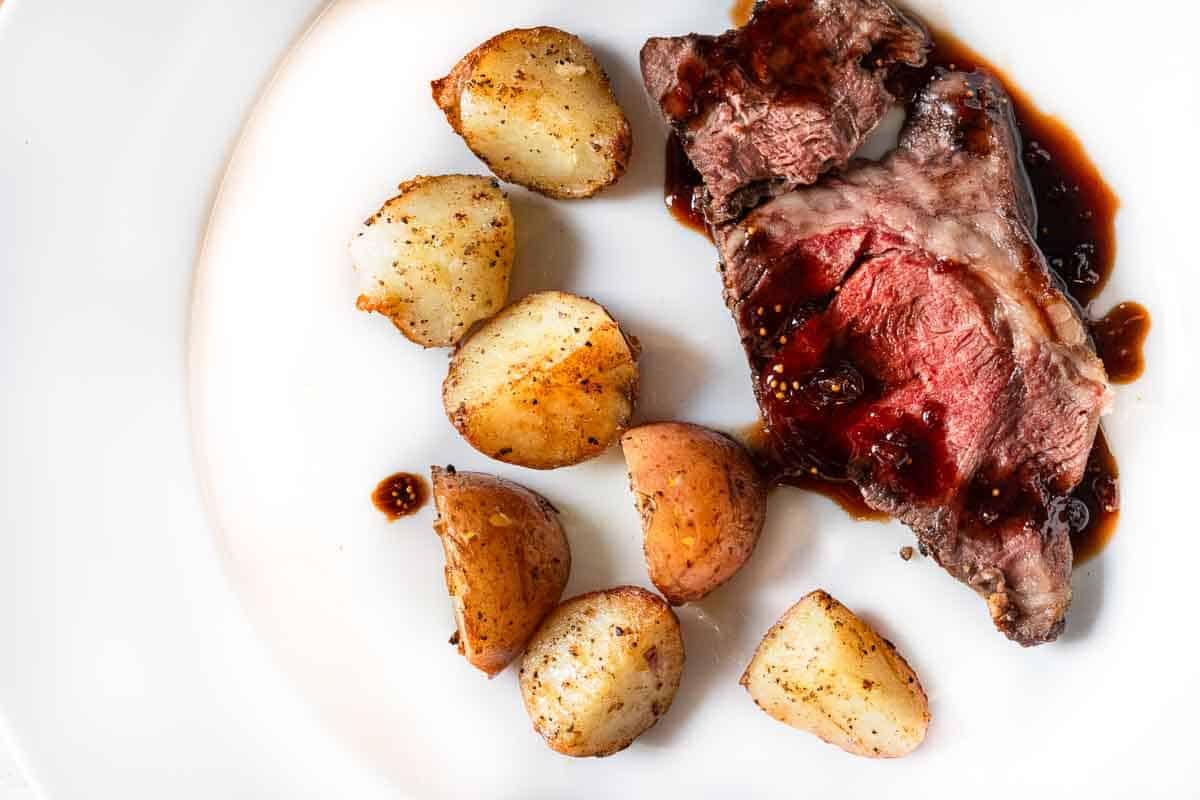
    A slice of chuck eye roast on a plate served with roasted potatoes.

    Chuck eye roast is often called the butcher's cut because it delivers rich ribeye-like flavor at a much lower price. When oven roasted properly, it becomes tender, juicy, and deeply beefy. In this recipe, the roast cooks low and steady until perfectly pink in the center, then it's finished with a glossy balsamic fig glaze that turns this meal into something borderline irresistible.It's an easy way to turn an affordable cut of beef into a roast that feels restaurant-worthy.

    A slice of chuck eye roast served with fried potatoes and balsamic fig sauce.

    What Is A Chuck Eye Roast?

    A Chuck Eye Roast comes from the shoulder (chuck primal) , right next to the ribeye section. It’s a tender, flavorful and budget friendly. Often called “the poor man’s roast”, it’s well-marbled, weighs between 2 – 3 pounds, it’s superior in texture to a standard chuck roast. It differs from a standard chuck roast as it comes from the specific muscle that extends from the ribeye. This roast is a good value and full of beefy flavor. It’s also considered to be a “butcher’s cut”.

    Butcher's cuts are high quality, flavorful and often overlooked pieces of meat that you may not find at your local grocery store, similar to lesser known steaks, like The Denver Steak and The Merlot Steak. Traditional butcher's historically keep them for themselves rather than selling. These cuts are typically require skilled butchery to remove from the carcass. They are considered "hidden gems" known for intense beefy flavor and excellent value.

    I feel so fortunate that I first learned all about butcher cuts in Culinary School.

    Chuck Eye Roast vs. Ribeye

    A ribeye roast comes from the rib section rather than the shoulder. Ribeye has more consistent marbling. It's softer and more buttery and is more tender than a Chuck Eye. A Chuck Eye Roast has deeper beef flavor. Is slightly firmer in texture and comes with a much lower price point than ribeye.

    Is A Chuck Eye Roast Tender?

    It is, if you cook it properly. Which means, moderate heat and don’t overcook it. I recommend medium rare, 135 degrees internal temperature and pull it at the right temperature and let it rest. Your roast will turn out juicy, rich and surprisingly tender.

    For this recipe, we’ll sear the chuck-eye and then finish it in the oven. Simply seasoned, this is an easy, hands-off method that returns tender texture and loads of beefy flavor. Let’s take a look:

    Ingredients You’ll Need

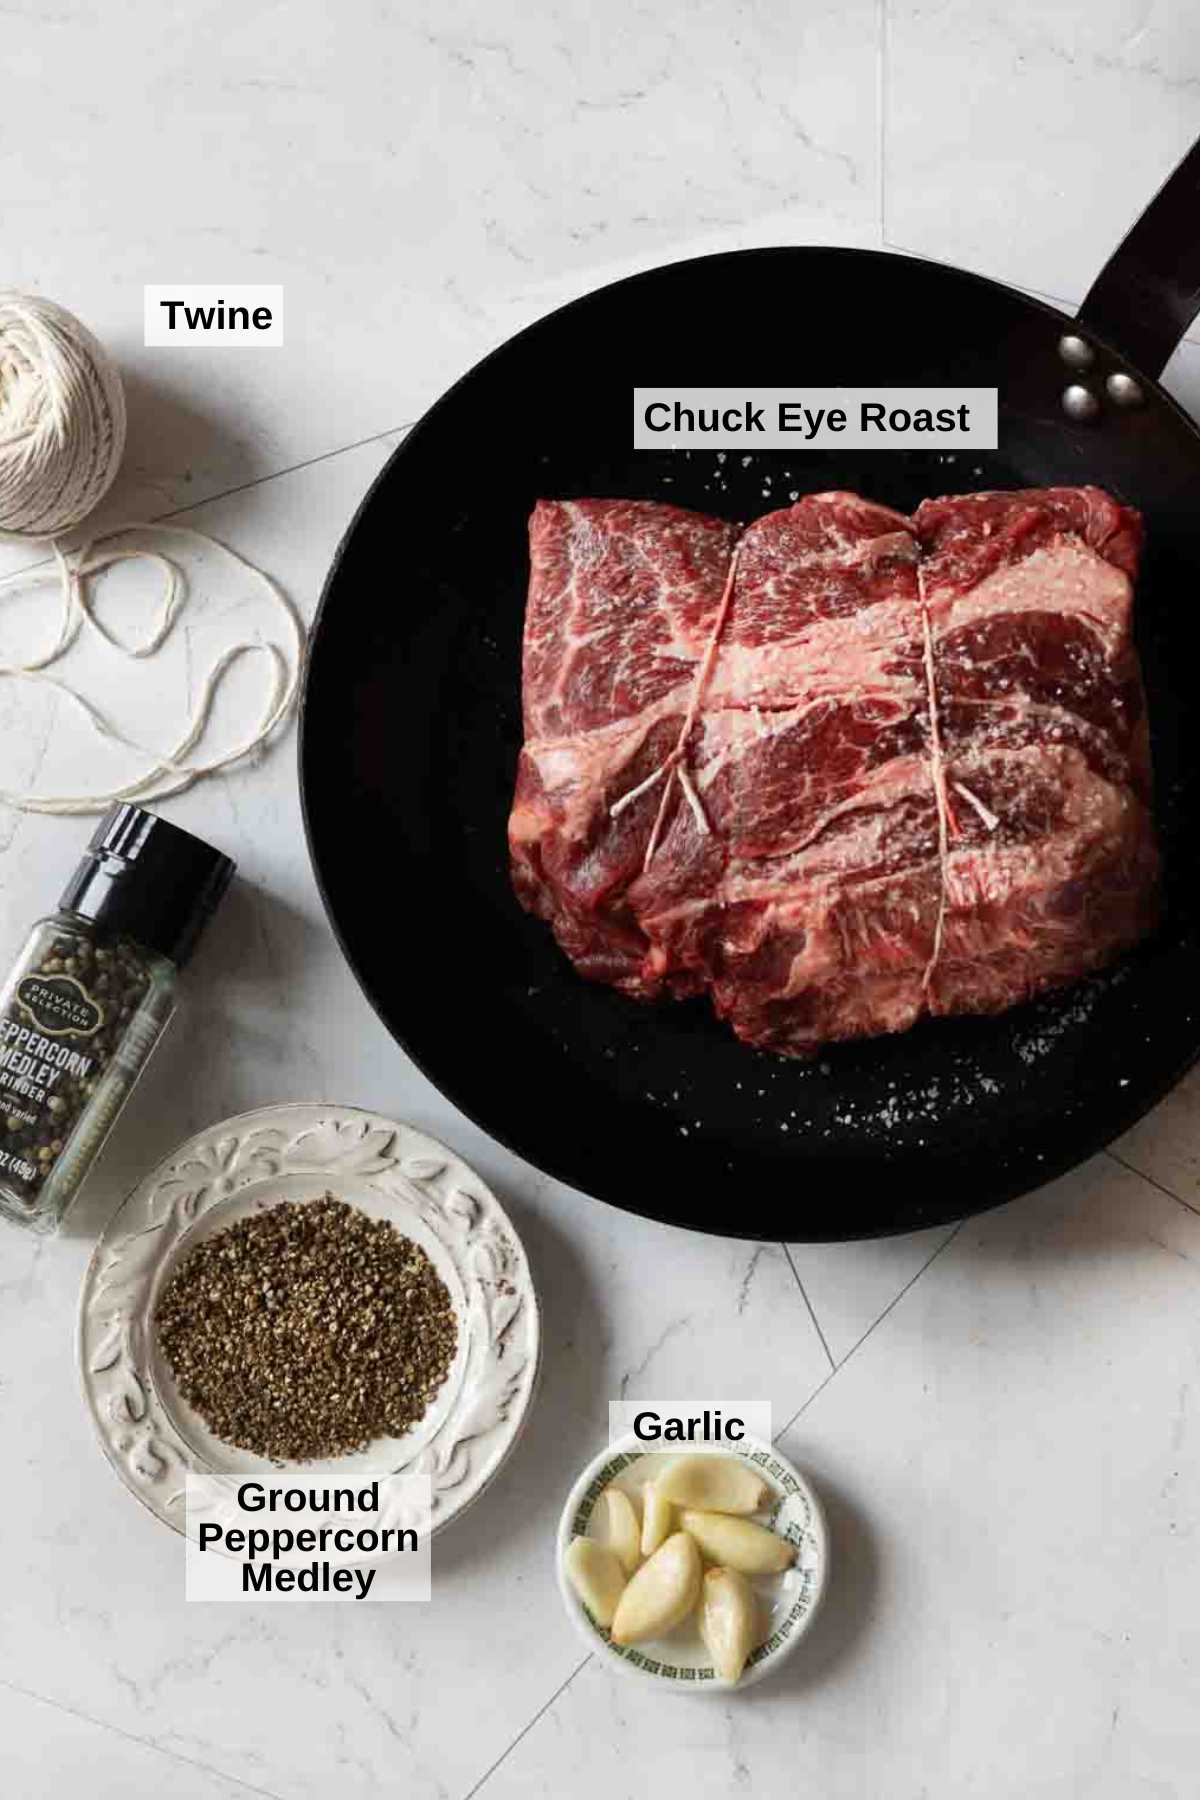
    Ingredients to cook a chuck eye roast.
    • 3 – 4 pound Chuck Eye Roast
    • 5 – 6 cloves fresh garlic
    • Cracked mixed peppercorns (black, white, green and pink)

    How To Cook A Chuck Eye Roast

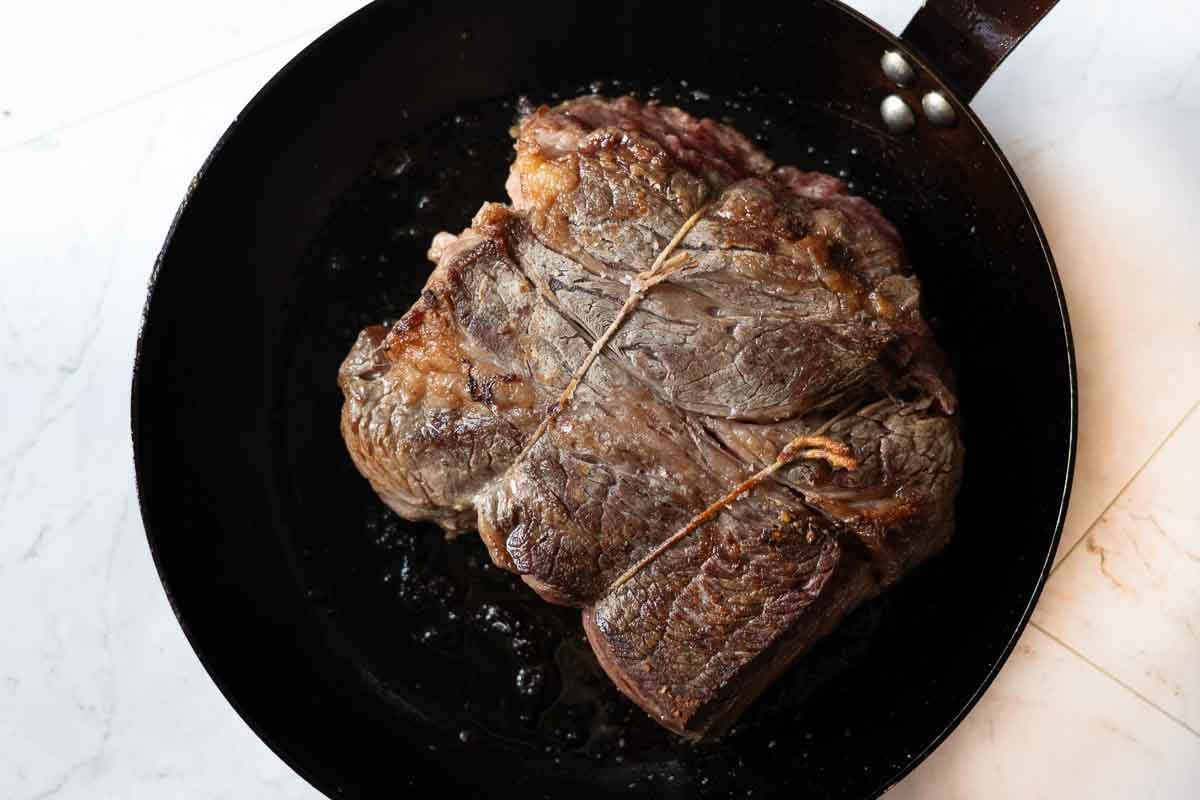
    Step 1: Searing a chuck eye roast.
    1. Step 1: Pat the roast dry and salt both sides. Heat an oven proof skillet over medium high heat. Add a couple tablespoons of oil. When oil is shimmering, add roast and sear for about 5 minutes. Note: I like to tie the roast using butcher’s twine so it will keep it’s shape.

    Tip: Oven Safe Skillets: A cast iron skillet is a good choice. And my choice is my French Carbon Steel Skillet. Light weight, it's the skillet of choice for Chef's and is routinely used in restaurants to pan-sear steaks, chicken and even seafood. Disclaimer: I am an Amazon Affiliate Member. If you purchase the skillet through the link above, I receive a small commission at no extra charge to you.

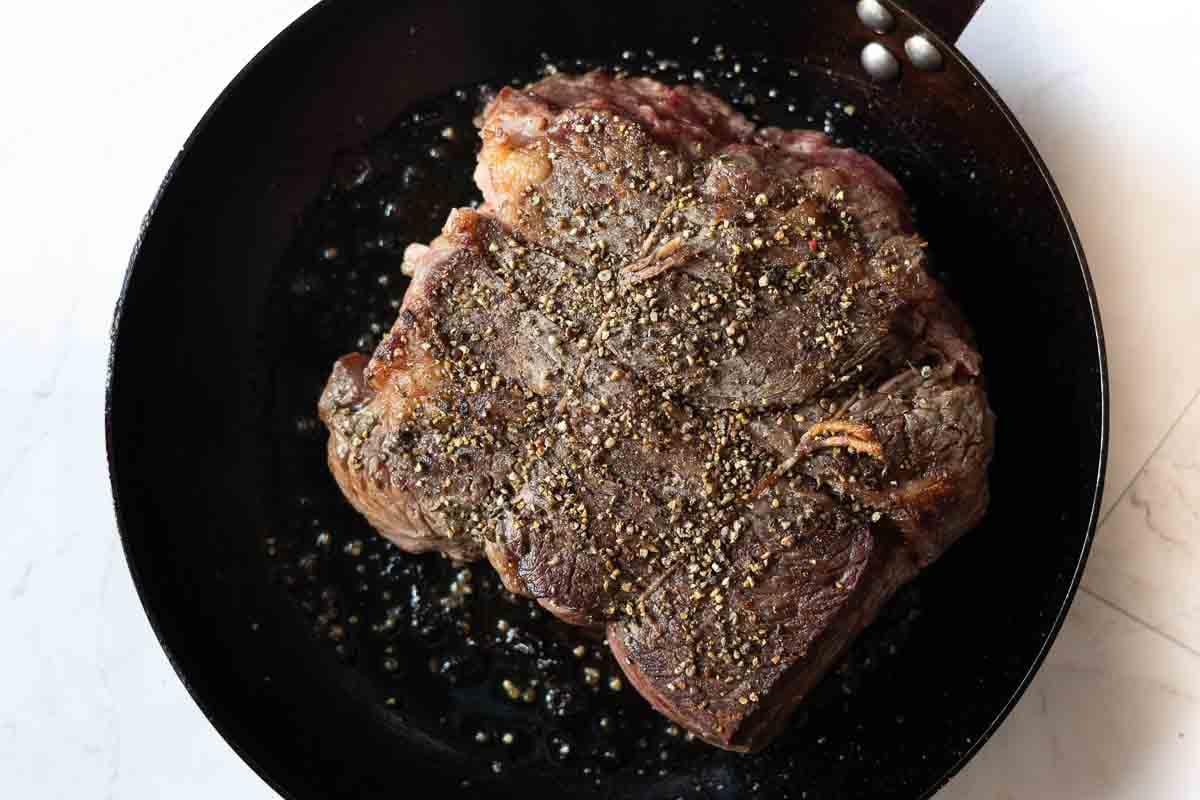
    Step 2: Seasoning a chuck eye roast.
    1. Step 2: Turn the roast over and press the ground peppercorns onto the cooked side. Continue to sear until the other side is nice and browned, about another 5 minutes.
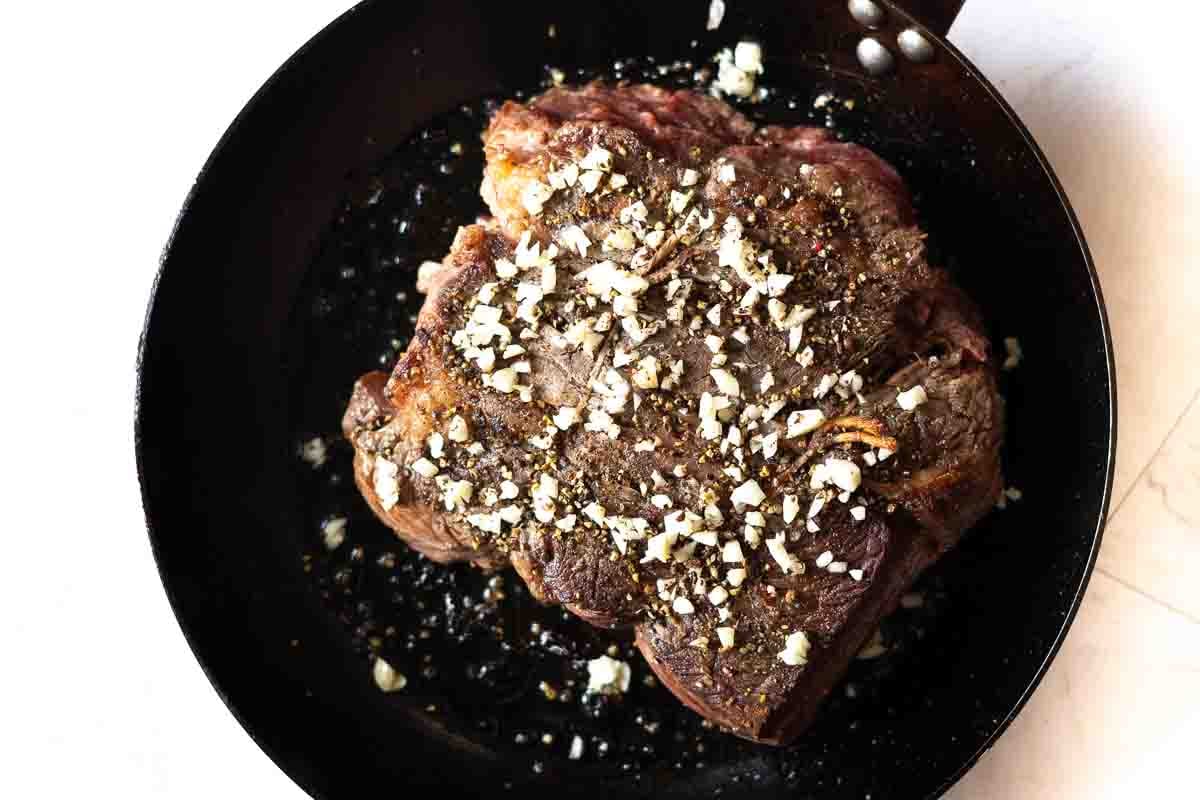
    Step 3: Adding chopped garlic to a seared chuck eye roast.
    1. Step 3: Remove roast from heat and press the diced garlic onto the top side of the roast.
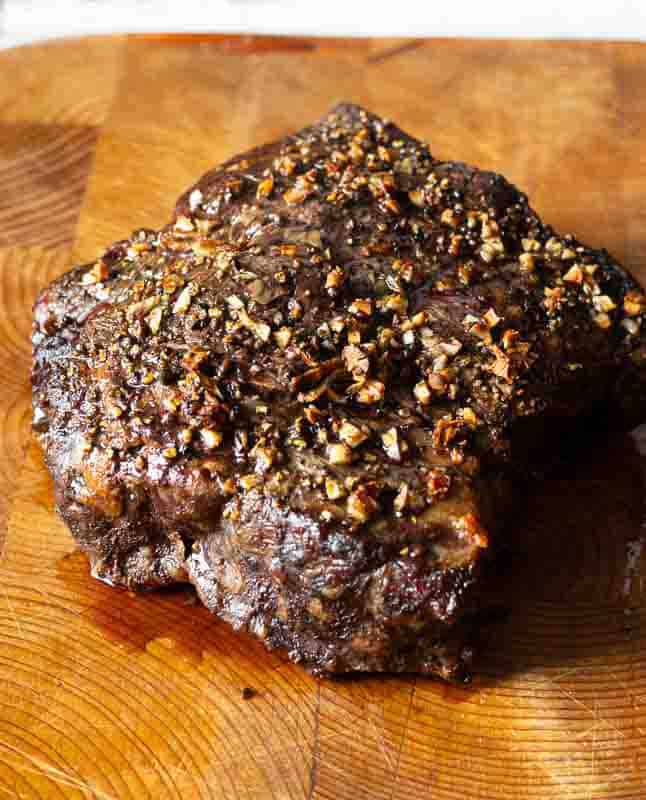
    Step 4: A cooked chuck eye roast out of the oven and on a cutting board.
    1. Step 4: Place roast in oven in the oven proof skillet and Insert digital meat thermometer so tip is centered in thickest part of roast, not resting in fat. Do not add water. Do not cover. Roast in 1-½ to 1-¾ hours for medium rare, or until meat thermometer reaches 135 degrees, 150 degrees for medium.
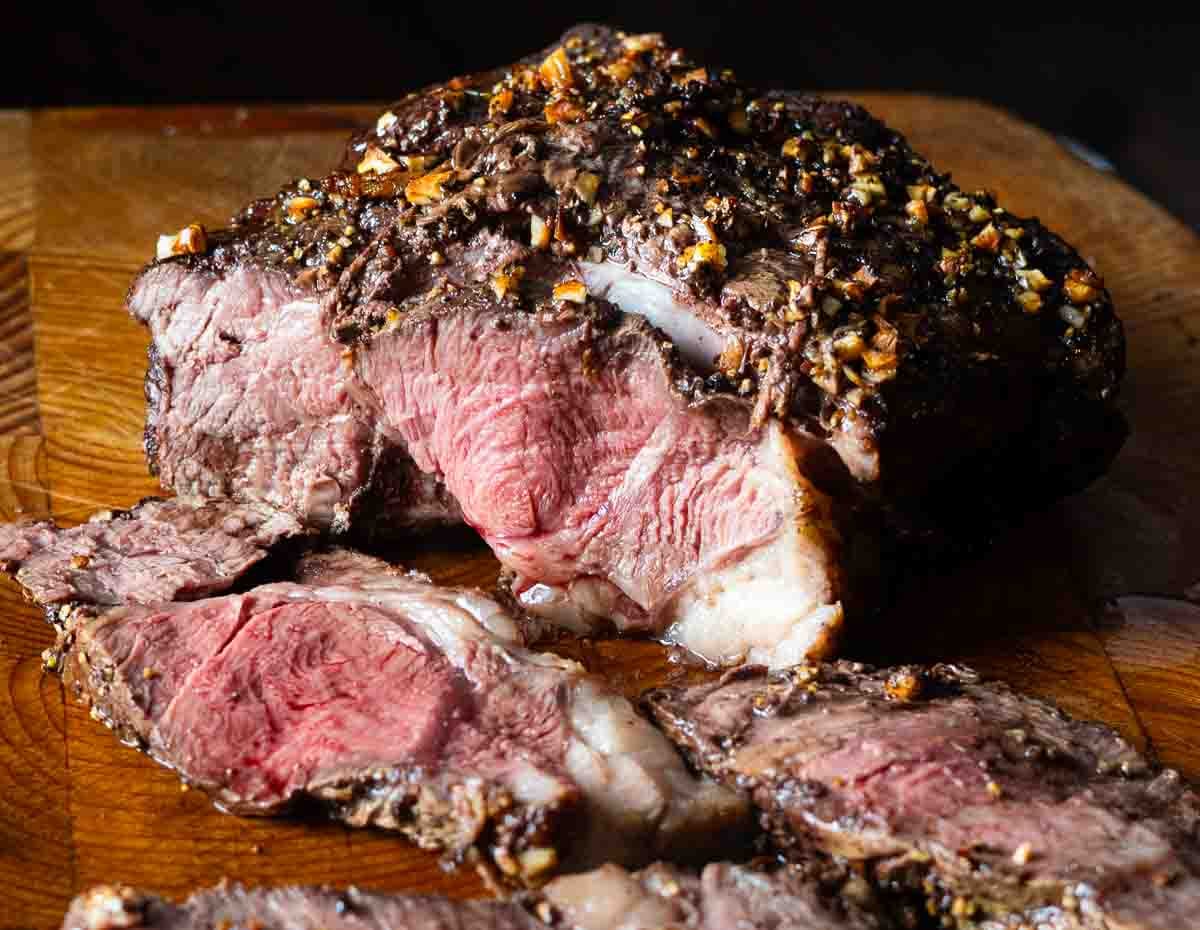
    Cooked and sliced chuck eye roast on a wood cutting board.
    1. Step 5: Transfer roast to carving board; tent loosely with aluminum foil. Let stand 15 to 20 minutes. Temperature will continue to rise about 10°F to reach 145°F for medium rare; 160°F for medium. Use a sharp chef knife to slice against the grain.

    Pro Tip: Don't skip searing the meat. This is a crucial step in getting the most flavor out of this meal. Searing creates what is technically called Maillard reaction. Maillard reaction is the process where a crust is created. Simply stated, it's responsible for the complex flavors and aroma that makes bread taste toasty, and a grilled or pan seared seared steak, like my recipe for Denver Steak, taste charred. It's a technique that brings science to your cooking skills.

    How To Serve It

    • Glaze: My choice is a rich sauce like my recipe for Balsamic Fig Glaze . Just a small drizzle will compliment the beefy flavor of this roast.
    • Sauce: Another option is this Balsamic Reduction Sauce. Another bold finishing sauce that is a great partner for beef.
    • Steakhouse: Want a steakhouse feel? Serve it with a little bowl of Horseradish Cream Sauce for dipping. It’s a great partner for Prime Rib and a natural for a Chuck Eye Roast.
    • Steak Butter: Compound steak butters are a popular choice. Take a look at my recipe for Whiskey Steak Butter.

    What To Serve It With

    A chuck eye roast comes with big flavor, so I recommend keeping it simple. I served it with some my Savory Cast Iron Skillet Potatoes. Or try this Green Vegetable Medley, or a salad with a sweet and tangy vinaigrette like this Red Wine Vinegar Dressing. As far as wine, I like a big peppery robust Zinfandel. Make it a grand Western style meal by serving vanilla ice cream topped with Mexican Chocolate Sauce for dessert.

    FAQ’s

    Can Chuck Eye Roast Be Cooked Like Prime Rib?

    Yes, roast it whole like a Boneless Prime Rib Roast. Season it simply, slice it and enjoy.

    Can You Cook It Low and Slow?

    I have cooked a chuck eye roast both in the crockpot and braised in a Dutch oven on low oven heat. Just don’t skip searing the meat first. Braise it in beef broth, red wine, onions, and garlic at 325°F for 3-4 hours until falling apart. Use enough liquid to cover the roast a third or half way.

    What Are Other Names For Chuck Eye Roast?

    It’s also known as America’s Beef Roast or Chuck Center Roast.

    I hope you give this Butcher cut roast a try. Seared, seasoned simply and you’ll find it a great family meal. And is it good for Sunday Dinner? Absolutely great. Just like Old Fashioned Pot Roast, it brings a touch of nostalgia to your dinner table.

    Explore More Beef Cuts For Roasting

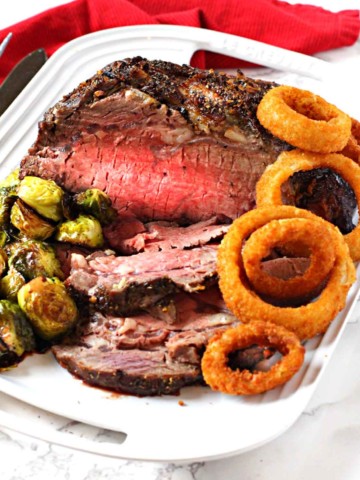
    • Boneless prime rib roast cooked and served with brussels sprouts and onion rings
      Peppery Boneless Prime Rib Roast
    • Oven baked tri-tip roast served with potatoes and vegetables.
      Oven Roasted Tri-tip with Rosemary and Thyme
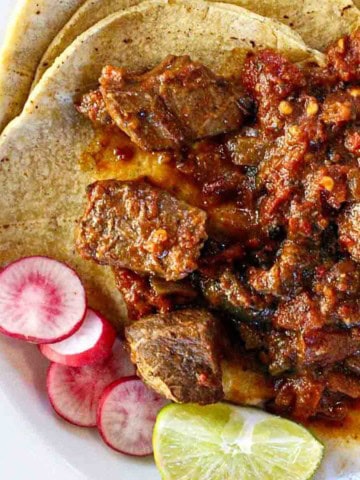
    • Mexican pot roast served over corn tortillas and garnished with sliced radishes and a wedge of lime.
      Mexican Pot Roast with Guajillo Chile Sauce (Carne Guisada)
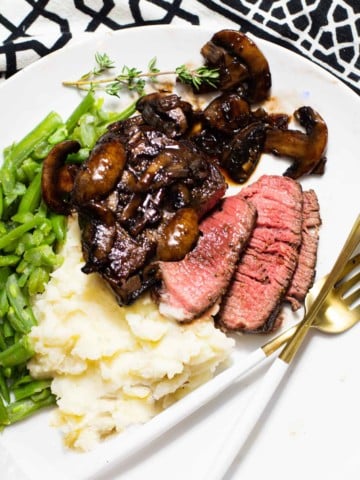
    • Beef tournados with red wine mushroom sauce served with mashed potatoes and green beans
      Beef Tournedos Steak with Red Wine Mushroom Sauce

    And don’t miss my category for Beef Recipes. You’ll find lots of great dinner ideas including the most popular on my site for Beef Tagliata. It’s a great way to prepare flank steak.

    If you liked this recipe, please leave a star ⭐⭐⭐⭐⭐ rating in the recipe card below and leave a comment. I always appreciate your feedback and hearing how everything went.

    And, don’t forget to subscribe to my newsletter for more delicious recipes and cooking tips. Make it a delicious day … every day.

    This chuck eye roast recipe was adapted from Beef It’s What’s For Dinner.

    A slice of chuck eye roast on a plate served with roasted potatoes.
    Print Recipe
    5 from 1 vote

    Garlic Pepper Chuck Eye Roast

    Chuck eye roast is often called the butcher's cut because it delivers rich ribeye-like flavor at a much lower price. When oven roasted properly, it becomes tender, juicy, and deeply beefy. In this recipe, the roast cooks low and steady until perfectly pink in the center, then it's finished with a glossy balsamic fig glaze that turns this meal into something borderline irresistible.
    Prep Time10 minutes mins
    Cook Time1 hour hr 30 minutes mins
    Resting Time15 minutes mins
    Total Time1 hour hr 55 minutes mins
    Course: Main Course Beef
    Cuisine: American
    Servings: 10
    Calories: 411kcal
    Author: Lea Ann Brown

    Equipment

    • 1 Oven proof skillet

    Ingredients

    • 3 – 4 pound Chuck Eye Roast (America's Roast)
    • 2 Tablespoons Cracked Mixed Peppercorns black, white, green and pink
    • 5-6 cloves Garlic diced
    • 1 teaspoon Kosher salt

    Instructions

    • Preheat oven to 350 degrees.
    • Pat the roast dry and salt both sides. Heat an oven proof skillet over medium high heat. Add a couple tablespoons of oil. When oil is shimmering, add roast and sear for about 5 minutes.
    • Turn the roast over and press the ground peppercorns onto the cooked side. Continue to sear until the other side is nice and browned, about another 5 minutes.
    • Remove roast from heat and press the diced garlic onto the top side of the roast.
    • Place roast in the skillet, in the oven and Insert ovenproof meat thermometer so tip is centered in thickest part of roast, not resting in fat. Do not add water. Do not cover. Roast in 1-½ to 1-¾ hours for medium rare;, or until meat thermometer reaches 135 degrees, 150 degrees for medium.
    • Transfer roast to carving board; tent loosely with aluminum foil. Let stand 15 to 20 minutes. (Temperature will continue to rise about 10°F to reach 145°F for medium rare; 160°F for medium.
    • Use a sharp chef knife to slice against the grain. Drizzle slices with Balsamic fig sauce, balsamic reduction or serve with Creamy Horseradish Sauce.

    Notes

    Tips For Success
    Oven Safe Skillets: A cast iron skillet is a good choice. And my choice is my French Carbon Steel Skillet. Light weight, it’s the skillet of choice for Chef’s and is routinely used in restaurants to pan-sear steaks, chicken and even seafood. 
    Don’t skip searing the meat. This is a crucial step in getting the most flavor out of this meal. Searing creates what is technically called Maillard reaction. Maillard reaction is the process where a crust is created. Simply stated, it’s responsible for the complex flavors and aroma that makes bread taste toasty, and a grilled or seared burger taste charred. It’s a technique that brings science to your cooking skills.
     

    Nutrition

    Calories: 411kcal | Carbohydrates: 1g | Protein: 19g | Fat: 36g | Saturated Fat: 15g | Polyunsaturated Fat: 1g | Monounsaturated Fat: 16g | Cholesterol: 82mg | Sodium: 294mg | Potassium: 323mg | Fiber: 0.3g | Sugar: 0.02g | Vitamin A: 7IU | Vitamin C: 0.5mg | Calcium: 18mg | Iron: 2mg

    Chuck Eye Roast … It’s What’s For Dinner

    Balsamic Fig Glaze

    February 15, 2026 By Lea Ann Brown Leave a Comment

    Balsamic fig glaze recipe.

    Sweet, tangy, glossy and downright irresistible. This Balsamic Fig Glaze is the secret weapon your cheese boards, roasted vegetables, pork tenderloin, and grilled chicken have been waiting for. Made with fig jam and rich balsamic vinegar, this easy homemade fig glaze comes together on the stovetop in 15 minutes and tastes gourmet with almost no effort.

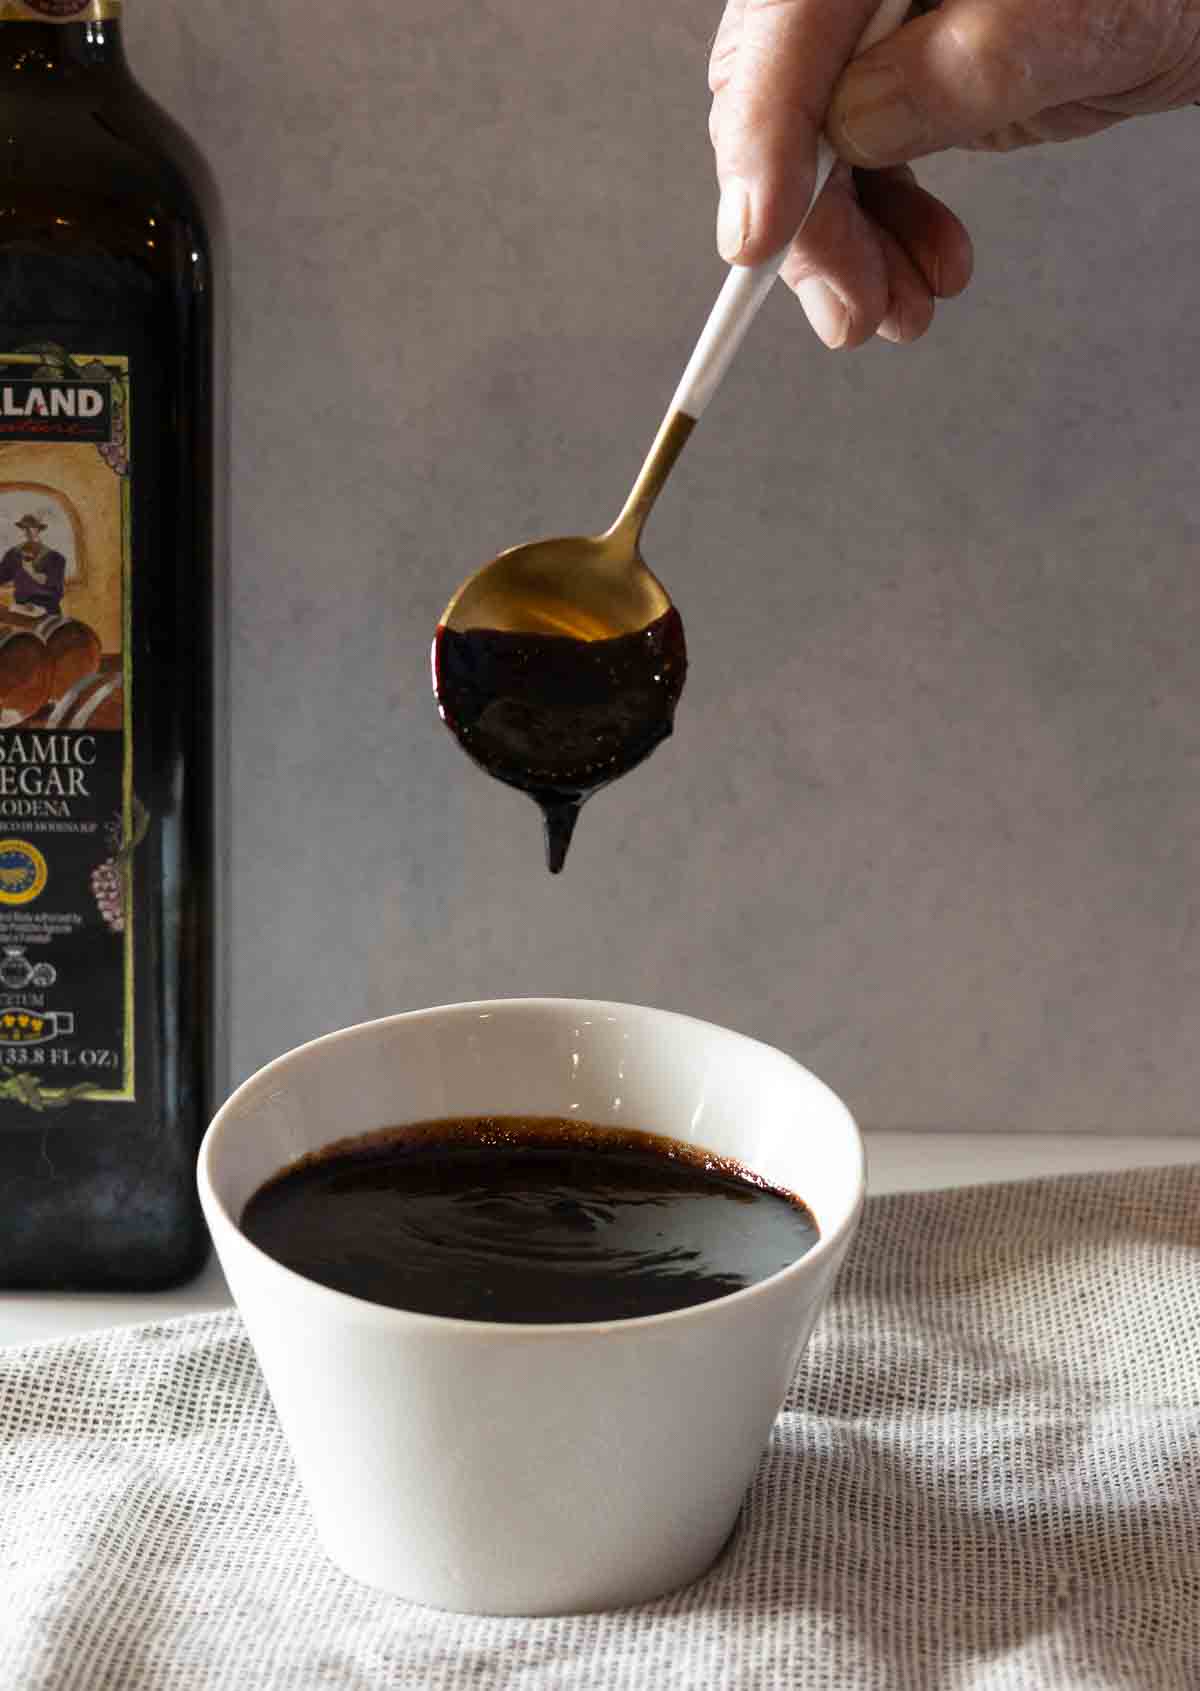
    Balsamic fig glaze in a white serving bowl.

    What Is Balsamic Fig Glaze?

    Balsamic fig glaze is a thick, glossy sauce made by simmering balsamic vinegar with fig jam until it turns syrupy and rich, sweet and tangy. It clings to food instead of running all over the plate.

    Why Is This Glaze So Easy?

    This isn't a balsamic reduction made with fresh figs, but made super simple How To Use It

    A glaze of this nature is a very simple way to dress up any main course meat to turn it into a restaurant quality experience.
    Let’s take a look.

    [feast_advanced_jump_to]

    Ingredients

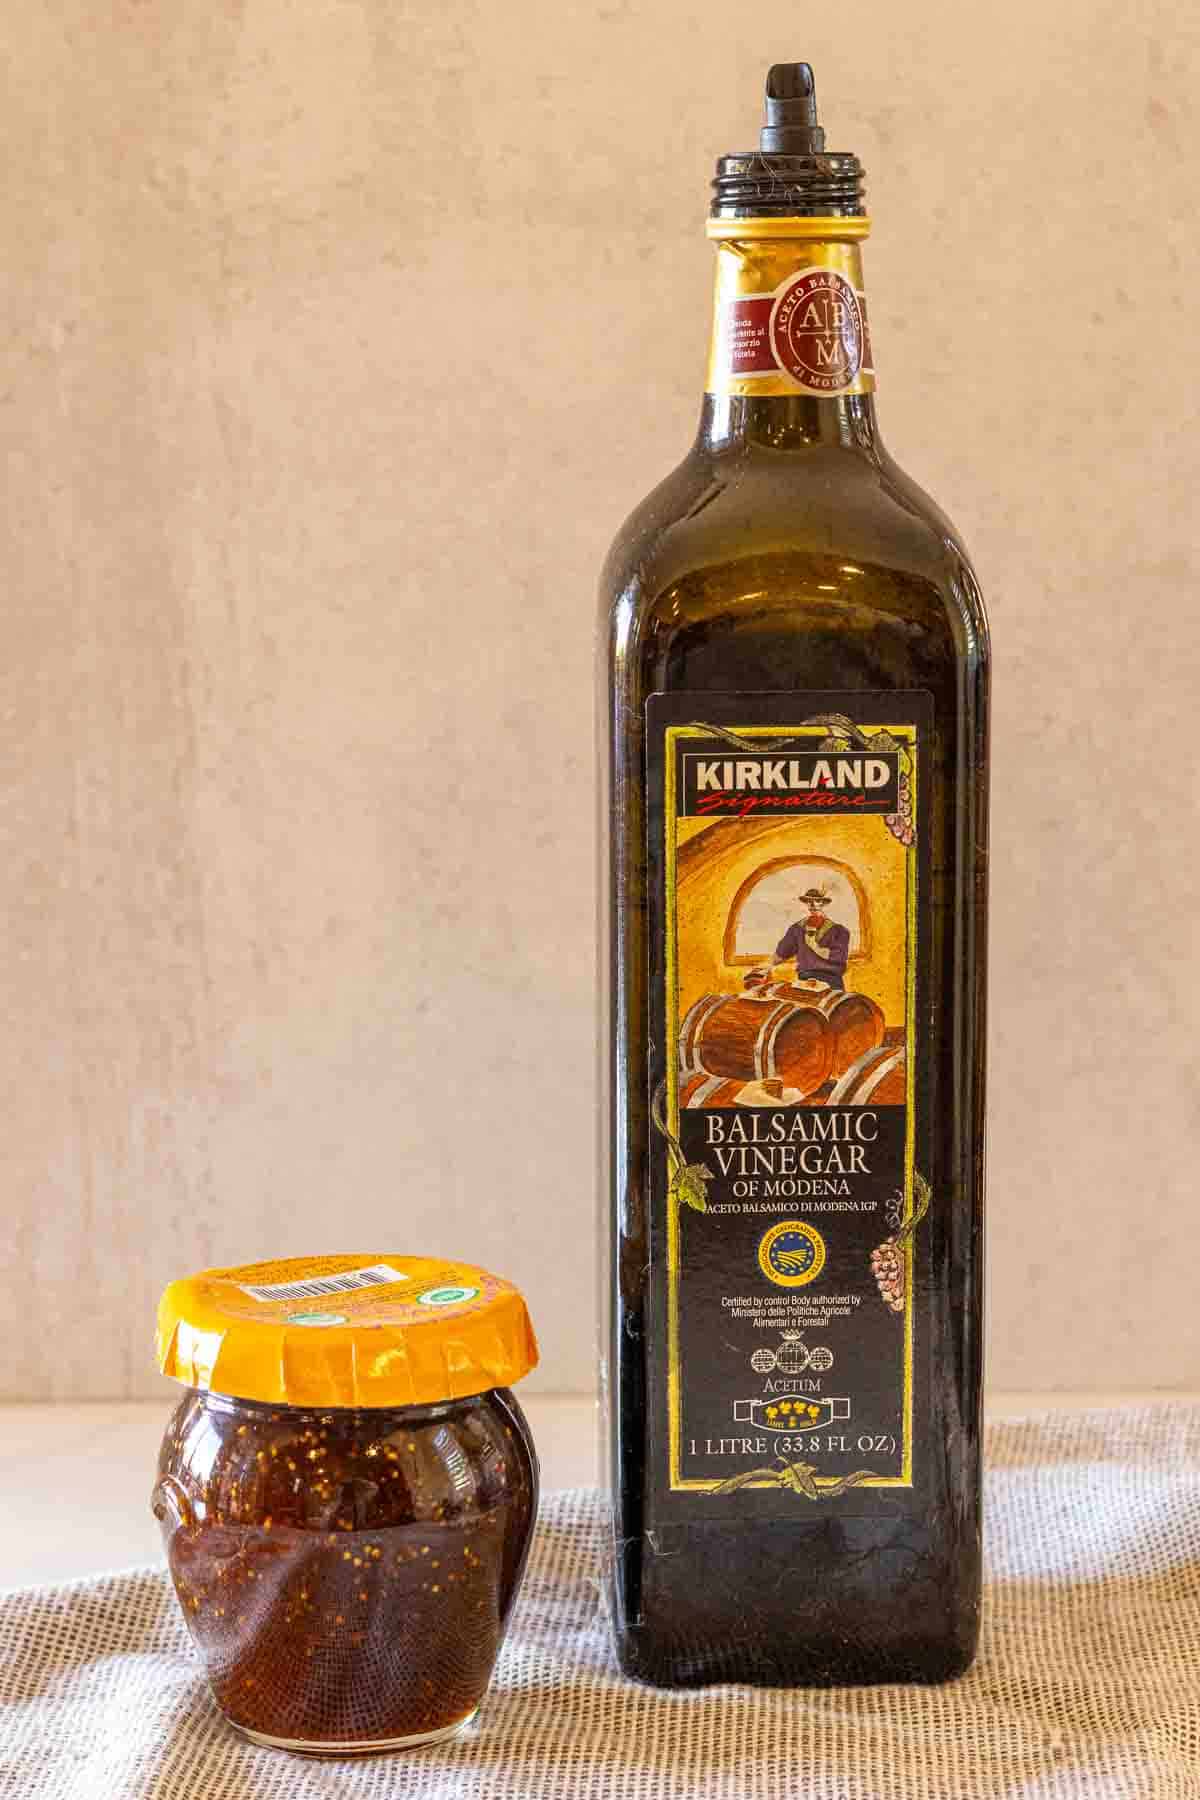
    I mean really … could it get any easier than this. Two ingredients.

    ingredients to make balsamic fig glaze.
    • Fig Jam: Use your favorite jar of fig jam.
    • Balsamic Vinegar: I always have a big bottle of balsamic vinegar in my pantry that I purchase at Costco.

    Instructions

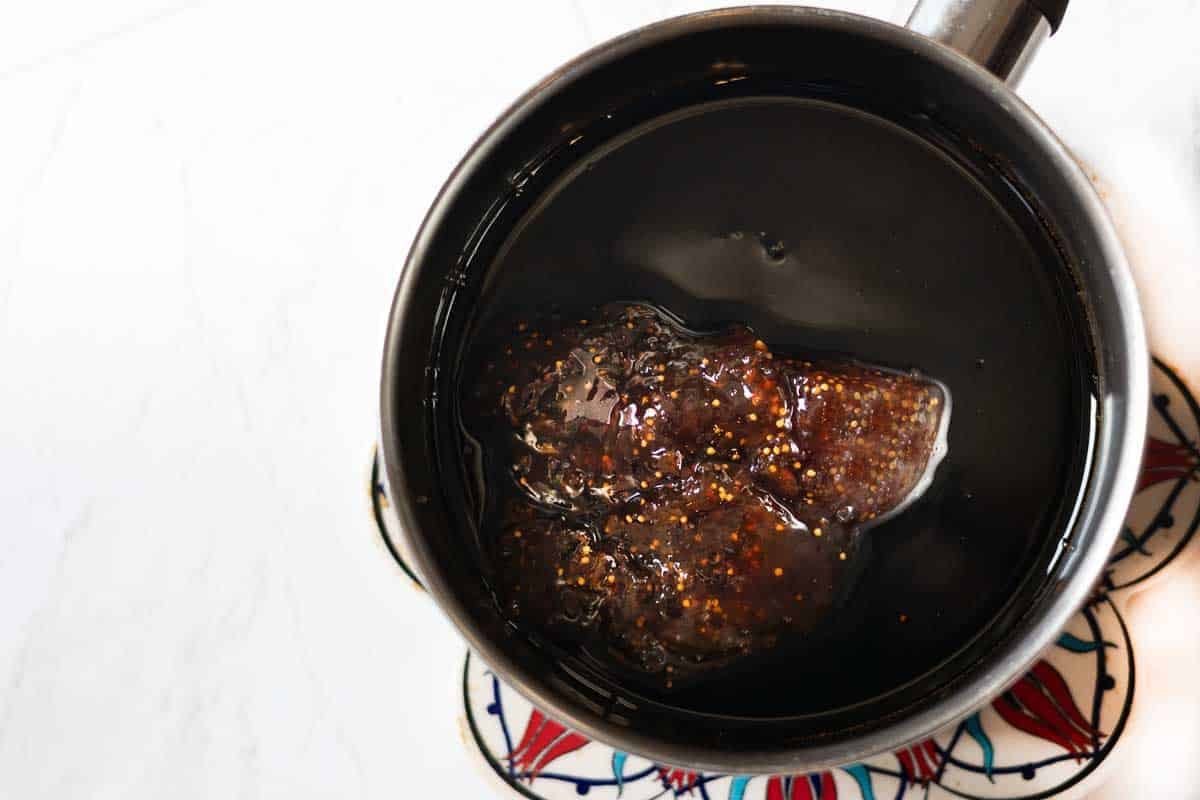
    Step 1 to make balsamic fig glaze.
    1. Step 1: Just place the balsamic vinegar in a saucepan and simmer on low, whisking occasionally and until reduced by ⅓ and is starting to become syrupy. This will take about 15 minutes.
    2. Step 2: Remove from heat and stir in the fig preserves and whisk to mix well. If glaze is too thick add water if necessary.

    Hint: If the Balsamic Fig Glaze becomes too thick, simply whisk in a little water to thin.

    How To Use It

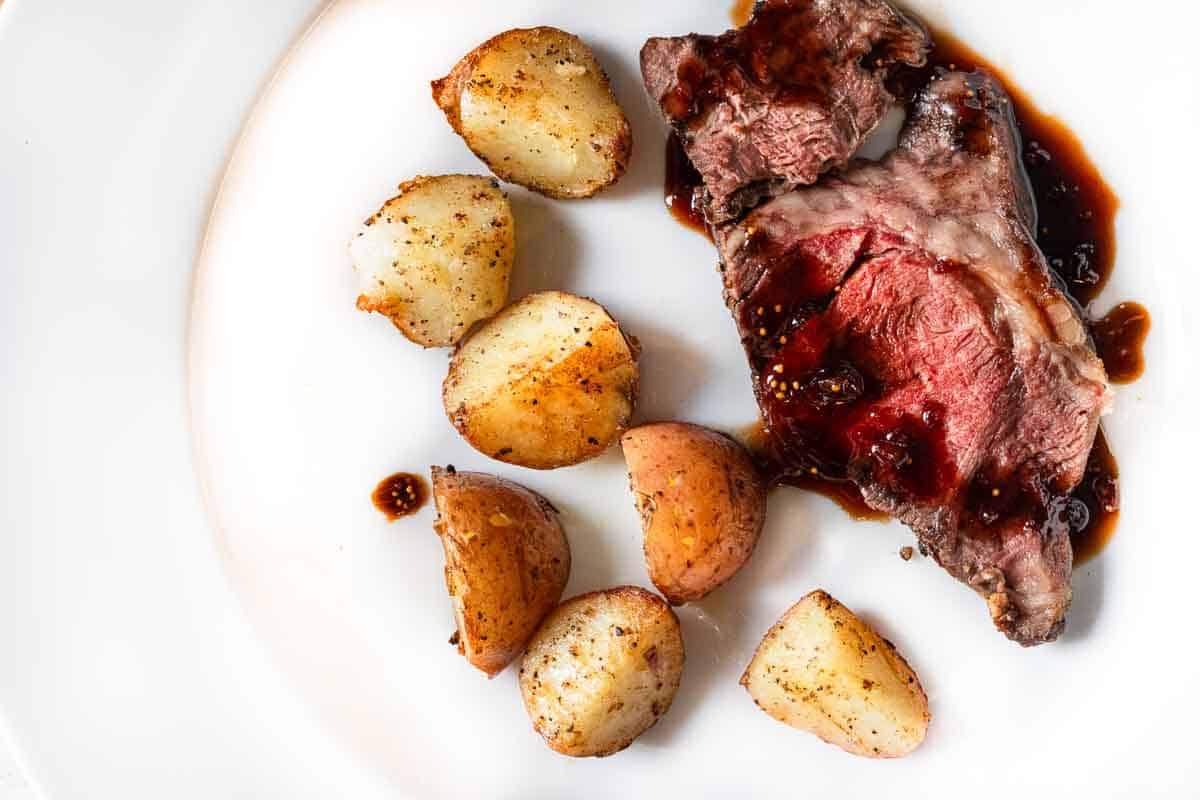
    Balsamic fig glaze drizzled on a slice of chuck eye roast.
    1. A glaze of this nature is a very simple way to dress up any main course meat to turn it into a restaurant quality experience. My favorite way to use this in on a beef recipe, like this one for Chuck Eye Roast.

    • Pork Chops: A trick I learned back in culinary school, we used balsamic fig glaze to drizzle over pan seared pork chops, turning a humble piece of meat into a restaurant quality main course.
    • Lamb: I use this glaze most to dress up roasted lamb chops. Lamb chops are already an “fancy feel” main, and this glaze makes them special for a Saturday date night dinner, or for a dinner party. Christmas Eve dinner comes to mind.
    • Grilled Chicken Breasts or thighs.
    • Veggies: Don’t forget the vegetables. Drizzle this over steamed or roasted vegetable, or Marbled Potatoes.
    • Crostini: This is a great sauce or drizzled on crostini with melted Brie Cheese.
    • Charcuterie Board: It's unreal on a cheese board. Drizzle it over brie or goat cheese and watch people hover.
    • Fig Balsamic Salad Dressing: Drizzle over your favorite tossed salad, it make a great salad dressing.
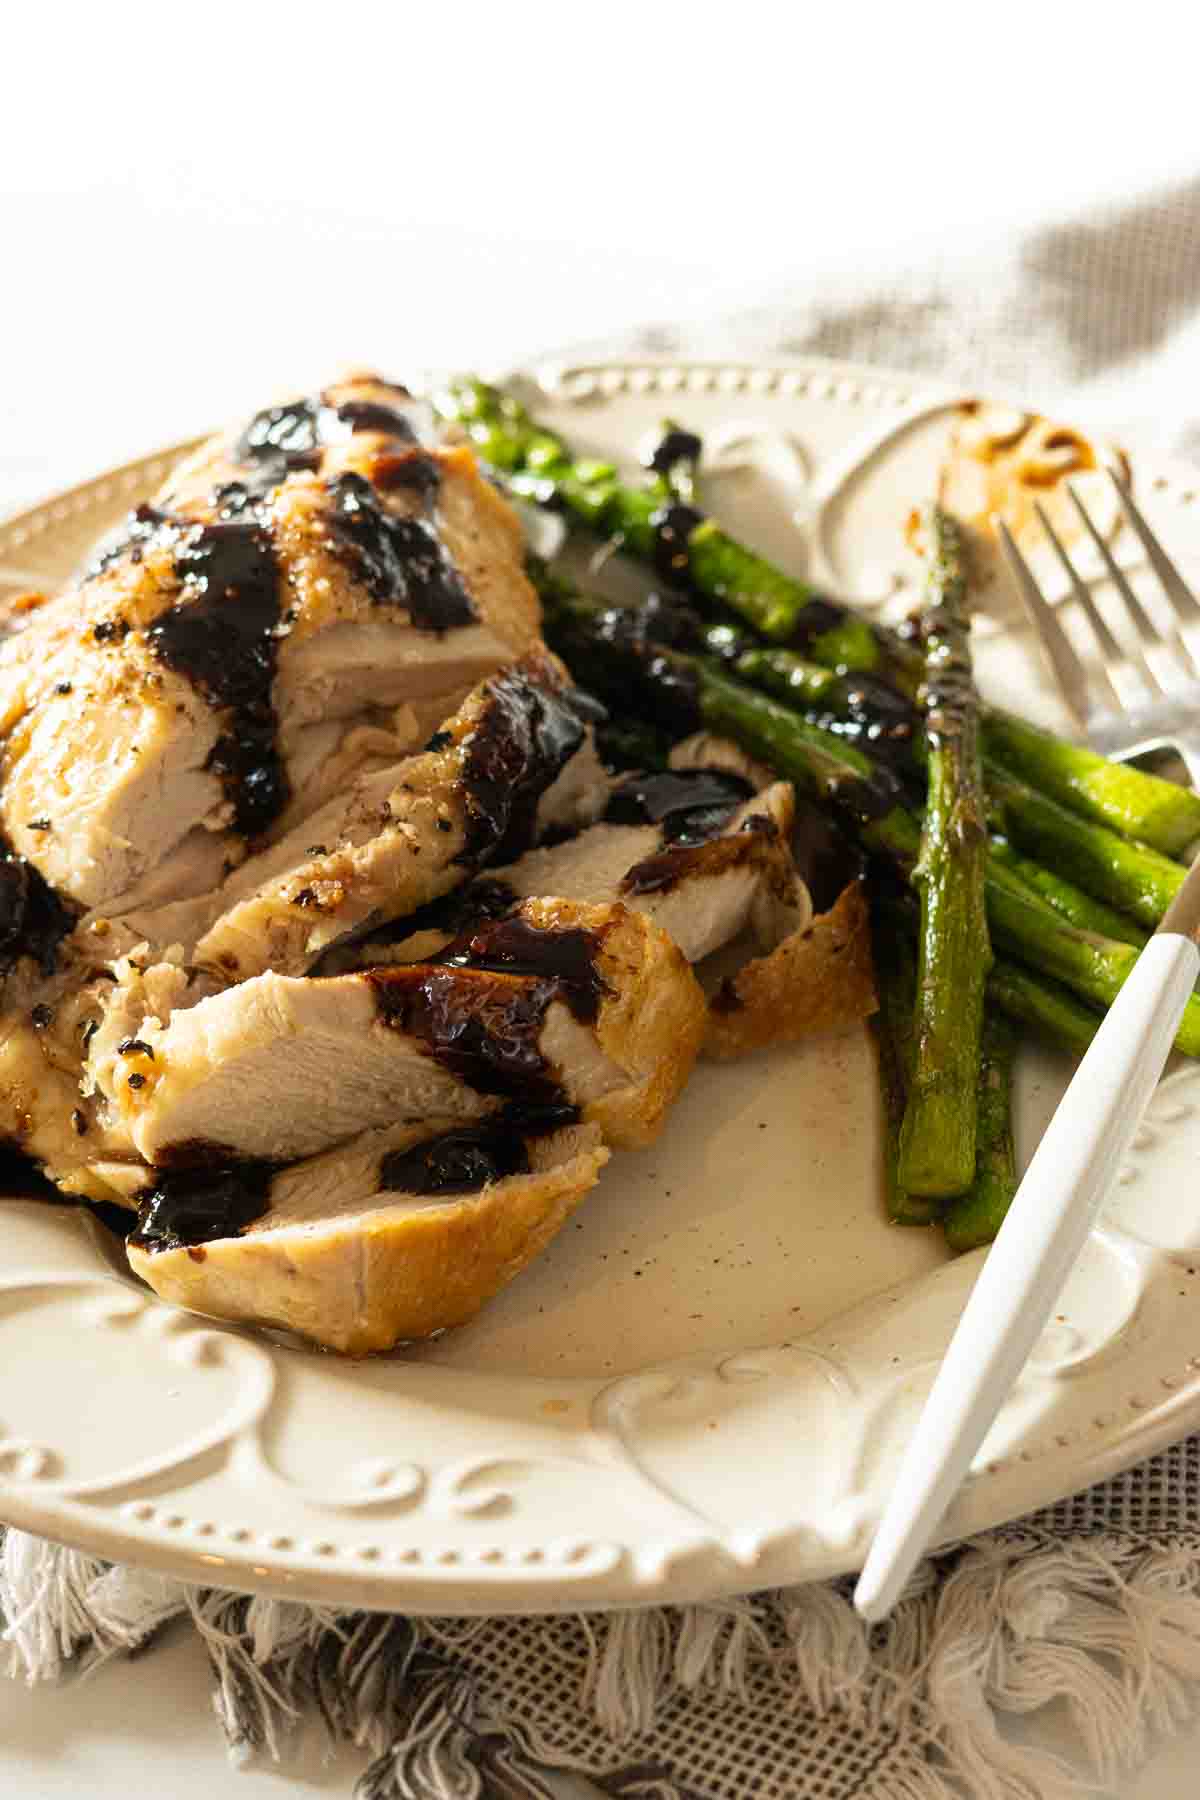
    Balsamic fig glaze drizzled over boneless skinless chicken breasts.
    1. How To Serve: Drizzle over roasted or grilled, boneless skinless chicken breasts. Asparagus as a side dish works well here.
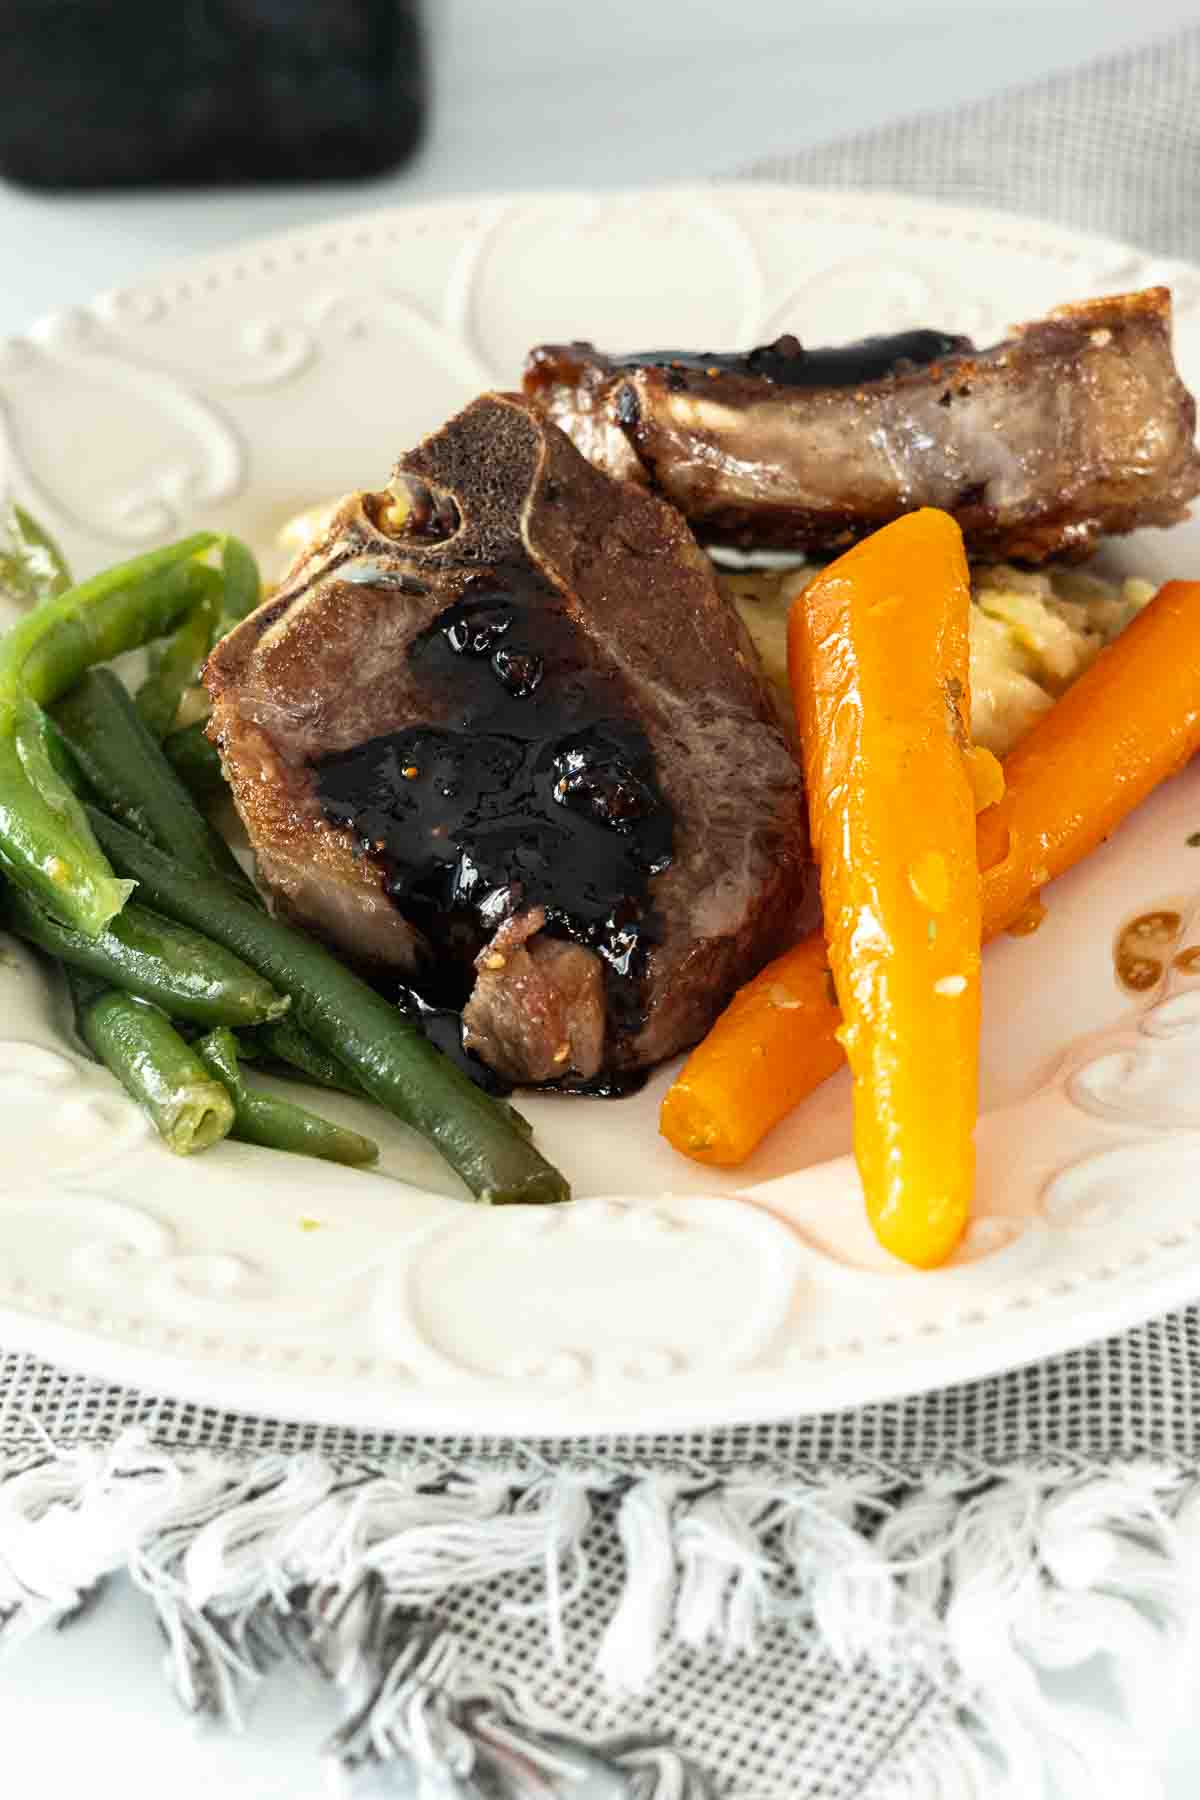
    1. How To Serve: Drizzle over roasted lamb chops with green beans and carrots for a side.

    Tips For Success:

    • A Smoother Glaze – Fig jam does contain seeds. Use a fine mesh strainer to strain the sauce to make it completely smooth.
    • As for balsamic vinegar, don't grab the cheapest bottle on the shelf. It doesn't need to be aged 25 years or anything dramatic. Just something balanced. If you use a cheap balsamic vinegar it will taste harsh straight up. That flavor will transfer to the glaze also.

    Variations and Flavor Add-Ins

    • Add a little fresh thyme or rosemary if you're serving this balsamic sauce with a steak.
    • A strip of orange peel wakes everything up and works nice if you’re glazing a fish fillet.
    • Black pepper or a pinch of chili flakes adds edge.

    Play around. This glaze is forgiving.

    Make Ahead, Storage, Reheating

    • Make Ahead: Please do. It gets better after a rest. The flavors settle down and get cozy with each other. Make it a day or two ahead and store it in the fridge. When you pull it back out, it'll be thicker and deeper. That's not a flaw. That's a bonus.
    • Storage: Keep it in an airtight container in the refrigerator. It will keep for about a week.
    • Reheating: Warm it gently in a saucepan over low heat, slow and steady. Add a splash of water or balsamic and stir. Don’t use medium or high heat or it may scorch. I advise against using the microwave, even 50% power may compromise the glaze.

    FAQ

    Is This A Sauce or A Glaze?

    Both. This is a sauce that due to the consistency of the Fig jam makes a thick sauce that works well as a glaze for cooked meats. It’s also a sauce that can be used to drizzle over pizza or even a tossed salad.

    Is Balsamic Fig Glaze The Same As Balsamic Reduction?

    No. A pure balsamic reduction is just vinegar cooked down. Balsamic fig glaze includes figs or fig jam, which add sweetness, body, and a softer, fruit-forward flavor.

    Can I Use Dried Figs Or Fresh Figs?

    Yes. Dried figs work well and are available year-round. Chop them small and add them at the beginning of this recipe, then strain. The same with fresh figs, when in season and available. Remove the stem, chop or mash them and add them at the beginning of the cook time. Strain or puree when the sauce is complete.

    Explore More Sauce Recipes

    I'm a sauce person. Always have been. Culinary school made me that way. Classic French training shaped most professional kitchens in the U.S. The old brigade system traces back to Auguste Escoffier, and he built his structure around sauces. The five "mother sauces" weren't random. They were foundations. If you could make those, you could build hundreds of variations without a recipe. Once you realize a simple glaze or sauce can change an entire dish, there's no going back.

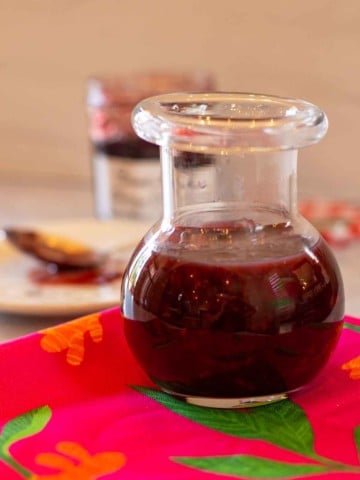
    • Homemade cherry bbq sauce in a glass bottled.
      Cherry BBQ Sauce Recipe
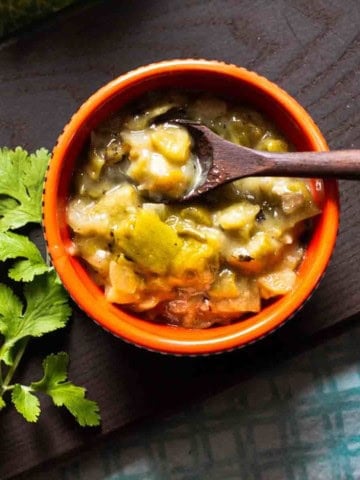
    • A bowl of homemade Hatch Green Chile Sauce
      Homemade New Mexico Roasted Hatch Green Chile Sauce
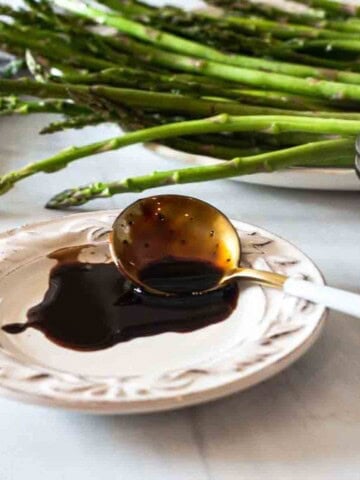
    • Balsamic redcution sauce on a white plate.
      Balsamic Reduction, (Balsamic Glaze) Recipe
    • Easy horseradish cream sauce for prime rib.
      Easy Sour Cream Horseradish Sauce For Prime Rib

    Don’t miss this one for New Mexico Red Chile Sauce and my category for Sauces, Dressings and Vinaigrettes.

    If you liked this recipe, please leave a star ⭐⭐⭐⭐⭐ rating in the recipe card below and leave a comment. I always appreciate your feedback and hearing how everything went.

    And, don’t forget to subscribe to my newsletter for more delicious recipes and cooking tips. Make it a delicious day … every day.

    Balsamic fig glaze recipe.
    Print Recipe
    No ratings yet

    Balsamic Fig Glaze

    Balsamic and Fig Jam Glaze. An easy sauce to drizzle over chicken, steak, and my favorite, lamb chops. Two ingredients. 15 minutes.
    Prep Time5 minutes mins
    Cook Time15 minutes mins
    Total Time20 minutes mins
    Course: sauce
    Cuisine: Mediterranean
    Servings: 16 Tablespoons
    Calories: 43kcal
    Author: Lea Ann Brown

    Ingredients

    • 1 Cup Balsamic Vinegar
    • ¾ Cup Fig Preserves

    Instructions

    • Pour the balsamic vinegar in a small sauce pan and bring to a low simmer while whisking every few minutes. Continue to whisk until balsamic has reduced by ⅓ and is syrupy. This will take about 15 minutes.
      Remove from heat and stir in the fig preserves and whisk to mix well. If glaze is too thick add water if necessary.

    Notes

    Tips For Success: 
    • A Smoother Glaze – Fig jam does contain seeds. Use a fine mesh strainer to strain the sauce to make it completely smooth.
    • As for balsamic vinegar, don't grab the cheapest bottle on the shelf. It doesn't need to be aged 25 years or anything dramatic. Just something balanced. If you use a cheap balsamic vinegar it will taste harsh straight up. That flavor will transfer to the glaze also.
    This recipe makes about 1 cup of glaze or 16 tablespoons. Use about two tablespoons per drizzle.

    Nutrition

    Serving: 1Tablespoons | Calories: 43kcal | Carbohydrates: 10g | Protein: 0.1g | Fat: 0.01g | Saturated Fat: 0.001g | Monounsaturated Fat: 0.004g | Sodium: 7mg | Potassium: 26mg | Fiber: 0.1g | Sugar: 7g | Vitamin C: 1mg | Calcium: 6mg | Iron: 0.2mg

    New Mexico Style Huevos Rancheros in Red Chile Sauce

    February 7, 2026 By Lea Ann Brown 5 Comments

    New Mexico Style Huevos Rancheros.

    A super easy recipe to enjoy New Mexican Style Huevos Rancheros for breakfast. This classic Mexican and Southwestern recipe is a common breakfast entree in the West and Southwest. This dish is built around my New Mexico Red Chile Sauce, a foundational recipe in traditional Southwestern cooking.

    If you love Southwestern breakfasts, my Colorado green chili is also delicious spooned over eggs.

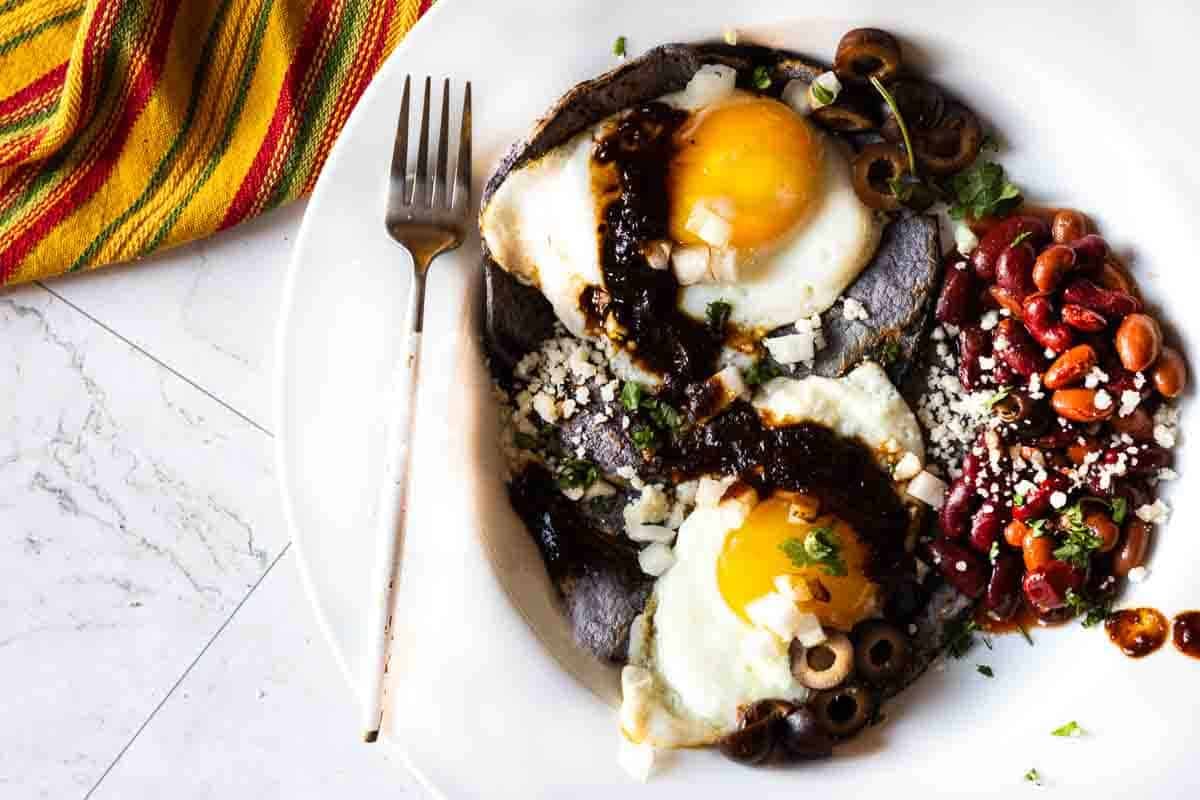
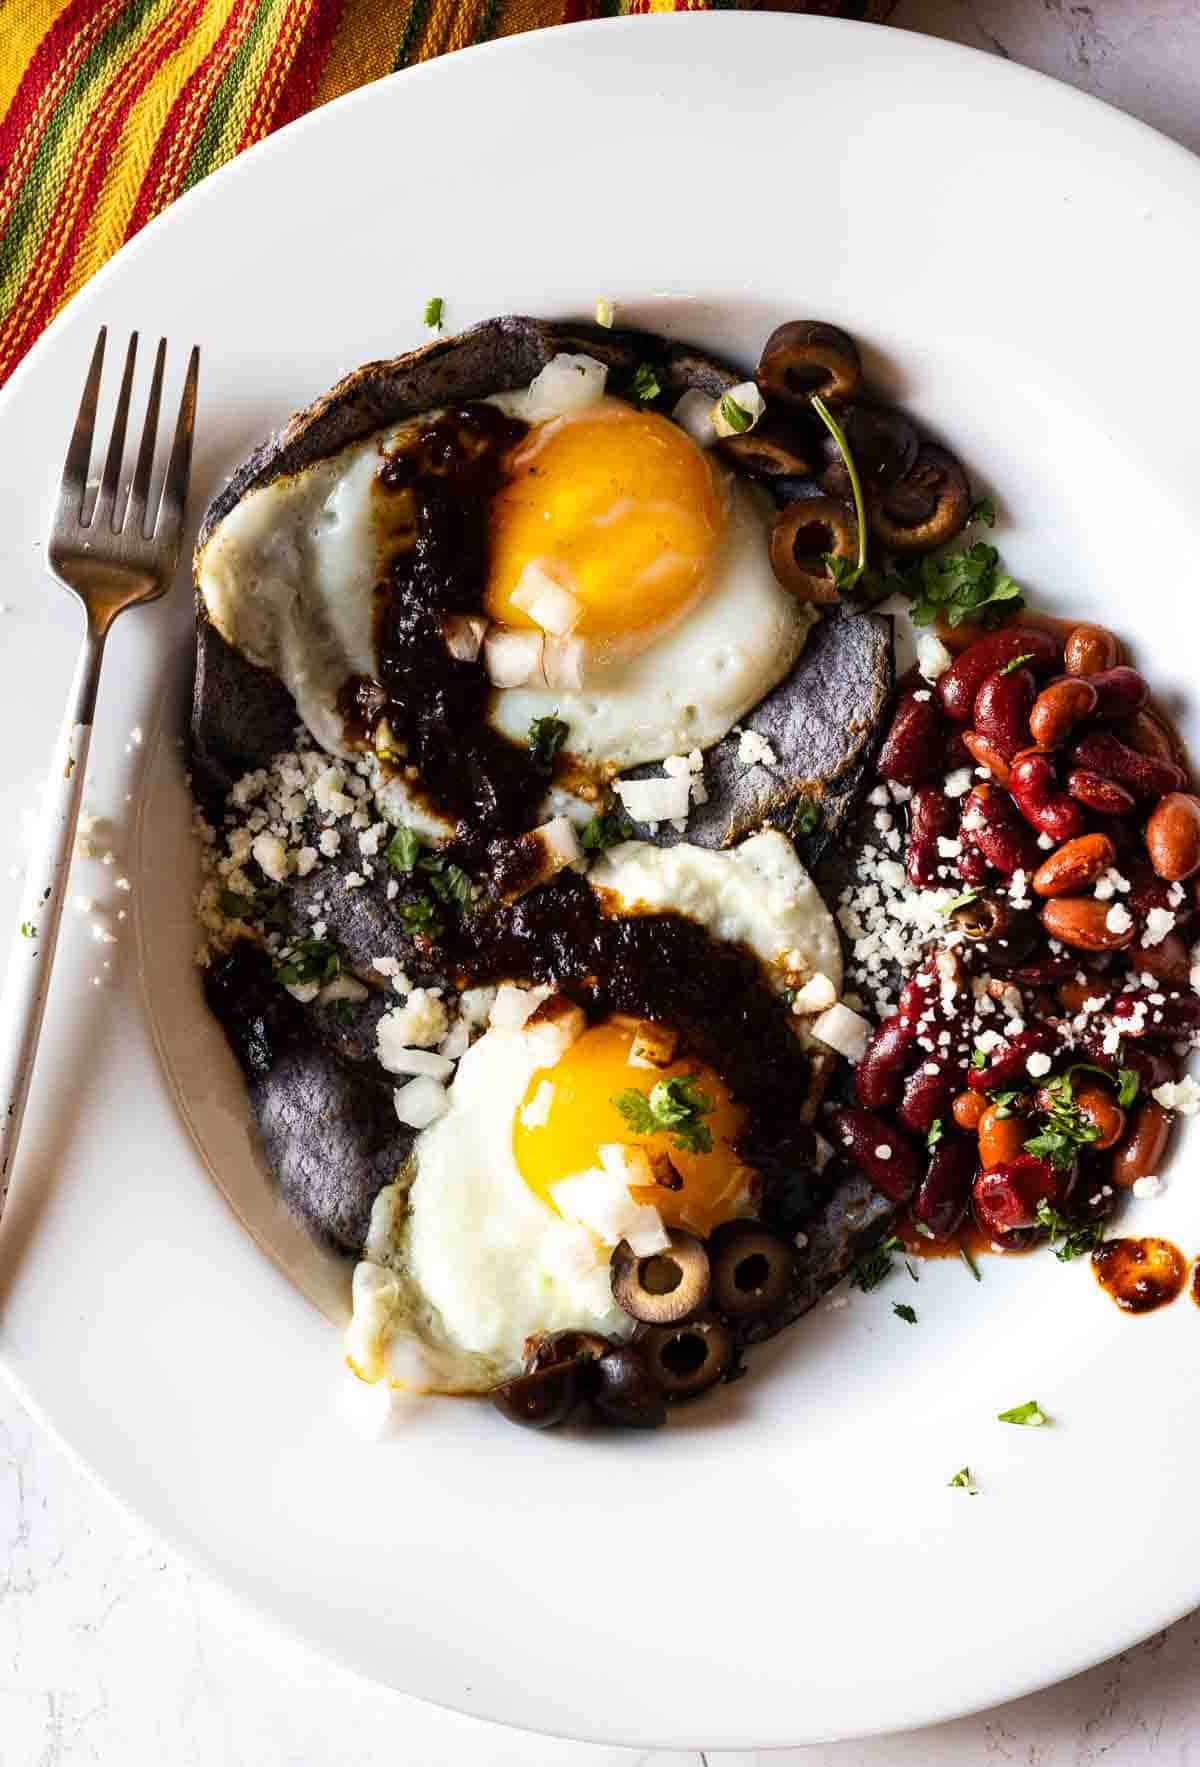
    New Mexico Style Huevos Rancheros using blue corn tortillas and red chile sauce.

    Quick Look: New Mexico Huevos Rancheros

    • 🧁 Serves: 2
    • ⭐ Features: Easy ✓ Healthy ✓Slight “heat” ✓
    • ⌛️ Prep Time: 15 minutes
    • 🍪 Cook Time: 15 minutes
    • 🕑 Total Time: 30 minutes
    • 👩‍🍳 Skill Level: Beginner
    • 🏆 Why make THIS version? Authentic Southwestern taste of New Mexico, with blue corn tortillas, runny fried eggs, and rich homemade red chile sauce.

    SUMMARIZE AND SAVE THIS POST ON

    ChatGPT
    Google AI
    Perplexity
    Claude
    Add us as a trusted site on Google

    What Are New Mexico Style Huevos Rancheros

    “Huevos Rancheros” simply translates to “Rancher’s Eggs”. A traditional Mexican breakfast entree featuring fried eggs served over a toasted corn tortilla and drizzled with a rich red chile sauce. Often served with beans and crumbled Cotija cheese.

    This classic Mexican dish becomes a New Mexico Southwestern specialty by using blue corn tortillas. They’re a staple of Southwest cuisine. With robust flavor and striking indigo blue hue, blue corn tortillas have deep rooted cultural significance. Simply stated, it's a natural choice for classic New Mexico recipes using corn tortillas.

    To finish, Southwestern Huevos Rancheros are drizzled with a New Mexico Red Chile Sauce, which can be made from chile pods or Red Chile Sauce From Ground Red Chile Powder.

    Why It Works

    • Easy: This recipe is so easy to throw together, making them a great choice for a weekday breakfast or even quick dinner.
    • Popular: Here in our neck of the woods, one can find Huevos Rancheros on the menu of most Mexican restaurants. They’re eaten as much as Ground Beef Enchiladas, Smothered Green Chili Burritos and Pork Tenderloin Tacos.
    • Versatile: They an be made any way you want, this recipe is pretty simple with fried eggs served over warm corn tortillas, red chile sauce and a side of beans. Using canned beans makes this especially easy. Use black beans, chile sauced pinto beans (my favorite), or refried beans.
    • Red Or Green: You can make this recipe using Hatch Green Chile Sauce, but I suggest you keep it traditional with red sauce. I tried it once that way and quickly learned that my choice is smothered in “red”.
    This dish is all about red chile sauce. Not ranchero sauce. Not pico de gallo. Not something from a jar labeled "southwest." We're talking smooth, earthy, brick-red chile with depth and a little attitude. Spoon on enough of it that you can drag everything through it.
    I learned this early on, especially after culinary school, with an New Mexico Native Executive Chef, that New Mexico food plays by its own rules. Simple ingredients. No fuss. Big flavor. Huevos rancheros here aren't flashy and most certainly are a breakfast that sticks with you.

    Ingredients You’ll Need

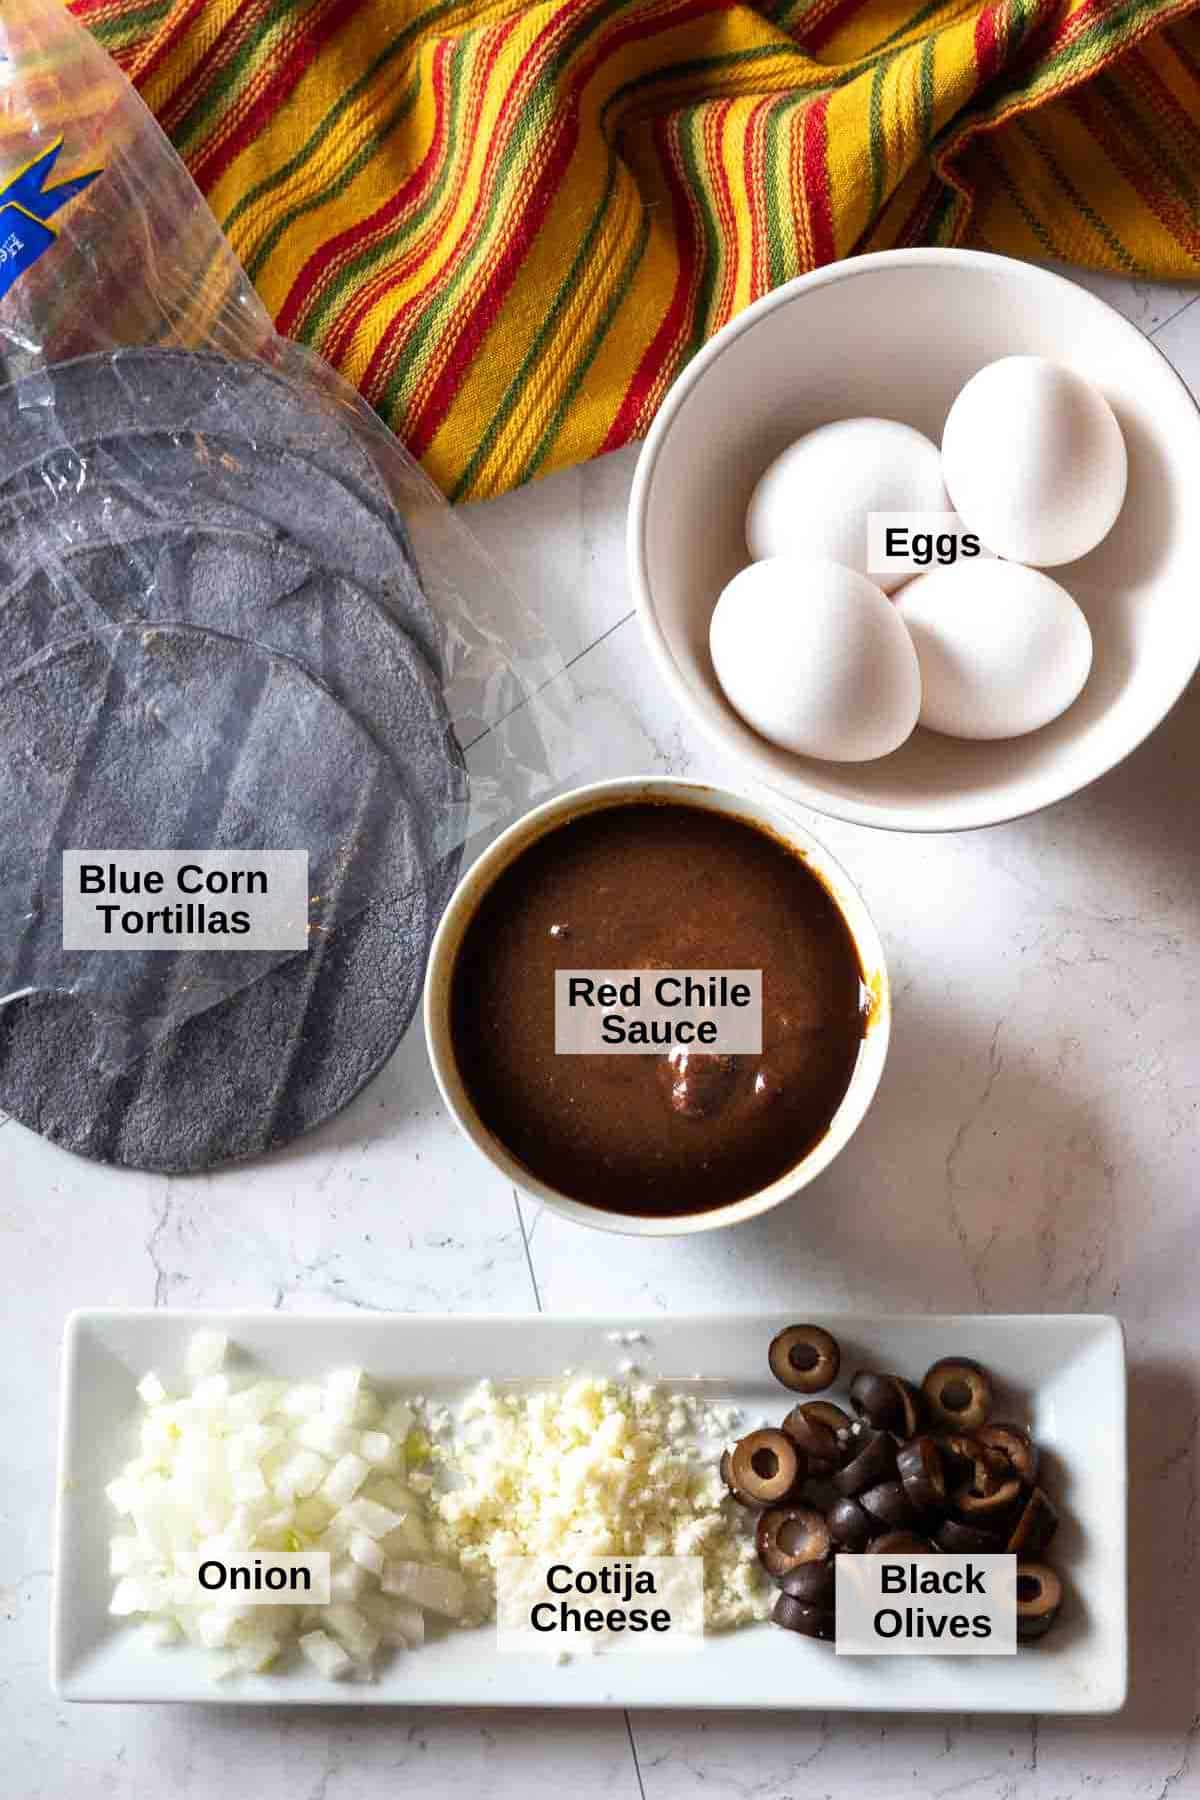
    Ingredients to make New Mexico Style Huevos Rancheros.
    • Blue Corn Tortillas: Are a natural choice to make New Mexico Style Huevos Rancheros. If you can’t find them, use yellow corn tortillas. Yellow corn are sturdier than white corn and have a more pronounced corn flavor. Flour tortillas just seem wrong … and they are… for Huevos Rancheros.
    • Eggs: You simply can’t make this dish without them.
    • Red Chile Sauce: I always have a stash of this sauce in the freezer. It’s a wonderful New Mexico condiment that makes this recipe special. If you simply don’t want to take the time to make it, use Homemade Enchilada Sauce or store purchased.
    • Toppings: Chopped raw sweet onion, Cotija Cheese, and sliced black olives.

    How to Make New Mexico Huevos Rancheros

    Frying eggs to make Southwestern New Mexico Huevos Rancheros.
    1. Step 1: Warm The Sauce and Beans: Start by warming the red chile sauce and the beans stovetop. Then proceed with this recipe.
    2. Step 2: Fry the eggs. Use a non-stick skillet and cook them low and slow until desired doneness.

    What Eggs Are Best For Huevos Rancheros?

    Runny Yolks win. If you want to be traditional, sunny side up should be your choice. Which mean, the eggs are cooked slowly, cooked until the white part is no longer runny. Sunny side up eggs are not flipped, leaving the yolk in tact and runny. Why do runny yolks matter? The runny yolks acts as a rich creamy sauce that blends with the other ingredients in a delightful way.

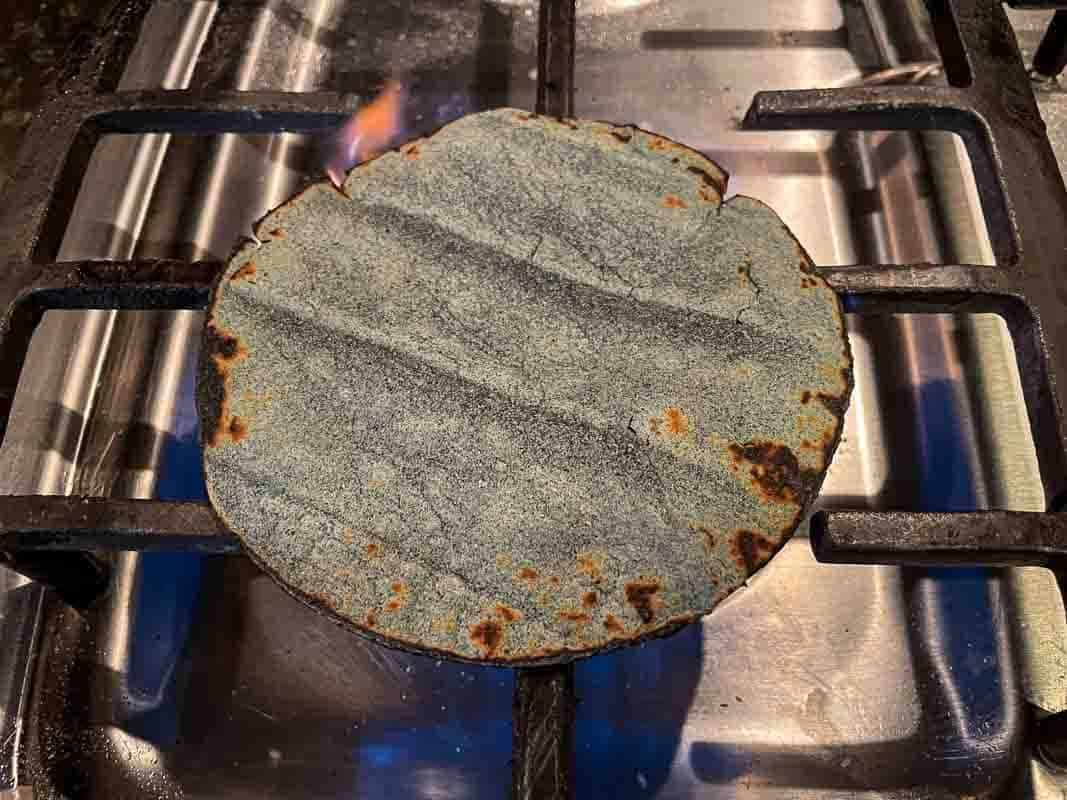
    How to toast corn tortillas stove-top.

    How To Toast Corn Tortillas

    1. Step 3: Warm the tortillas. You simply can’t take a corn tortilla out of the package and use it. They need to be warmed to be pliable and enhance their flavor. My favorite way to do this is to toast them stovetop. Place a corn tortilla over an open flame. The flame should be large enough so that it’s lapping at the edge of the tortilla. Let it toast for about 15 seconds, use tongs and repeat on the other side. Don’t walk away, watch them close. It truly takes just a few seconds to toast corn tortillas.
    Southwestern huevos rancheros served with beans and red chile sauce.

    Assembling Your Huevos Rancheros

    1. Step 4: Build that breakfast: Place two toasted or warmed blue corn tortillas on a plate. Top each with two eggs. Ladle a spoon full of beans next to the eggs and tortillas. Sprinkle with chopped onion, red chile sauce, sliced olives and crumbled Cotija cheese. If you’re a fan, sprinkle some chopped cilantro over all. Dig in.

    Tips For Authentic New Mexico Flavors

    • Use Authentic New Mexico Red Chile Sauce, with New Mexico Red Chile Pods. You’ll find two recipes on my site to make homemade. Red Chile Sauce from Pods and Red Chile Sauce from New Mexico Red Chile Powder. Chimayo chile powder, a New Mexico specialty, is preferred.
    • For a short cut, you can buy Red Chile Sauce already prepared. Check out this one Hatch Valley Red Chile Sauce on Amazon. Another great source for chile powders and chile pods is The Hatch Chile Store.

    Authentic Variations You’ll Find

    • Papitas: In many New Mexico or Mexican Restaurants, you may see Papitas listed on the menu as a side dish for for Huevos Rancheros. They’re simply Mexican Breakfast Potatoes that are cubed and fried with bell peppers and onions. Regular hash-brown potatoes are also a good choice for a side dish here.
    • Sauce Options: Southwestern Huevos Rancheros also be served with Green Chile Sauce or you may have the choice of “Christmas Style” (red plus green sauce), which is very similar to my Huevos Divorciados (Divorced Eggs).

    FAQ’s

    What Makes Huevos Rancheros New Mexico Style?

    Simple, using blue corn tortillas and New Mexico Red Chile Sauce, both which are staples in New Mexico Cuisine.

    Can I Make Red Chile Sauce Ahead Of Time?

    You can and you should. Making red chile sauce from dried pods is somewhat of a production. Making it from Chile powder is a much easier method, but making the sauce a day ahead will make this recipe a cinch to make. Making red chile sauce ahead of time is common in New Mexico kitchens.

    Is This Recipe Spicy?

    That all depends on your sauce. And that’s the beauty of cooking with Hatch Chile Peppers. You can choose mild, medium or hot peppers to make your sauce.

    Explore More Southwestern Breakfast Recipes

    • Cottage cheese egg bites with poblano peppers.
      Southwest Egg Bites with Cottage Cheese And Bacon (In Oven)
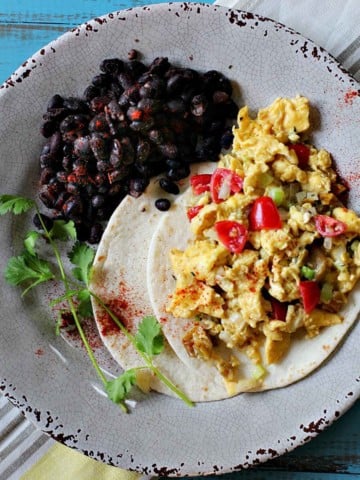
    • Mexican breakfast scrambled eggs with black beans.
      Eggs Rio Grande, New Mexican Breakfast Eggs
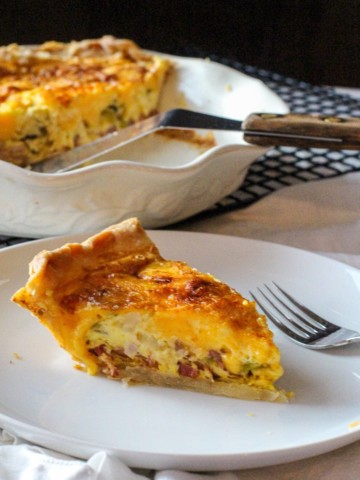
    • A slice of hatch green chile bacon quiche with a deep dish pie pan with quiche and spatula
      Hatch Green Chile Quiche With Bacon
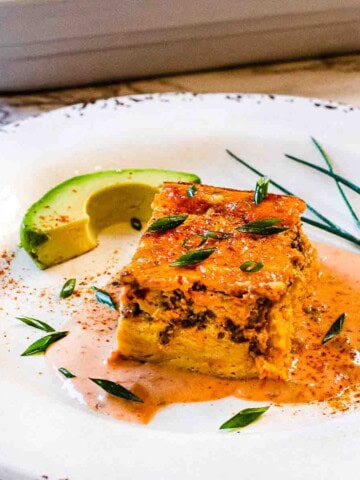
    • A slice of chorizo Mexican breakfast casserole.
      Eggs Ole’ Mexican Breakfast Casserole

    Love homemade Mexican flavors? Don’t miss this favorite for Baked Huevos Rancheros. A cast iron skillet recipe that requires a rich red chile sofrito sauce to cradle those eggs. If you a good Southwestern breakfast, try my Chorizo Breakfast Burrito with Potatoes and Eggs, made with crispy hash browns, scrambled eggs and Mexican chorizo and finished with New Mexico red chile sauce.

    And don’t miss my category for Breakfast Recipes. You’ll find a lot of great eye opening recipes.

    If you liked this recipe, please leave a star ⭐⭐⭐⭐⭐ rating in the recipe card below and leave a comment. I always appreciate your feedback and hearing how everything went.

    And, don’t forget to subscribe to my newsletter for more delicious recipes and cooking tips. Make it a delicious day … every day.

    New Mexico Style Huevos Rancheros.
    Print Recipe
    5 from 3 votes

    Southwest New Mexico Style Huevos Rancheros with Red Chile Sauce

    A super easy recipe to enjoy New Mexican Style Huevos Rancheros for breakfast. This classic Mexican and Southwestern recipe is a common breakfast entree in the West and Southwest. This dish is built around my New Mexico Red Chile Sauce, a foundational recipe in traditional Southwestern cooking.
    Prep Time15 minutes mins
    Cook Time15 minutes mins
    Course: Breakfast Recipes
    Cuisine: Southwestern Mexican
    Diet: Gluten Free
    Servings: 2 people
    Calories: 412kcal
    Author: Lea Ann Brown

    Ingredients

    • 1 ½ Cups Canned beans Chile beans, black beans, pinto beans or refried beans.
    • 1 cup Red Chile Sauce
    • 4 Blue Corn Tortillas
    • 4 large eggs fried
    • Toppings
    • Sliced Black Olives, Crumbled Cotija Cheese, Chopped Raw Sweet Onion

    Instructions

    • Heat the beans and the red chile sauce and keep warm.
    • Spray a non-stick fry pan with no-stick spray (Pam). Heat the skillet over medium heat. Once hot, add the four eggs and turn the head down to medium low. Cook low and slow until whites have set and yolks are still runny.
    • While the eggs are cooking, toast the blue corn tortillas over stovetop open flame. Once toasted place them one by one on a warm plate and cover with a clean dish cloth to keep warm.
    • To Build Your Huevos Rancheros
    • Place two corn tortillas on a plate, side by side or overlapping. Top each with a fried egg. Drizzle with red chile sauce. Spoon some beans on the side and sprinkle all with diced raw onions, sliced black olives and crumbled cotija cheese.

    Notes

    Tips for Authentic New Mexico Flavor
    • Use Authentic New Mexico Red Chile Sauce, with New Mexico Red Chile Pods. You’ll find two recipes on my site to make homemade. Red Chile Sauce from Pods and Red Chile Sauce from New Mexico Chimayo Chile Powder. Chimayo chile powder, a New Mexico specialty, is preferred. 
    • For a short cut, you can buy Red Chile Sauce already prepared. Check out this one Hatch Valley Red Chile Sauce on Amazon. Another great source for chile powders and chile pods is The Hatch Chile Store.
    • If making homemade red chile sauce, make it a day or two in advance. This will make prep for this recipe easy!

    Nutrition

    Calories: 412kcal | Carbohydrates: 54g | Protein: 25g | Fat: 11g | Saturated Fat: 3g | Polyunsaturated Fat: 3g | Monounsaturated Fat: 4g | Trans Fat: 0.04g | Cholesterol: 372mg | Sodium: 1546mg | Potassium: 580mg | Fiber: 12g | Sugar: 11g | Vitamin A: 1341IU | Vitamin C: 3mg | Calcium: 137mg | Iron: 5mg

    New Mexico Style Huevos Rancheros Smothered in Red Chile Sauce … It’s What’s For Breakfast

    Spicy Chicken and Cabbage Soup

    December 19, 2025 By Lea Ann Brown 5 Comments

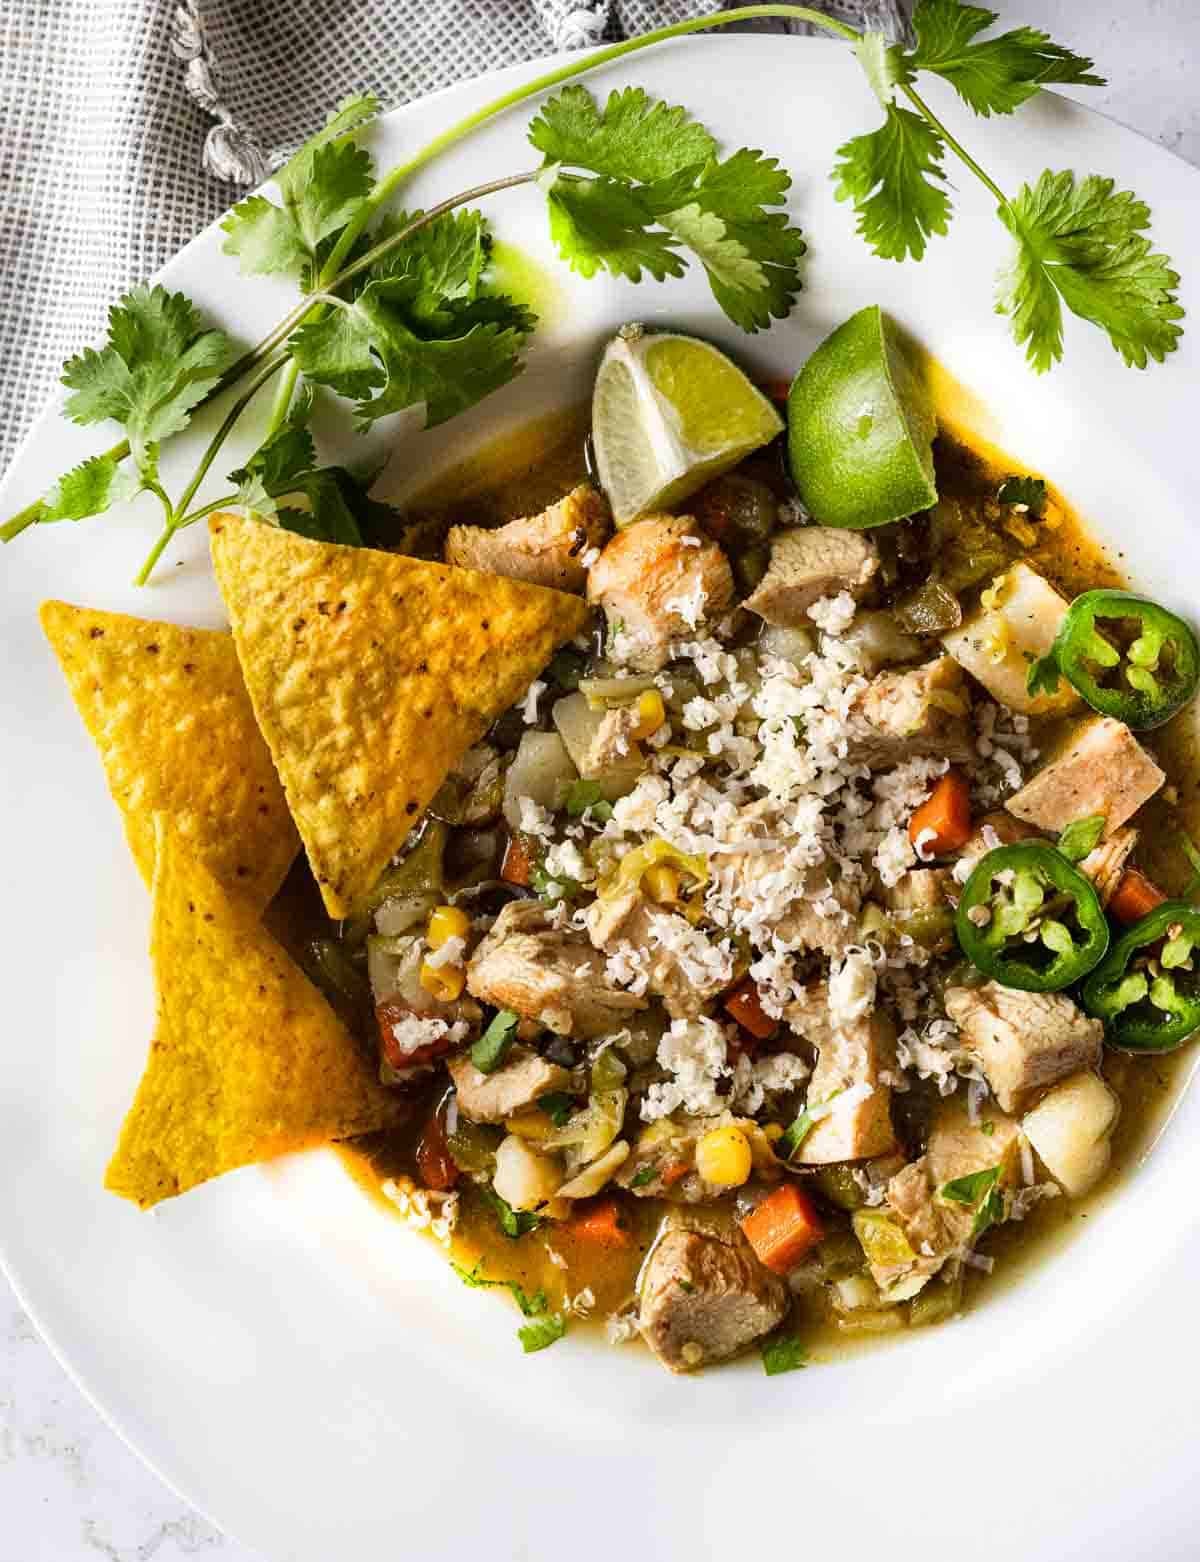
    Spicy cabbage and chicken soup garnished with cilantro and corn chips.

    Not your grandma’s bland cabbage diet soup, this Chicken and Cabbage Soup is a vibrant, satisfying bowl of soup packed with tender chicken breast, healthy cabbage and vegetables in a bold savory broth with a kick of heat. It’s a perfect way to warm up, eat well, and enjoy this Classic Mexican Southwestern dish in your comfort food rotation.

    Most of my Southwestern chicken soup recipes are pretty healthy, but this Cabbage and Chicken Soup is packed with more nutritious veggies than my Chicken Soup With Rotisserie Chicken, and my Chicken Poblano Soup.

    Spicy cabbage and chicken soup garnished with corn chips and cilantro.

    Quick Look: Chicken and Cabbage Soup

    • 🧁 Serves: 6
    • ⭐ Features: Fresh ✓ Healthy ✓Slight “heat” ✓ No noodles – low carb
    • ⌛️ Prep Time: 20 minutes
    • 🍪 Cook Time: 60 minutes
    • 🕑 Total Time: 1 hour 20 minutes
    • 👩‍🍳 Skill Level: Beginner
    • 🏆 Why make THIS version? A perfect way to warm up, eat well, and enjoy this Southwestern soup dish in your comfort food rotation.

    SUMMARIZE AND SAVE THIS POST ON

    ChatGPT
    Google AI
    Perplexity
    Claude
    Add us as a trusted site on Google

    What Makes This Soup So Interesting?

    This spicy Chicken and Cabbage soup is loaded with so many vegetables, it will remind you of grandma’s. Almost. Adding roasted chile peppers brings some spicy excitement to this classic comfort food.

    This recipe is easy enough for a beginning cook and interesting enough for the gourmet home cook. It’s a healthy soup for anyone looking for some jazzed-up clean eating healthy dinners.

    Flavor Profile and Benefits

    • Comfort Food: Just one bite is all it takes to remind you of why a chicken soup is one of the most comforting soups one can make. We’ll sear the chicken first to create Maillard Reaction. It’s that crusty, toasty flavor that elevates anything from steaks, like my Baseball Steak recipe to a simple slice of toasted bread.
    • Rich Broth: An easy rich flavored broth is made by simply simmering purchased chicken broth with Mexican oregano, bay leaves and Chinese Mustard.
    • Spicy Heat: No boring chicken cabbage soup here. New Mexico green chile peppers bring some heat along with a surprise unique hot flavor using Chinese Hot Mustard.
    • Healthy Veggies: Chock full of healthy vegetables and hearty with cubed potatoes.
    • Why Cabbage In Soup? It’s hearty texture adds bulk, it’s low in calories, impressive with nutrients, and budget friendly, it’s a perfect addition to brothy soups.

    Ingredients You’ll Need

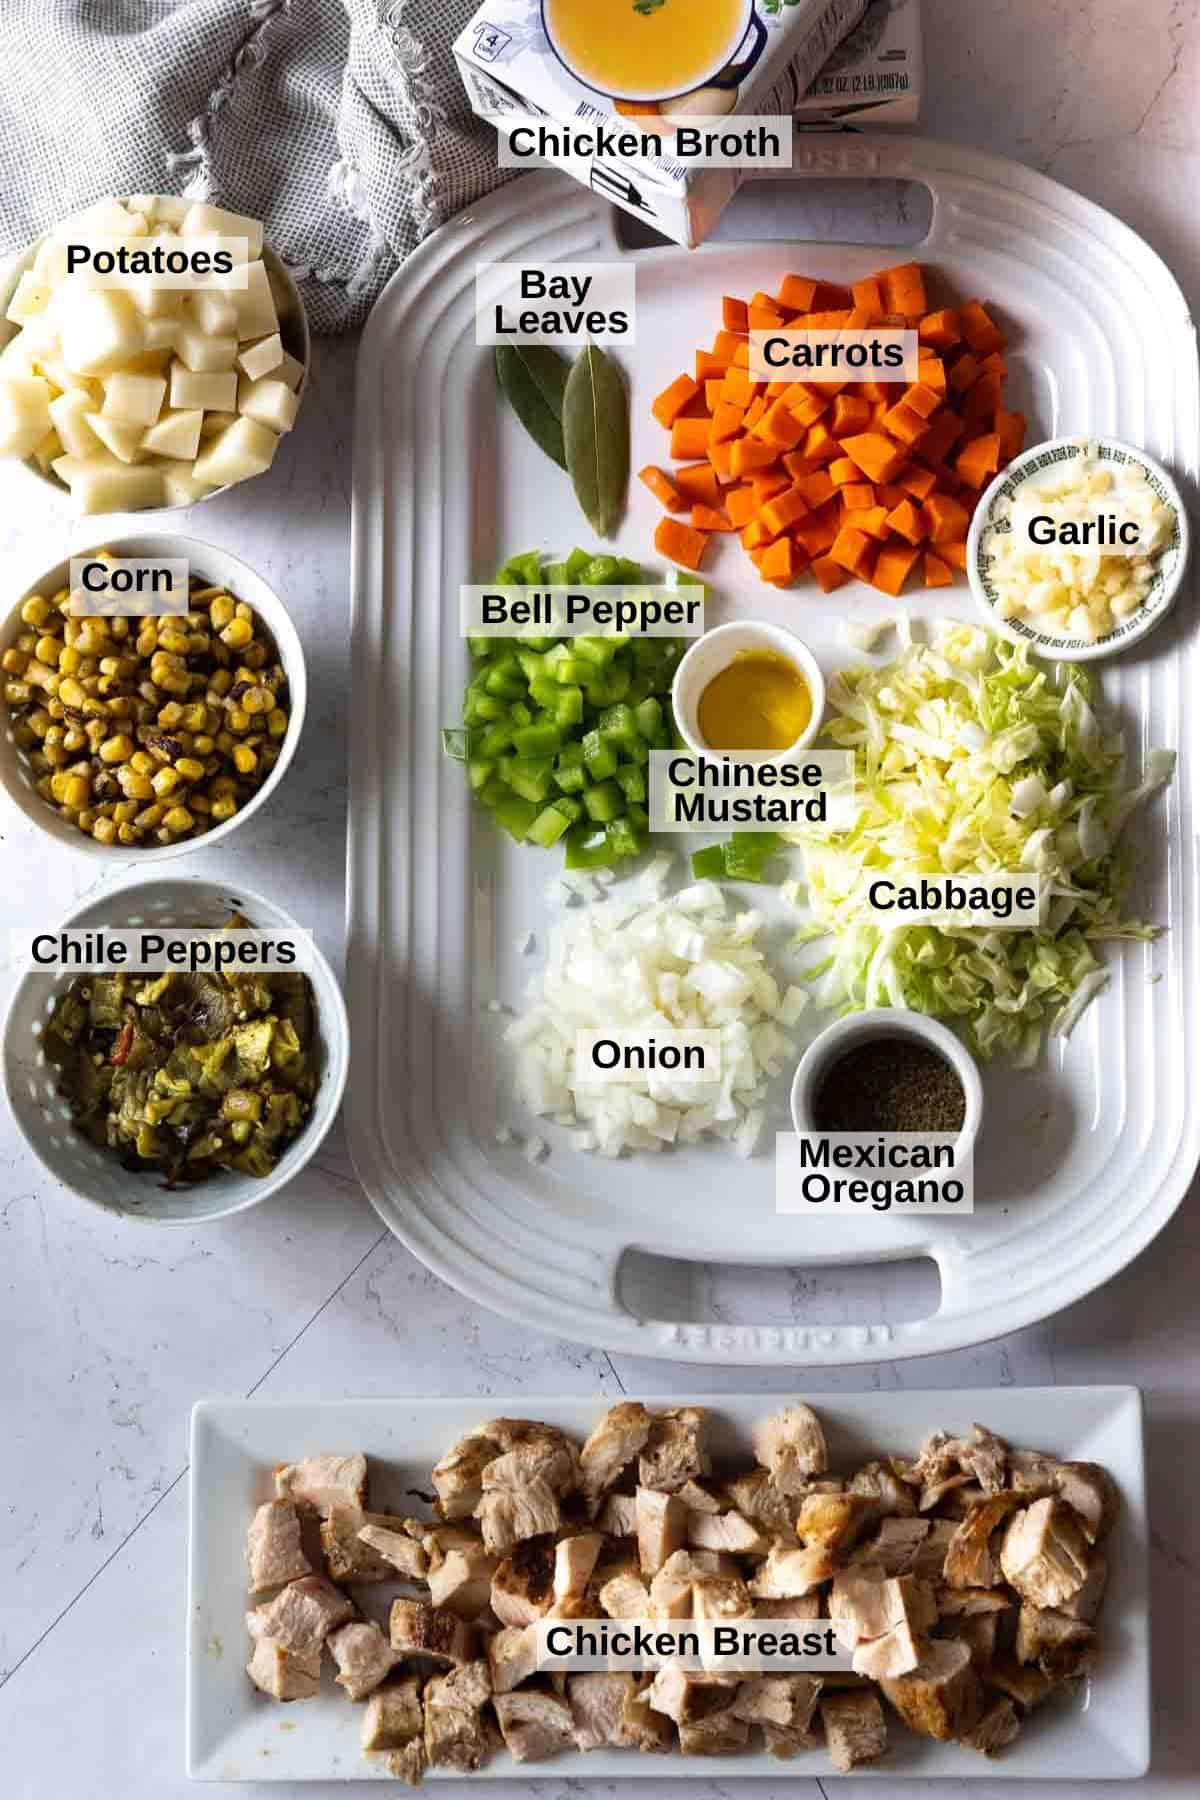
    Ingredients to make Spicy Chicken Cabbage Soup.
    • Broth: We’ll make a deep flavored base for this soup using chicken broth, Mexican oregano, bay leaves and Chinese mustard for some pungent, spicy heat.
    • Chicken Breast: Seared golden for Maillard reaction flavor, then cubed and added to the soup.
    • Cabbage: Regular green cabbage sliced thin or chopped.
    • Starchy Vegetables: Cubed potatoes make this a hearty soup and corn brings a Southwestern feel. Use a russet potato, or Yukon Gold. Yukon gold potatoes don’t need to be peeled, bringing more vitamins, minerals and fiber.
    • Chile Peppers: I used roasted Hatch Chile Peppers with a medium heat level. My article Chili vs Chili will give you a better idea about all things chile peppers and their heat levels.
    • Basic Soup Veggies: Onions, carrots, bell pepper and garlic are basic soup ingredients, somewhat of a Mirepoix.

    Ingredient Variations

    • Chile Peppers: You can control the heat of this soup by using roasted Poblano Peppers, which can be milder than New Mexico Hatch chile peppers. The beauty of cooking with chile peppers, is that you can choose mild, medium and hot chile peppers to customize to your heat tolerance.
    • Chinese Mustard: Please don’t skip using this, as it brings a unique zingy flavor of heat. You can substitute with Chinese mustard powder, or even regular mustard powder. All of these options have an interesting heat element.
    • Cabbage: I used regular green cabbage, but feel free to use Napa Cabbage or Savoy Cabbage. They’ll work well in this soup.
    • Pro Tip: Corn: When shopping for this recipe, I had planned to pick up a bag of regular frozen sweet corn. Frozen corn, rather than canned corn, is packaged at the peak of freshness. However, I found a package of Birds’s Eye Fire Roasted corn. I think it’s smoky flavor is a perfect choice for this soup if you can find it. You can also use canned corn.
    • Chicken: Swap out cooked chicken for cooked turkey. A great way to use up left over Boneless Turkey Roast. Ground chicken or ground turkey also works well here.

    How To Make Chicken and Cabbage Soup

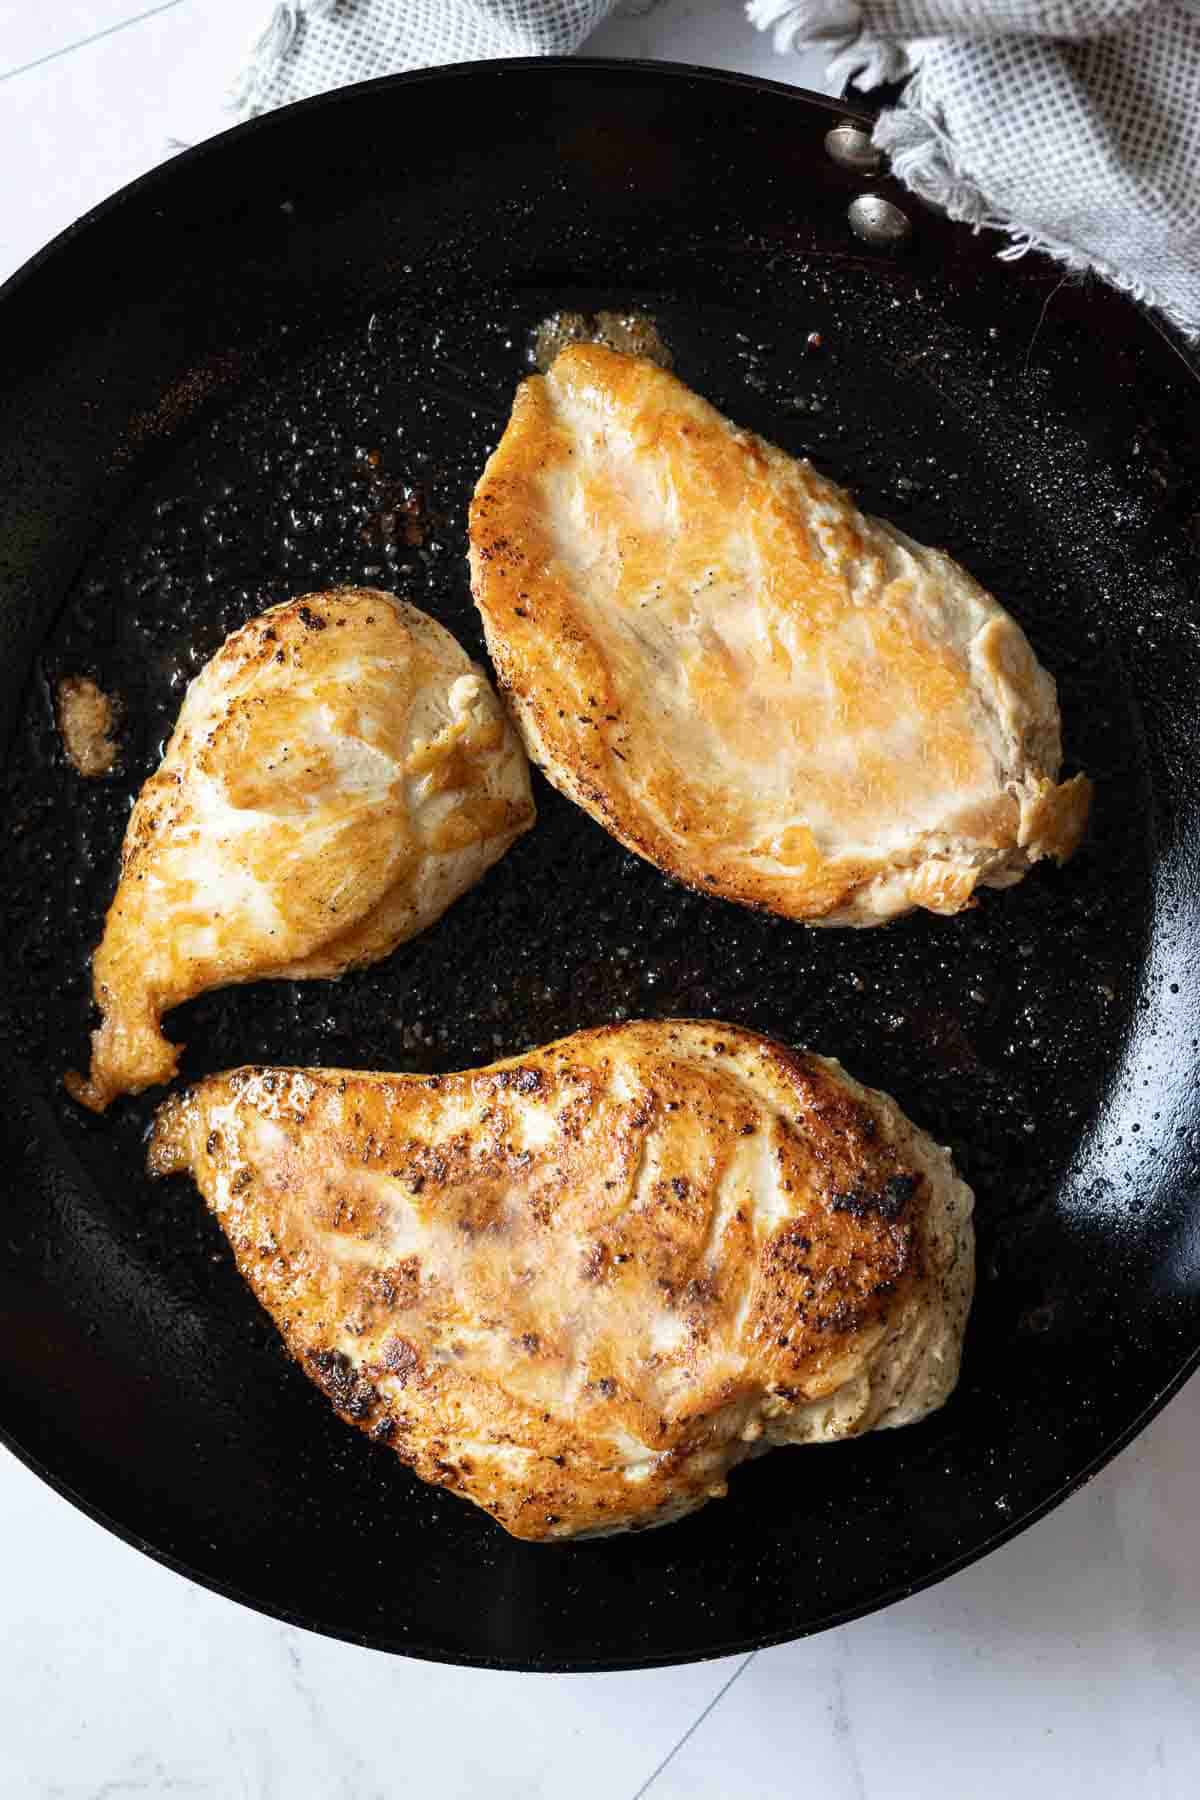
    Searing chicken breasts to make chicken cabbage soup.
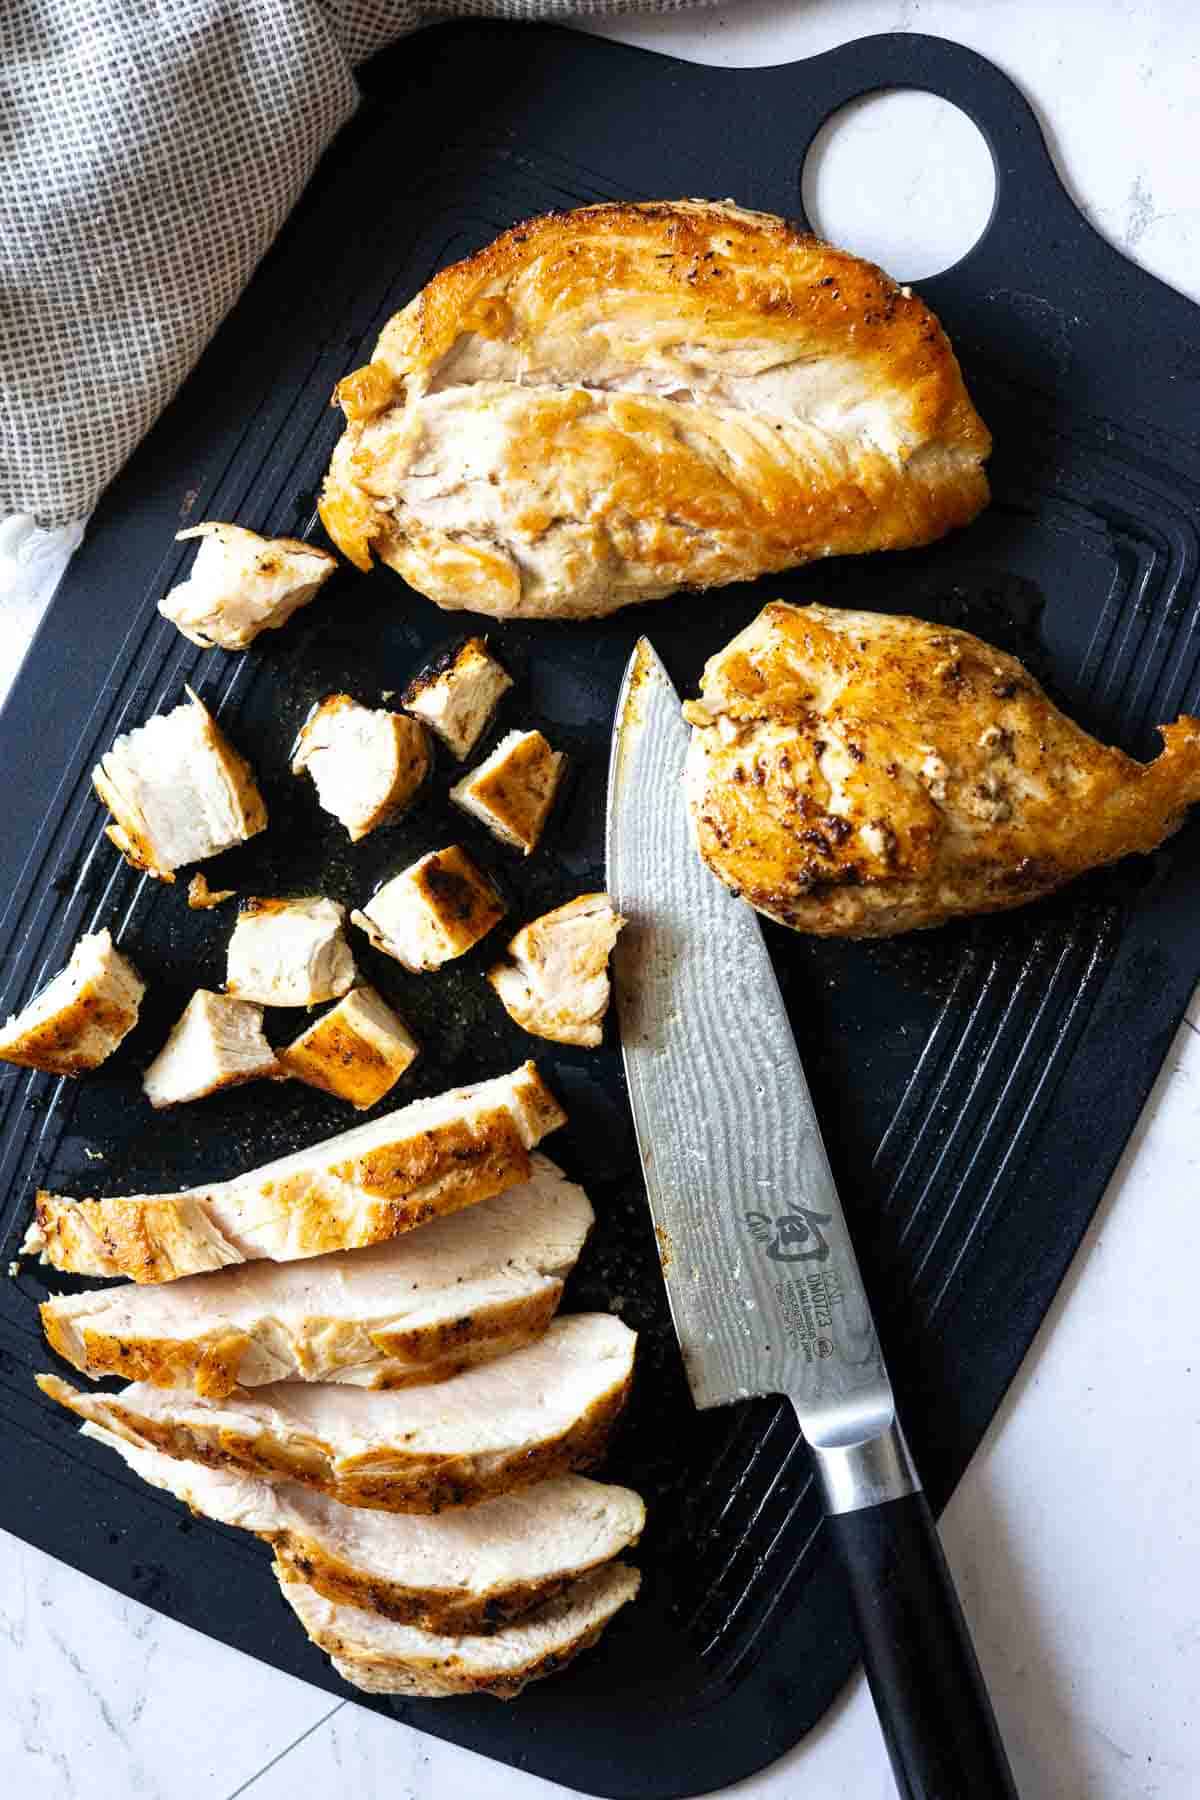
    Slicing cooked chicken breasts for chicken cabbage soup.
    1. Step 1: Heat two tablespoons of neutral oil in a heavy skillet. Season the chicken with salt and pepper. Sear the chicken breasts until golden on each side.
    2. Step 2: Remove to a plate, let cool, then cut across the grain and then into bite sized pieces. Set aside.

    Pro Tip: Don't skip searing the meat. This is a crucial step in getting the most flavor out of this meal. Searing creates what is technically called Maillard reaction. Maillard reaction is the process where a crust is created. Simply stated, it's responsible for the complex flavors and aroma that makes bread taste toasty, and a grilled or pan seared seared steak, like my recipe for Denver Steak, taste charred. It's a technique that brings science to your cooking skills.

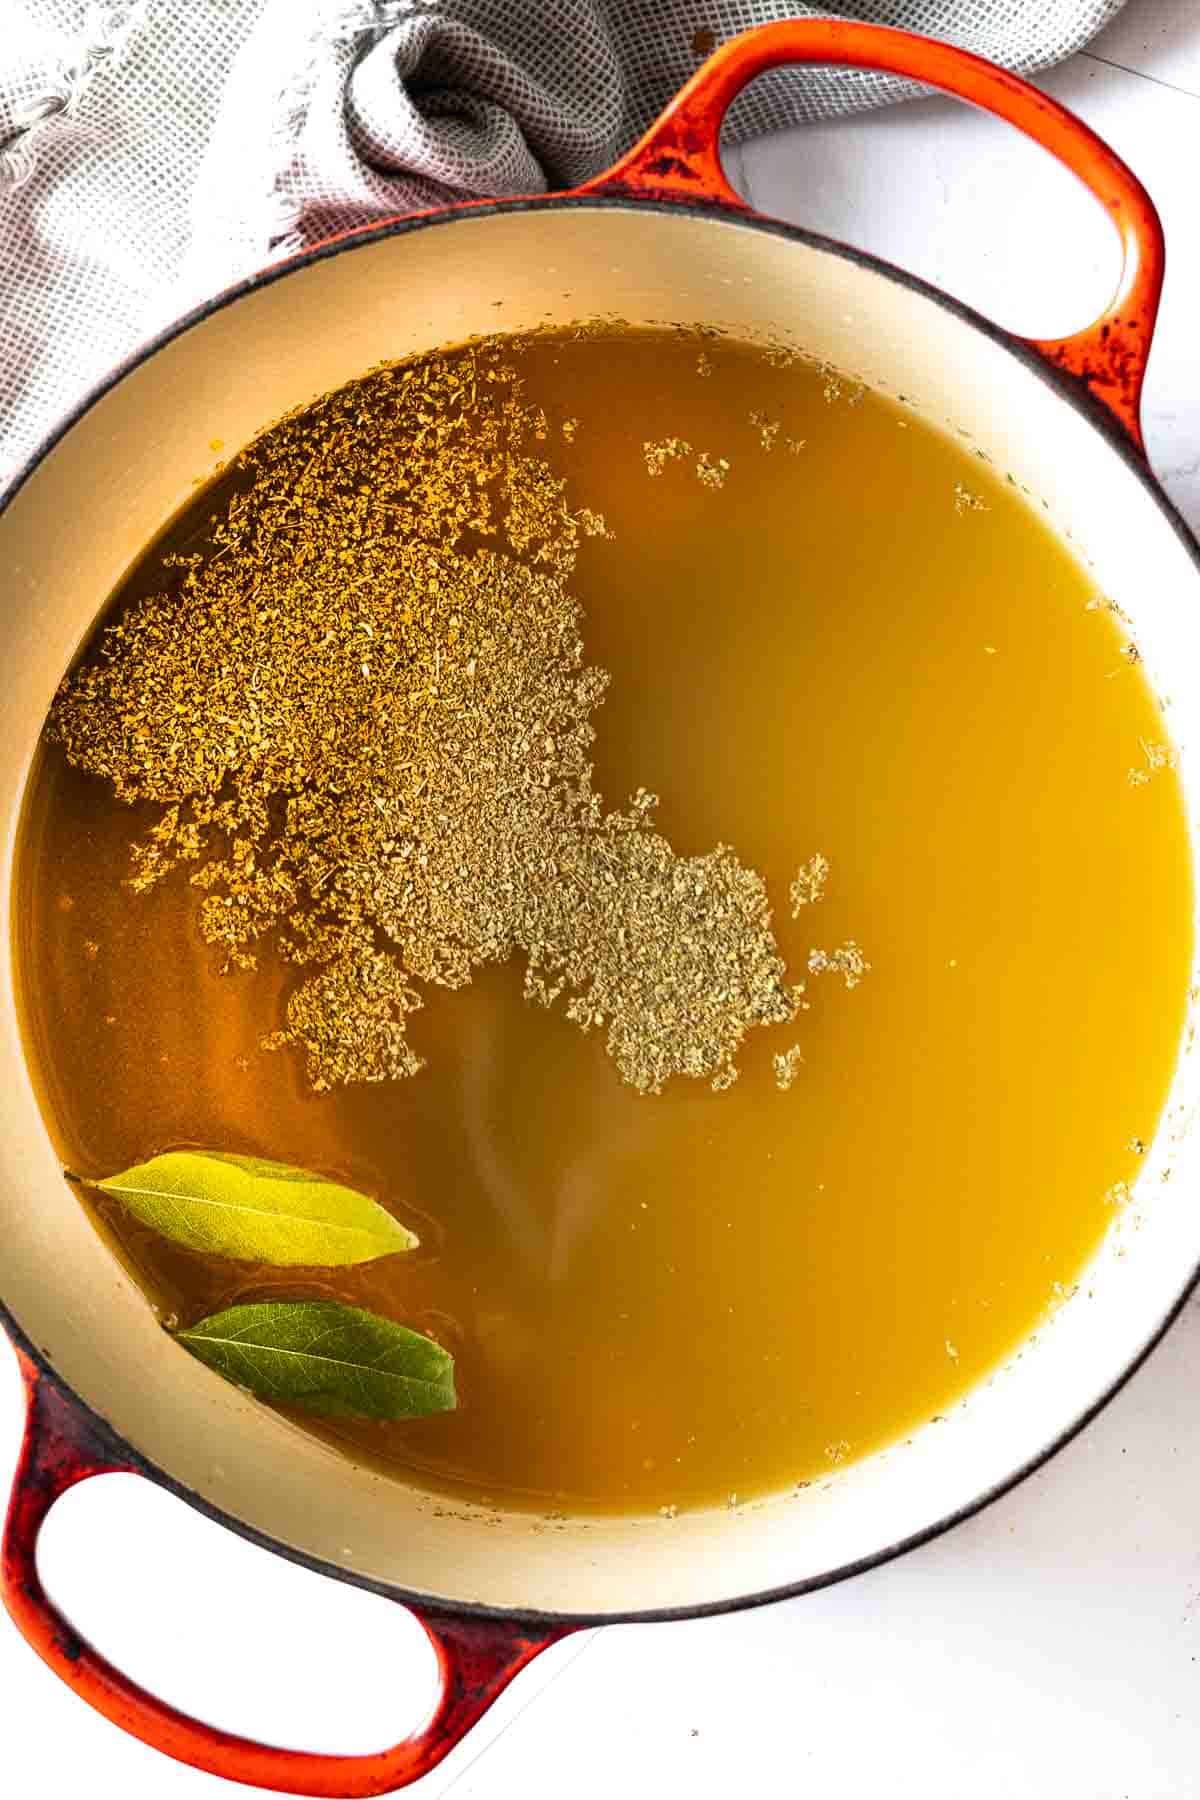
    Step 3: Making broth for Chicken Cabbage Soup.
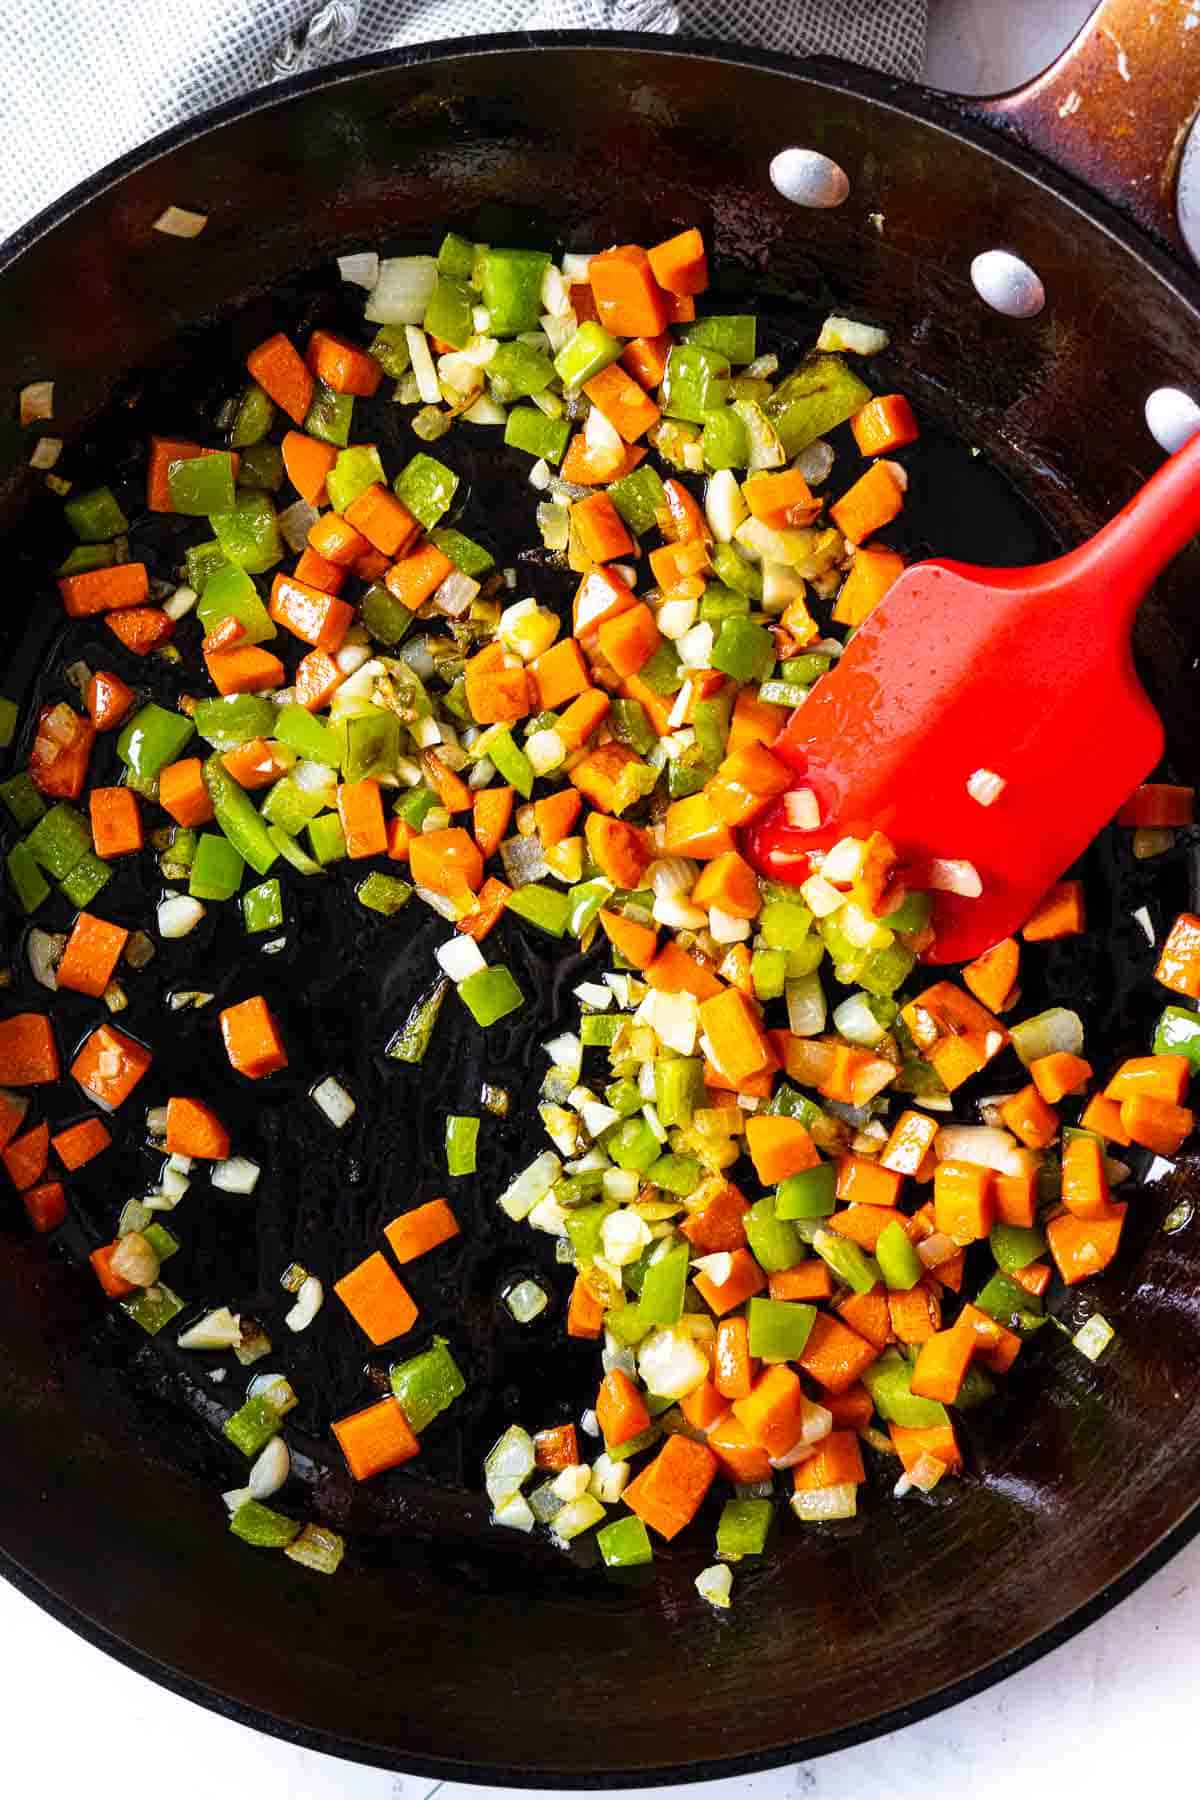
    Step 4: Cooking vegetables to make Chicken and Cabbage Soup.
    1. Step 3: Add the 8 cups of chicken broth to a large soup pot. Add Mexican oregano, bay leaves, and the Chinese mustard. Let the broth simmer over very low heat, uncovered for 30 minutes
    2. Step 4: Add another two tablespoons oil to the fry pan and add the chopped onion, bell pepper and carrot. Saute, stirring frequently for about 5 minutes. Add the garlic and cook until fragrant: 30 seconds to one minute.
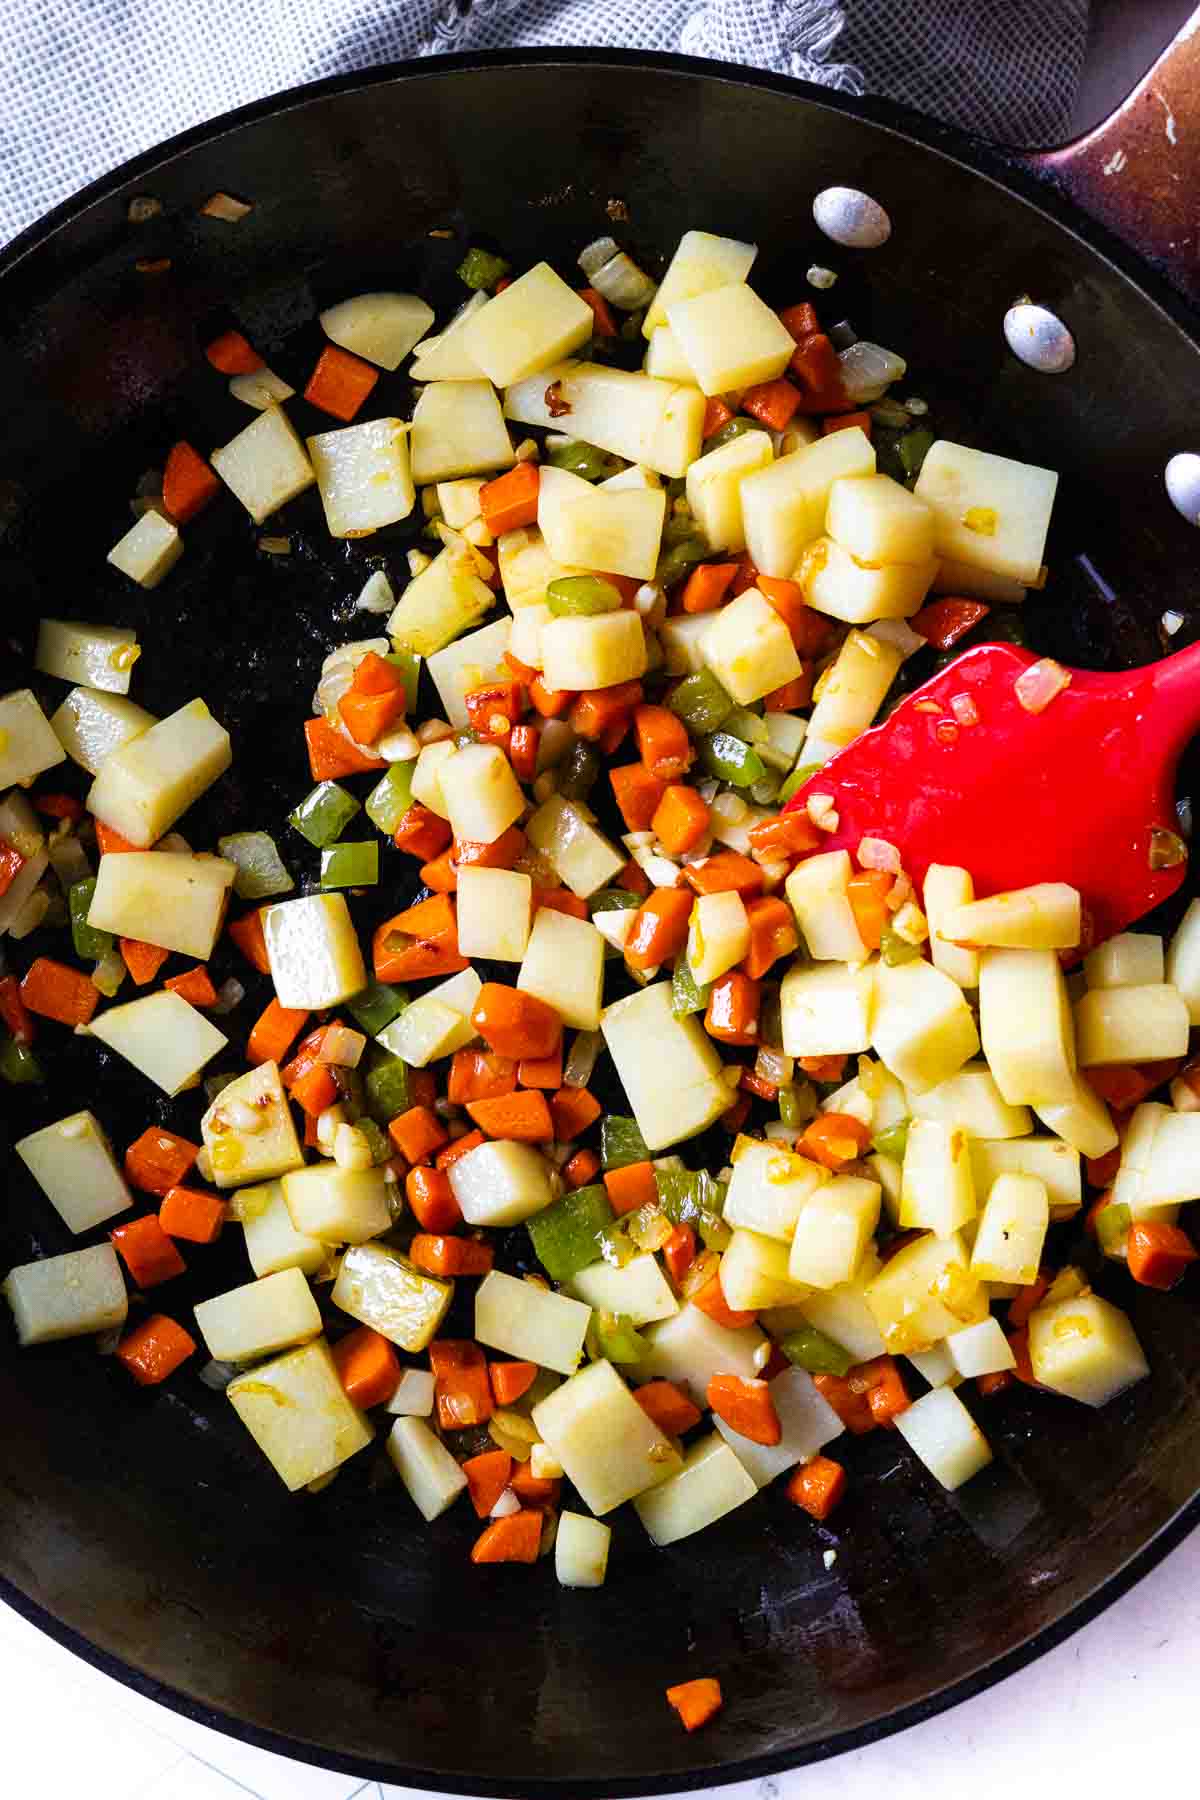
    Step 5: Adding chopped potatoes to cooked vegetables.
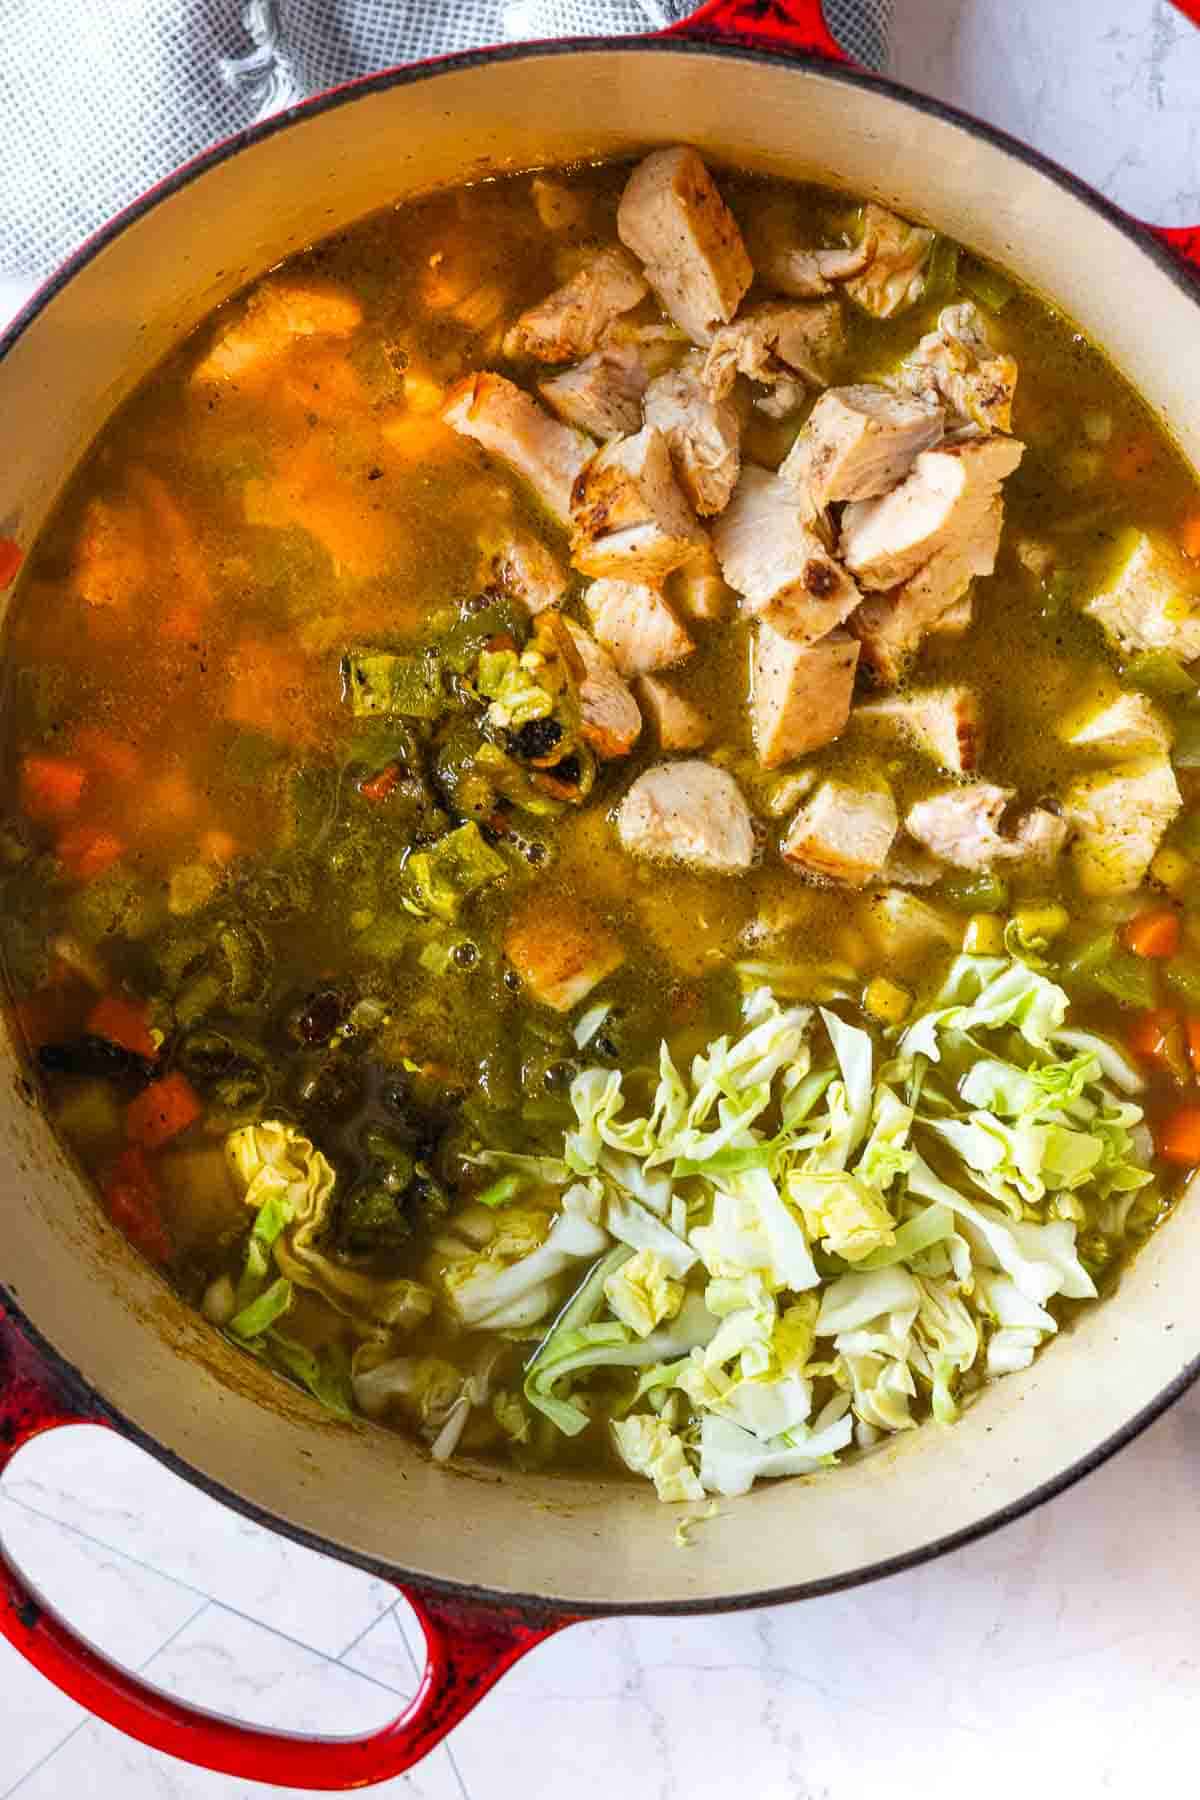
    Simmering soup ingredients to finish the chicken cabbage soup.
    1. Step 5: Add the potatoes and cook, stirring frequently for about 5 minutes.
    2. Step 6: Add the vegetables, chicken, corn, chopped roasted chile peppers and cabbage to the broth. Simmer for about 20 minutes or until potatoes are tender.
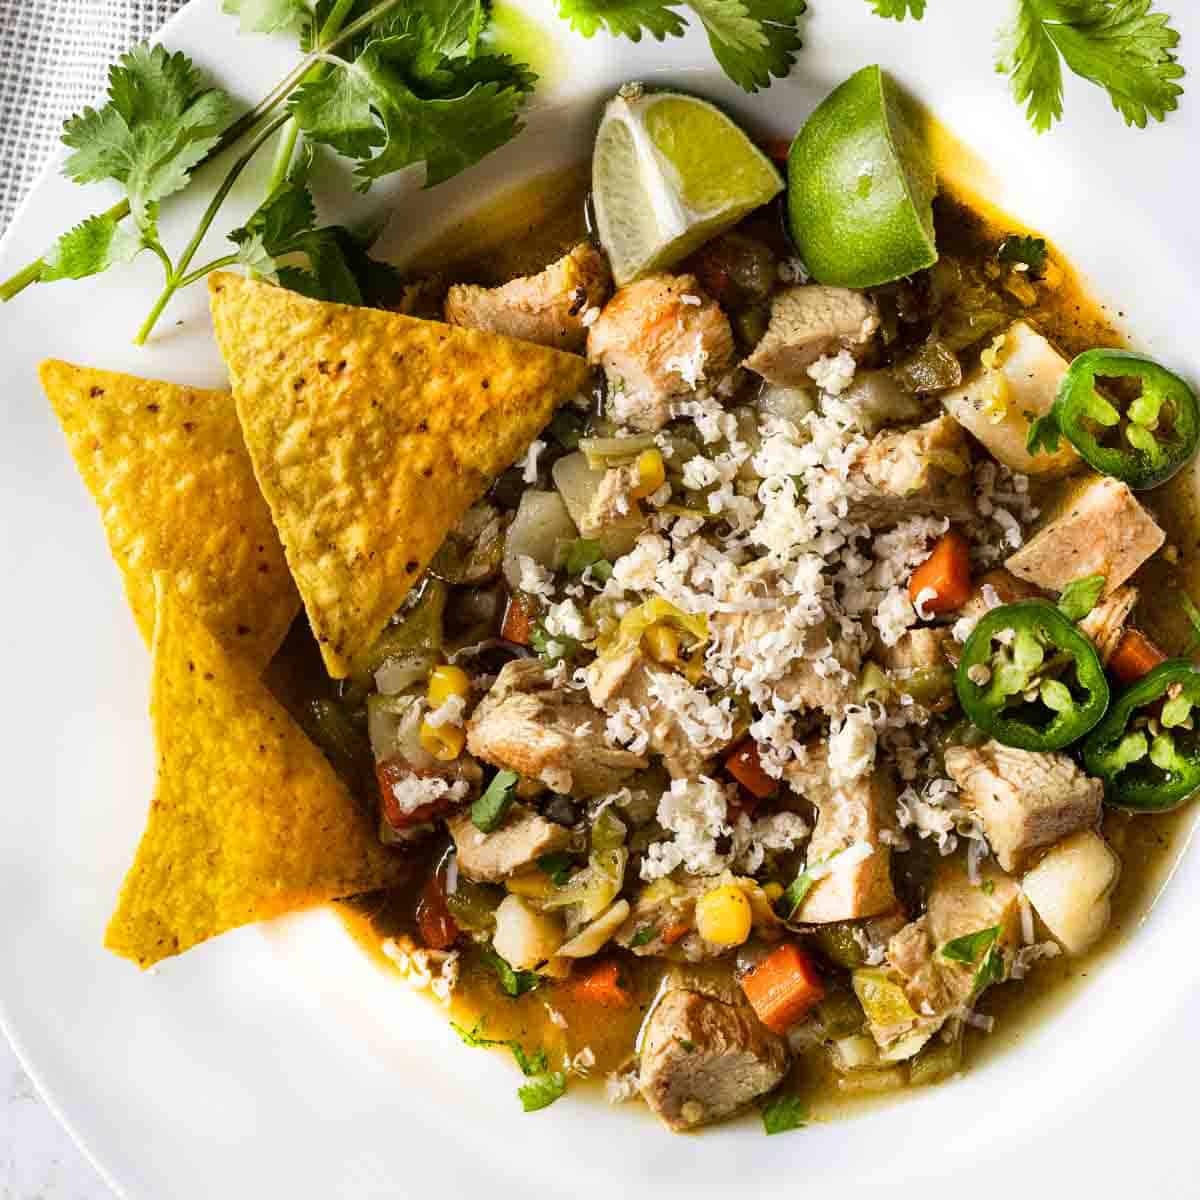
    Spicy cabbage and chicken soup garnished with cilantro and corn chips.
    1. Step 7: To serve, ladle some soup into your favorite soup bowls. I prefer shallow white bowls for presentation. The vegetables stay visible and don’t sink to the bottom. Add some grated cheese to the top, chopped cilantro and serve with tortilla chips for crushing. Offering a squeeze of lime will brighten the flavors.

    Tips For Success

    • Chunky Vegetables: For this soup, I like to keep the vegetable chop size a little larger than a regular Mirepoix, like I do for my Crock Pot Ham and Beans recipe. Since this is billed as a chicken soup with vegetables, the vegetables play a bigger role than just adding flavor.
    • Mushy Cabbage: How To Keep Cabbage From Getting Mushy In Soup: Cabbage is a delicate vegetable, especially when thin sliced or shredded. Follow the rules for adding this later in the cook time steps.
    • Delicate Simmer: Avoid bringing this cabbage and chicken soup to a rolling boil. An aggressive boil will cause the vegetables to become too soft and the chicken to overcook.
    • Acid: The flavor in a a brothy soup is always elevated by some type of acid. Vinegar is a common enhancer, and for this Southwest version, lime juice works very well.

    Serving Suggestions and Pairings

    • Sides: For a heartier meal, serve this soup over oven baked rice. A loaf of crusty bread is always welcome. A small bowl of Mexican Quick Pickled Red Onions would be a nice treat.
    • Wine: Serve an off dry white wine like Riesling. A Pinot Noir won’t clash with the spice and a peppery, rich, fruity Zinfandel will match the bold flavor of this soup.

    Storage and Reheating

    • Refrigerator: Store any leftovers in an airtight container in the refrigerator for up to 4 days.
    • Freezer: I’m not a fan of freezing these types of soups because it will compromise the texture of the vegetables and especially the cabbage. I have frozen cabbage style soups and am simply not pleased with the soup once it’s thawed and reheated.
    • Reheating: Reheat individual servings in the microwave. The 50% power feature is your best friend. Place soup in a microwave safe bowl. For a gentle, no-splatter method, reheat in 30 second increments at 50% power until hot. You can also reheat in a sauce pan, over low heat on the stovetop.

    Chicken and Cabbage Soup FAQ’s

    Can I Freeze Chicken and Cabbage Soup Without Cabbage Turning Mushy?

    Technically you can, however, I’m not a fan of freezing cabbage. It certainly will compromise the texture.

    What Cabbage Varieties Hold Up Best In Cabbage and Chicken Soup?

    Short answer: Green Cabbage. It’s leaves are sturdier. You can use looser leaf varieties like Napa and Savoy knowing that you’ll need to adjust cooking time, as they’ll soften quicker. Red cabbage has sturdy leaves, but will color the soup red. Save red cabbage for recipes like Rode Kool or Braised Beef Tacos.

    So ditch the dull dinners and spice up your weeknight routine with this Mexican Chicken and Cabbage Soup. Healthy soup never tasted so good.

    More Spicy Southwestern Chicken Soups

    • Southwest chicken soup with hominy and potatoes.
      Sopa Ranchera, Southwest Chicken Soup
    • Rotisserie chicken soup served in a white bowl garnished with cilantro.
      Southwestern Rotisserie Chicken Soup – 30 Minute Weeknight Meal
    • Creamy chicken tortilla soup with rotel tomatoes.
      Southwestern Creamy Chicken Tortilla Soup
    • Chicken poblano soup with hominy.
      Chicken Poblano Soup With Hominy

    I consider soups to be my specialty, so don’t miss my soup category. You’ll find lots of recipes, including one of the most popular on my site for Taco Soup with Ranch Dressing. Let your can opener do the work for the 7-can easy recipe that will feed that hungry family and with lots of leftovers.

    If you liked this recipe, please leave a star ⭐⭐⭐⭐⭐ rating in the recipe card below and leave a comment. I always appreciate your feedback and hearing how everything went.

    And, don’t forget to subscribe to my newsletter for more delicious recipes and cooking tips. Make it a delicious day … every day.

    Spicy cabbage and chicken soup garnished with cilantro and corn chips.
    Print Recipe
    5 from 1 vote

    Spicy Chicken and Cabbage Soup

    Not your grandma's bland cabbage diet soup, this Spicy Cabbage and Chicken Soup is a vibrant, satisfying bowl of soup packed with tender chicken breast, healthy cabbage and vegetables in a bold savory broth with a kick of heat. It's a perfect way to warm up, eat well and enjoy some Southwestern spice into your comfort food rotation.
    Prep Time20 minutes mins
    Cook Time1 hour hr
    Course: Soup, Stews and Chilis
    Cuisine: Southwestern
    Diet: Gluten Free
    Servings: 8
    Calories: 214kcal
    Author: Lea Ann Brown

    Ingredients

    • 1 pound Boneless Skinless Chicken Breasts
    • 4 Tablespoons Neutral oil – Divided canola, vegetable or peanut oil work well here.
    • For The Broth
    • 8 Cups Chicken Broth
    • 2 Bay Leaves
    • 1 Tablespoon Mexican Oregano
    • 1 teaspoon Freshly ground black pepper
    • ¾ teaspoon Chinese Hot Mustard
    • 1 teaspoon Kosher salt
    • For The Soup
    • 2 Tablespoons Olive oil
    • ½ large Sweet onion chopped
    • ½ large Green Bell Pepper chopped
    • 6 cloves Garlic minced
    • 1 large Carrot peeled and chopped
    • 1 large Potato Cut into cubes
    • 1 Cup Frozen Corn or fresh corn removed from cob
    • ½ Cup New Mexico Chile Peppers roasted, peeled, seeds, veins and stems removed and chopped.
    • 1 Cup Green Cabbage shredded or chopped
    • Topping: Shredded Monterey Jack Cheese and Tortilla chips, strips or crushed.

    Instructions

    • For The Chicken
    • Heat two tablespoons of neutral oil in a heavy skillet. Season the chicken with salt and pepper. Sear the chicken breasts until golden on each side. Remove to a plate, let cool, then cut across the grain and then into bite sized pieces. Set aside.
    • For The Broth:
    • Add the 8 cups of chicken broth to a large soup pot. Add the Mexican oregano, bay leaves, and the Chinese mustard.
    • Let the broth simmer over very low heat, uncovered for 30 minutes.
    • For The Soup
    • Add another two tablespoons oil to the fry pan and add the chopped onion, bell pepper and carrot. Saute, stirring frequently for about 5 minutes. Add the garlic and cook until fragrant: 30 seconds to one minute.
    • Add the potatoes and cook, stirring frequently for about 5 minutes.
    • Add the vegetables, chicken, corn, chopped roasted chile peppers and cabbage to the broth. Simmer for about 20 minutes or until potatoes are tender.
    • Smash about half of the potatoes against the side of the pot. This adds a little consistency to the broth.
    • To serve, ladle into soup bowls, top with grated cheese, crumbled corn chips or fried tortilla strips. A wedge of lime for squeezing will brighten flavors even more.

    Notes

    Tips For Success
    • Chunky Vegetables: For this soup, I like to keep the vegetable chop size a little larger than a regular Mirepoix, like I do for my Crock Pot Ham and Beans recipe. Since this is billed as a chicken soup with vegetables, the vegetables play a bigger role than just adding flavor.
    • Mushy Cabbage: How To Keep Cabbage From Getting Mushy In Soup: Cabbage is a delicate vegetable, especially when thin sliced or shredded. Follow the rules for adding this later in the cook time steps.
    • Delicate Simmer: Avoid bringing this cabbage and chicken soup to a rolling boil. An aggressive boil will cause the vegetables to become too soft and the chicken to overcook.
    • Acid: The flavor in a a brothy soup is always elevated by some type of acid. Vinegar is a common enhancer, and for this Southwest version, lime juice works very well.

    Nutrition

    Calories: 214kcal | Carbohydrates: 11g | Protein: 15g | Fat: 13g | Saturated Fat: 1g | Polyunsaturated Fat: 3g | Monounsaturated Fat: 8g | Trans Fat: 0.03g | Cholesterol: 41mg | Sodium: 1279mg | Potassium: 430mg | Fiber: 2g | Sugar: 3g | Vitamin A: 1598IU | Vitamin C: 19mg | Calcium: 44mg | Iron: 1mg

    « Previous Page
    Next Page »

    I'm Lea Ann

    Welcome to my Colorado kitchen. If you're a fan of rustic homestyle cuisine, you've come to the right place. I'm a Culinary School Grad with a passion to inspire you to cook as often as you can. I offer reliable, approachable and easy to follow recipes. So grab that skillet and let's cook.

    More about me

    Soup and Stew Recipes

    • Southwest chicken soup with hominy and potatoes.
      Sopa Ranchera, Southwest Chicken Soup
    • Creamy chicken tortilla soup with rotel tomatoes.
      Southwestern Creamy Chicken Tortilla Soup
    • Cowboy chili garnished with grated cheese and jalapeno pepers.
      New Mexico Style Cowboy Chili
    • Ground chicken chile with white beans.
      Giada’s Ground Chicken Chili with White Beans
    • Beef stew with mushrooms served in a skillet.
      Beef Stew With Mushrooms – Crock Pot Method
    • 7-can taco soup with ranch dressing.
      Original 7 Can Taco Soup with Ranch Dressing

    Reader Favorites

    • Super Moist Cheesy Cornbread with Creamed Corn
    • Flemings steakhouse macaroni and cheese in a white bowl.
      Flemings Steakhouse Mac and Cheese
    • A slice of Layered Mexican Casserole with ground beef and corn tortillas.
      Mexican Casserole with Ground Beef and Corn Tortillas
    • Beef Tagliata, thin sliced flank steak served over arugula and cherry tomatoes.
      Beef Tagliata (Italian Steak)
    • Ham and cheese quesadilla made with corn tortillas and topped with a fried egg.
      Crispy Ham and Cheese Corn Tortilla Quesadillas
    • Spinach chicken mushroom skillet dinner.
      Chicken Mushroom and Spinach Skillet

    Footer

    • Contact
    • About
    • Privacy Policy
    • Accessibility Statement
    • ↑ back to top

    Copyright © 2024 Cooking on the Ranch • Powered by Feast+

    Rate This Recipe

    Your vote:


    A rating is required
    A name is required
    An email is required