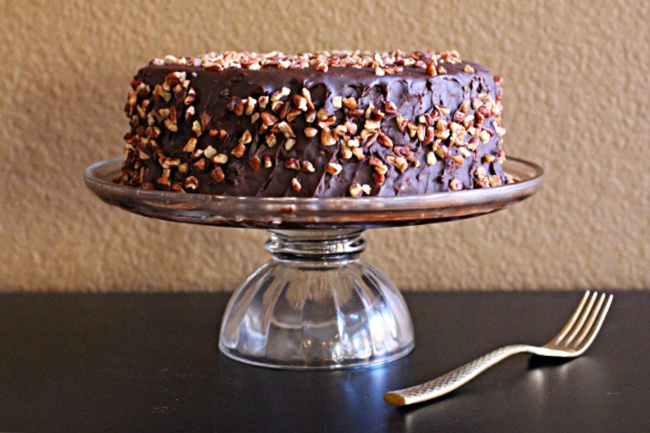
This is a recipe for Chile Chocolate Bourbon Cake. A beautifully flavored chocolate cake topped with a rich decadent chocolate frosting spiked with bourbon.

No need to wait for a special occasion to bake a chocolate cake, any time is a good time. It makes people happy, it satisfies the cake lover and the chocolate lover.
This chocolate cake takes it one step further and appeals to the Southwest New Mexico Chile powder-loving crowd.
With two tablespoons of pure New Mexico Chimayo Chile powder mixed in with the cake batter, you’ll love this hint of rustic heat that enhances the chocolate.
Where Did I Learn To Make This Recipe?
This recipe comes to us from the famous Fort Restaurant. The Fort Restaurant is a Denver landmark full of western culture, history, charm and western food.
For over forty years, the Fort has been "the place" to take out-of-town guests for a taste of the Wild West. With its unique menu items and servers dressed like Kit Carson, The Fort recalls the years when trappers, settlers and Army explorers first traveled the Santa Fe Trail to our region.
One of their most famous appetizers is this one for Peanut Butter Stuffed Jalapeno Peppers. And they’re also known for their cocktail Salty Dog with Saddle Leather.

Recipe for Chile Chocolate Bourbon Cake
While this cake started as The Fort’s house cake for birthday and anniversary celebrations, customer demand convinced them to put it on the menu as an everyday item.
The Fort still serves a complimentary slice to everyone marking a special occasion along with putting a ceremonial headdress on their heads as the staff shouts “hip, hip, buzzha” The Fort doesn’t do anything halfway.
The cake is made with red chile powder to honor the ancient Aztec tradition of spiking drinking chocolate with a little heat. This makes sense when you remember that it wasn’t until the Europeans took chocolate back to the Old World that anyone had thought to sweeten it. Before then, it was made into a bitter but much appreciated ceremonial brew.
You’ll feel a slight burn at thee back of your throat when you take a bite of this luscious cake, but that will quickly turn into a warm flavorful glow. The bourbon flavor frosting brings its own kick.
I hope you give this Chile Chocolate Bourbon Cake a try, and if you do, please come back and give the recipe a star rating and leave a comment about your experience with the recipe.
If you’re looking for unique chocolate cake ideas, this is the one to try.
And don’t miss my Dessert Category. You’ll find lots of mouth watering dessert recipes including this easy recipe for Old Fashioned Pineapple Cake with Cream Cheese Frosting.
More Popular Chocolate Dessert Recipes


If you liked this recipe, please leave a star ⭐⭐⭐⭐⭐ rating in the recipe card below and leave a comment. I always appreciate your feedback and hearing how everything went.
And, don’t forget to subscribe to my newsletter for more delicious recipes and cooking tips. Make it a delicious day … every day.

Chile Chocolate Bourbon Cake
Ingredients
- 1 to 2 tablespoons New Mexico medium ground red chile powder Chimayo or Dixon is the best, to taste
- 2 cups water
- 1 Tablespoon pure vanilla extract
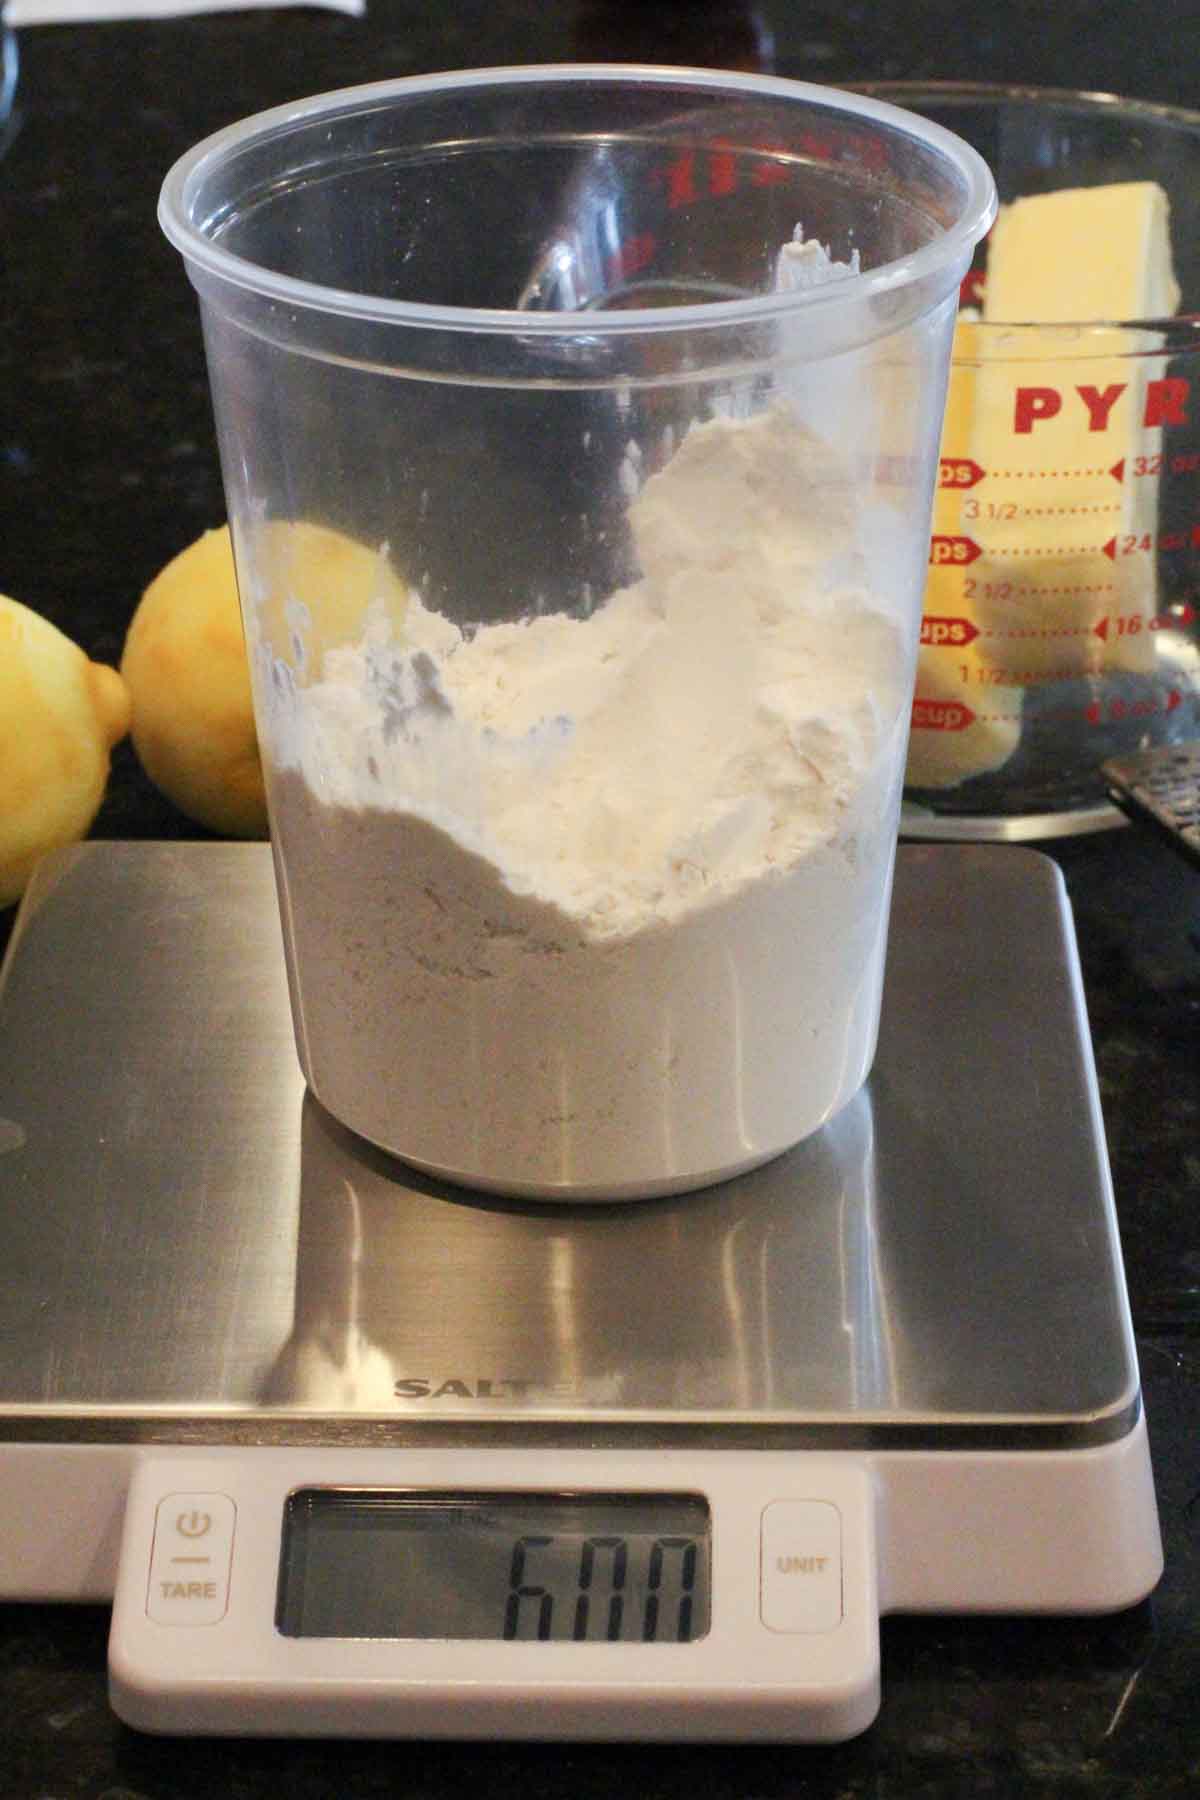
- 1 cup plus 2 tablespoons all-purpose flour
- 1 cup plus 2 tablespoons cake flour not self-rising
- 2 cups sugar
- 1 teaspoon baking soda
- ½ teaspoon salt
- ½ cup unsweetened non alkalized cocoa powder ch as Hershey, Nestlé, or Ghirardelli (do not use Dutch process)
- 1 cup unsalted butter, cut into pieces and softened
- ½ cup buttermilk
- 2 large eggs at room temperature
- Ingredients for The Frosting
- ¾ cup unsalted butter softened
- ¾ cup unsweetened nonalkalized cocoa powder
- ¼ cup plus 2 tablespoons buttermilk
- 4 to 5 cups confectioners' sugar
- 2 to 3 tablespoons bourbon
- 1 tablespoon pure vanilla extract
- 1 ½ cups chopped walnuts or pecans lightly toasted (optional)
Instructions
- For the Cake:
- Preheat the oven to 350°F, and place a rack in the center of the oven.
- Butter two 9-inch round cake pans. Lightly dust the sides of the pans with flour, tapping out the excess and line the bottom with circles of parchment or waxed paper.
- In a medium saucepan, cook the chile powder in 1 cup of the water over medium heat until simmering. Remove the pan from the heat, stir in the vanilla, and set aside.
- Using a mixer with a wire whip attachment for best results, combine the flours, sugar, baking soda, salt, and cocoa and beat on low speed until well mixed. Add the softened butter to the dry mixture and beat thoroughly on medium-low speed. The mixture should be a uniform, grainy texture.
- Raise the speed to medium and gradually add the remaining 1 cup of water and the buttermilk. Add the eggs, one at a time, beating well after each addition.
- Slowly add the hot water/chile mixture and continue to beat just until well combined; be sure not to overbeat. Pour the mixture equally into the pans and bake for 35 to 40 minutes, or until a toothpick inserted in the center of each layer comes out clean.
- To cool, set the pans on a wire rack for 15 minutes. Then turn the cakes out onto the rack, remove the paper from the bottom, and immediately invert so that the risen tops don't flatten. Let the layers cool completely before frosting.
- For the Frosting:
- Combine the butter and cocoa in a large saucepan and melt over medium heat. Stir in the buttermilk. Add the confectioners' sugar, a little at a time, stirring with a wire whisk between additions.
- Stir in the bourbon and vanilla and continue to whisk until the frosting is smooth and glossy. The frosting should stiffen as it cools. (In warm weather you may need to refrigerate it.) When it is still warm, but has reached a spreadable consistency, you can assemble the cake.
- Final Assembly
- If necessary, trim the tops of the cakes so that they are level. Place one of the cake layers on a 9-inch round cardboard cake circle. Spread 1 cup of the frosting over the layer. Sprinkle 1 cup of the chopped walnuts, if using, evenly over the frosting. Place the second layer of cake on the frosted base.
- Use the remaining frosting to cover the top and sides of the cake. Finish the top of the cake by holding the spatula at a slight angle and making several strokes to smooth the top. To decorate the cake, press the remaining walnuts onto the lower half of the sides and on top of the cake.
- This cake is best when made 1 to 2 days before serving as it gives the flavors time to blend.
Nutrition
Chile Chocolate Cake …. It’s What’s for Dessert